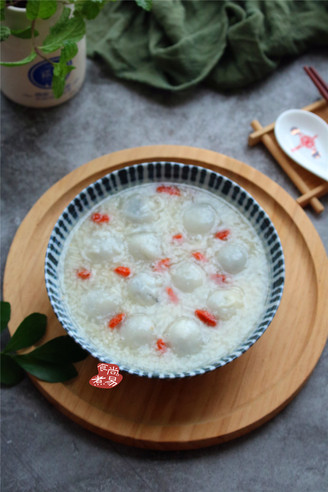
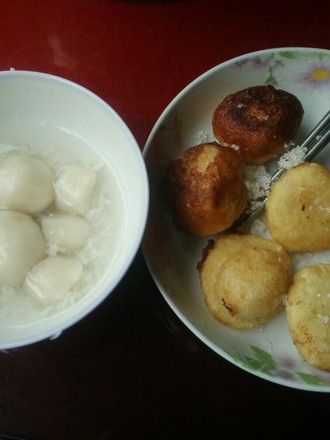
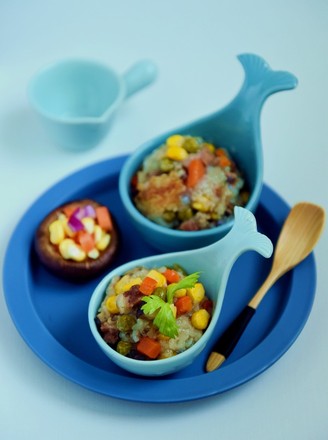
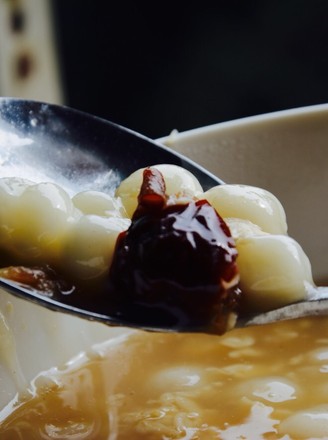
Ancient Rural Rice Wine (also Called Fermented Rice, Sweet Wine, Glutinous Rice)
1.
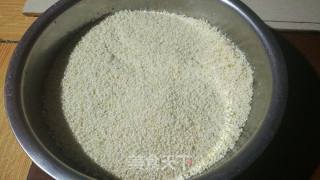
Prepare five and a half catties of glutinous rice
2.
Add appropriate amount of water
3.
Panning once
4.
Drain the water
5.
Add water to soak, the amount of water is twice the volume of glutinous rice, soak for about five or six hours. (If you use steamed rice instead of glutinous rice, use the water in the pot to boil until half-cooked, strain the rice soup, and then steam it in the steamed rice using the same procedure. The rice soup is delicious, and there are some special Chongqing rice soups. Restaurant, I’ve been to this restaurant before in Yongchuan for driving test)

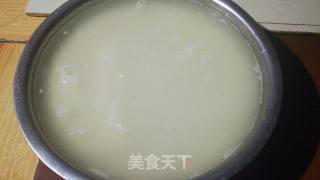
6.
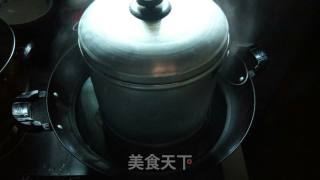
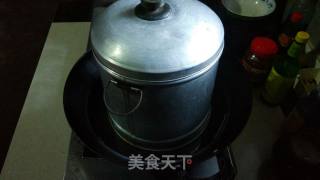
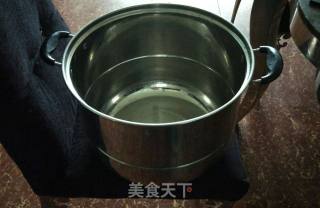
When the glutinous rice is about to soak, prepare the steamed rice about 10 minutes in advance (you can use wooden bucket steamed rice, iron steamed rice will do, wooden drum steamed rice is better, it has a woody aroma), and add water to the bottom of the steamed rice. The height of the board is about two centimeters, which is almost the same. The steamed iron steamer covered with the lid is steamed. It is important to add water to the steamed rice at least one or two centimeters away from the bottom plate, because the water will roll when boiling. If there is not enough space, the water will boil on the rice, making the bottom rice too soft with water, and the degree of cookedness and hardness will be uneven , Different from the upper rice.
7.
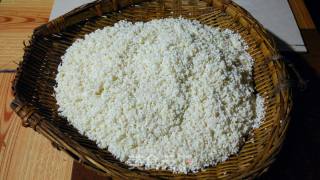
Drain the soaked glutinous rice
8.
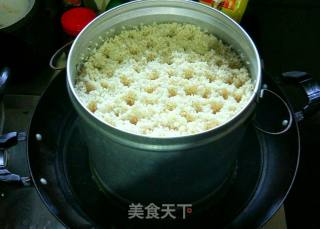
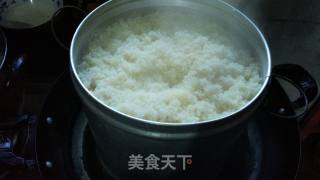
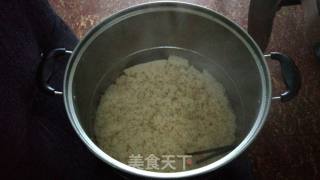
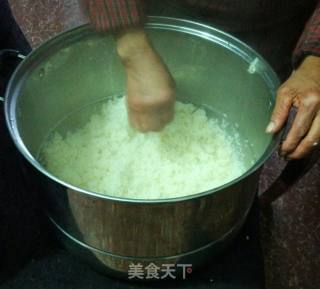
Add it to SAIC's iron steamed sub, flatten it, and poke the air holes at even intervals of two centimeters (to go straight to the bottom). Cover with a lid and steam for about 20. The purpose of poking the gas eye is to heat the gas evenly, the rice.
9.
When the time is up, open the lid and try a bite. Pour about two hundred milliliters of boiling water evenly from the surface of the rice for ventilation. The glutinous rice used for making rice wine should not be steamed for too long, just cooked.
10.
Cover the lid and steam for a minute or two. SAIC (SAIC means that there is air coming out of the lid of the pot).
11.
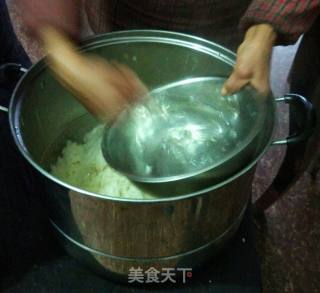
Prepare a large-capacity pot for mixing glutinous rice
12.
Put the steamed glutinous rice into a large container and let it cool down for about three to five minutes.
13.
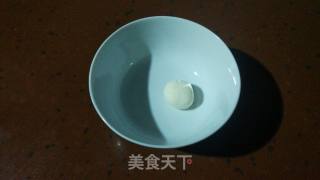
At the same time, prepare a koji
14.
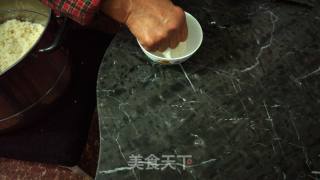
Pinch it by hand
15.
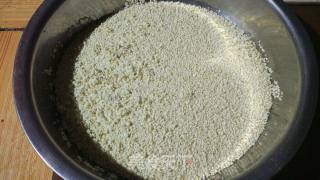
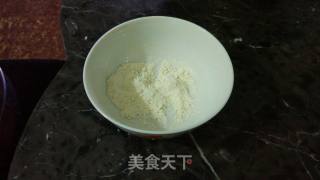
Knead into powder
16.
Prepare about two liters of clean water
17.
First use a total of about 1.5 liters of water, and evenly pour water on the surface
18.
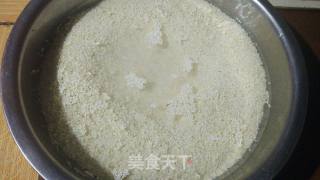
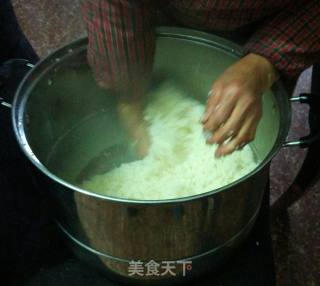
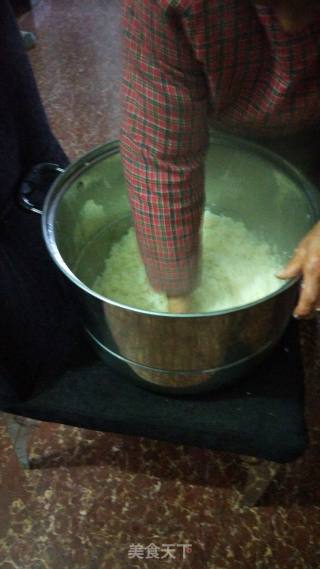
While turning over the glutinous rice by hand, repeat the process of pouring water two or three times to turn the rice. Used for cooling and dispersing glutinous rice. Cool down until your hands feel a little hot, but not very hot or uncomfortable.
19.
Sprinkle about two-thirds of the koji powder evenly on the surface (at this time the temperature will be slightly lowered, it will not be hot and uncomfortable, but there is still a warmer temperature)
20.
Spend a minute or so with your hands to blend evenly
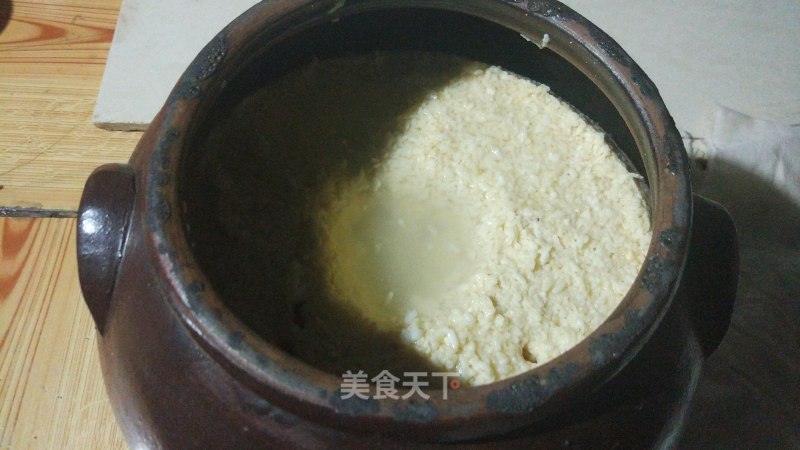
21.
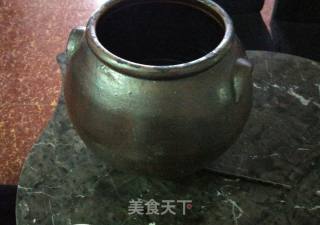
Prepare a ceramic pot in advance (the iron basin is also available, but the pot is better), wash it, and wipe off the water inside and outside.
22.
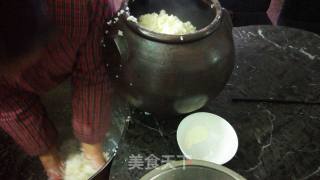
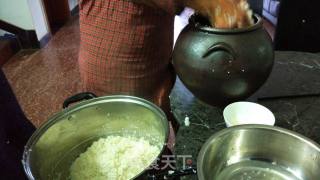
Put the glutinous rice mixed with koji into a jar. (At this time, the temperature is basically the same as that of the koji, but it is still warmer. If the temperature changes a lot, it means that you are too slow, mixing the koji powder for too long, and the temperature in the summer can be slightly lower.
23.
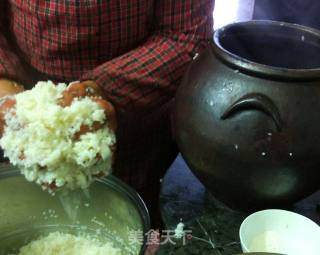
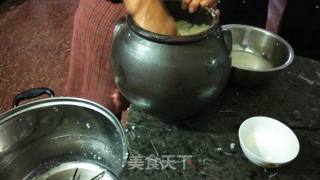
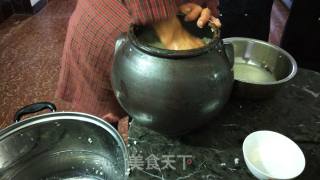
Hold it in handfuls
24.
More convenient and faster
25.
pave
26.
Press slightly
27.
Sprinkle the remaining koji powder evenly on the surface
28.
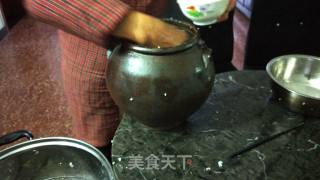
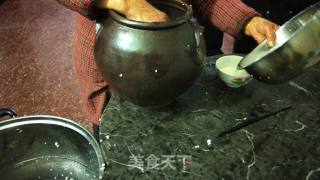
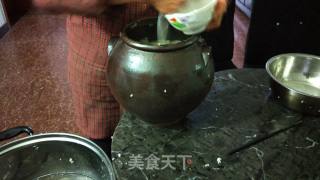
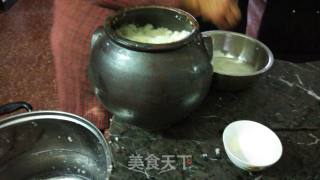
Pour about one to two hundred milliliters of water in the bowl of koji powder, and
29.
Sprinkle the neutralized water in the bowl evenly on the surface
30.
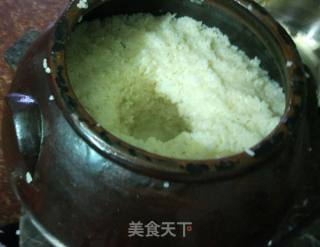
Use your fist to press a hole about half the height in the middle of the glutinous rice (about 10 cm for mine)
31.
Then pour the remaining 300 ml of water into the container for washing and glutinous rice. Pour the washed water and glutinous rice grains into the pressed glutinous rice hole, leaving a height of about two centimeters from the surface of the hole. If there is more water, no need, and if there is less water, add more to meet the requirements.
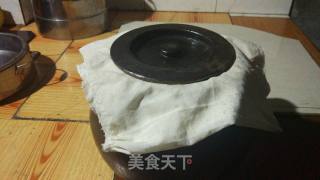
32.
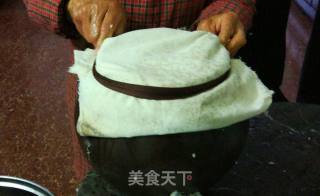
Cover it with a layer of cotton gauze and tie it with a rope
33.
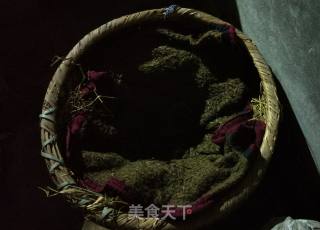
Prepare a large basket or other container for heat preservation in advance, spread 10 cm thick straw on the bottom edge, and then spread a cotton coat
34.
Spread two more beds, about five to eight centimeters thick, and press the nest in the middle to put the clay pot easily.
35.
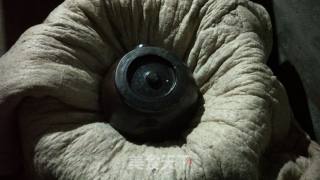
Put it in the sealed earthenware pot and then close the lid
36.
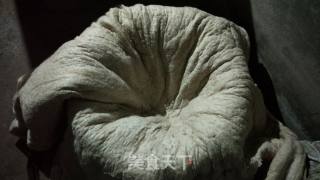
Layer by layer
37.
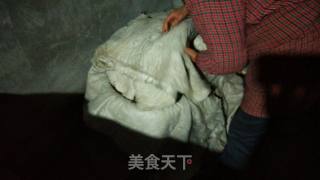
Tighten the quilt tightly by cross-covering the front, back, left and right
38.
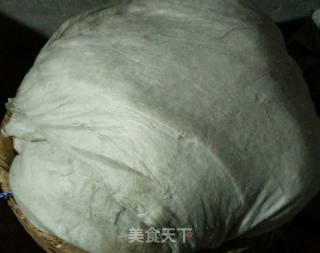
After tightening, the basic surface becomes a hemisphere
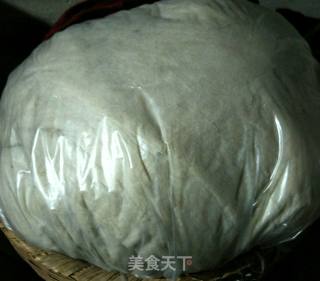
39.
Then cover and tie a layer of thick plastic film, basically maintain the internal temperature of about 50 degrees, and ferment for 72 hours. In summer, use the old method to keep warm for two to two and a half days, and in winter for three days for 72 hours.
40.
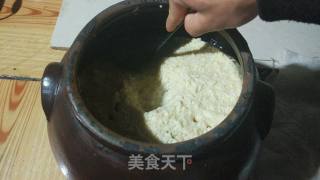
When the time is up, you can smell light rice wine even if you don’t uncover the quilt. Take out the clay pot
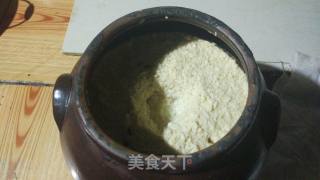
41.
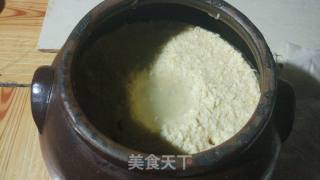
Uncovering the lid, a slightly stronger aroma of rice wine came out.
42.
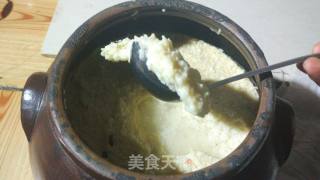
Pressing can also make the whole piece of distiller's lees turn in a circle without sticking to the wall of the earthenware pot. The whole piece of distiller's lees floats on the brewed water together, indicating that the brewing is successful
43.
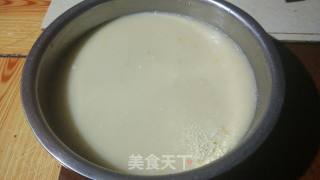
After pressing the lees, it will squeeze out the wine like a sponge
44.
Take a piece of it, it feels like a piece of sponge (why it looks like a sponge, a small hint will explain that the supermarket sells it for you to make small pieces)

Tips:
1. The key to making rice wine is to put the koji, put it into the container and keep the fermentation temperature under control. And wine koji, into the can, keep warm, the temperature of any of the three is too low, it will appear, not too many wines, the problem that the wine does not smell. If the temperature of any process is too high, it will be very sour after brewing. Temperature control is an empirical problem. Do more and practice more. In the early stage, people can brew about two catties each time. Failure is not wasteful, and it can be practiced many times.
2. Insulation method, the quilt can be replaced with an electric blanket for insulation. The oven can also be used to keep the temperature constant, and the fermentation will be good in about two days.
3. The rice wine does not need to be fermented too hard, otherwise it will be very intoxicating. Slightly strong rice wine aroma and sweetness can be added. Even if the quilt is no longer used to keep warm after brewing, the brewed rice wine contains highly active koji bacteria and will continue to ferment on its own. Therefore, the brewed lees will become more and more intoxicating if it is not used up in a month or two.
4. After brewing, the raw rice fermented rice (I don't know what is raw rice fermented rice wine, see my rice wine stuffed egg), during the preservation process, it is easy to grow small flying insects when it is exposed to water, and it is easy to produce a layer of white flowers when it is exposed to oil.
5. The glutinous rice is soaked in water and absorbed water, so it will not be cooked for long.
6. Judging whether the rice wine is made or not is just a few steps after I take out the jar. Or smell it, with a light rice wine aroma, sweetness, and basically no sourness. The sourness and wine taste will become heavier in the later stage.
7. Principle: The protein in glutinous rice is decomposed by fungi to produce fermented rice and sugar, and the remaining fiber forms a whole piece of lighter fermented rice and floats on the fermented fermented rice. The lees tastes very tender. If there is a hard heart, it means that the brewing is incomplete or the brewing has failed. This kind of taste basically has no smell of wine.

