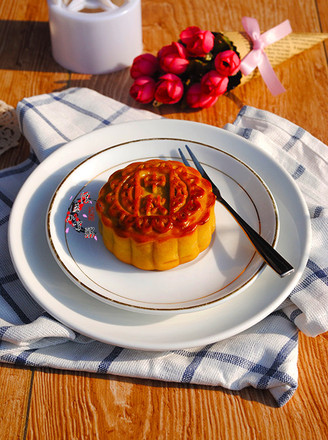
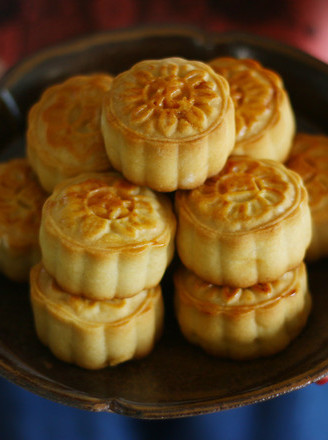
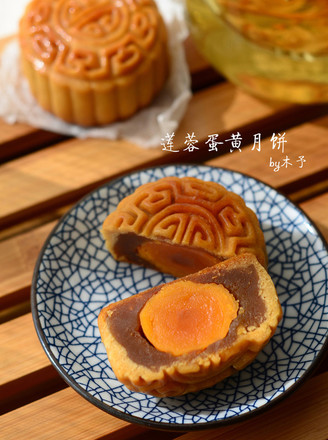
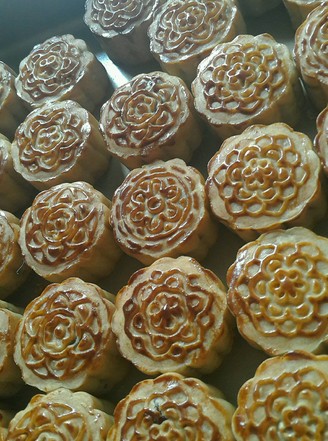
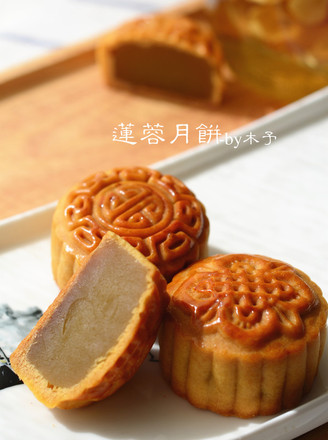
Bean Paste and Egg Yolk Mooncakes
1.
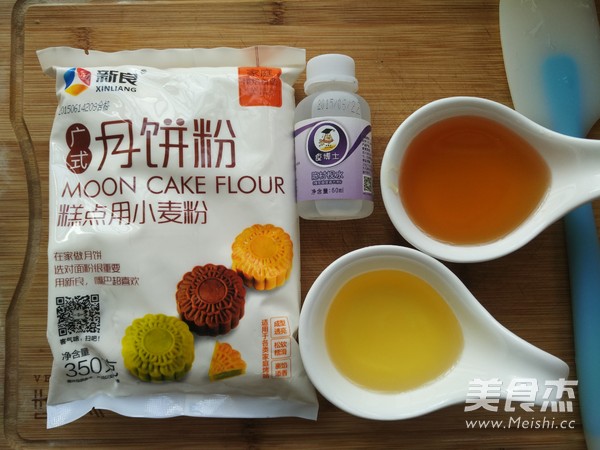
Prepare the materials
2.
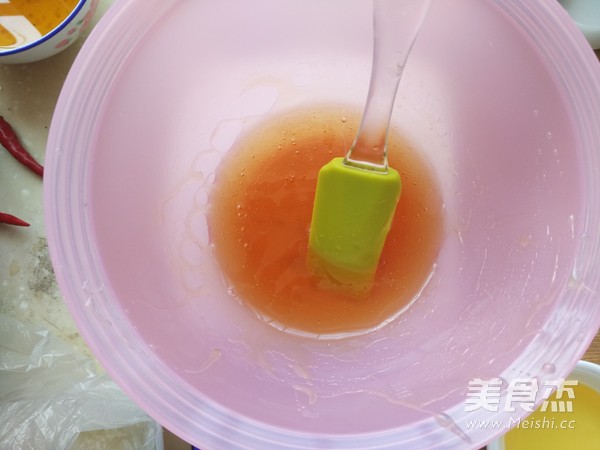
Mix the invert syrup and liquid soap and stir
3.
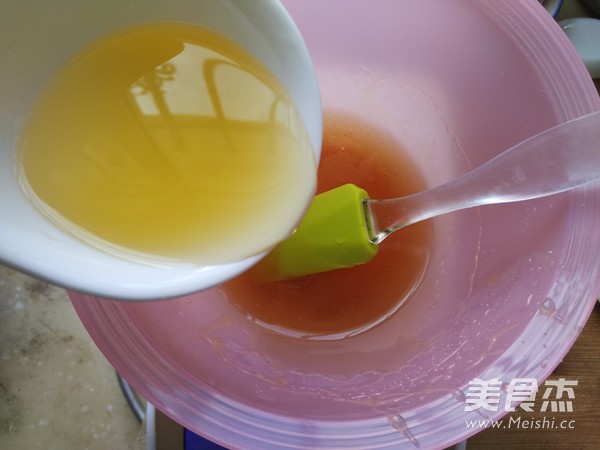
Add peanut oil, be sure to stir until it is evenly mixed
4.
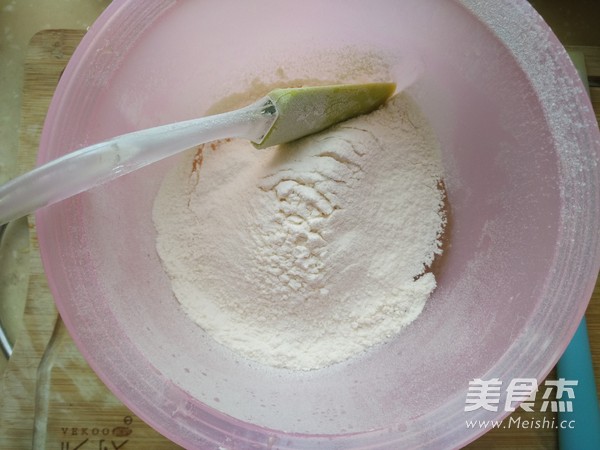
Sift the moon cake powder in advance to avoid lumps. Sift one third of the flour into the liquid, mix well, then add the remaining flour, and mix well. There is no need to knead excessively to avoid gluten
5.
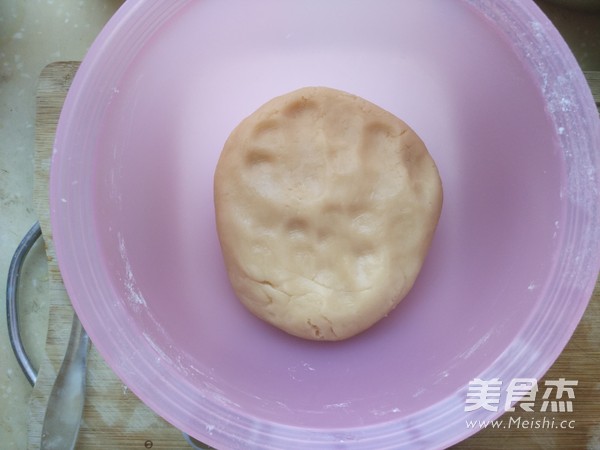
This is how the mooncake dough is mixed. Put it in a fresh-keeping bag and put it in the refrigerator for at least 2 hours.
6.
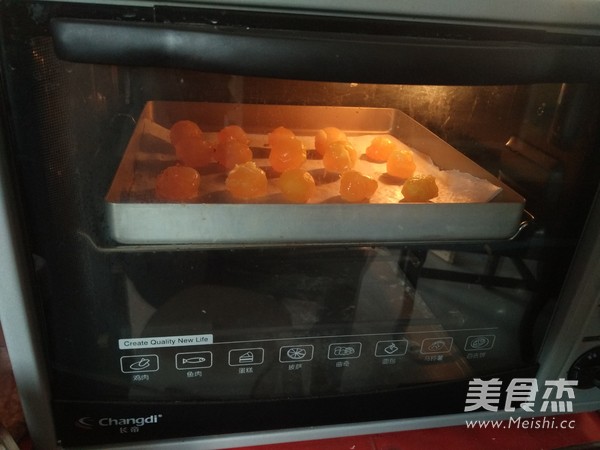
Put the salted egg yolk on the baking tray, put it in the oven at 180° and bake for 5 minutes, (or steam it on the steaming tray) for later use. After baking, take it out of the oven and sprinkle a little rum or rice wine
7.
After the moon cake dough wakes up, we are ready to pack moon cakes
8.
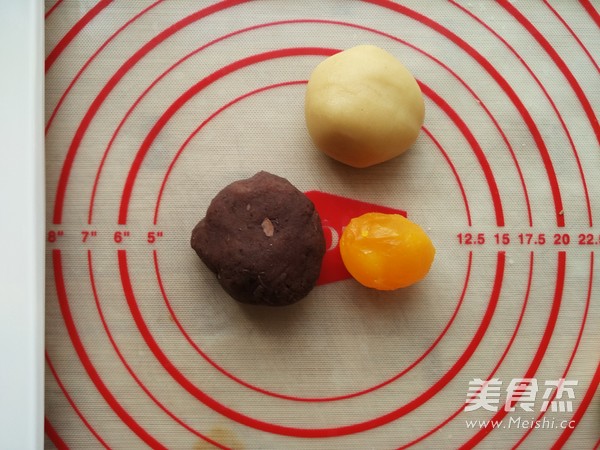
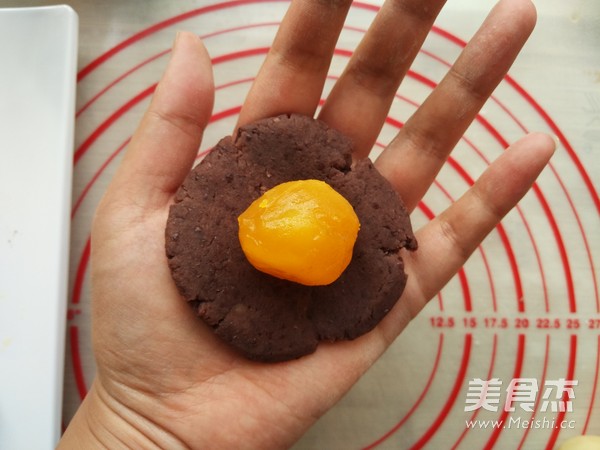
50 grams of red bean paste wrap 15 grams of salted egg yolk, close and round
9.
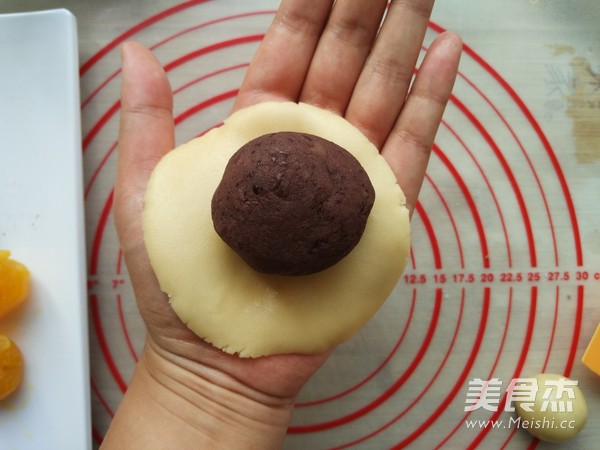
First rub 35 grams of pie crust a few times, round and press flat, put the bean paste and egg yolk filling on top of the crust, slowly push it up with the belly of the index finger of your right hand, and push it as evenly as possible
10.
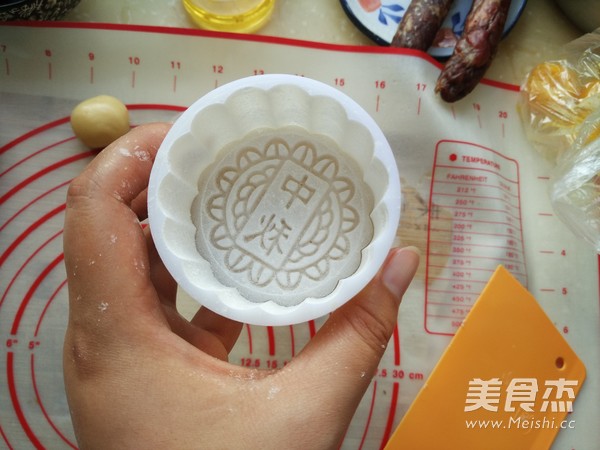
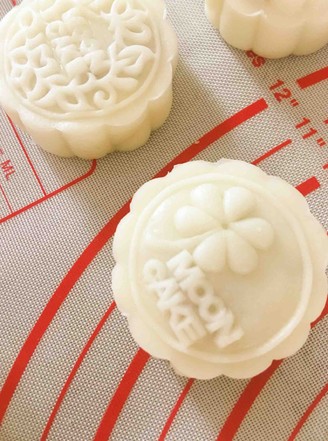
Put the wrapped moon cake dough into the cooked glutinous rice flour and roll it around, then rub it with both hands to distribute the flour evenly; or sprinkle a little flour into a 100 g moon cake mold and shake the mold to make the flour evenly distributed. Knock the mold on the table to pour out the excess flour. You can choose one of the two methods in this step (the effect is that the moon cake will not stick to the mold after being pressed, and it will be easy to demould)
11.
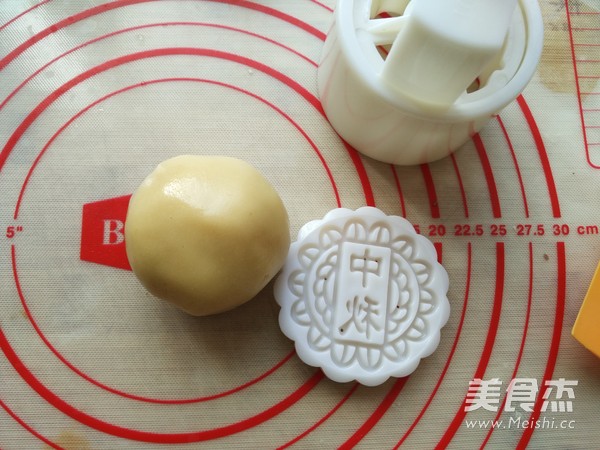
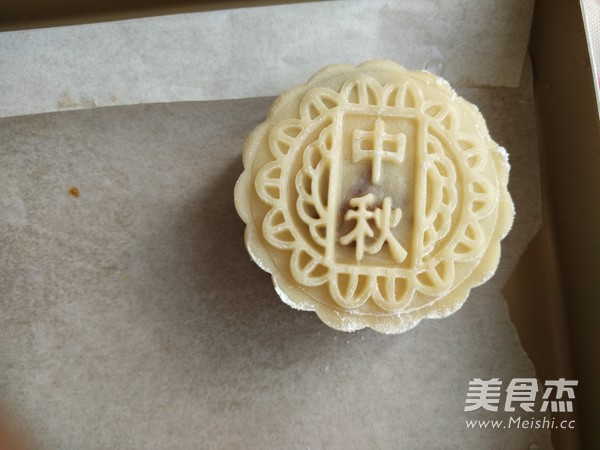
Put the thick side of the mooncake into the mold. Be careful not to let the dough touch the sides of the mold, which will damage the dough. So in this step I will roll the dough into a slightly oval shape and put it in.
12.
Hold the dough with one hand and place it where you want to put the mooncake. Press lightly on the mold until you feel it can’t be pressed down. If you press too hard, the mooncake will be pressed out of the skirt, then gently lift the mold and let go. One moon cake is ready. Spray a little water before entering the oven to prevent the moon cakes from cracking
13.
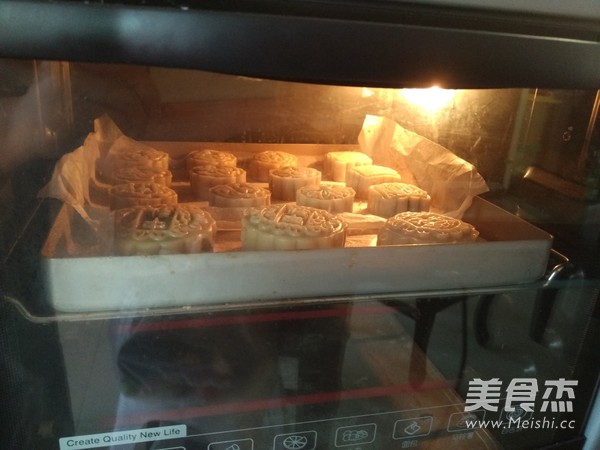
Preheat the oven up and down to 200 degrees, the middle layer, bake for 5 minutes, take it out and let the mooncakes bake qualitatively
14.
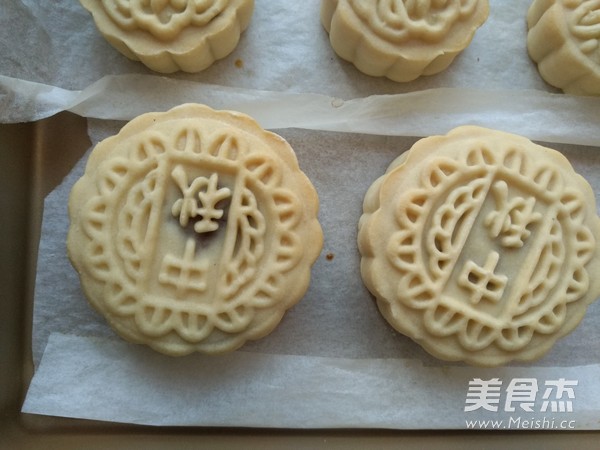
After the moon cake is slightly cool, the brush is soaked in the egg liquid and scraped off the excess egg liquid on the side of the bowl, and gently brushed on the protruding part of the moon cake pattern. Here is a reminder not to use a silicone brush. If it is too large, use that kind of wool brush
15.
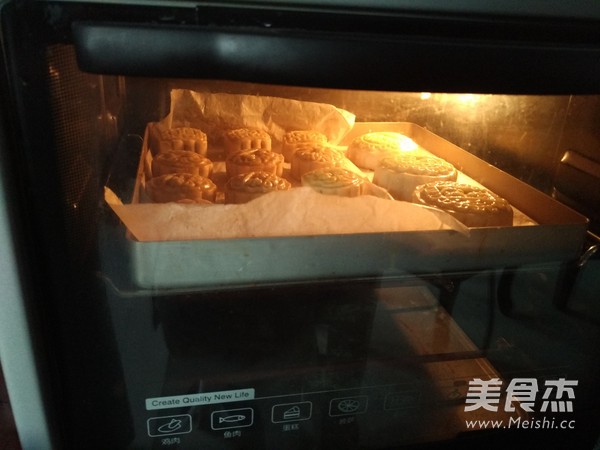
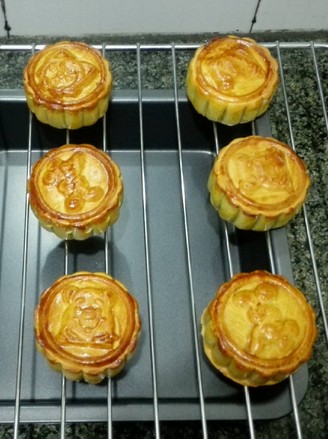
After brushing the egg liquid, turn the heat to 180 degrees and bake for 15 minutes, and then take it out in the middle to brush the egg liquid, or you don’t need to brush the egg liquid again
Tips:
1. The egg liquid must only be brushed on the raised areas of the pattern, and the egg liquid should not be too thick each time, otherwise the egg liquid will block the pattern and the baked moon cake will have no lines.
2. Do not move the baked mooncakes to the baking net immediately, otherwise the bottom will be easily deformed, it is best to wait for it to cool down before moving
3. After the mooncakes are air-dried, they can be sealed and stored, and the oil can be returned at room temperature. The oil return is to make the mooncake skin soft.
4. The skin of the newly baked mooncake is very hard, and it will be soft and delicious after 1-2 days of oil return. It must be dried and sealed, otherwise the mooncake in the bag will easily deteriorate.

