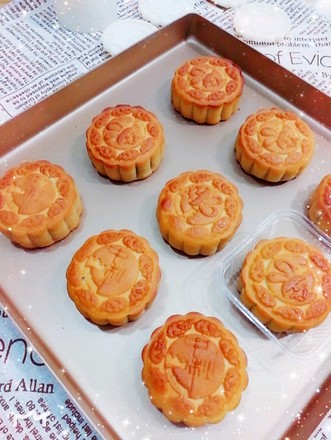
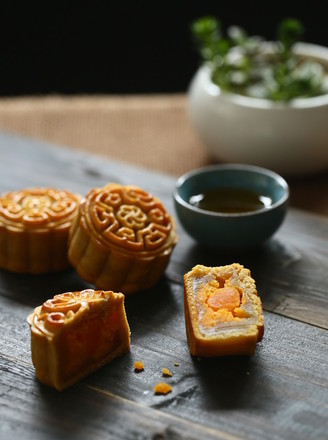
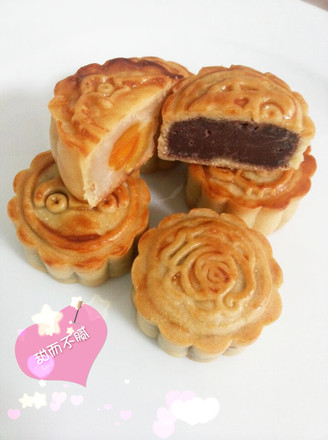
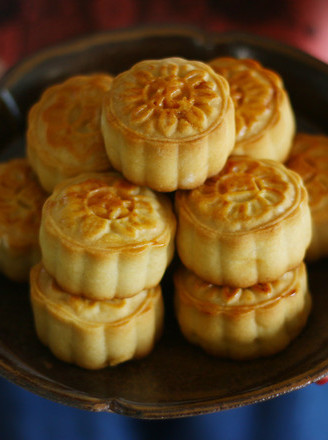
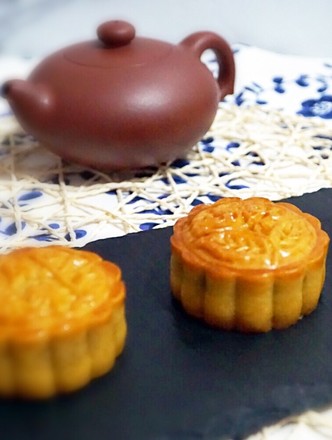
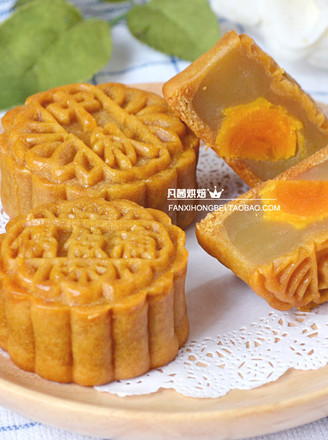
Cantonese-style Moon Cakes ~ Three Flavors
1.
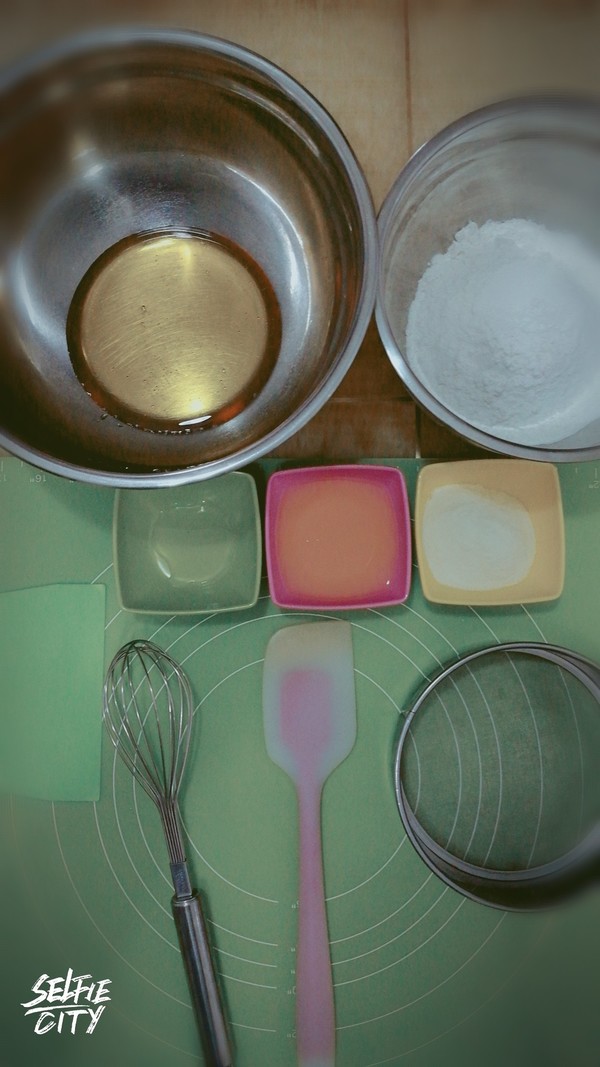
Material preparation
2.
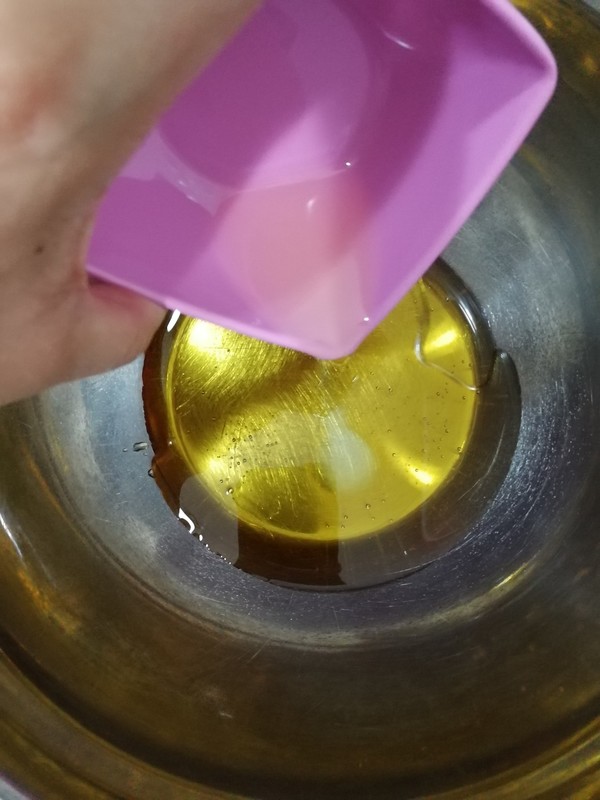
Put invert syrup, soap and peanut oil in a clean basin without water, the order does not matter.
3.
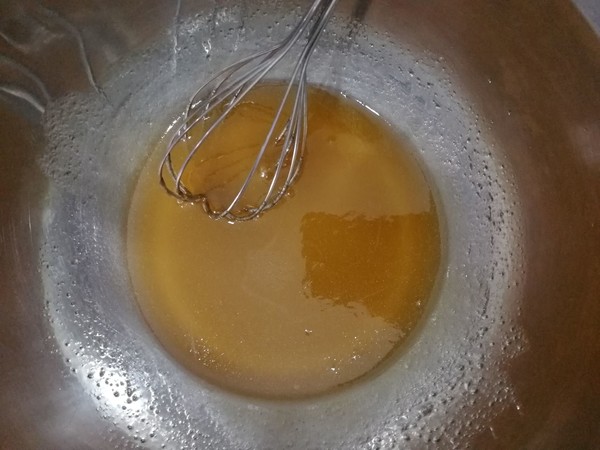
The whisk is evenly beaten when received, and the technique is not particular.
4.
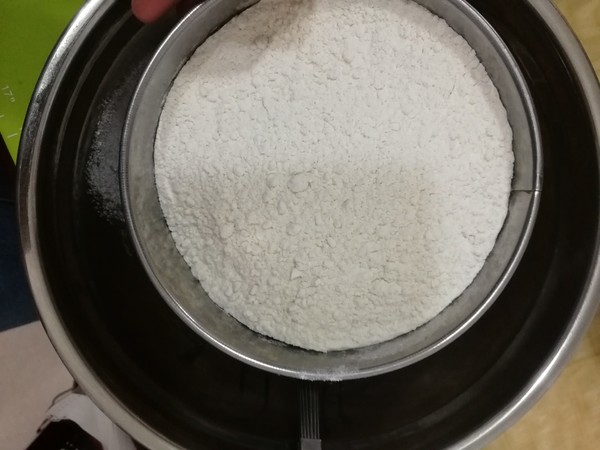
Sift in all-purpose flour and milk powder. Stir evenly with a silicone spatula. You can also wear pvc gloves. Knead a little to form a dough and knead the powder evenly. It does not need to be kneaded for too long.
5.
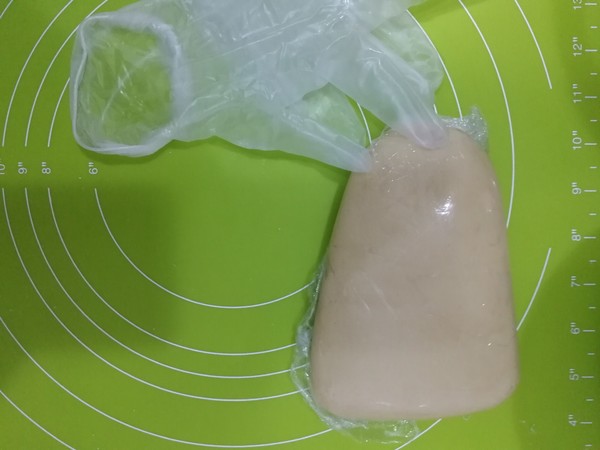
Wrap the kneaded dough in plastic wrap, or put it in a basin and cover it with plastic wrap, and let it rest for 2 hours.
6.
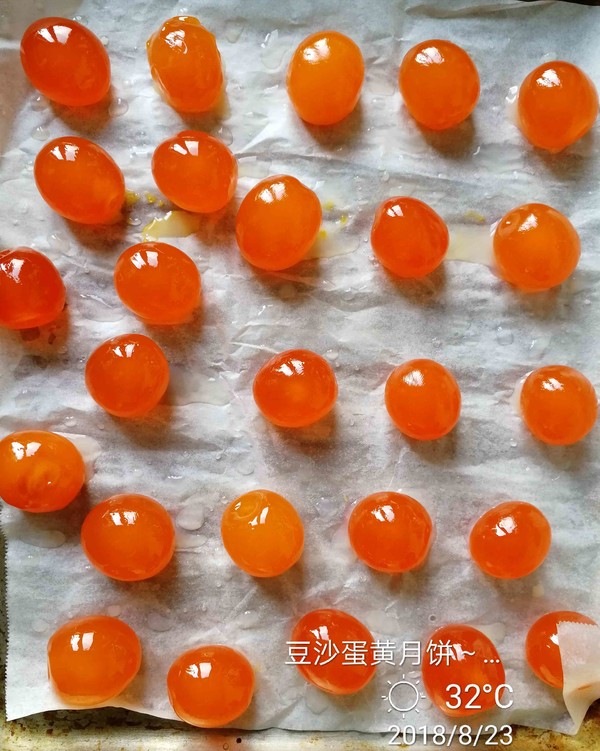
Knock out the raw salted duck eggs, take the egg yolk, and take care to remove the film on the outside of the egg yolk, otherwise it will be fishy. Arrange into the baking tray, spray a little white wine, and bake at 180°C for 5 minutes without preheating the oven. You can also directly produce it. I am used to baking it. Bake and cool for later use.
7.
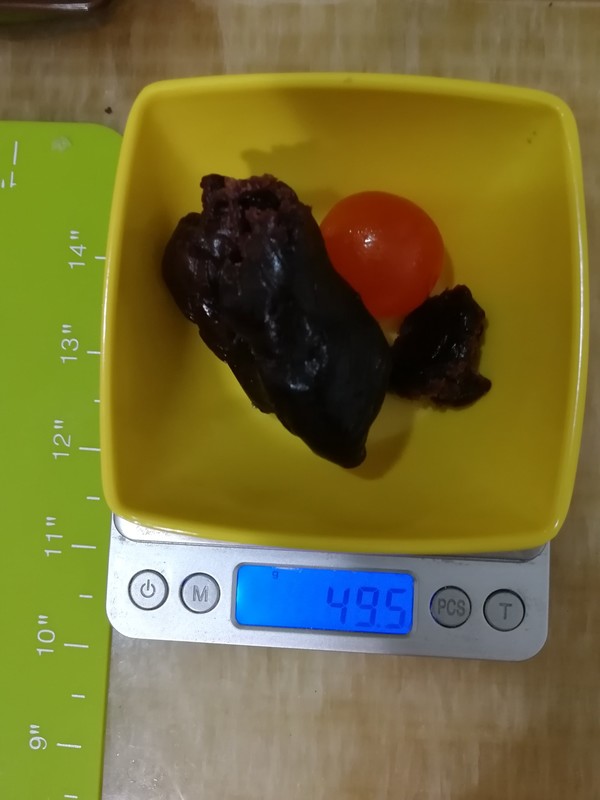
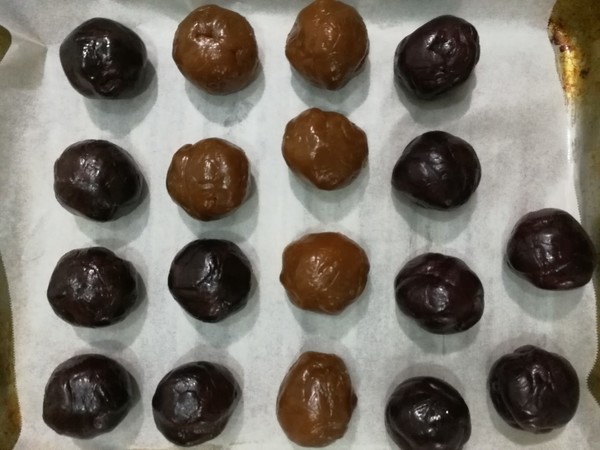
Fillings. I use an intermediate ratio of 3:7 and 4:6 for the cake crust (75 g moon cake, 25 g crust, 50 g filling). Weigh the lotus seed paste or red bean paste directly with the egg yolk, a total of 50 grams.
8.
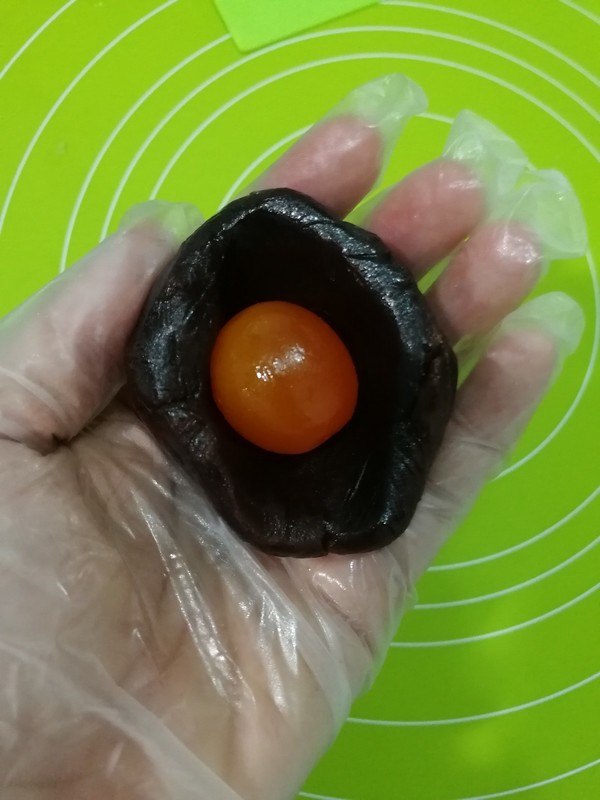
The lotus seed paste or red bean paste needs to be squashed first, put on the egg yolk, press the egg yolk with the thumb of the left hand, and slowly turn the tiger's mouth with the right hand to gather it up, and rub it into a circle for later use.
9.
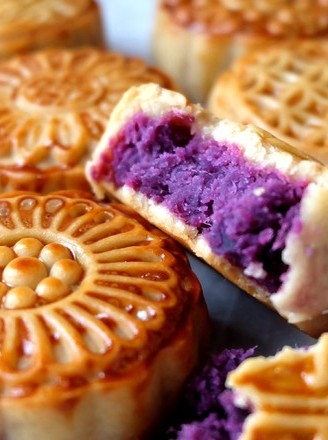
The purple sweet potato is weighed 50 grams without adding egg yolk, and rounded. Knead them all together and arrange them with plastic wrap for later use.
10.
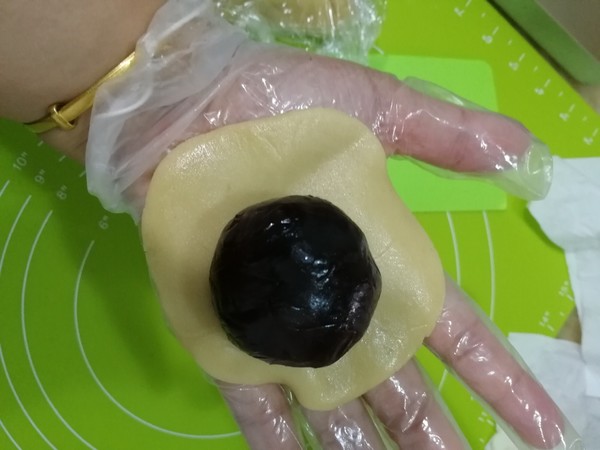
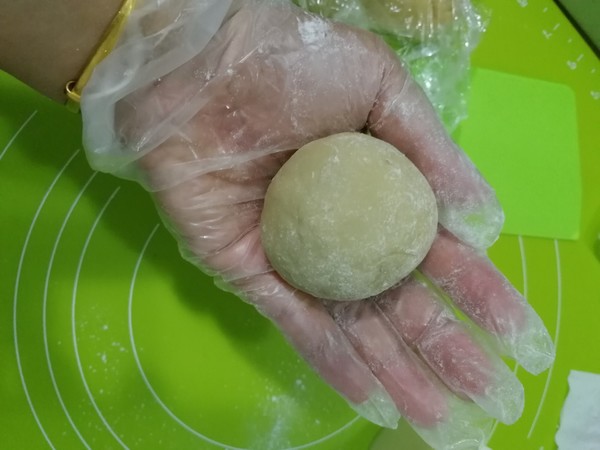
After soaking up the noodles, divide the crust into 24-25g each (the recipe can make 17-1875g moon cakes, I divided the crust into 18 equally). Take a pie crust, knead it a few times and knead it evenly, round it, press it directly with the palm of your hand, thin it, and make it as round as possible, as shown in the figure, and put the filling ball on it.
11.
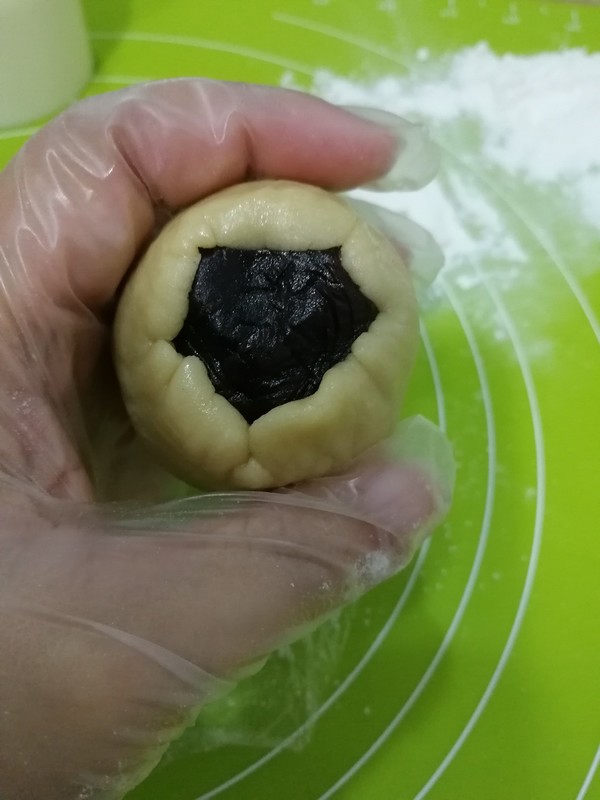
Novices can turn over the whole, with the skin on top, gently press the skin on the filling ball to collect it, then turn it over, press the filling ball with the thumb of the left hand, and slowly turn the tiger's mouth with the right hand to close it up, close the mouth, and round it. .
12.
Roll in a little all-purpose flour, and rub the flour on the surface with your hands. No obvious dry powder can be seen on the surface.
13.
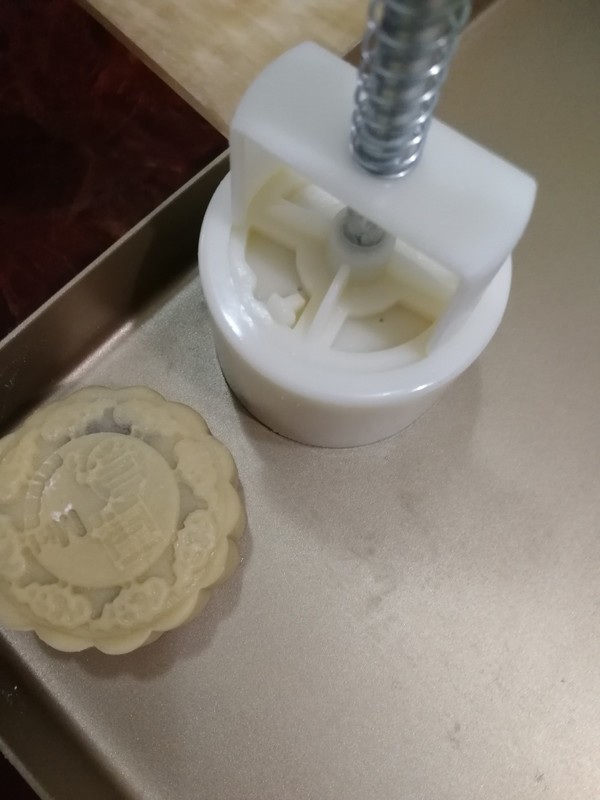
Put it into the moon cake mold and directly press it on the right place on the baking tray, try not to move it, it will be deformed by accident. During this period, you can preheat the oven at 210°C up and down for about 10 minutes, and the specific temperature can be adjusted according to your own oven.
14.
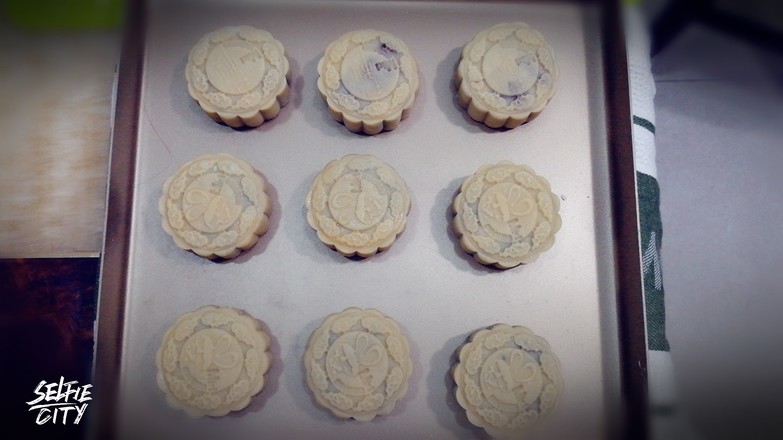
Wrap it and spray a little water from a small watering can to prevent cracking. Put it into the preheated oven and bake at 210℃ for 8 minutes to set the shape.
15.
Prepare a small bowl. Add egg yolk and a teaspoon of water, and mix well.
16.
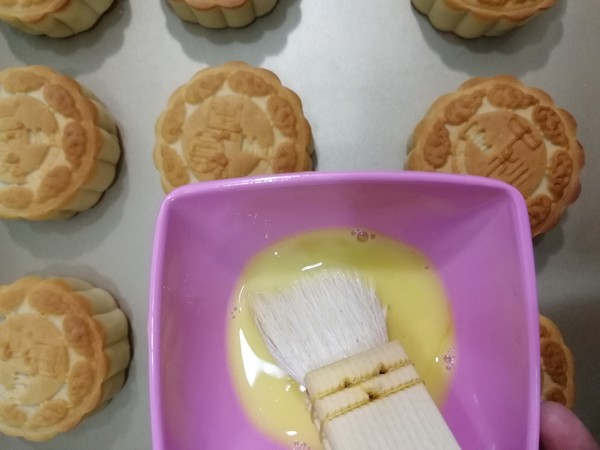
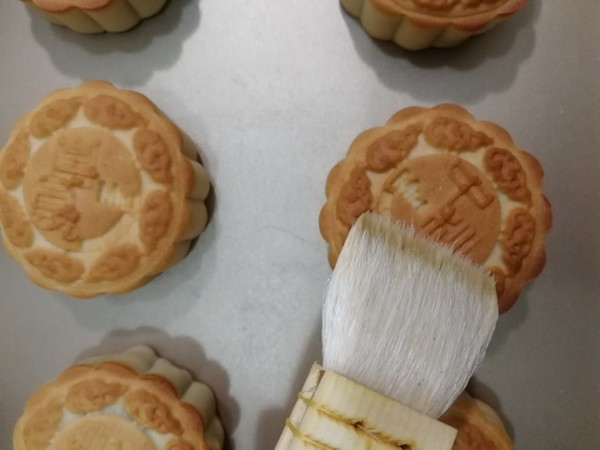
After the shape is finished, take it out, dip the brush into the egg liquid, and scrape off the excess egg liquid on the side of the bowl, as shown in the figure, it must be less. Brush lightly along the mooncake lines evenly, making sure to be small and even. After brushing, continue to bake, turn at 170°C and bake for 8-9 minutes. The surface is golden yellow.
17.
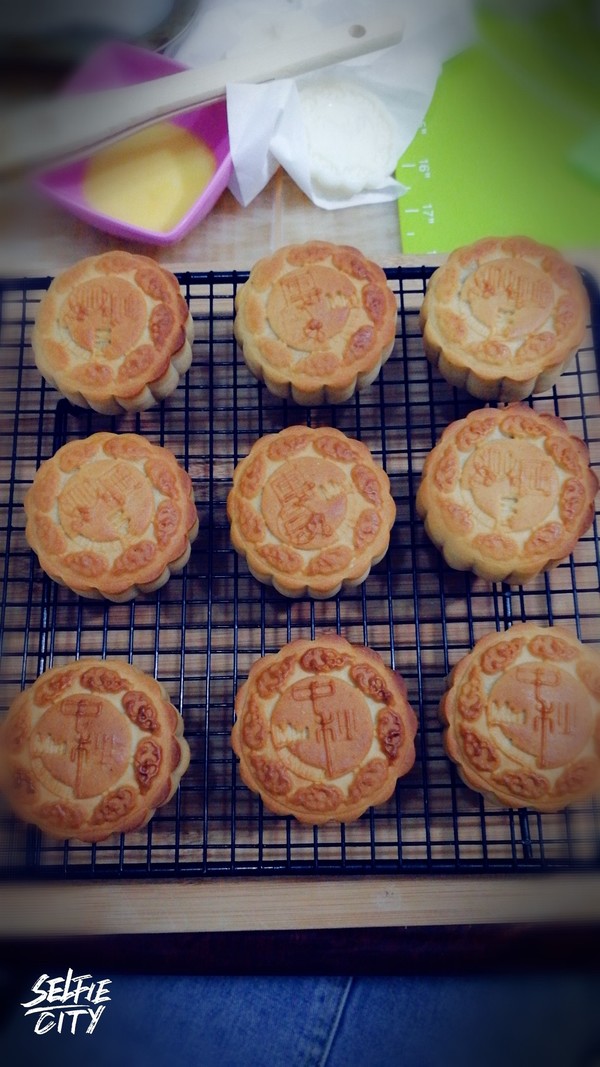
Come out cold. Then you can seal it and wait for the oil to return before eating! It is very soft right out of the oven, wait until it cools and hardens before moving. Tasting is not recommended at this time, the crust is very hard.
Tips:
1. The commercially available fillings are preserved in plastic with deoxidizer. The shelf life is more than 10 days. There is no problem. The shelf life of self-frying is slightly shorter. \n2. There are no specific environmental requirements for oil return, depending on personal habits. \n3. The salted duck egg yolk is delicious.

