Caterpillar Bean Paste Bread
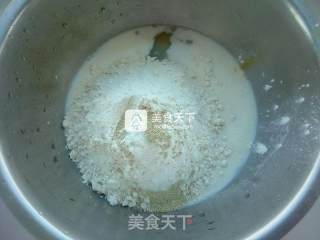
1. Put milk, sugar, salt and egg liquid in a basin
2. Add high-gluten flour and yeast
3. Stir it with chopsticks into a snowflake shape
4. Knead the dough by hand for about ten minutes. It will be very sticky at first, but it will become smooth after a while. I don’t have a bread machine and knead it by hand.
5. Add the softened butter and continue to knead the dough for more than ten minutes
6. Knead it into a glove film that is not easy to tear (I knead it for more than 20 minutes in total)
7. Put it in a basin, cover tightly, and ferment naturally in a warm place. The time depends on the temperature.
8. Fermented to double the size, insert a hole in the middle with your fingers, do not rebound or shrink, it is ready
9. Knead the fermented dough fully and let it exhaust, then wake up for 15 minutes, cut it into a uniform agent, knead it into a ball, the size depends on your preference (I divide it into 16)
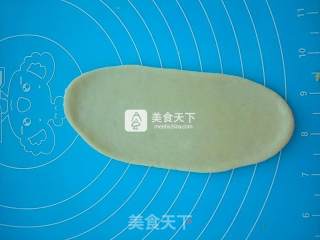
10. Take a small dough and roll it into an oval shape
11. Topped with red bean paste
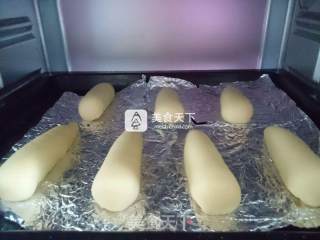
12. Roll it horizontally from one side to the other, pinch the joints tightly on the bottom, and arrange them into the shape of a big caterpillar with a pointed end.
13. Spread tin foil on the baking tray, put in a certain distance, put it in the oven for second fermentation, put a cup of hot water in the middle to prevent drying
14. Now let’s make the pastry, add butter in the water and heat it to a boil
15. Add low-gluten flour and stir quickly
16. Stir until there are no particles, and cool
17. Add the egg liquid in batches and stir evenly. In order to make it more delicate, I sifted through a sieve
18. Take out the finished bread dough, brush the egg liquid, put the dough crisp into a disposable table flower bag, I replaced it with a fresh-keeping bag, and cut a small mouth at the tip
19. Squeeze the bread dough into the shape as shown in the figure (S shape)
20. Dip your eyes with sesame seeds, and preheat the oven up and down at 180 degrees, and the surface will be colored for 15 minutes.
21. After being out of the oven, put it on the drying rack to cool, and store it in a fresh-keeping bag after cooling.
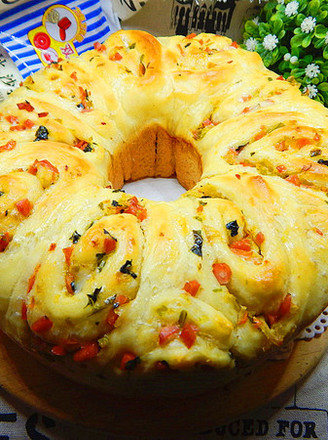
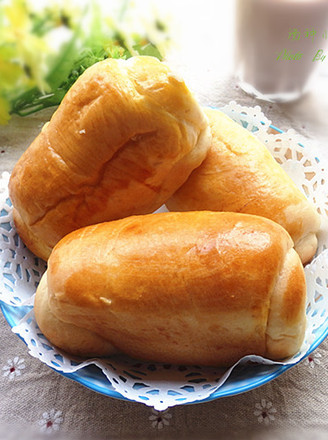
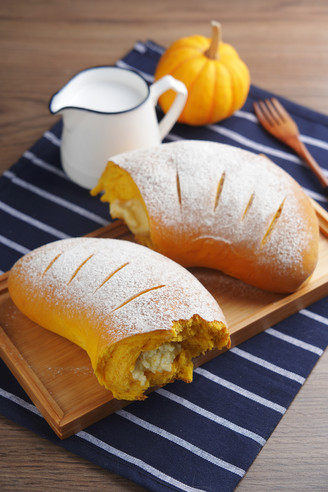
22. Finished picture, fat, soft, cute look
23. Finished picture
Tips: The temperature of the oven can be determined according to the situation of your own home, and you can just color it, and the filling of the bread can also be added according to your own preferences.


 Buy on JD
 Buy on Amazon