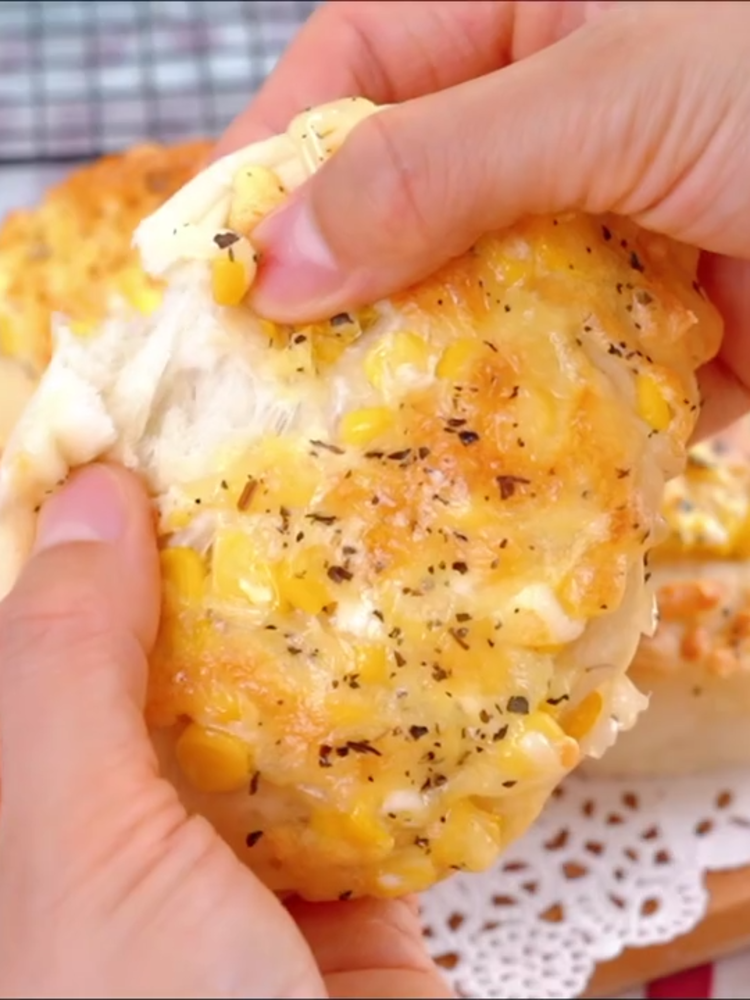
Cheese Bacon Savory Bread
1.
In addition to the butter, pour all the raw materials of the dough into the bread bucket of the Dongling bread machine. Take care not to directly contact the yeast with salt and sugar, and start a dough mixing program.
2.
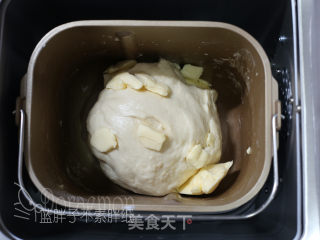
After 10 minutes, the dough can be pulled out of a thick film, add softened butter, and continue the dough mixing process for 15 minutes.
3.
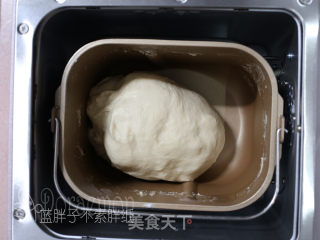
Until the dough is smooth and soft.
4.
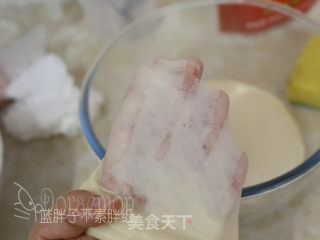
The film can be pulled out, no glove film is required.
5.
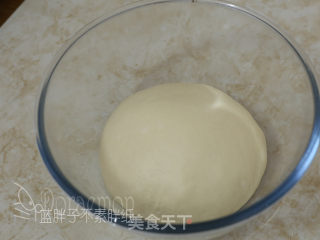
. Coat a thin layer of salad oil in the egg-beating bowl to prevent sticking, put in the dough, cover with plastic wrap and ferment in a warm place until the dough doubles in size, which takes about 60 minutes.
6.
Prepare the filling while the dough is fermenting. Cut the cheese slices into small pieces.
7.
The bacon is also cut into small dices.
8.
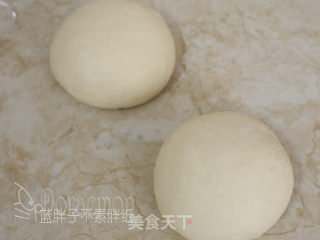
Vent the fermented dough and divide it into 2 portions. Round the dough, cover it with plastic wrap, and let it rest for 15 minutes.
9.
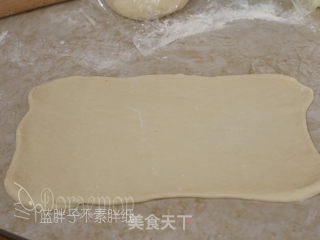
Roll the loose dough into a rectangle with a rolling pin.
10.
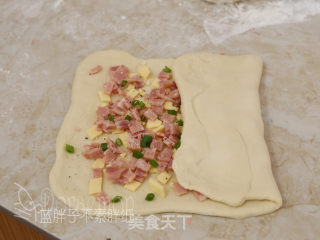
Put bacon, cheese and chives on 2/3 of the dough, and finally sprinkle with black pepper and cheese powder.
11.
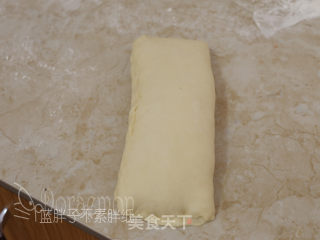
Fold the dough in 3 from right to left.
12.
Pinch tightly at the closing.
13.
.Cut the dough into three strips with a scraper, taking care not to cut the top.
14.
.Weave the noodles into braids, pinch the bottom tightly, and stretch it to be about the same length as the mold.
15.
Put the dough in the mold. This is done for both doughs.
16.
The shaped dough is sent to the oven and fermented for 30 minutes until the dough has doubled in size.
17.
Finally, put the fermented dough into the preheated oven, and bake for 20 minutes at 175 degrees Celsius.
18.
The toasted bread is immediately demoulded and placed on the grill to cool.
19.
Finally, slice and eat.
Tips:
1. The amount of water in the dough should be adjusted according to the absorbency of the flour.
2. The temperature and time of baking are adjusted according to your own oven.
3. The amount of recipe can make 2 small pound cake molds.
4. After braiding the braid, remember that the upper and lower ends of the interface must be tightened.


