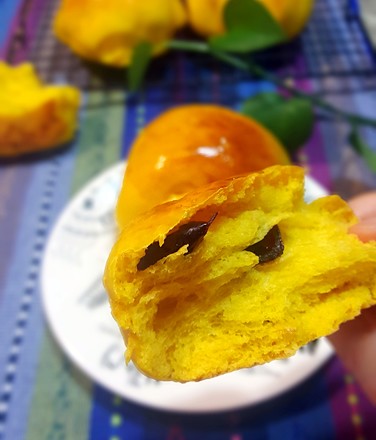
Chocolate Cheesecake
1.
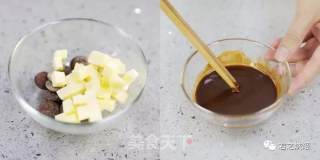
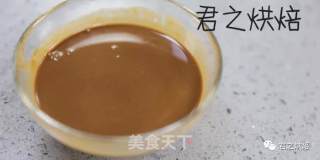
First make the chocolate cake. Put the dark chocolate (I used button-shaped dark chocolate, if you use block dark chocolate, you need to chop it) and cut into small pieces of butter in a bowl, microwave it (or heat in insulated water) Bring to a sufficient temperature and keep stirring until the butter and chocolate have completely melted into butter and chocolate liquid.
2.
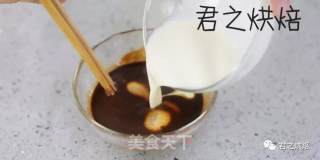
Add whipped cream at room temperature to the butter and chocolate liquid (take out the whipped cream in advance to warm up).
3.
Stir thoroughly and let the resulting chocolate mixture stand for later use.
4.
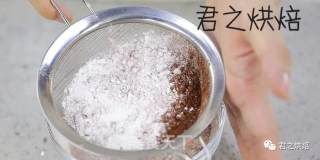
Mix low-gluten flour, cocoa powder, and baking powder evenly and sieve for later use.
5.
Then beat the whole eggs (the eggs should also be brought out in advance to warm up). Pour the whole egg liquid into a large bowl, add half of the confectioner's sugar, and use the 2nd level of the egg beater of the King Baker to beat. The 75 grams of whole egg liquid in the formula requires about 1 and a half eggs (take two eggs and beat them and then weigh out 75 grams).
6.
As the whisking progresses, the egg liquid will gradually become fluffy and thick. Add the other half of the caster sugar and continue to beat. Beating whole eggs is more time-consuming than whisking the egg whites alone. It requires a little patience (whole eggs are easiest to be beaten at about 40℃. If you want to beat faster, you can sit in the egg beater in hot water and heat the egg liquid temperature. Send it to about 40°C).
7.
Whip until the egg liquid becomes very fine and thick, turn off the whisk and lift it up, the dripping egg liquid will not disappear immediately (usually we can draw a "8", if we can draw a clear figure 8 , It means that the degree of egg liquid is enough to beat). The entire process may take 8-10 minutes.
8.
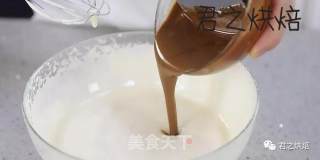
Pour the previously prepared chocolate mixture into the beaten egg.
9.
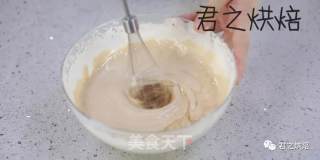
Continue to beat for about 1 minute, until the egg and chocolate are well mixed.
10.
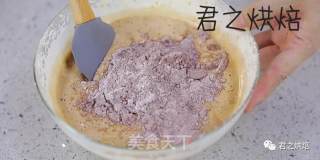
Add the sifted flour mixture and mix well with a spatula. When mixing, try to mix quickly and drastically to ensure that the powder and egg liquid can be mixed evenly faster. Avoid prolonged stirring to cause defoaming.
11.
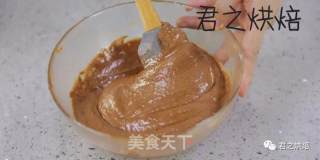
After mixing, you get such a uniform and delicate cake batter (if the batter becomes thin, or the texture is rough, and bubbles continue to appear, it means that the egg liquid is not in place or defoaming. The cake will be rough and not soft. Try to avoid this. This happens). The mixed batter cannot stand and needs to be baked as soon as possible (you can preheat the oven before mixing the batter).
12.
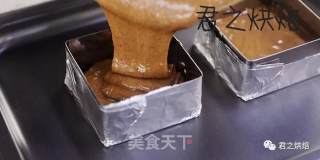
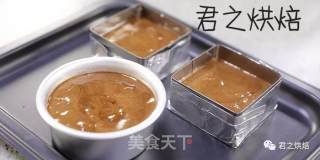
Pour the batter into the mold. This recipe can be baked in a 6-inch round mold. And what I used is 2 small square mousse rings (diagonal length is 4 inches, the bottom is wrapped in tin foil) + 1 4 inch round mold.
13.
Put it into the middle layer of a preheated oven at 180°C and bake for 25 minutes until it is completely fluffy. Put a toothpick into the center of the cake. The toothpick that has been taken out has no residue, which means it is cooked. If it is a 6-inch round mold, bake it at 175°C for 35-40 minutes. The baked cake will be removed from the mould after cooling.
14.
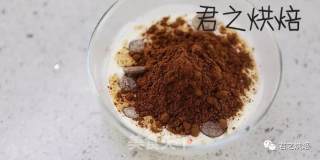
Make chocolate cheese filling. First take 60 grams of whipped cream, add 50 grams of dark chocolate (the button-shaped chocolate I used, and the block-shaped dark chocolate needs to be chopped), and 10 grams of cocoa powder. Heat in insulated water (or microwave oven) and stir until the dark chocolate is completely melted.
15.
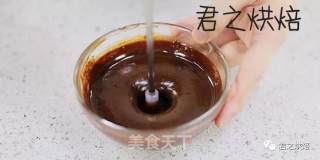
After the chocolate has melted, use the homogenizing stick of the Jun Baker to beat the mixture at high speed for 1-2 minutes (the purpose of this step is to make the cocoa powder evenly blend into the mixed liquid without causing lumps and particles. If you don’t have one If you want to use an egg beater, use a spatula or other mixing tools to mix as much as possible for a while). After stirring, cool to room temperature for later use.
16.
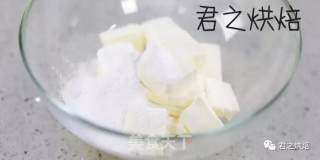
Cut the cream cheese into small pieces and leave it at room temperature for 20 minutes. After it has softened slightly, add the powdered sugar.
17.
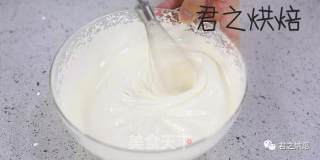
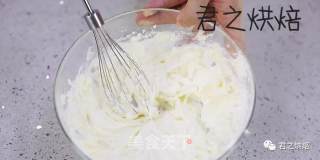
First press and mix with a spatula to make the powdered sugar and cream cheese mix evenly (so that the powdered sugar will not splash during the next whipping), and then use a whisk to beat from the surface first, and then slowly deepen , Whisk the cream cheese until it is smooth. (Please pay attention to the friends who use the Jun baking whisk. In the picture I used a long whisk, but in fact, the cheese filling is made with a lantern-shaped milk whisk. better result).
18.
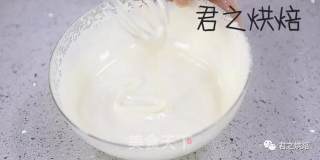
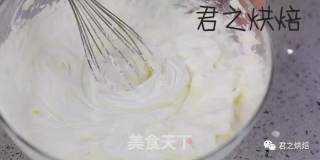
Add the remaining whipped cream in portions (100 grams, use the low-temperature whipped cream just taken out of the refrigerator, don't warm it up in advance). And continue to beat evenly. If the cheese filling becomes thin during the process, you can put it in the refrigerator for a while. When the temperature drops, take it out and continue beating until thick.
19.
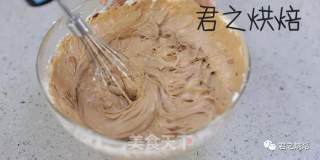
Finally, add the previously prepared chocolate whipped cream mixture and rum (the rum is used to increase the flavor and relieve the greasy, and you can leave it), and beat evenly, and the chocolate cheese filling is ready. If the room temperature is higher, the cheese filling will be very soft. At this time, put it in the refrigerator to make it thicker and use it later.
20.
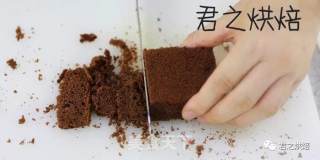
The final assembly of the cake is very simple. Take the cake baked out of a square mousse ring as an example: the baked cake is removed from the mold and the top is flattened. Then cut off a small piece on each of the four sides to make it a circle smaller than the mold.
21.
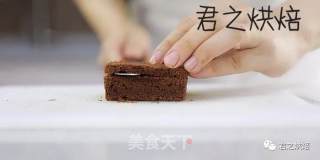
Then cut the cake horizontally into 3 slices.
22.
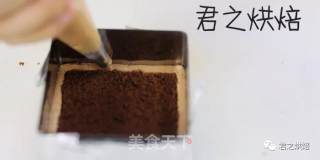
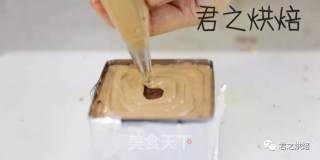
Spread a piece of cake on the bottom of the mousse ring, put the chocolate cheese filling into the squeezing bag, squeeze a circle around the cake slice, and fill the mold.
23.
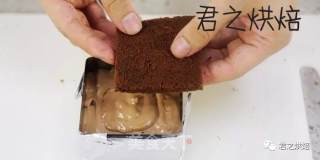
Then squeeze the chocolate cheese filling evenly on the cake slice, and then put the second cake slice.
24.
Stuff it evenly with chocolate cheese filling again (Although I cut three slices of cake, I used 2 slices in total, otherwise it would be too thick).
25.
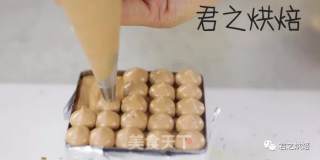
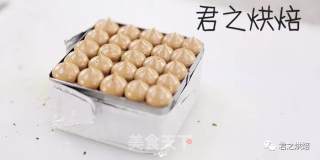
Finally, use a round hole decorating nozzle to extrude a small ball on the surface as a decoration.
26.
Put the assembled cake in the refrigerator overnight (for 8 hours, put a cake box lid on the cake to avoid the smell in the refrigerator and the surface from drying out). Then demould and cut into pieces. When demolding, blow on the outside of the mold with a hair dryer to demold (or cover it with a hot towel). Before eating, sift a layer of cocoa powder on the surface for decoration.
27.
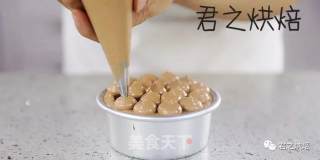
This is a cake made with a 4-inch round mold. The cake should also be cut a circle first to make it a circle smaller than the mold. It was cut into 4 pieces, and 3 pieces were actually used.
28.
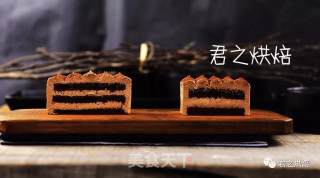
As shown in the picture. On the left is a 4-inch round mold with 3 slices of cake in the middle; on the right is a 4-inch square mousse ring and 2 slices of cake in the middle (Why are all 4-inch mousse rings smaller than the round mold? That’s because of the square mousse. The 4 inches of the circle refers to the length of the diagonal).
29.
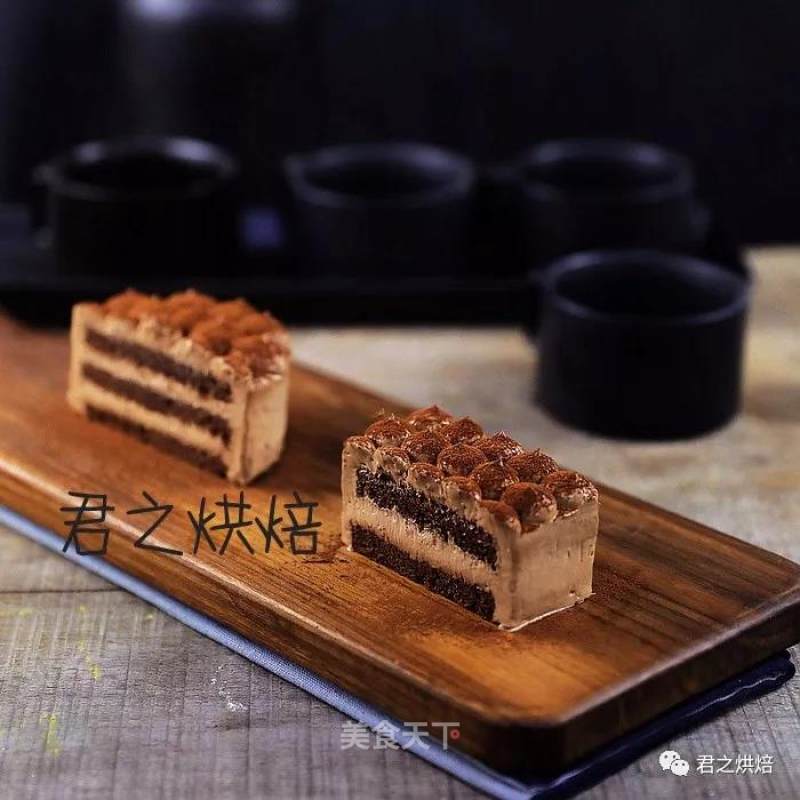
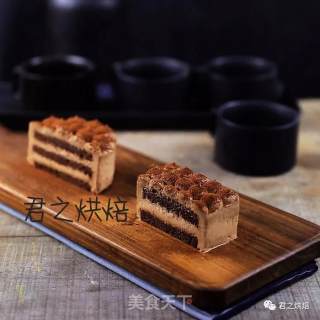
Finished picture.
Tips:
1. This formula can make one 6-inch round mold or several small molds. Whether it is made with a small mold like me or a 6-inch round mold, the process is the same. For the final cake, we need to cut a circle to make it smaller than the mold in order to make the cake shape with the outer layer covered with cream through the mold. The slices of the cake should be sliced thinner for a better taste. Usually a large cake can be cut into 4-5 slices, but in fact only 3 slices are enough. Just eat the rest of the cake.
2. After the cake is ready, keep it in the refrigerator for a long time, and don't eat it in a hurry. This allows the moisture and flavor of the chocolate cheese filling to slowly penetrate into the cake slice, making the cake slice more moist and delicious, the cheese filling harder, and the two flavors blend better.
3. The cake needs to be kept in a refrigerator and sealed and eaten within 3 days.



![Seasonal Vegetable Patties [baby Food Supplement] recipe](https://img.simplechinesefood.com/02/024b910033009872aea33017c755a377.jpg)
