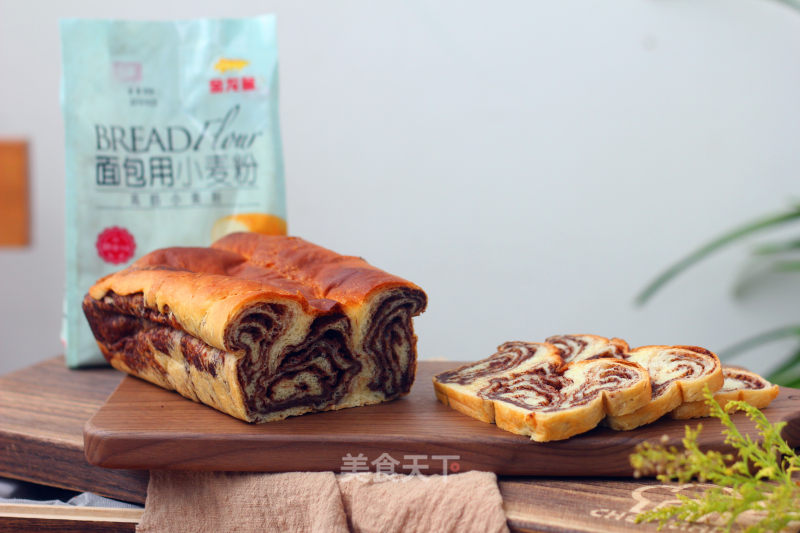
Chocolate Walnut Bread
1.
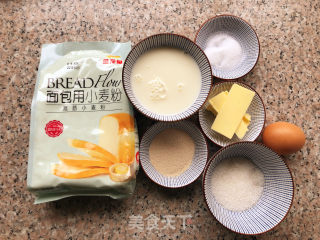
Prepare ingredients. Portion of dough.
2.
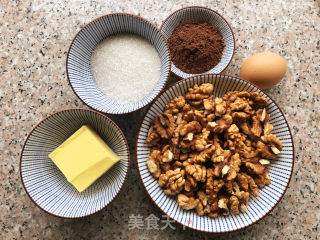
The stuffing part.
3.
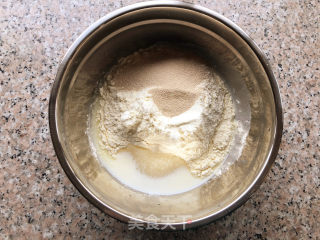
Put all the dough ingredients except butter in a clean container. It is best to use a bread machine or a cook machine. Stir it at low speed for about 15 minutes. The dough will be smooth and elastic.
4.
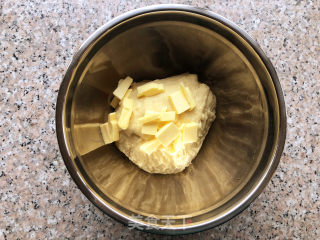
Add the diced butter and continue to knead the dough.
5.
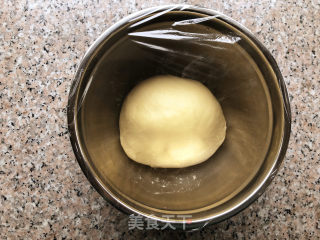
Knead for 8-10 minutes. The dough is out of the mold and the surface is very smooth. Put the dough in a container, cover with plastic wrap, and leave it in a warm place to ferment.
6.
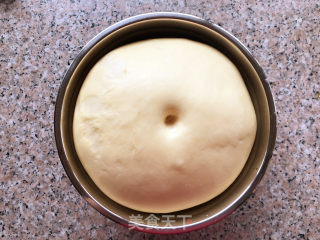
When the dough rises to twice its size, use your index finger to dip dry flour and poke a hole in the middle. If the hole does not shrink, the dough is well developed.
7.
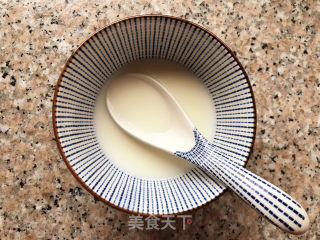
In the space for the dough, let's make the filling and prepare the milk.
8.
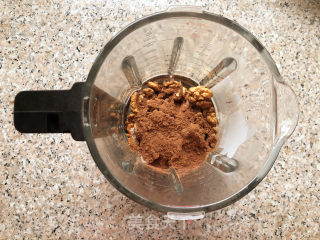
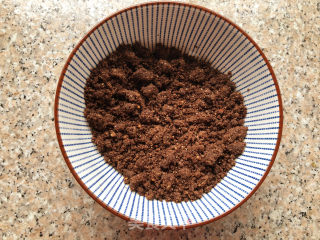
Walnut kernels, cocoa powder, and white granulated sugar are put in the wall breaking machine and beaten into sand particles.
9.
Pour out and set aside.
10.
Mix butter with milk, melt in water, or heat it in the microwave until it melts.
11.
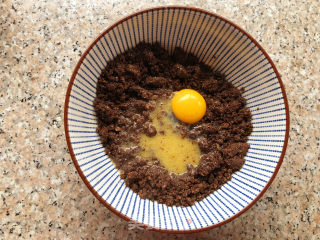
Pour the butter and milk mixture in the walnuts and add an egg yolk.
12.
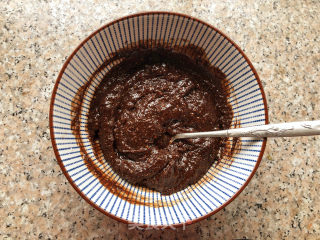
Stir well and set aside.
13.
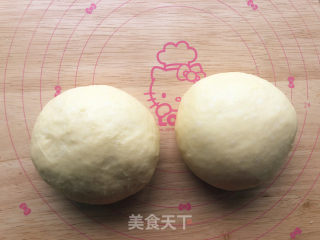
The dough is divided into two and vented.
14.
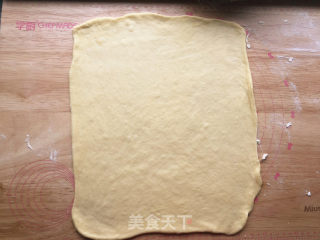
Roll the dough into a dough of about 30*40,
15.
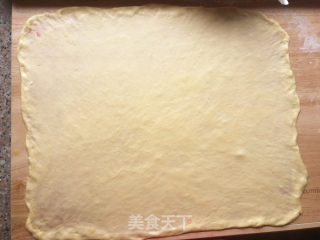
Spread butter, stretch your hands under the dough, and slowly stretch the dough, the thinner the better.
16.
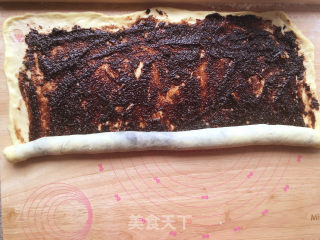
Spread the filling evenly with a spatula. Roll up from the bottom end.
17.
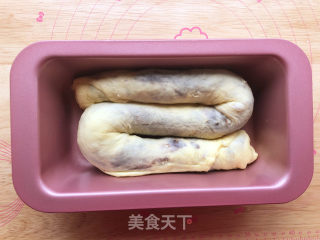
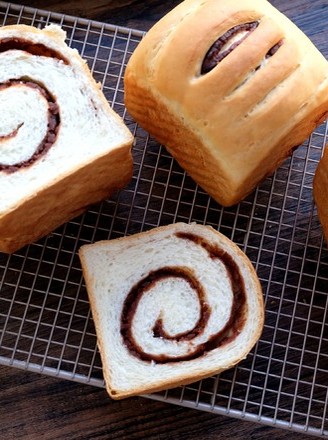
The rolled-up long rolls are randomly placed in the mold. I used two small square toast molds and one long cake mold.
18.
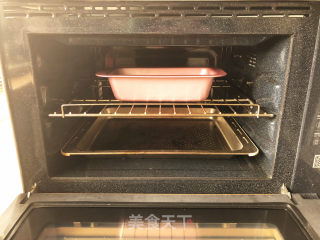
Put it in the oven, put a pot of hot water under the oven, and ferment it twice.
19.
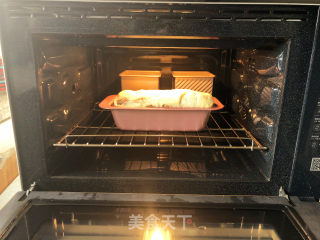
Preheat the oven up and down at 180 degrees, and put the bread in the preheated oven.
20.
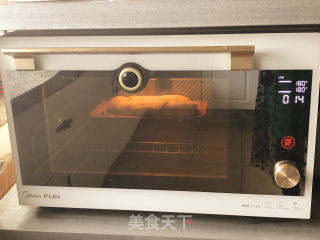
Bake at 180 degrees for 15 minutes.
21.
Reduce the oven temperature to 150 degrees and bake for another 30 minutes. Remember to stamp tin foil in the middle.
22.
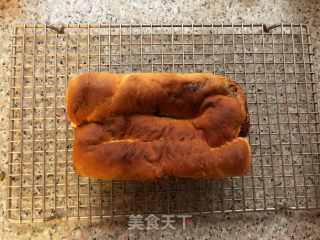
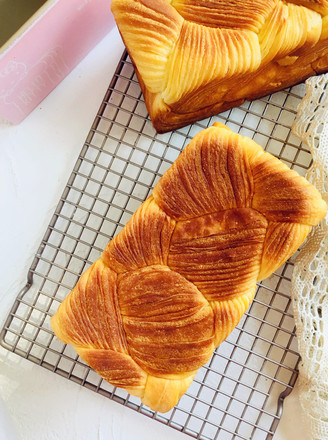
Take out the toasted bread and put it on a drying net to dry. slice.
Tips:
1. The thinner the dough is stretched, the better, so that the layers will be richer.
2. It doesn't matter if it is broken, just roll it up.
3. The shape and the mold do not matter, just roll it up and put it in the mold at will. There are no restrictions on round, square, and rectangular shapes.
4. The water absorption of each brand of flour is different. Add or subtract liquid according to your own flour situation. The bread flour of Arowana I used, 300 grams of flour is just right with an egg of more than 50 grams and 150 grams of milk.
5. The temperature of each oven is also different. Control the temperature according to the actual situation of your own oven. Remember to cover with tin foil in the middle.

