Christmas Icing Cookies
1.
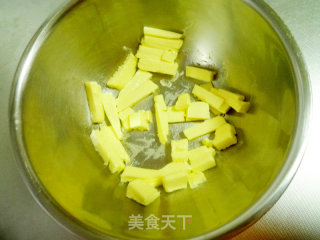
The butter softens at room temperature.
2.
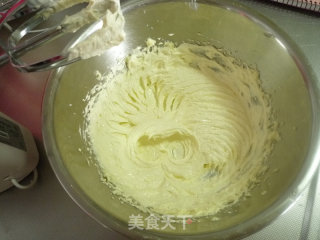
Add caster sugar and beat until the color is whitish and fluffy.
3.
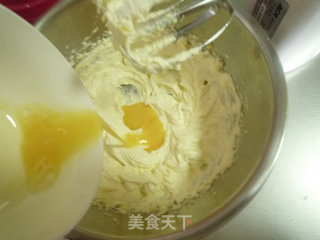
Add the egg liquid in 3 times, and add it after fully absorbed each time.
4.
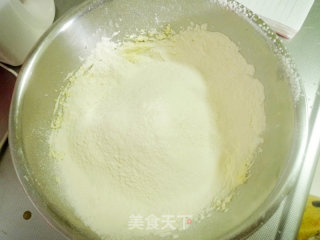
Sift in low flour and baking powder.
5.
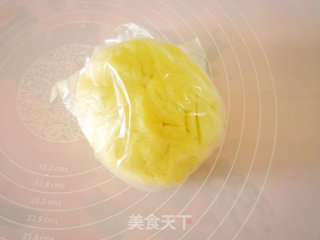
Stir it with a spatula, wrap it in plastic wrap, and keep it in the refrigerator for 1 hour.
6.
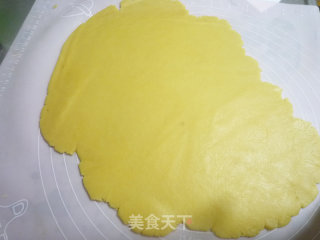
After taking it out, gently press the flat dough with your hands, cover it with a layer of oily paper or plastic wrap, and roll it into a sheet of about 3mm with a rolling pin.
7.
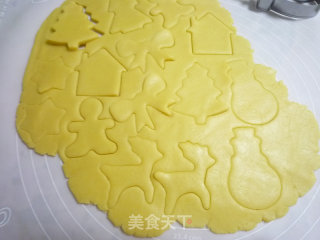
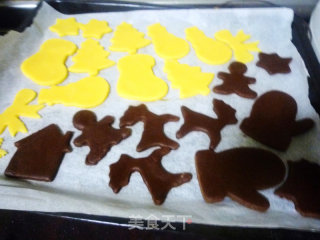
Use a mold to press out the shape.
8.
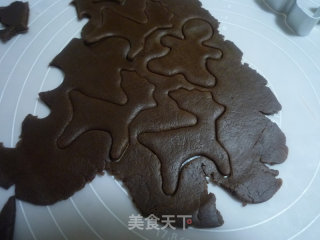
I temporarily took another dough and knead it into the cocoa powder, and also flattened it out with a mold to carve out the shape.
9.
Put it in a baking tray lined with greased paper, of course, it won't fit on a plate.
10.
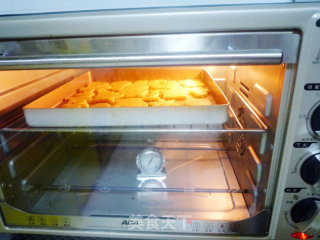
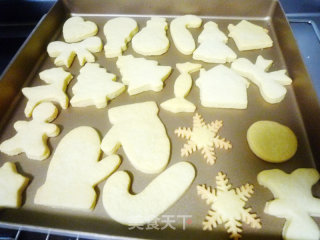
Preheat the oven, 180 degrees, middle level, bake for 12-15 minutes.
11.
Just paint the edges slightly, let cool and set aside.
12.
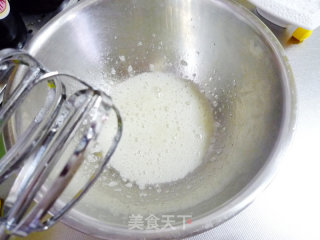
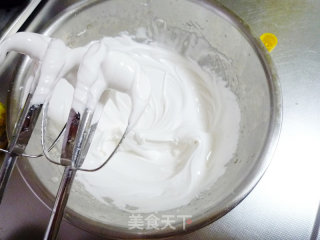
Add a few drops of lemon juice to the egg whites and then add powdered sugar in batches. For the first time, use an electric whisk to beat them evenly.
13.
Beat until the icing is smooth and shiny, and lift the whisk to a triangle shape.
14.
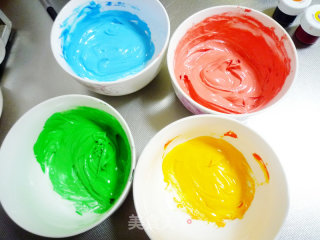
Adjust to the desired color.
15.
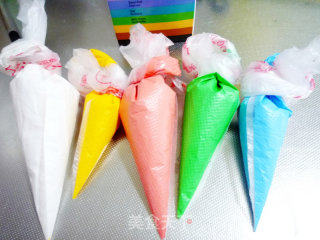
Put in a piping bag
16.
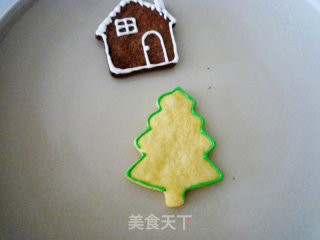
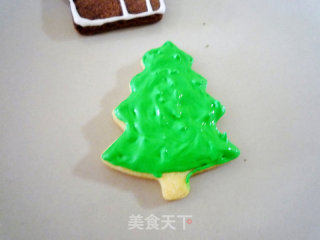
Start drawing the cookies, first outline the outline.
17.
Slowly fill in the middle.
18.
If you want to paint another color on it, let the background color dry for a while before painting. If you want to paint this kind of stripes, it is the same. First paint one color, and then paint another color after drying, otherwise it will be mixed together and the outline will be unclear.
19.
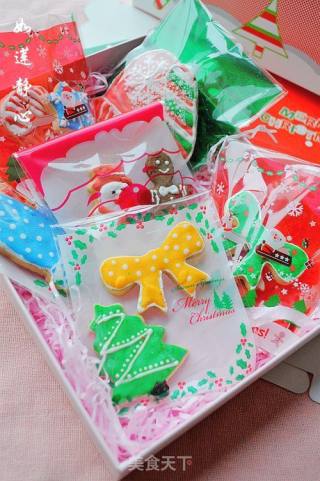
Finished product.
20.
Wrap it into a small bag and give it as a gift!
Tips:
The icing should be beaten until the icing is smooth and shiny, and the head of the whisk is lifted to form a long triangle shape. Don't be too dry, it will be piled up on the biscuits at that time, too runny will not work, there will be foam after drying.
If you don’t make too many biscuits, just use half of mine.




![Seasonal Vegetable Patties [baby Food Supplement] recipe](https://img.simplechinesefood.com/02/024b910033009872aea33017c755a377.jpg)
