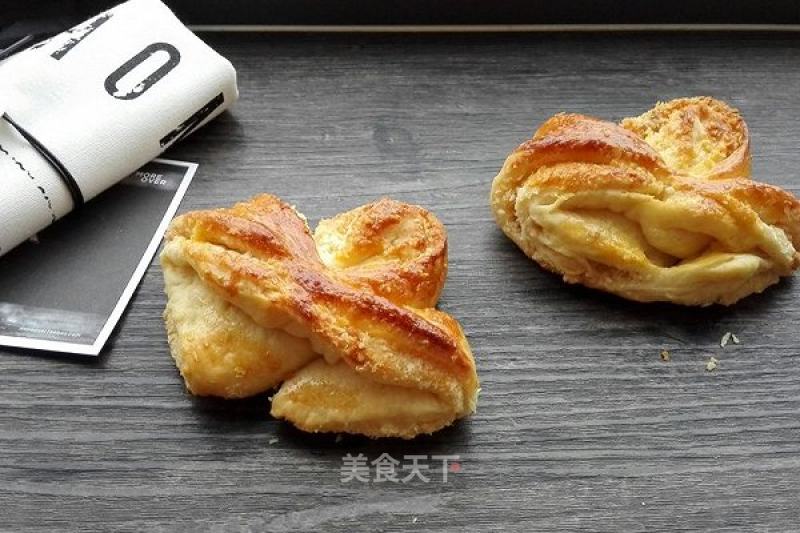
Coconut Butterflies
1.
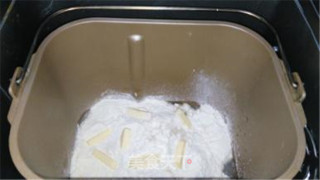
Put all the ingredients in the dough material into the bread machine in the order of liquid first and then powder. If you like the oil method, put butter according to your preference.
2.
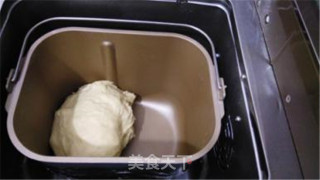
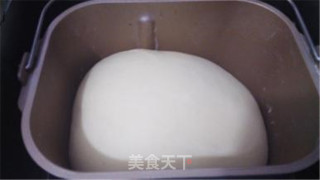
After kneading the noodles, select the fermentation program, the default fermentation is 20 minutes
3.
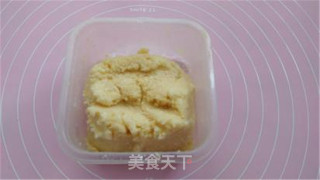
Prepare coconut filling during dough fermentation
4.
Turn off the bread and take out the dough
5.
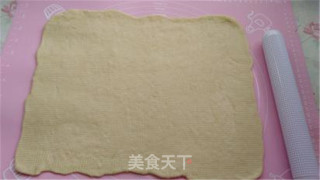
Roll the dough into 30*40cm thin slices. You can also roll it out a bit smaller. It depends on the amount to make. If you want to make 2 more butterflies, roll it out a bit bigger
6.
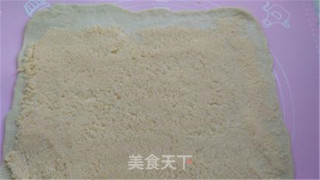
Spread the coconut paste. Don’t cover the top spot. Reserve a place for closing. Look at the roll technique behind. If the size is reserved, you can make the antennae of the butterfly.
7.
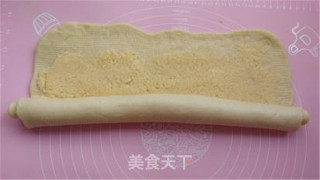
Roll up the dough from the bottom up
8.
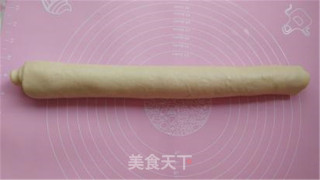
Roll it up to the bottom and put a little water on the edges to help the dough stick
9.
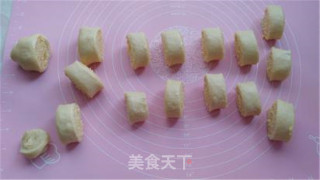
Cut the rolled dough into even-numbered portions. If there is a protruding edge, cut off and then cut the required number of portions. Remember to cut the even-numbered portion. I cut 16 portions. I originally planned to make 8 butterflies. There are 2 I don’t think this corner is too good, so I discarded it
10.
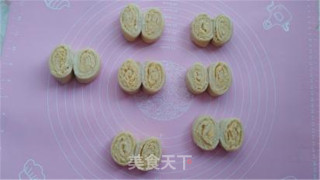
Make a set of 2 and spread a little water on the parts of the dough that are close to each other, and make it a little tighter
11.
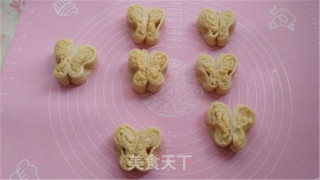
Pinch two-thirds of the dough, leave a pleat, and fix the shape with a toothpick (I haven't thought of other high-temperature materials except for toothpicks)
12.
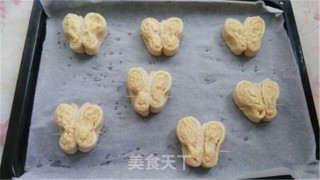
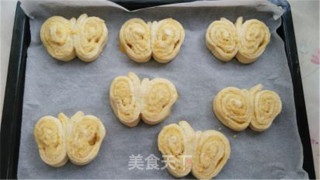
Transfer to the baking tray and put it in the oven for the second fermentation. The shape of the bread does not need to be too big, 2-2.5 times is enough, and it will become bigger when it is baked.
13.
After the second shot is completed, some of the butterfly’s antennae can be seen. While preheating the oven, brush with egg wash
14.
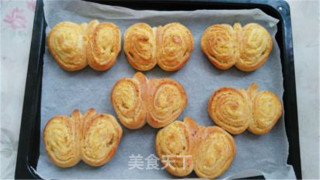
150 degrees, baked in 20 minutes, the surface color is very satisfying, fragrant, but it is still recommended to use a gold plate, the bread background color is more beautiful. Remember to remove the toothpicks when you eat.
Tips:
Regarding the gadgets for fixing the shape, I haven’t thought of other gadgets that fit into the oven except for toothpicks. After fermentation, the toothpicks are almost invisible, so I often forget about the toothpicks, so many friends and When I mention this bread, I don’t forget to say that I almost got a toothpick. If you have a better alternative fixing tool, please share.

 Buy on JD
 Buy on Amazon