Condensed Milk and Honey Sandwich Biscuits
1.
Biscuit material:
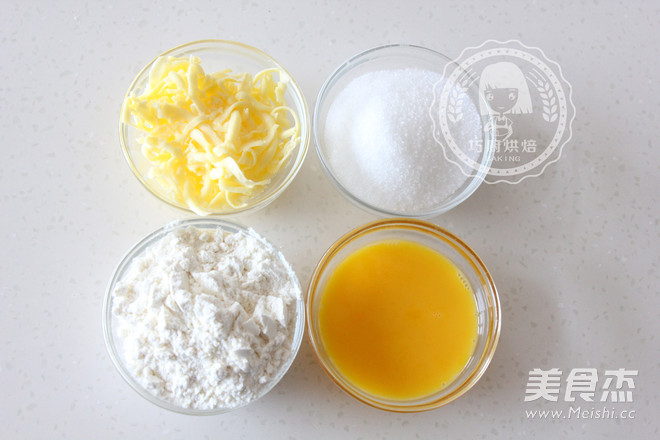
Butter: 75g, caster sugar: 50g, egg: 38g, low-gluten flour: 150g
2.
Stuffing materials:
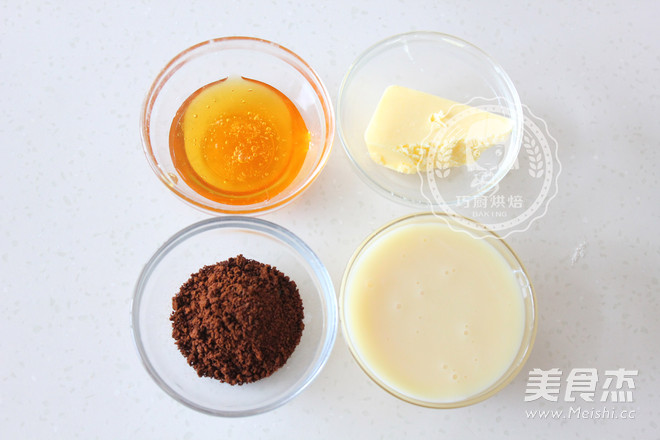
Sweetened condensed milk: 80g, honey: 30g, butter: 15g, pure instant coffee powder: 5g
3.
Production:
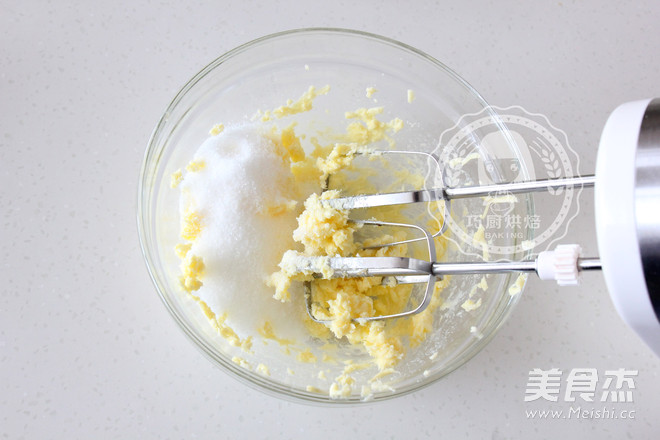
First make biscuits, melt the butter at room temperature, first use a whisk to disperse, then add fine sugar to beat together
4.
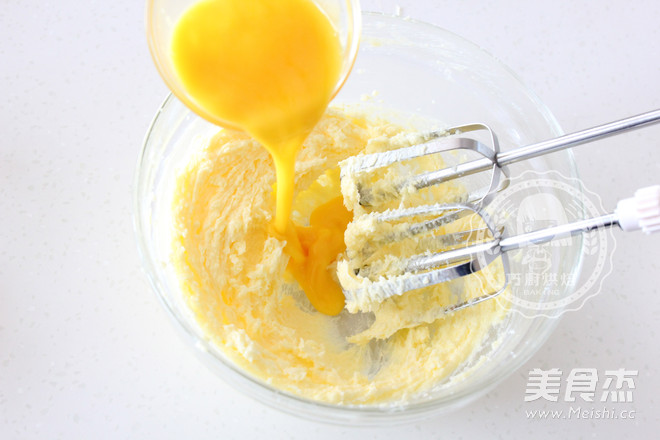
Add the egg liquid in 2 times and use a whisk to make it fluffy and lighten in color
5.
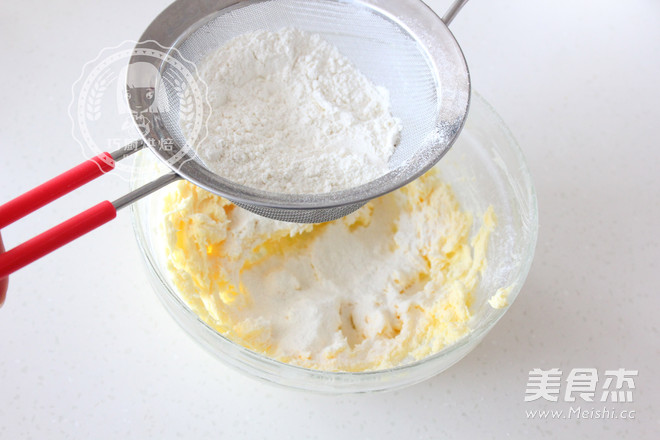
Sift in the low-gluten flour in batches and stir evenly with a rubber spatula
6.
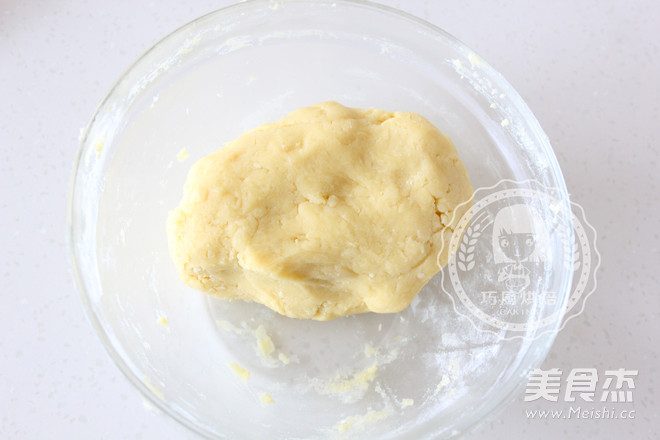
Finally, when the powder is a bit hard, you can directly knead it with your hands and knead it into a ball
7.
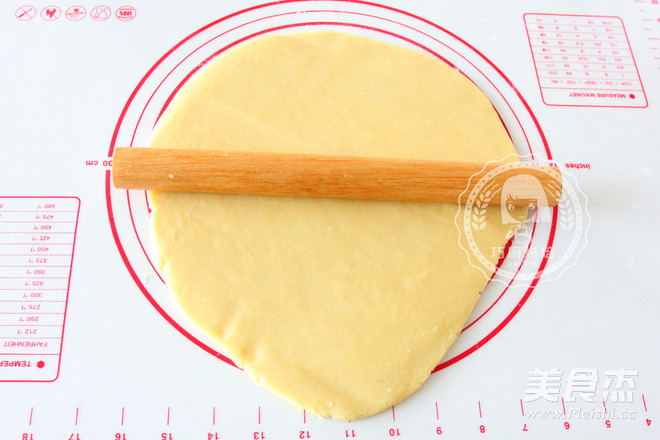
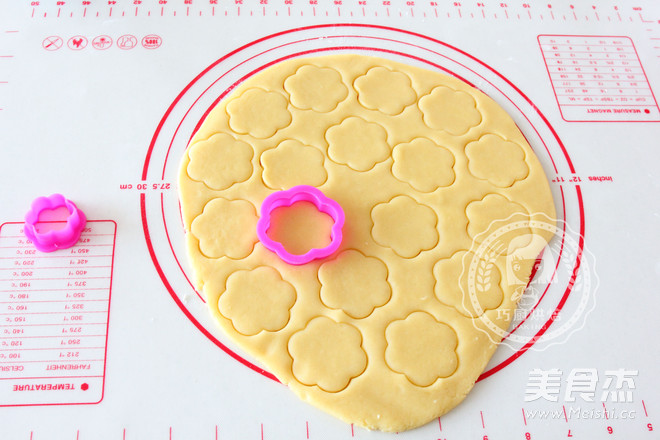
Roll out the dough on a silicone mat into a sheet about 0.3 cm thick
8.
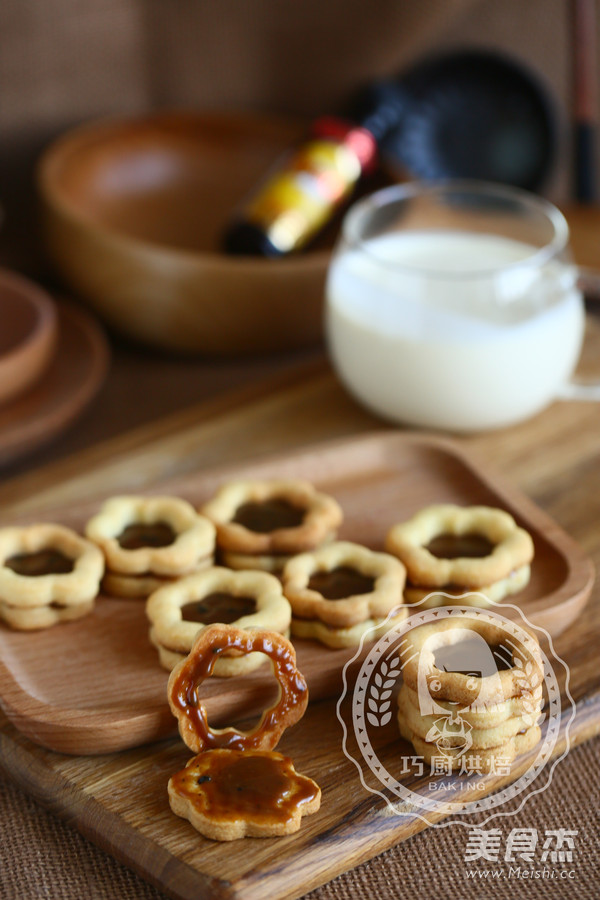
Roll out the shape with a flower-shaped biscuit mold
9.
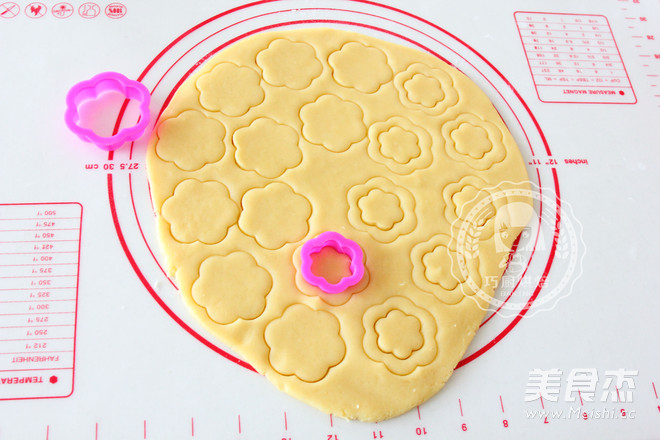
Then use a small circle of the same pattern biscuit mold to carve a small flower pattern in the middle of the carved dough sheet
10.
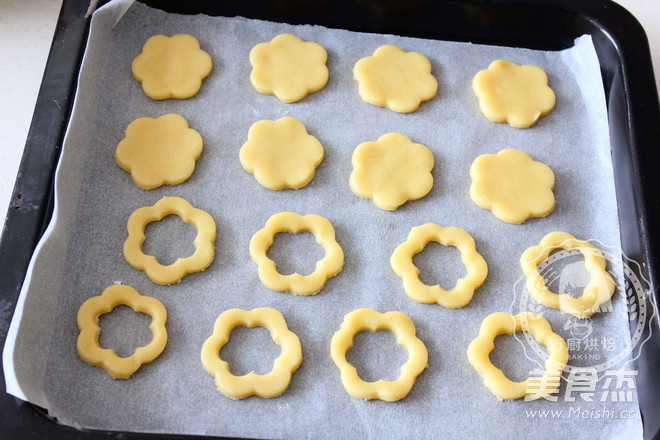
Remove the cut-out leftovers, place the engraved ring-shaped dough piece and the solid dough piece on a baking tray at a distance, put it in an oven with a 180-degree upper and lower fire, and bake for about 12 minutes until the surface of the biscuit is golden brown. Can be baked
11.
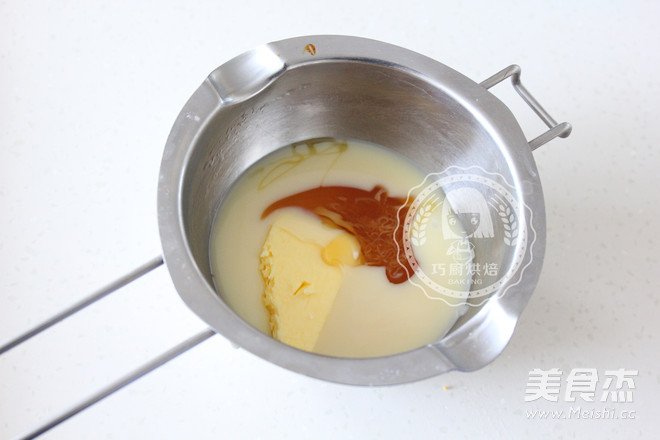
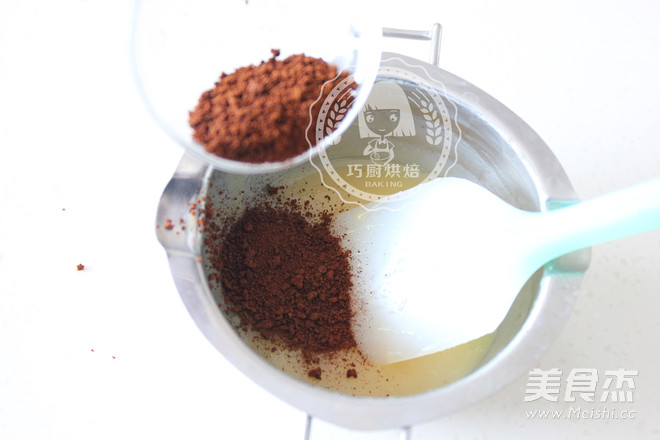
Then make the filling, put the condensed milk, a small piece of butter, and honey into a melting bowl and heat it over a low heat. While heating, stir until the butter melts. Continue heating until it boils and stir continuously until the mixture thickens. After cooking, remove from the heat and continue stirring. Make it cool and warm
12.
Pour in the coffee powder and stir (the coffee powder is completely melted without stirring, the original filling is the original filling without the coffee powder)
13.
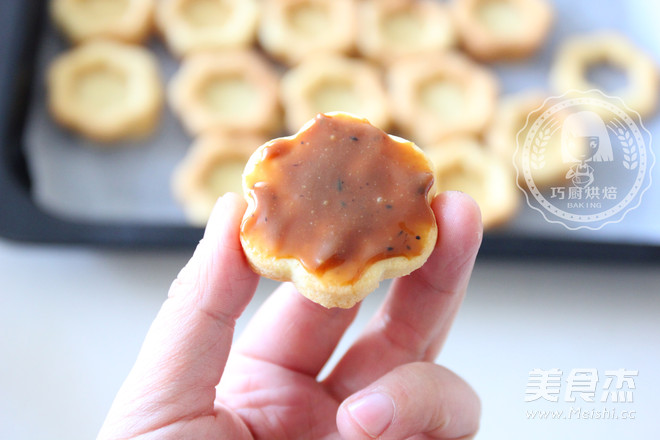
Spread it on the solid dough while the filling is warm
14.
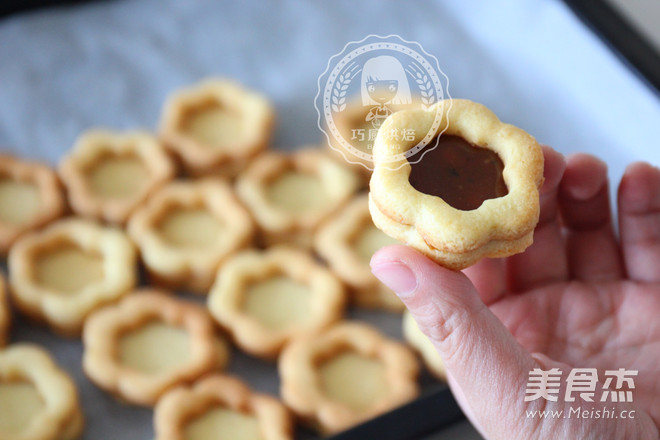
And cover it with a layer of ring-shaped biscuits
15.
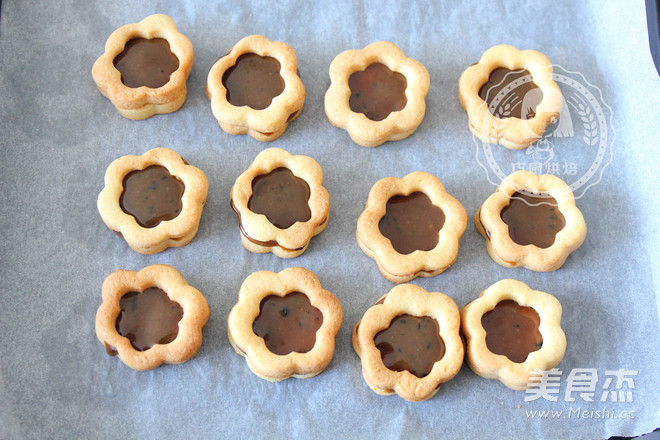
Combine the remaining biscuits in the same way
16.
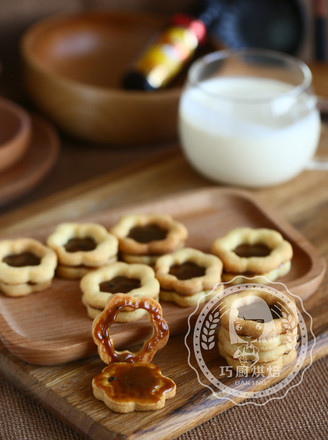
Finished
Tips:
TIPS:
1. Engrave the ring-shaped dough on the silicone mat and take it out and place it on the baking tray. It is easy to deform. You can first carve out the solid dough and place it on the baking tray, then engrave it in the middle, and remove the excess dough in the middle.
2. The ring-shaped pasta will be cooked before the solid pasta during baking, so when the surface of the ring-shaped pasta is golden brown, it needs to be taken out in advance, or it can be baked in two baking trays with the solid pasta.

