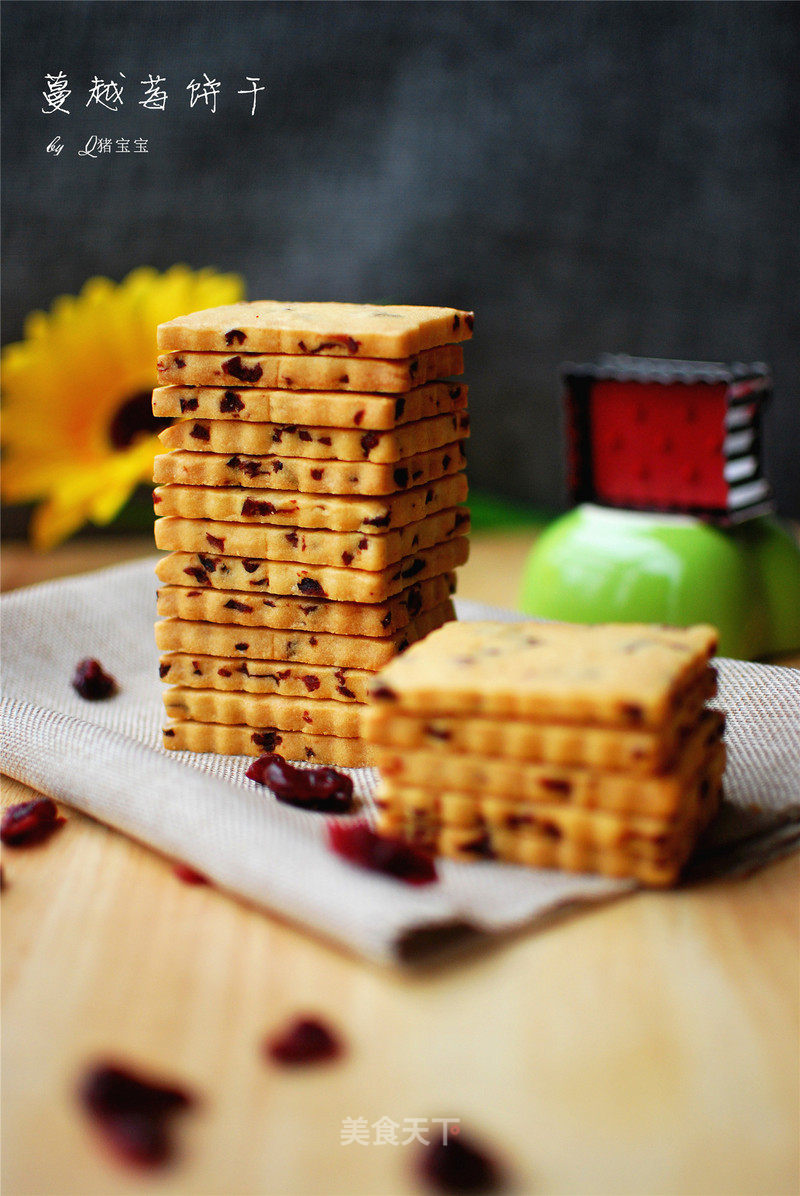
Cranberry Cookies
1.
Cut the butter into small pieces to soften and set aside.
2.
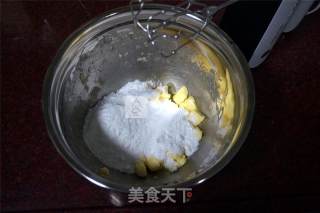
Add powdered sugar and beat with a whisk until combined.
3.
Add the whole egg liquid (2 tablespoons about 30 ml), and beat until fully integrated and fluffy.
4.
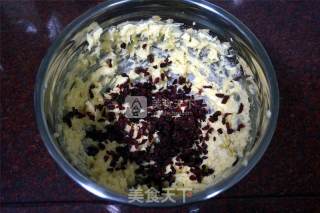
Add the chopped dried cranberries and mix well.
5.
Sift in low-gluten flour and mix into a dough without dry powder.
6.
Put the dough into a thickened fresh-keeping bag and roll it into a sheet about 0.6 cm thick.
7.
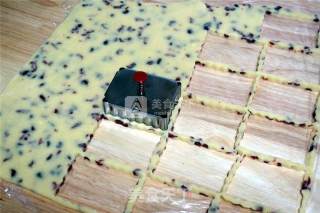
Put it in the freezer layer of the refrigerator and freeze for 30 minutes until it is hard, take it out, print out the biscuit dough with a mold, and place it on the baking tray with the small hole side down.
8.
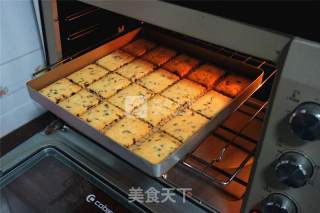
After preheating the TO5438 oven, put it into the middle layer, fire up and down at 180 degrees, and bake for 25-30 minutes until the surface is golden.

Tips:
1. Generally, cranberry biscuits are made by freezing the dough and then sliced and baked. However, I pursue neatness and use mold printing to make the biscuits equal in thickness and very beautiful.
2. When rolling the dough sheet, use the fresh-keeping bag to help, it is not sticky and clean, and it is easy to operate.
3. Even if some students refer to the recipe and production process of the recipe, the baked biscuits are still not perfect, deformed and uneven on the surface, and then leave a message or even complain to me. Here I want to remind the most critical detail: Each time, the dough is frozen and hardened before the cake is printed. After printing for the first time, reassemble and roll out the dough and put it in the refrigerator again to freeze until hard before printing. Remember!
4. The last point is that the temperament of each oven is different. The baking temperature and time I give are for reference only, and pay attention to it in the later period.








![Seasonal Vegetable Patties [baby Food Supplement] recipe](https://img.simplechinesefood.com/02/024b910033009872aea33017c755a377.jpg)


