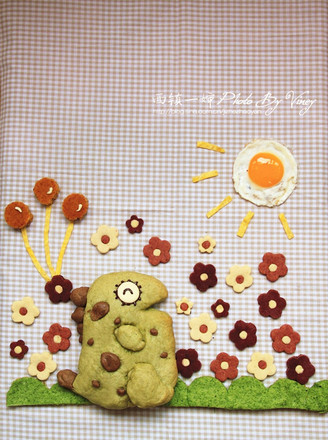
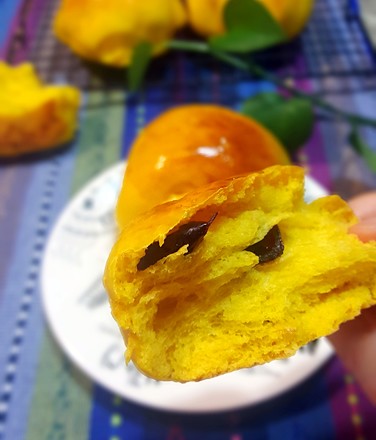
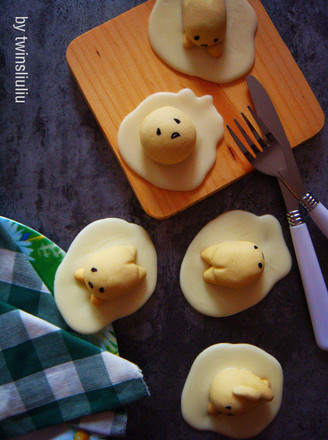
Creative Biscuit Cute Lazy Egg
1.
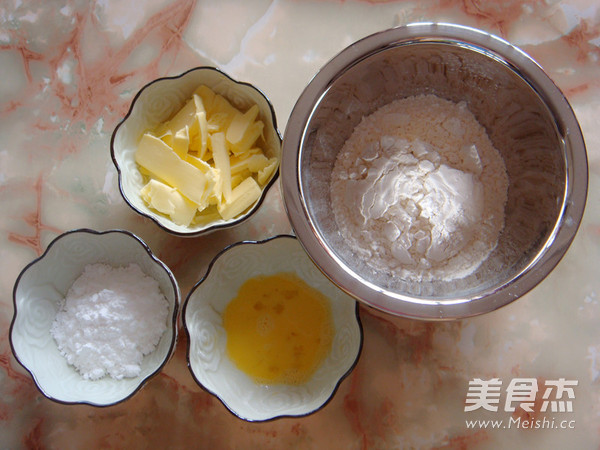
Prepare ingredients: low-gluten flour: 125g, unsalted butter: 50g, powdered sugar: 30g, whole egg liquid: 20g, food coloring: a little, white cake: one piece.
2.
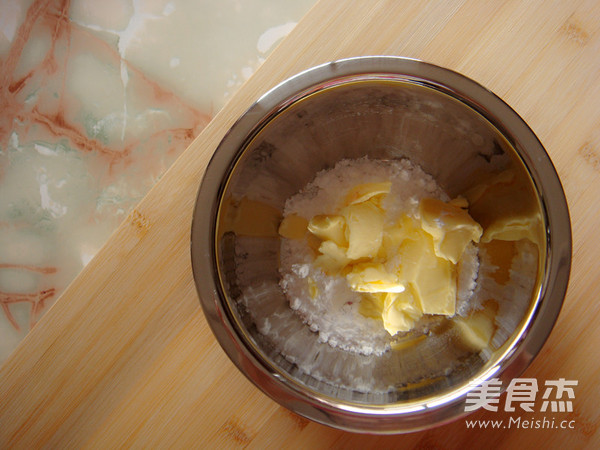
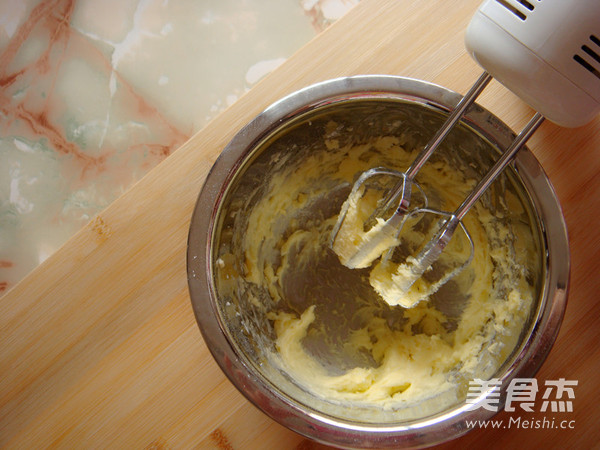
After the butter has softened at room temperature, add the powdered sugar.
3.
Beat with a whisk until fluffy.
4.
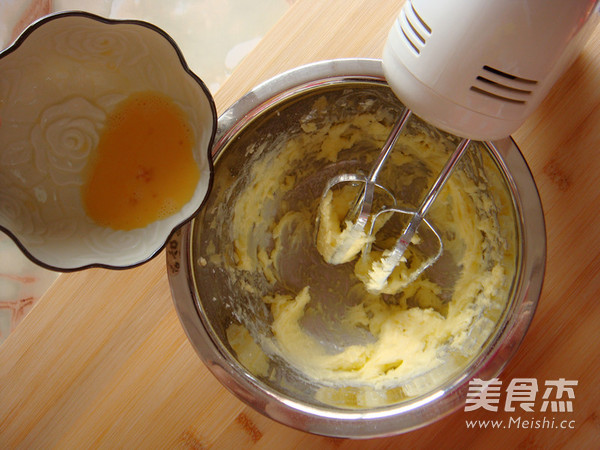
Add the beaten whole egg liquid in three times and beat with a whisk until the egg liquid is evenly absorbed.
5.
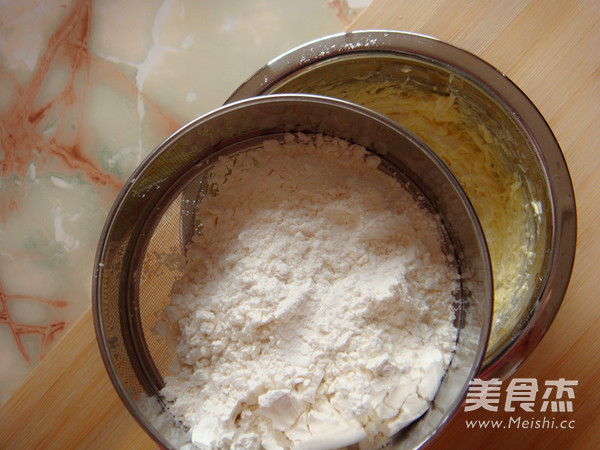
Sift the low-gluten flour into the beaten mixture and form a dough.
6.
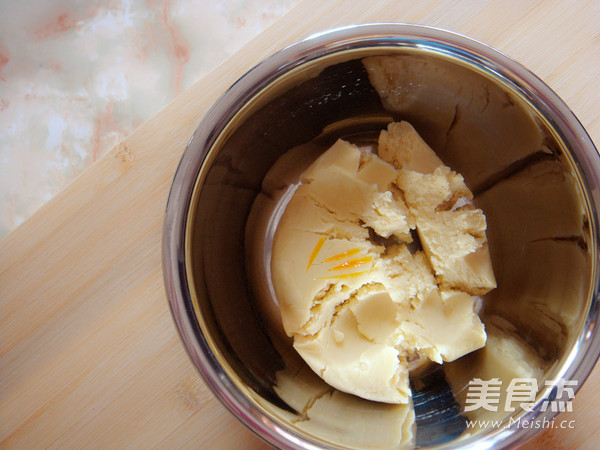
Add a little yellow food coloring and mix well again.
7.
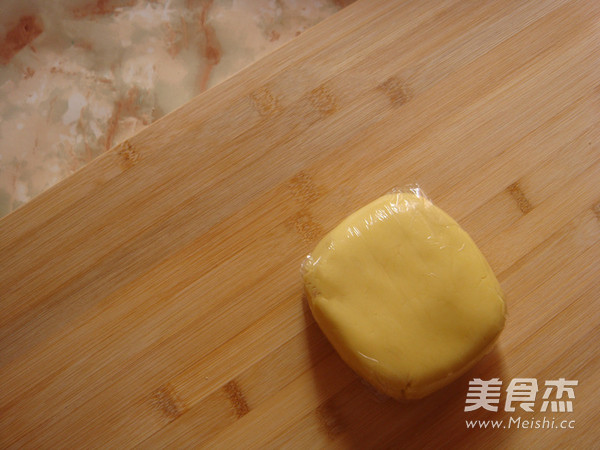
Wrap the dough in plastic wrap and put it in the refrigerator for 10 minutes.
8.
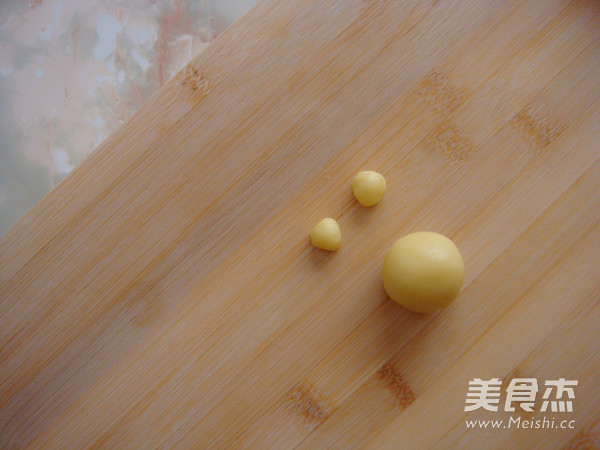
Take out the refrigerated noodles, divide the dough equally into several portions according to your own preferences, and decide the size of each portion according to the size of the lazy egg to be made. Take a copy now and start sculpting the lazy egg. First set out a little bit to be used as a lazy arm. Most of the rest are reunited to make the body.
9.
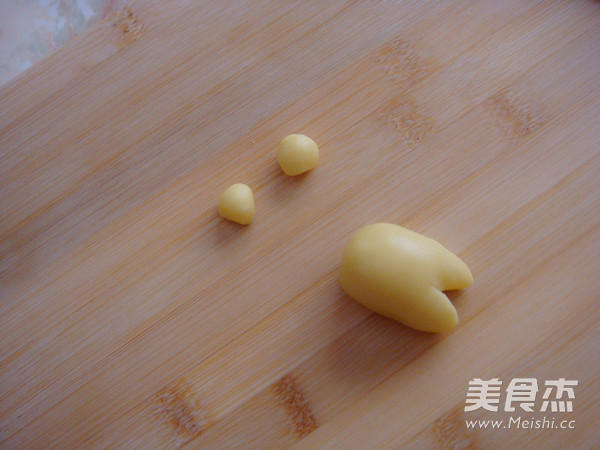
After reunion, gently rub it into a cone with a larger end and a smaller end. Use a knife to cut a small opening at the small head to form the two lower legs of a lazy egg. Use your hands to round the lower legs.
10.
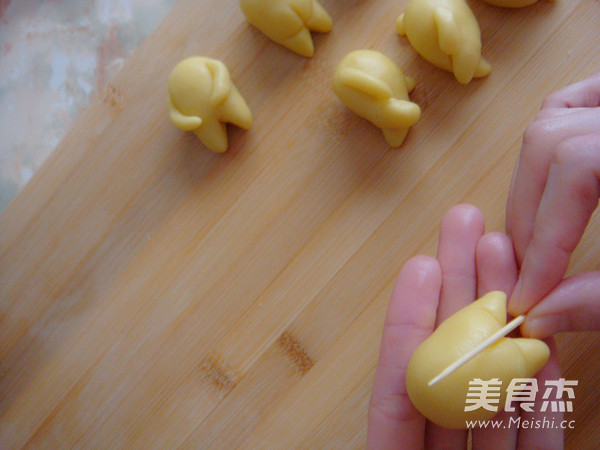
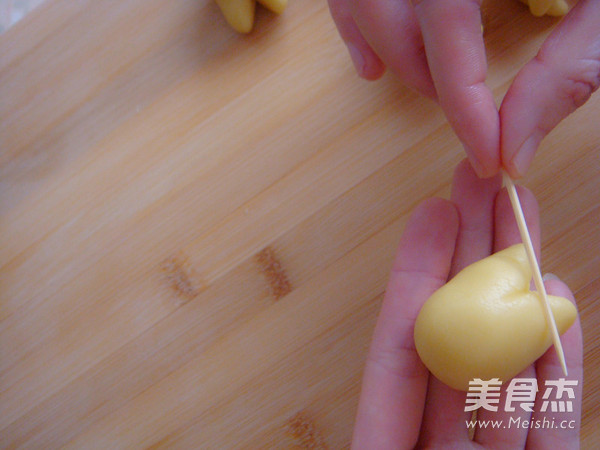
Hold up the lazy egg and use a toothpick to press a mark longitudinally between the legs.
11.
Then lightly press a mark laterally from the roots of the legs. See it, the lazy and fat PP has been made. Cute or not? Then press the arm that was reserved at the beginning under the lazy egg's body. A slacker on his stomach is ready. We can also use our imagination to make lazy eggs lying flat or lying sideways.
12.
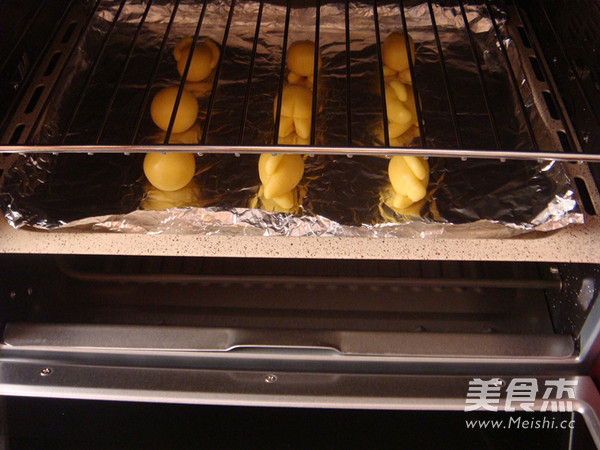
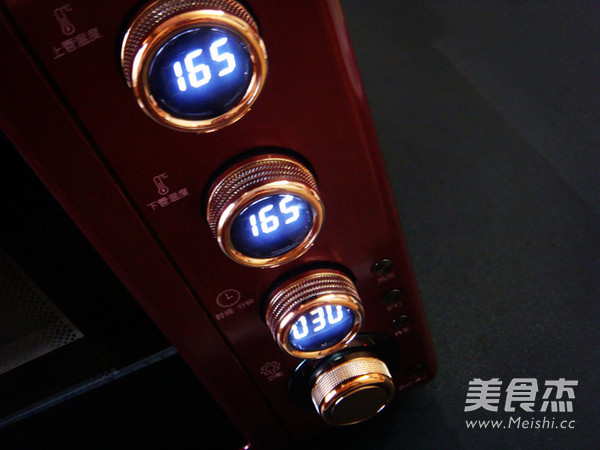
Preheat the oven to 165 degrees. Put it into the middle of the oven.
13.
Bake at 165 degrees for 33 minutes.
14.
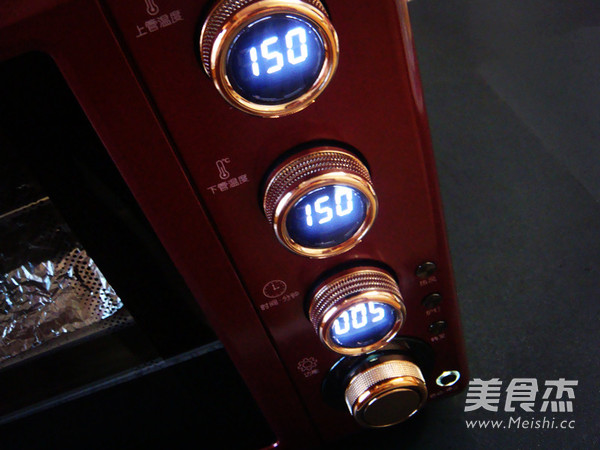
Rotate at 150 degrees and bake for another 5 minutes. Pay attention to the color of the biscuits and prevent coloring and stamping of tin foil. I use Baicui PE5359WT electric oven for food temperature measurement. Please increase or decrease the roasting time and temperature according to the quantity, size and oven conditions you roast.
15.
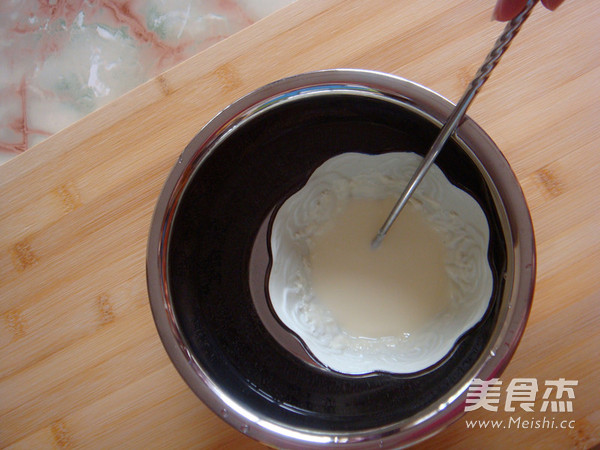
After the biscuits are out of the oven, let them cool to draw the facial features of the lazy egg. Next, use warm water to melt the white chocolate.
16.
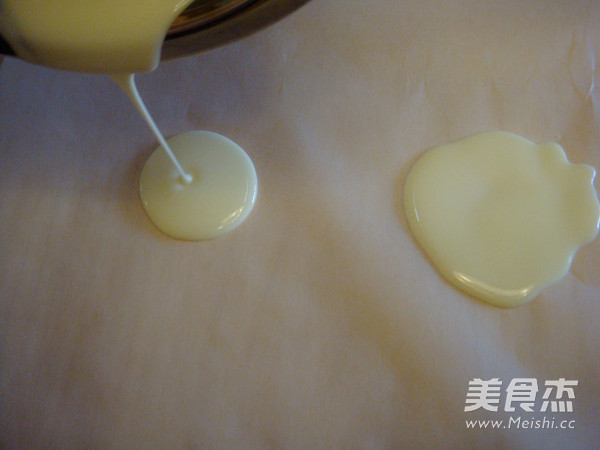
Spread greased paper or tarp on the workbench. Slowly pour the melted Bai Qiao down, and after pour out a round piece, use a spoon to move it outward from the center of the circle, so that the edges of the round piece are uneven and the shape looks like the egg whites in the pan when we fry eggs.
17.
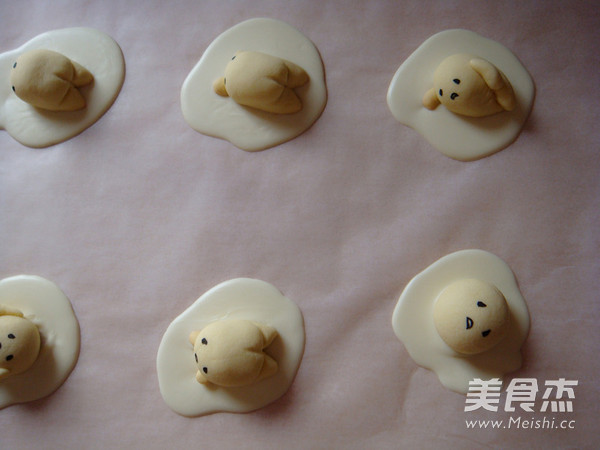
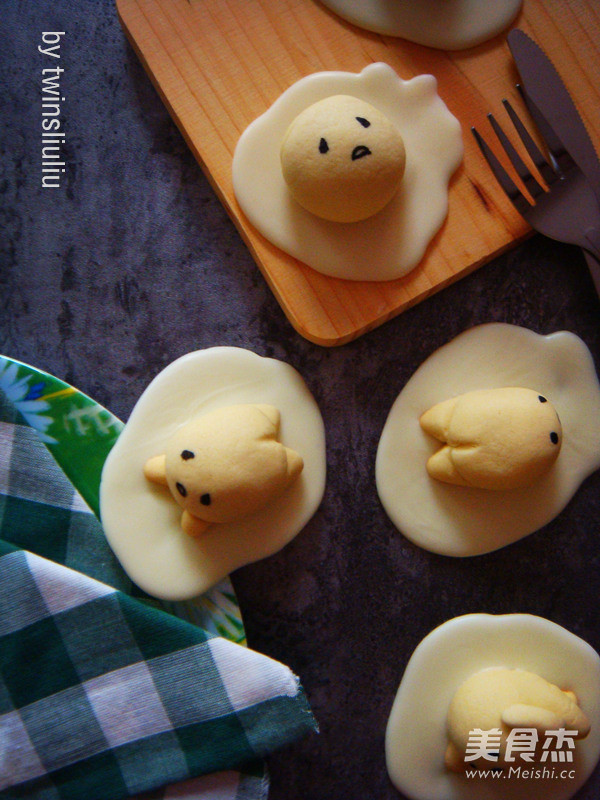
Glue the lazy egg while Bai Qiao is not solidified, and a complete lazy egg is ready. When Bai Qiao freezes and cools again, the lazy egg can be easily removed.
18.
My favorite is cute~ My favorite is cute~
Make a biscuit and desperately sell cute~~~
There was a joke today. I put the finished lazy egg on the workbench to do other things. When Dad saw them, he asked me with a look of confusion, what kind of dishes did you cook today? What are you doing with so many eggs on the table? Haha~ He really regards my lazy egg as a poached egg.
Tips:
1. Liuliu doesn't like too sweet, the biscuits made by this recipe taste slightly sweet, if you like sweetness, you can increase the amount of sugar appropriately.
2. The baking should be covered with tin foil according to the situation to prevent the color from affecting the appearance.
3. Melt the white clever in water, and the water temperature should not be too high.
4. Glue the lazy egg while Bai Qiao is not solidified.
5. For more food, please follow my Sina Weibo @twinsliuliu's fancy food.


![Seasonal Vegetable Patties [baby Food Supplement] recipe](https://img.simplechinesefood.com/02/024b910033009872aea33017c755a377.jpg)
