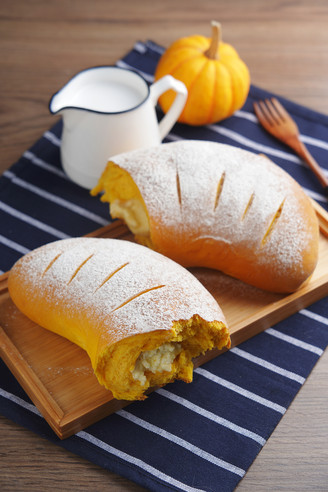
Danish Bread
1.
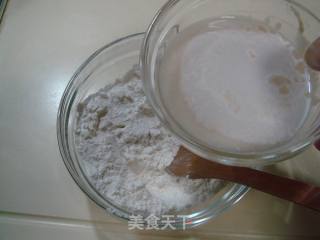
Add salt to the flour, mix well, and mix the flour into a dough with yeast water.
2.
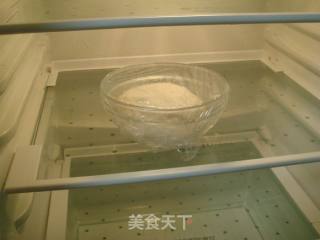
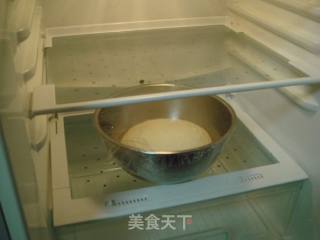
Cover it with plastic wrap and leave it to ferment for 30 minutes at room temperature. After the fermentation is slightly expanded, it can be put away. Put the preliminarily prepared noodles in the refrigerator for 10-15 hours.
3.
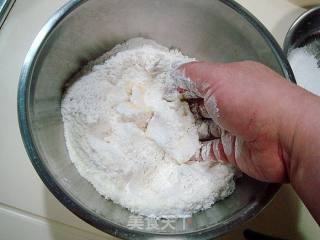
Put the milk powder and butter in the flour, then grab them with your hands and grind them to form fine granules.
4.
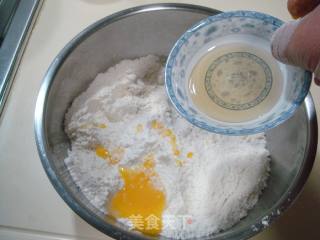
Add salt, caster sugar, egg yolk and maltose, mix well, and mix the mixed flour with water to form a dough.
5.
After the dough is made up, put on a wet towel and relax for 30 minutes.
6.
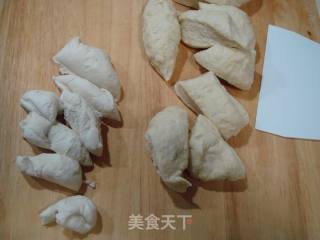
After the dough relaxes for 30 minutes, take it out, and cut the dough and the noodles made the day before into pieces.
7.
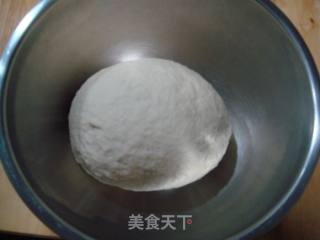
Mix the cut noodles with a fork and knead them repeatedly with your hands to form a smooth dough. It takes about 15 minutes.
8.
After kneading, put the dough in a steel basin and cover with a wet towel to allow it to ferment naturally for 2 hours. After 2 hours, cover it with plastic wrap and put it in the refrigerator for 10 hours.
9.
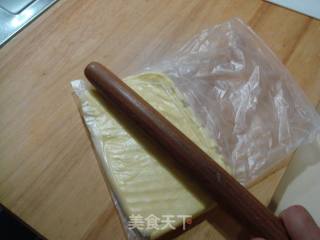
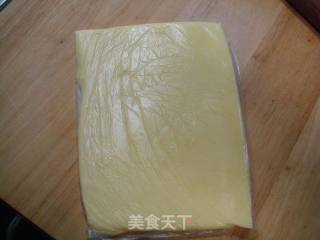
Put the butter in a thickened fresh-keeping bag and use a rolling pin to press and beat it into slices.
10.
Then use a rolling pin to roll the butter into a rectangular or square piece with a thickness of 0.8 cm.
11.
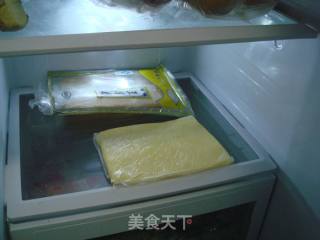
Stretch out the butter and put it in the refrigerator for later use.
12.
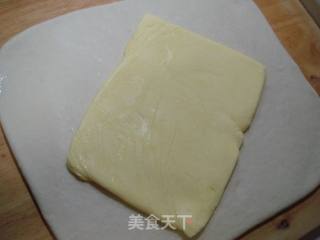
Take out the refrigerated dough and roll it out with a rolling pin to form a square dough sheet with a thickness of 0.8 cm. Place the previously stretched butter sheet diagonally in the middle of the dough sheet.
13.
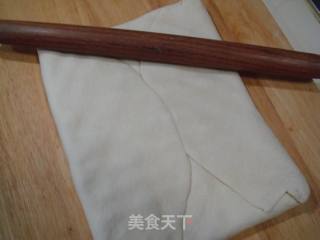
Then wrap the butter tightly up, down, left and right. Do not overlap the four corners of the dough during the oiling process. After the corners are wrapped, pinch the seams firmly with your hands, and then use a rolling pin to arrange and press evenly. Make it gradually stretch out.
14.
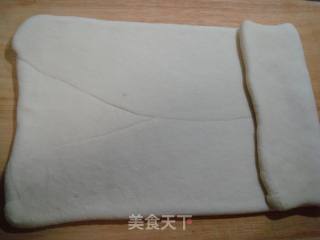
Press and stretch while rolling out with a rolling pin. During the operation, you can sprinkle an appropriate amount of dry flour. When the dough is rolled to about 0.5 cm thick, fold it in one quarter of the dough in the middle.
15.
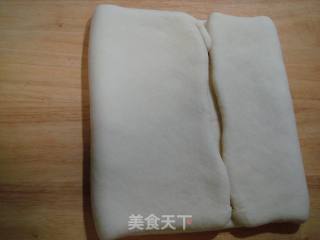
Then, fold the other side of the dough toward the center to align the seams.
16.
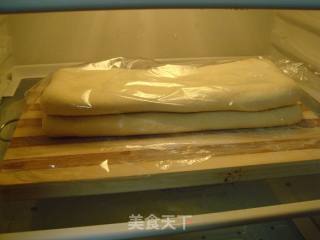
Then take the center line of the dough and fold it neatly to one end. From the side, it is a four-layer stack. Then put it in the refrigerator and keep it in the refrigerator for 30 minutes. Repeat the operation three or four times according to this method. That's it.
17.
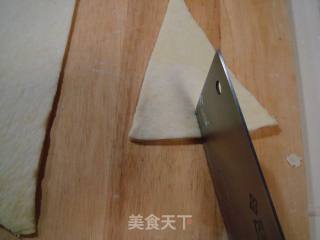
After the final operation is completed, roll out the dough to a thickness of 0.5 cm. Use a ruler to measure it. The width of the dough is 34-35 cm and the length is about 50-60 cm. Use a knife to take the center line and divide the dough into two. For the long piece, take one piece and evenly divide it into triangles with a base width of 12 cm and a length of 17 cm.
18.
Cut the bottom end of the triangular dough piece one by one with a knife to make a small opening of two centimeters.
19.
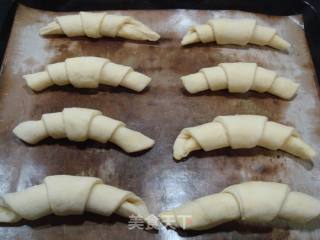
Then it is folded and rolled up at the cut, rolled up and placed in a baking tray arranged neatly for final fermentation for 1 hour.
20.
After the fermentation is completed, apply egg white liquid on the blank, and it is recommended that the incision should not be touched when applying.
21.
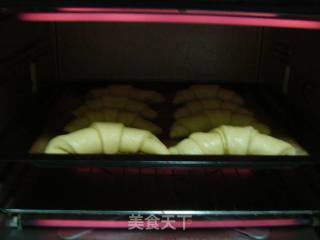
Spread the egg mixture, put the baking tray in the preheated oven, and bake at 220 degrees for 15-18 minutes. If the volume of the oven is less than 34 liters, the fire power can be appropriately reduced.
22.
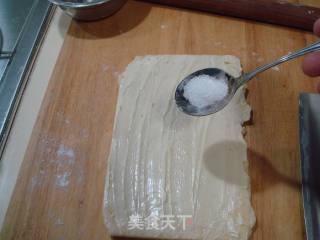
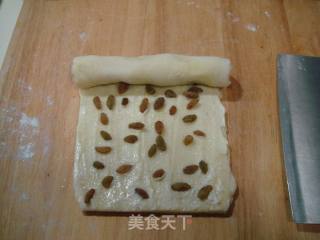
Spread a thin layer of coated sweet cheese on the rolled dough, and then sprinkle with an appropriate amount of coarse sugar.
23.
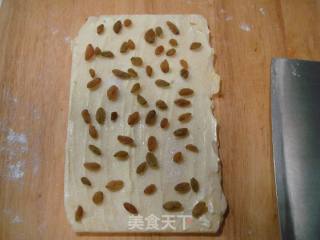
After sprinkling the granulated sugar, sprinkle the raisins soaked in rum or water, and lightly press firmly with your hands.
24.
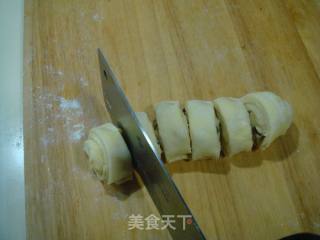
Roll up the dough from one end, making it tighter.
25.
After the roll is finished, divide the noodle roll into 2.5 cm thick rolls.
26.
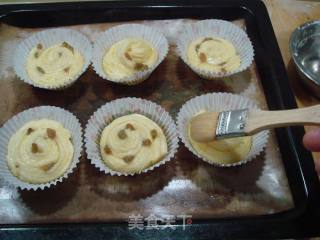
Put the divided noodle rolls into paper cups, or directly into the baking tray, and let stand and ferment for 1 hour.
27.
After the fermentation is complete, spread the egg liquid, and then sprinkle a layer of coarse white sugar to embellish the egg liquid.
28.
Put it in the pre-heated oven and bake at 220 degrees for 15 minutes.
29.
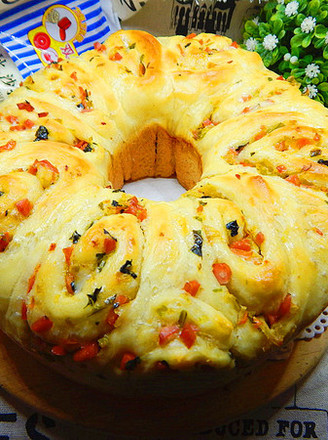
The croissant after baking.
30.
Grape Danish bread just out of the oven.


Tips:
The characteristics of Danish bread; deep red color, strong aroma, soft taste, distinct layers, moderate salty and sweet, strong flavor.
Tips;
1. For noodle making, fresh yeast can be fed with the remaining ordinary dough and appropriate amount of sugar, and the temperature is controlled between 28-32 degrees. Once the yeast is formed, it should be stored in the cold to make it in a semi-sleep state, and take it out when using it. Leave it at room temperature to wake it up naturally, and do not heat it up. If it is not used for a long time, it can be frozen, but it is best not to exceed three months. Frozen seed noodles should be placed in the fresh-keeping layer of the refrigerator for 24 hours in advance, and then taken out and placed at room temperature to allow them to naturally ferment and awaken.
2. You can also use raw yeast and sugared water to feed fresh yeast, but you must regularly store new ones.
3. When making Nordic bread, you can use the three-layer three-layer method, the four-layer three-layer method or the four-layer two-layer method when oiling, depending on the strength of the flour and the quality of the flour used.
4. Using the folded bread blanks, any variety of colorful bread or toast can be made. This type of bread is only slightly more complicated in terms of dough making, but it is very convenient to make bread. After the dough is made, fold it neatly. If it is not used in the short term, it can be refrigerated or frozen. The freezing temperature should not exceed minus five degrees, and the storage time should be less than ten days.
The two coarser "Danish breads" of the big frying spoon are ready. After the fall, it is good to eat less of it as an afternoon tea, it tastes very delicious, but, this kind of bread should not be eaten more! For your reference!


