Danish Bric Bread
1.
The post-oil method combines all the materials into a dough to the expansion stage. (That is, it can be opened to form a glove film) The dough base is fermented to twice as large. Next defend wrapped in butter.
2.
Put 130 grams of butter into a fresh-keeping bag and protect it into flakes.
3.
Flatten the basic fermented dough and vent it into a dough sheet, and put the butter in the middle of the dough sheet. (The noodles are 1 times larger than butter)
4.
Pinch the butter-wrapped dough piece tightly and close it so that the dough piece is firmly wrapped in the butter, then open the dough into a sheet.
5.
Fold the left and right ends of the dough to the middle to make the first round of three folds, wrap it in the refrigerator and let it relax for 20 minutes, then take it out, and then hold it into a dough sheet and repeat this step for three rounds of three folds.
6.
Open the dough after the third round of 3 folding, divide it into two halves, and cut each half into 3 strips.
7.
Weave the dough like a disciple.
8.
Fold both sides of the braided dough in half and put it into the gold brick mold. Put it in the oven, turn on the fermentation gear, put a cup of warm water underneath, and make the second fermentation to double the size.
9.
Take out the fermented dough and gently brush the surface with a layer of egg liquid. Cover the lid, preheat the oven at 190 degrees for 5 minutes, put the dough into the middle of the oven, and bake at 190 degrees for 25 minutes.
10.
Baked finished product.
11.
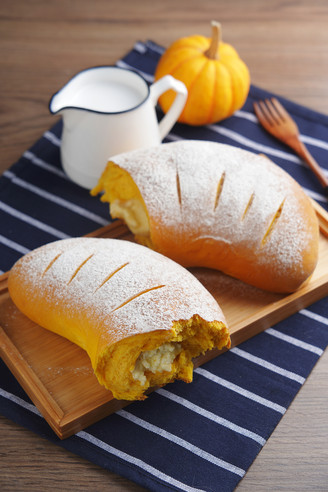
Open the two halves, the tissue inside is soft.
Tips:
Reminder: 1: The temperature of the oven depends on your own oven. 2: The dough relaxation time is 20 minutes in the refrigerator. When I see it is cold, I just open it and fold it again, even omitting the slack. I have no patience. 3: If it's summer, it can't be like this. Just follow the steps to complete it, otherwise, all previous efforts will be lost if the butter is melted.