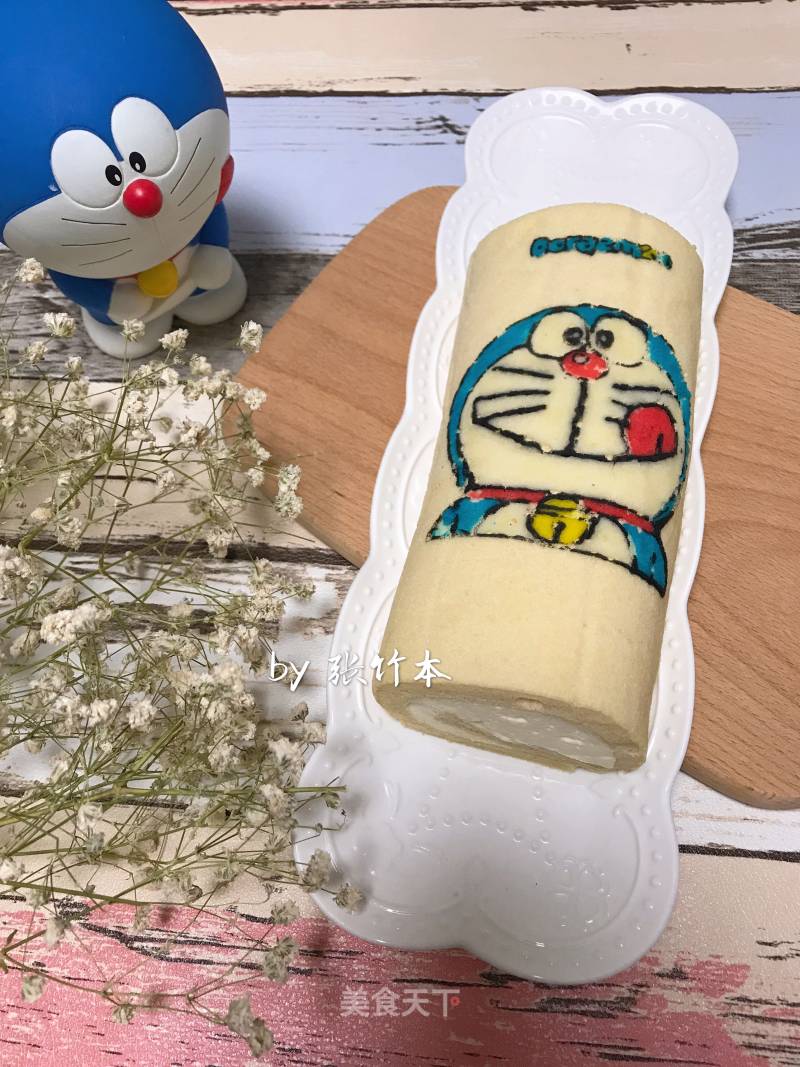
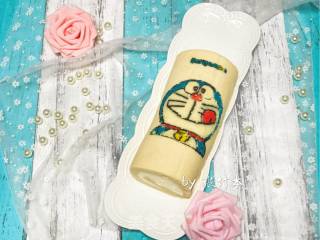
Fluff Marshmallow: Doraemon Painted Cake Roll
1.
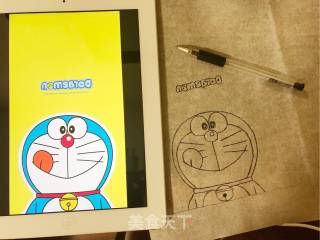
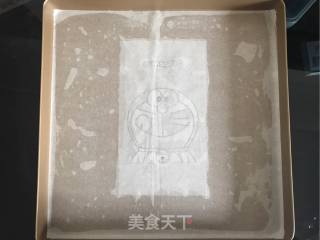
Find a pattern you like and use the retouching software to mirror it. You can print it out, or print it on oil paper like I did. Cut into rectangles.
2.
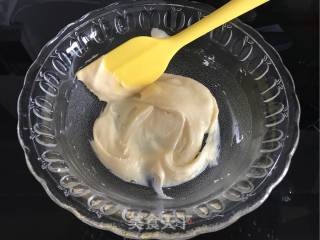
Let's make the painted part first. Add powdered sugar, egg white, and low-gluten flour to butter that has been softened at room temperature in turn, and mix well.
3.
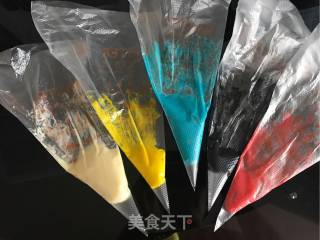
The batter is divided into five parts according to the color. The black stroke part is toned with bamboo charcoal powder, the white part is toned with the original color, and the rest is toned with pigments, and packed in a piping bag.
4.
Brush a layer of oil on the bottom of the baking pan, place the pattern part in the middle, and then spread a piece of greased paper on top of the pattern and smooth it. I used a 28×28 gold plate.
5.
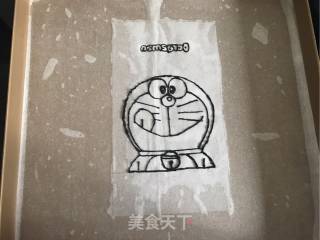
Use black batter to outline the outline.
6.
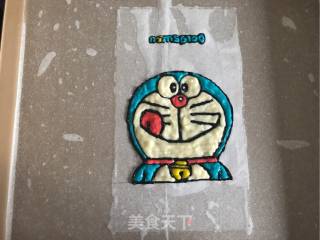
Fill in the colors one by one. It doesn't matter if the black line is suppressed, and finally stroke the border with black again. Put the made patterns in the refrigerator and keep them cool.
7.
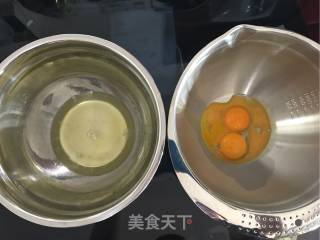
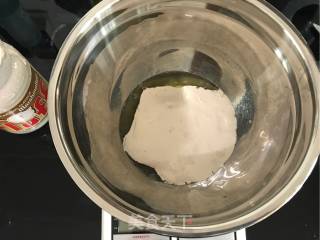
Make cake rolls. First, preheat the oven up and down to 170 degrees. Separate the egg whites and egg yolks, and ensure that the egg whites and egg yolks are free of oil and water.
8.
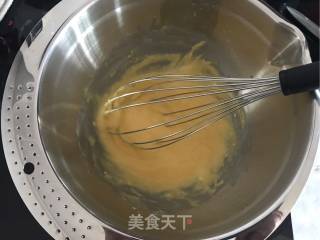
Add oil and milk to the egg yolk and mix well. Sieve and add low-gluten flour. Mix until there is no powder. Don't over-mix to avoid gluten.
9.
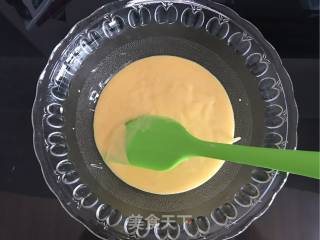
Sift the prepared egg yolk paste and set aside for later use.
10.
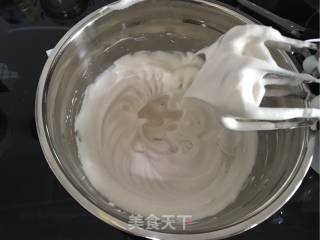
Add Fluff marshmallows to the egg whites. If it is made with white sugar, first use an electric whisk at low speed to beat the egg white to a fish-eye shape, and then add white sugar at a time to beat at high speed. It is made with Fluff marshmallows, which can be added directly and sent at high speed. The whipped meringue is more stable and not easy to defoam.
11.
Just hit the small hook state.
12.
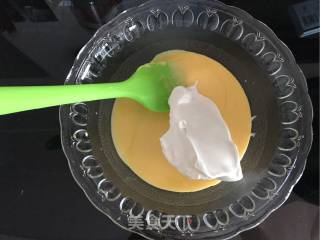
Add one-third of the meringue to the egg yolk paste, and stir evenly.
13.
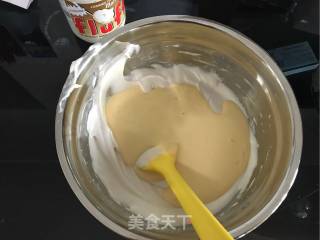
Pour the evenly mixed cake batter back into the meringue, and mix evenly with the same method.
14.
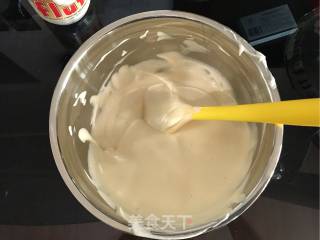
The made cake batter.
15.
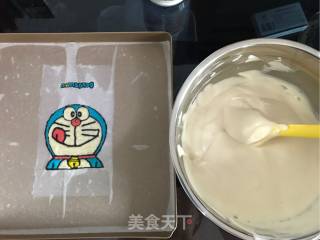
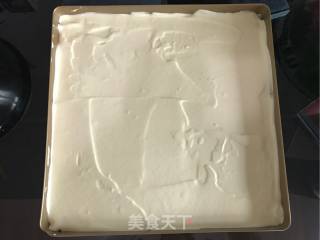
Take the painted pattern out of the refrigerator, and pour the cake batter into the baking tray.
16.
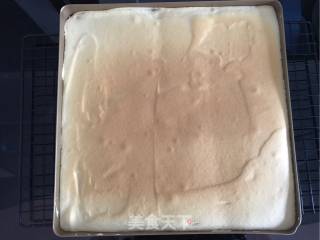
Use a spatula to flatten the cake batter, and cover the four corners with the cake batter, and don't touch the pattern on the bottom. Tap the bottom of the baking pan to shake out large bubbles. Put it in the oven and bake at 170°C for 20 minutes, and turn on the hot air for the last 5 minutes to make the color evenly.
17.
The surface is colored and ready to be baked. Because of the rewind, it doesn't matter what the front is, haha. The cake rolls are kept cool.
18.
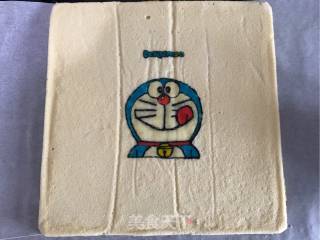
Put it on the surface of the cake roll to no longer be hot, peel off the periphery of the cake roll from the mold by hand, spread grease paper on the surface, and release the baking tray upside down. Tear off the oily paper gently, gently, don't damage the pattern. Look, the blue fat paper is smiling at you 😜 Spread greased paper and let it cool.
19.
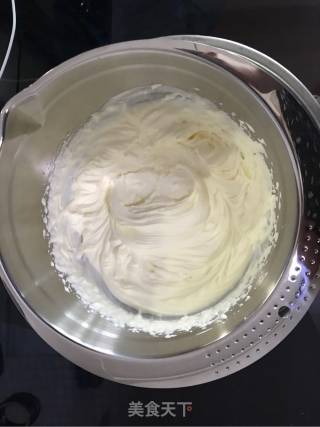
While waiting for the cake roll to cool down, add 300 grams of whipped cream and 30 grams of white sugar, sit on ice water, and send it to the decorating state.
20.
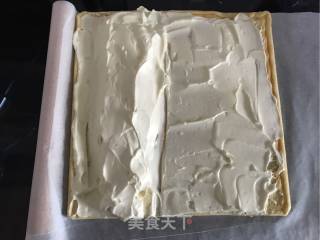
Spread light cream on the cake slice. For making e-shaped rolls, pile the whipped cream into a small hill on the left hand side, and use a rolling pin and oil paper to roll up the cake.
21.
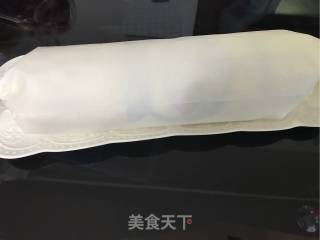
Wrap the rolled cake rolls with oiled paper, with the pattern facing up, and put them in the refrigerator to shape them. Refrigerate for at least half an hour.
22.
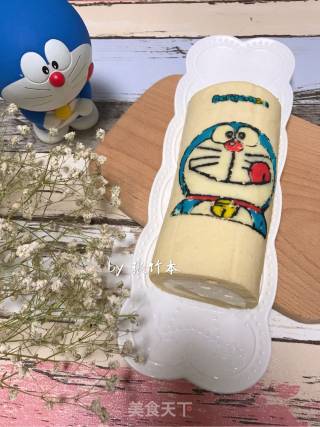
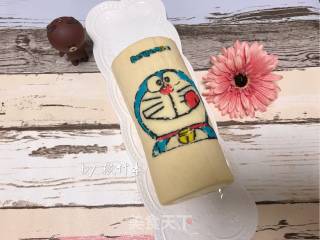
After refrigerating and setting, take off the oil paper, cut off the two ends of the cake roll, wipe the knife clean after each cut, and then cut another cut. Set the plate and take pictures. The cute blue fat paper is ready😜😜😜
23.
Is it cute?😜😜😜
24.
Cute
Tips:
Adjust the temperature and time according to the temperament of your own oven, and bake it until the surface is colored.

