Halloween Funny Cookies
by Cooking woman snacks
Favorite
Difficulty
Easy
Time
15m
Serving
2
Halloween!
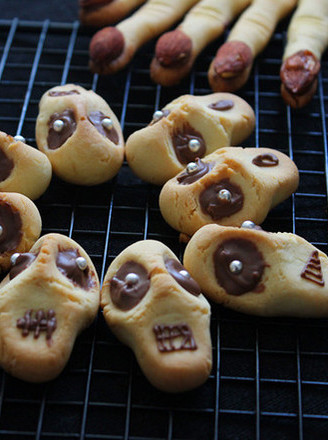
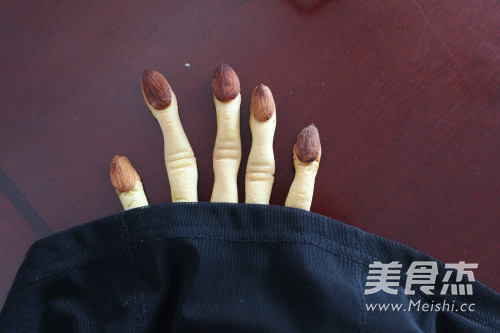
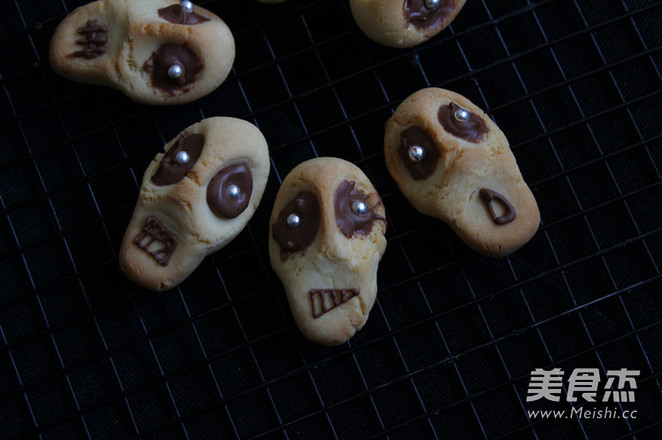
Skeletons, Witch Finger Biscuits---Funny Halloween-Cooking Women's Snack Food-Cooking Women's Snack Foods can't even remember a person's birthday. In fact, people who don't care about this or that festival are especially foreign festivals. After two days, I was swept by all kinds of funny Halloween news, and I engraved a Halloween in my mind. I was always preparing to do something to meet the occasion.
Baidu found out this morning, it turns out that tomorrow is Halloween (I don’t know exactly when Halloween is)
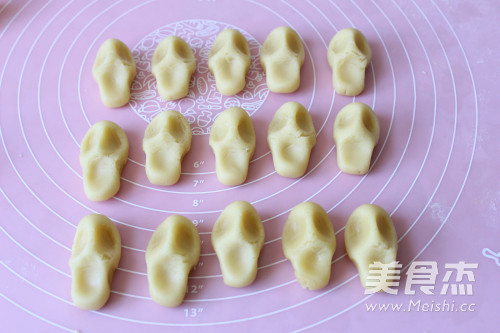
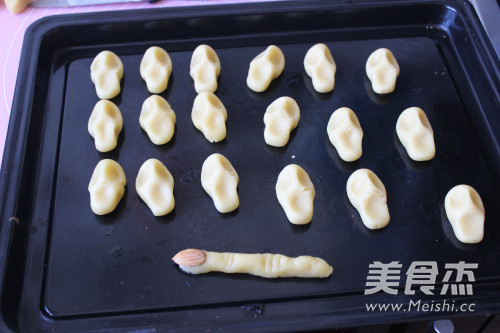
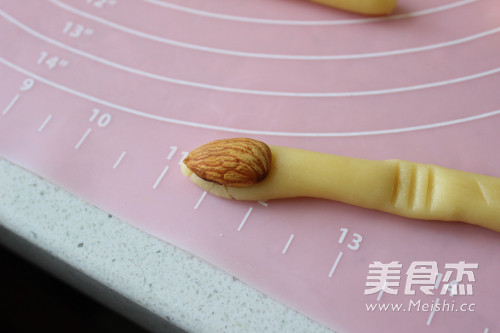
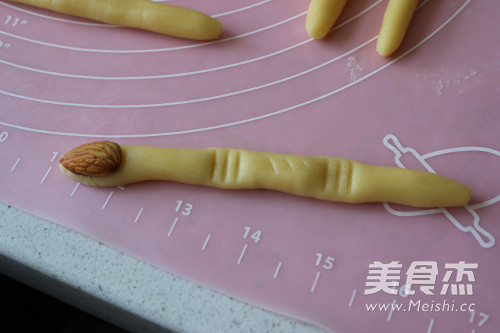
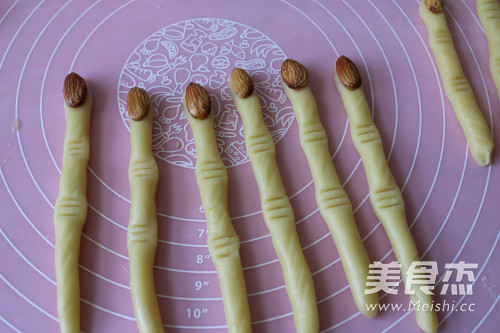
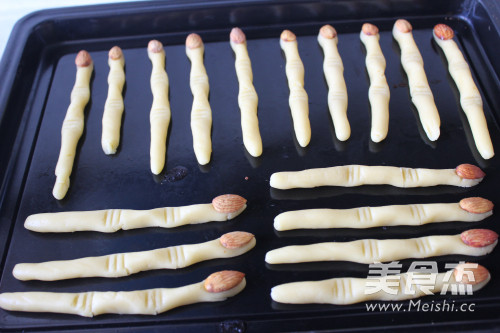
Can't delay any longer, hurry up, skull and witch finger biscuits make it soon, and give you the ghost of Halloween...
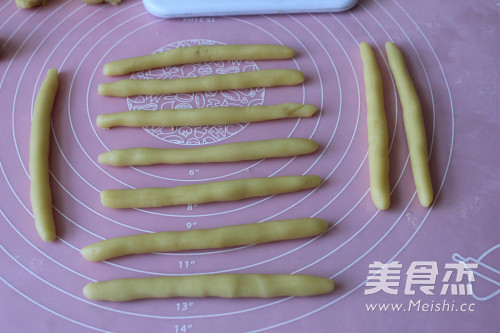
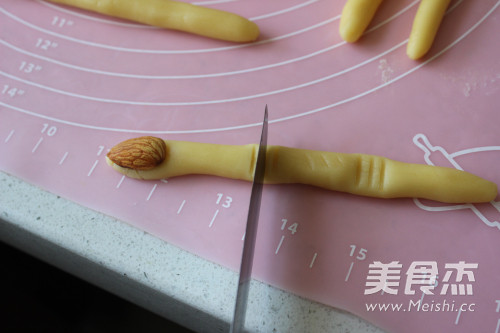
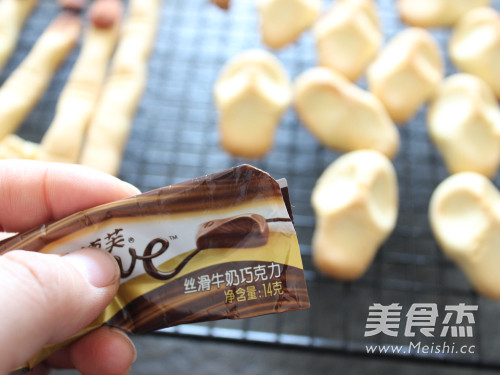
This biscuit is easy to make and fun learned in Meipai. It belongs to the type of teething stick, but it is a bit harder. Because the biscuit will only be crispy if you add more butter, like a cookie, but it is baked with more butter Sometimes it will be easily deformed and unable to control the appearance of the finished product. Therefore, this biscuit has a lot of flour and has a harder taste.

