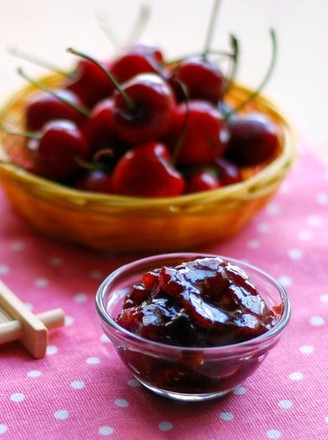
Homemade Cherry Jam
1.
Prepare a plate of cherries
2.
Wash the cherries and soak them in light salt water for 10 minutes
3.
Cut the cherries in half with a knife and remove the core
4.
Put the cherries in a pot, pour in sugar, mix well, marinate for 1 hour until softened
5.
Turn on a small fire, add rock sugar and simmer slowly
6.
During the boil, stir fry every moment to prevent the bottom from getting muddy
7.
When the rock sugar melts and the jam begins to thicken, squeeze into the juice of half a lemon
8.
Continue to boil to the consistency you like. Put the ready-made cherry sauce into a bottle while it is hot, close the lid and let it cool at room temperature, then store in the refrigerator
Tips:
1. Both types of sugar can increase the sweetness of jam. White sugar can make the pulp soften and make the water out of water for a shorter time. Rock sugar can make the finished jam more shiny. It is recommended to put both. Maltose can increase the consistency of the jam, if you have it at home, it is better to put a little bit, or leave it alone.
2. If you like to eat more delicate jam, you can also use a blender to crush the cherry pulp.
3. It is best to use a non-stick pot for making jam.
4. The bottle should be scalded with boiling water to disinfect and dry, so that bacteria will not grow when stored.
5. Homemade jam has no preservatives, so it is better to eat it as soon as possible, and it is best to eat it within a week after opening the lid.

