Horror Halloween Chocolate Cookies
1.
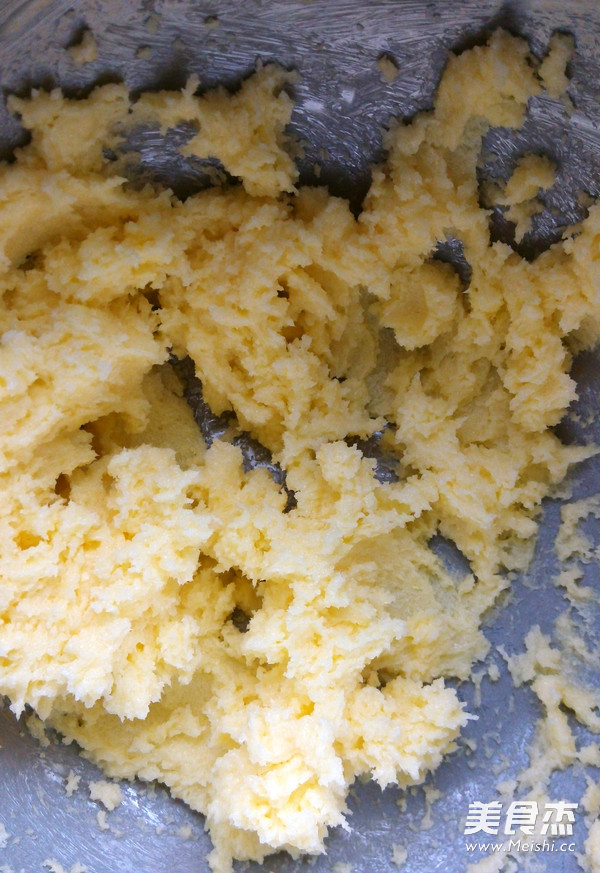
After the butter has softened at room temperature, add powdered sugar and beat smoothly
2.
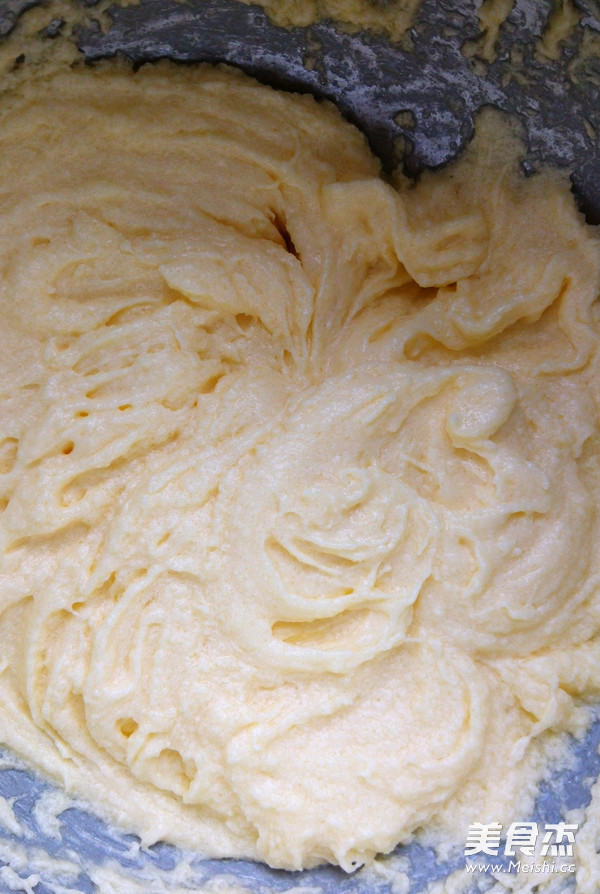
Add the egg liquid one by one and then beat until the egg liquid and the butter are completely fused without separation of water and oil
3.
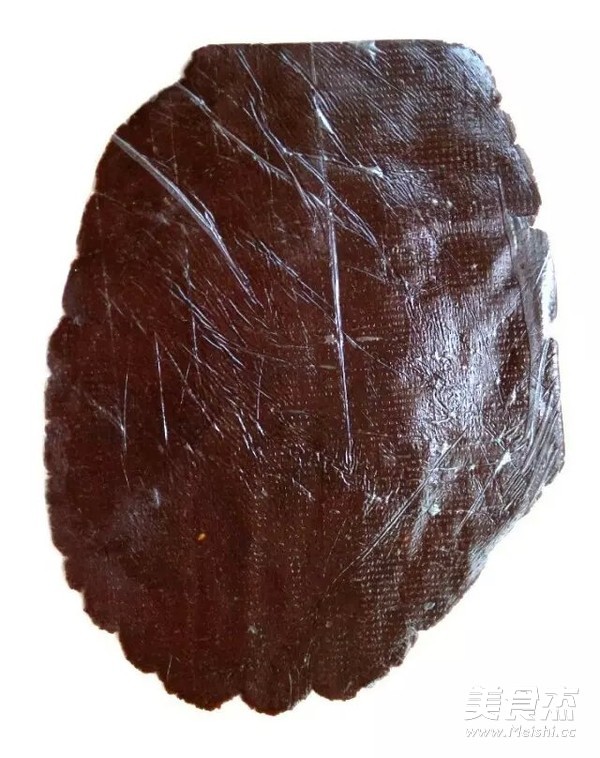
Sift in the mixture of low-gluten flour and cocoa powder, knead it into a dough, put it in the refrigerator for a while, sandwich it between two pieces of oil paper or plastic wrap, and roll it into thin slices
4.
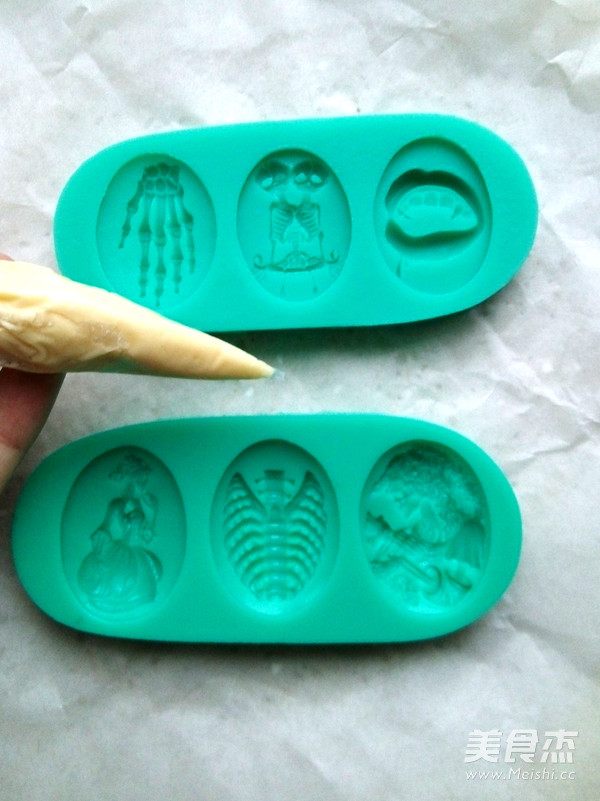
Take advantage of the time to refrigerate the dough to make the chocolate decoration on top. Put part of the white chocolate into the piping bag. After the water is melted, cut the piping bag into a small mouth, and evenly spread the chocolate liquid in the mold. After applying it, gently move it up and down several times to shake out bubbles
5.
Let stand for a while at room temperature, carefully remove the solidified chocolate from the mold and set aside
6.
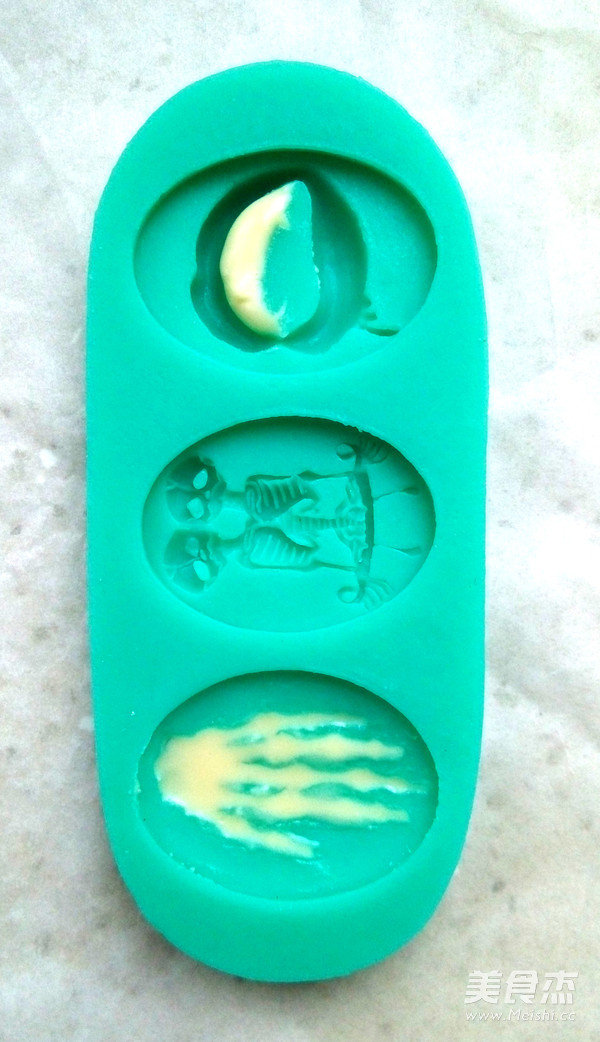
The same goes for the two-color chocolate decoration part. Fill it with melted white chocolate, put it in the refrigerator and freeze for a while
7.
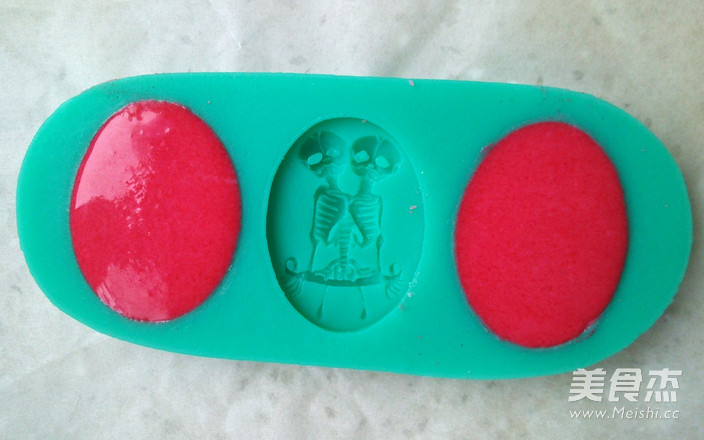
In the remaining white chocolate, add a little red food coloring and stir well, fill the whole mold, shake out bubbles, put it in the refrigerator to solidify, and release the mold for later use
8.
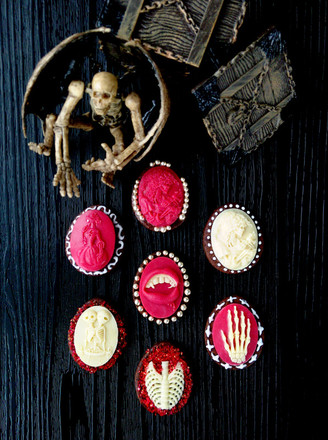
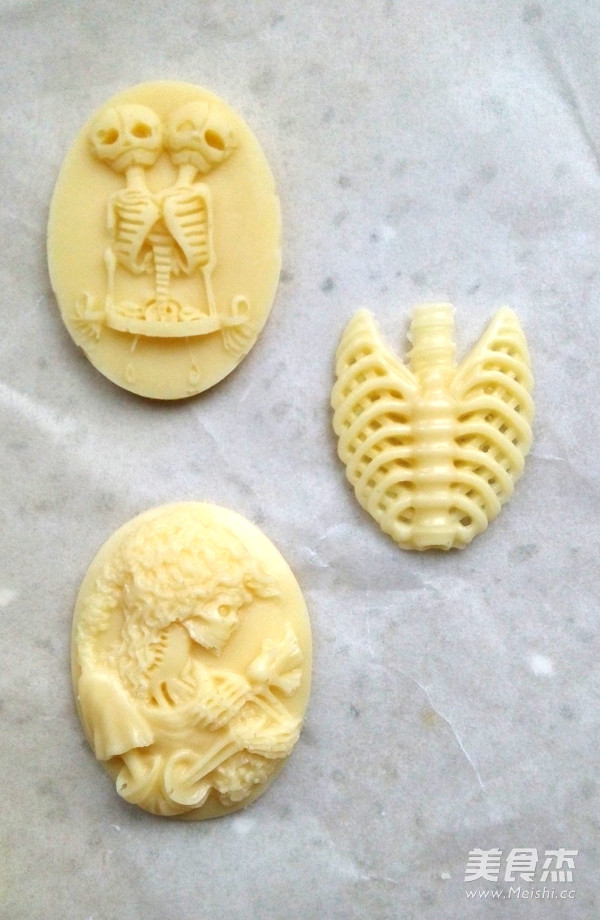
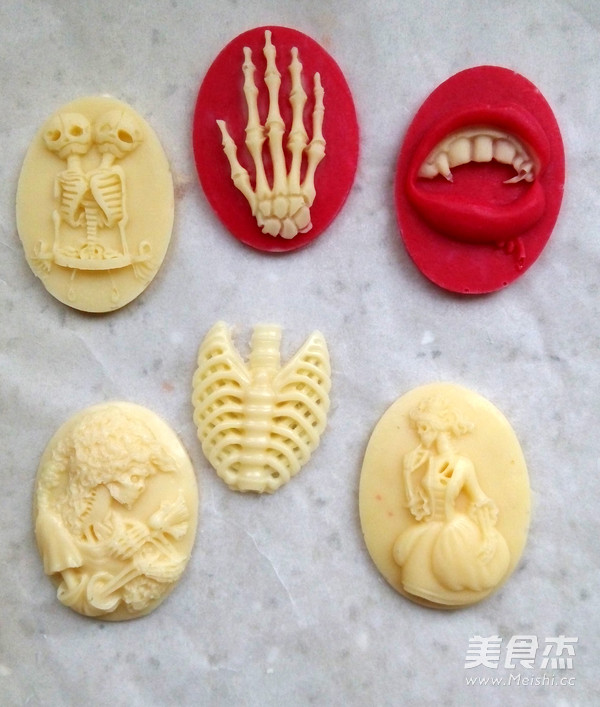
These are the finished chocolate decoration pieces
9.
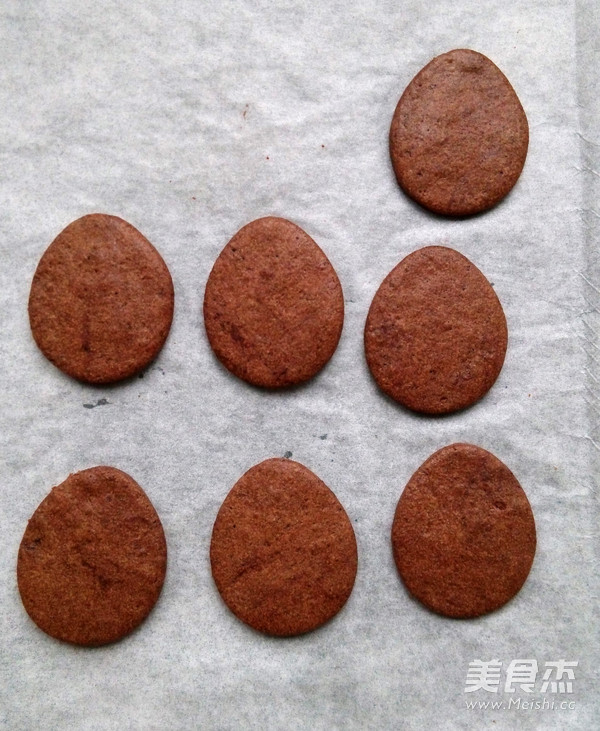
Continue to make the bottom of the biscuit. Cut the rolled dough piece into an oval or square shape slightly larger than the chocolate decoration, or other shapes. Put it in the middle of the oven, heat up and down at 165 degrees, and bake for about 15 minutes
10.
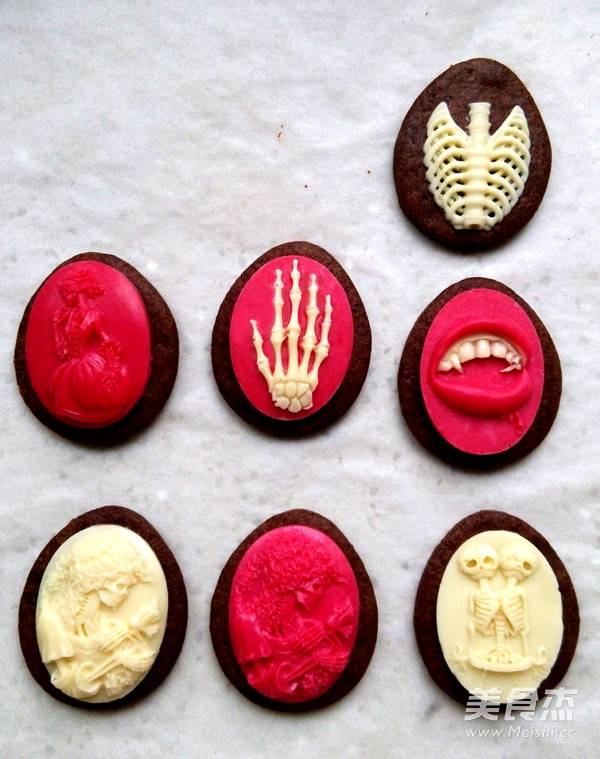
Let the biscuits cool slightly to the extent that they are not hot to your hands. Gently place the chocolate decoration on top, press a little, and let it sit for a while.
11.
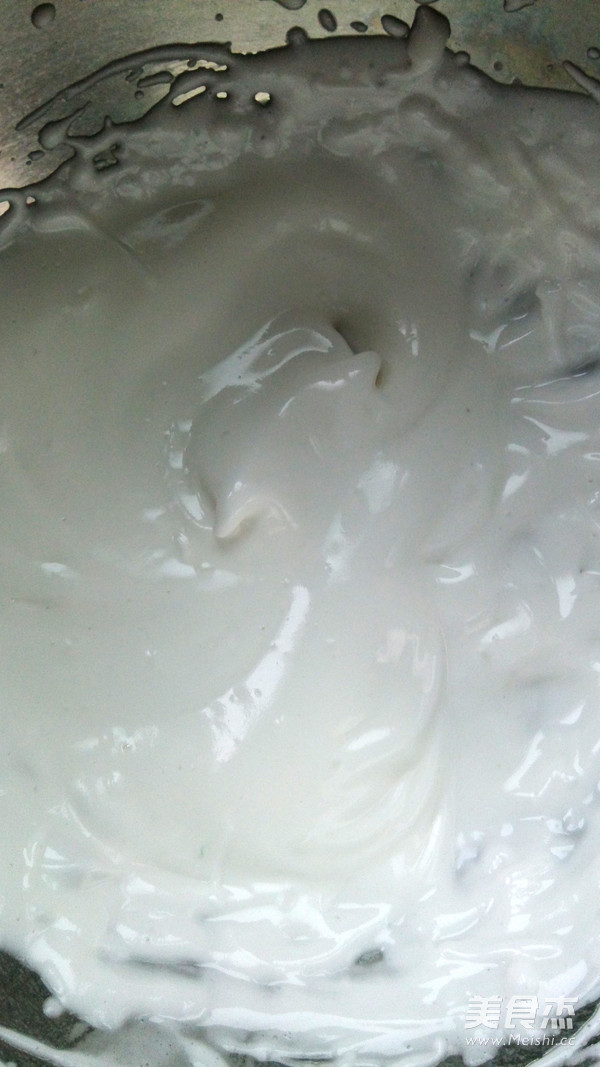
Add egg whites with powdered sugar and a drop of lemon juice until the pattern is obvious, drip into a straight line or become more viscous, and serve as icing sugar. Put it in a small piping bag
12.
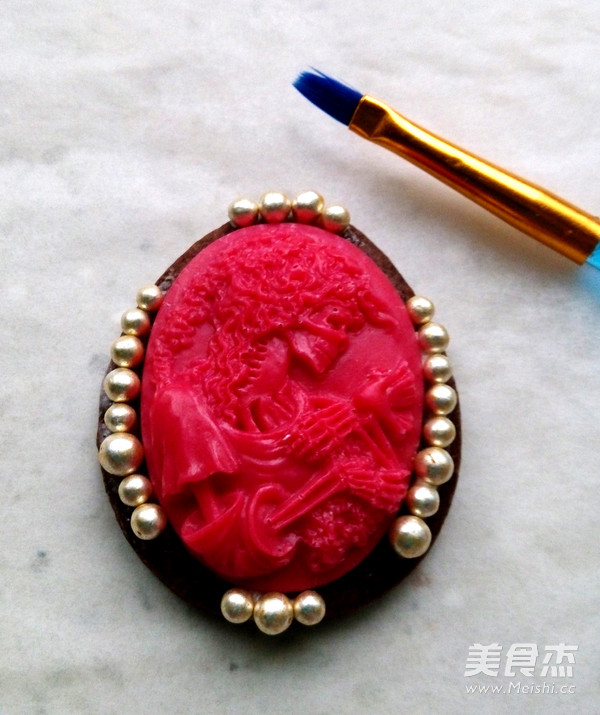
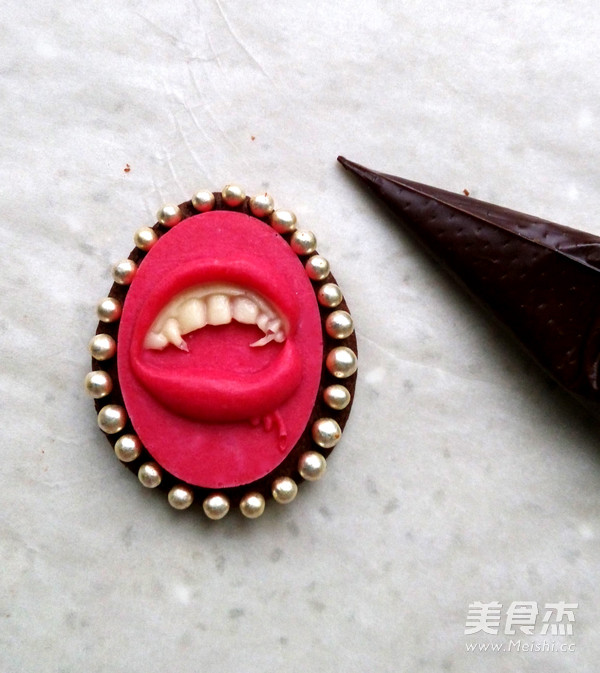
Put a little icing on the corresponding position on the biscuit, stick the sugar beads, and use a small brush to remove the excess icing. Let stand to dry
13.
You can also use dark chocolate to melt it in water, then tap a little to stick the sugar beads. All other decorations can follow this method

Tips:
Another method is to make the bottom of the biscuit first, and then cover the bottom of the biscuit while injecting the melted chocolate. It can be demoulded directly after solidification. In that case, there are several problems. One is that the shape of the bottom of the biscuit must be exactly the same as the oval shape of the mold, but the bottom of the biscuit will be slightly deformed during the baking process and it is difficult to be completely consistent. The second is that the bottom of the biscuit is pressed on the chocolate to solidify together. If the chocolate liquid is too much, it will be easy to squeeze out and stain the biscuit next to it. So we still make the bottom of the biscuit and the chocolate decoration on the top separately, so that you don't need a lot of molds, you can make many parts at once, and then combine them together.

