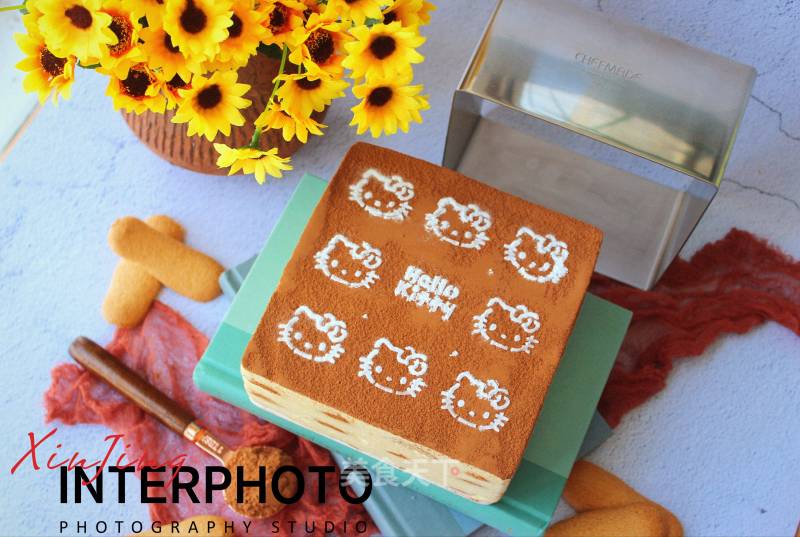
Kitty Cat Tiramisu
1.
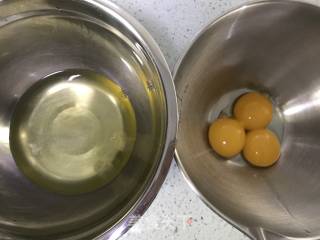
The egg white and egg yolk are separated in two oil- and water-free basins.
2.
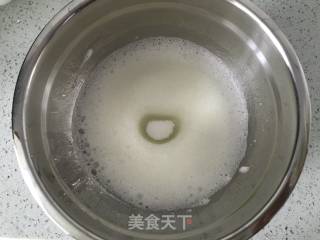
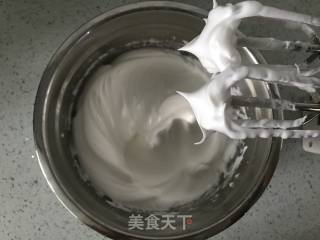
Add a few drops of lemon juice or white vinegar to the egg whites, turn on the electric whisk, and stir until coarse foaming. Add one third of the fine sugar 1, and continue to beat until the egg whites are thick and foam. Then add one third of the fine sugar. At this time, the electric whisk is turned to mid-range, and continue to beat until the egg whites have a little texture, add the remaining fine sugar, and then continue to beat.
3.
When the egg whites are in a delicate and smooth state, lift the whisk to a small upright corner, and stop blowing.
4.
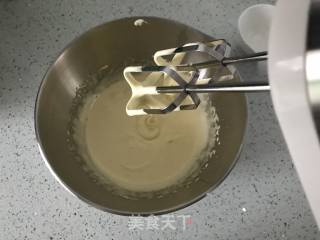
Add fine sugar 2 to the egg yolk, turn on the electric egg beater at the highest speed and beat until the egg yolk is thick and whitish and swells to twice its size. Lift the egg beater, and the dripping lines will not disappear within 10 seconds.
5.
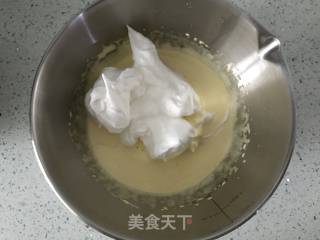
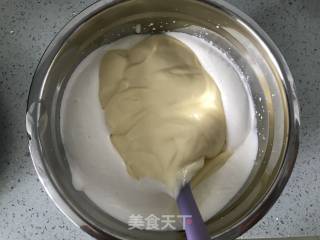
Add one-third of the egg whites to the egg yolk paste and mix well.
6.
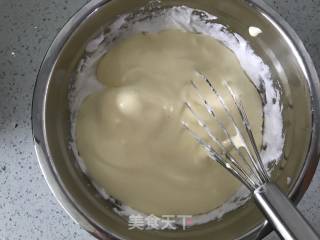
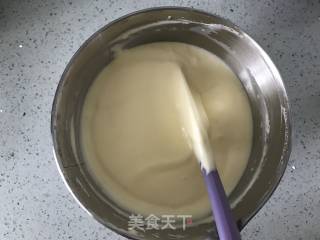
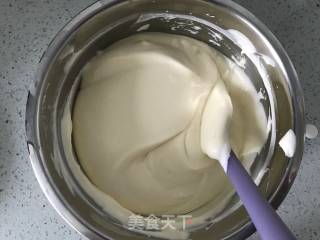
Pour the evenly mixed egg yolk paste into the remaining egg whites and continue to mix evenly.
7.
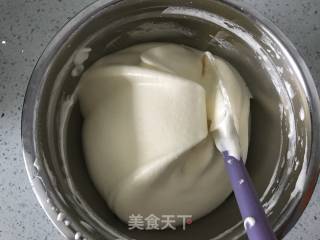
The state after mixing evenly.
8.
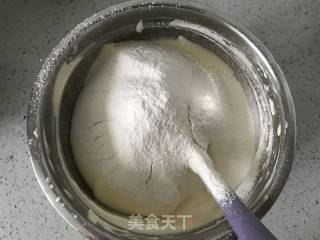
Sift in low-gluten flour.
9.
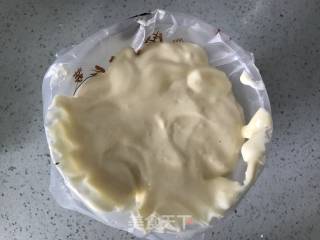
Stir until there is no dry powder, and put it into a piping bag.
10.
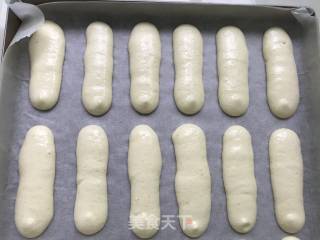
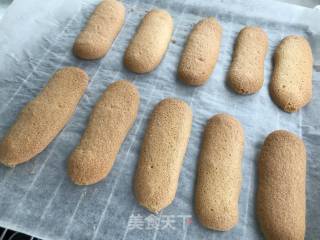
Preheat the oven up and down at 170 degrees, spread oil paper on the baking tray, cut a hole in the piping bag, and squeeze them into strips. Put it in the middle of the oven and bake at 170°C for 15 minutes until the surface of the biscuits is golden and ready to go out of the oven.
11.
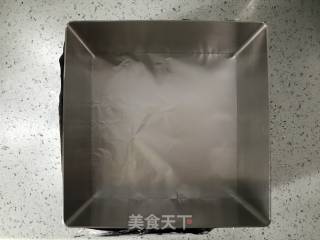
Wrap the bottom of the mousse ring with tin foil.
12.
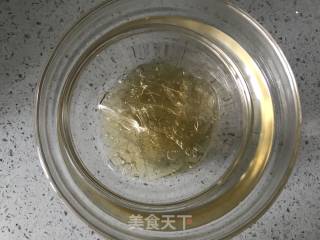
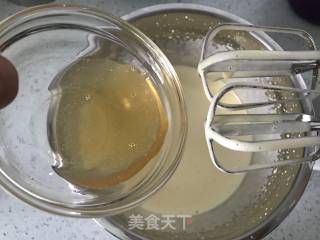
Gelatine tablets are soaked in ice water to soften, and the insulated water melts.
13.
After the biscuits are out of the oven and let cool, they are removed from the greased paper and set aside.
14.
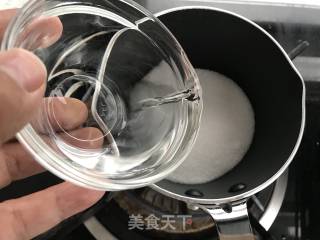
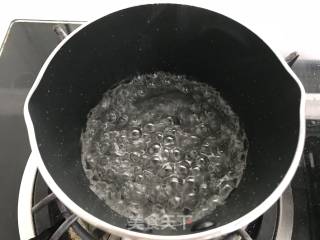
Pour the granulated sugar into the milk pan, add mineral water, and bring the gas to a boil.
15.
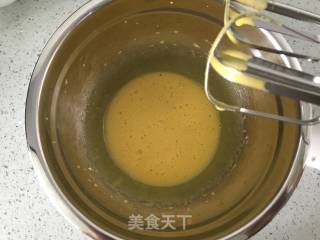
The egg yolks are broken up with an electric whisk.
16.
After boiling, wait another two minutes to turn off the heat.
17.
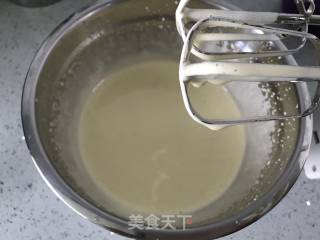
The sugar water is slowly poured into the egg yolk in a uniform and trickle state. At the same time, the right hand turns on the whisk to beat the egg yolk at the highest speed until the egg yolk becomes thick, white in color and obvious lines.
18.
Add the gelatin solution and stir evenly with an electric whisk.
19.
Mascarpone uses an electric whisk to whip smoothly. Don’t beat it. Just a few beats to make it smooth. Excessive whisking will separate oil and water. Add half of the egg yolk and mix well, then add the rest of the egg yolk. Mix well.
20.
Whip the whipped cream until it is five to distribute. It is thick and fluid. Add the mixture of mascarpone and egg yolk and mix well.
21.
The state after mixing evenly.
22.
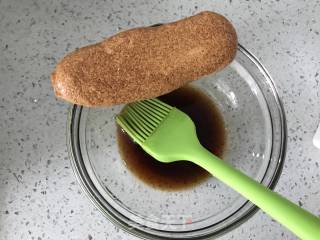
Brush both sides of the finger biscuits with coffee wine with a silicone brush.
23.
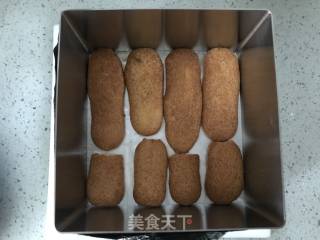
Spread the finger biscuits with coffee wine on the bottom of the mousse ring.
24.
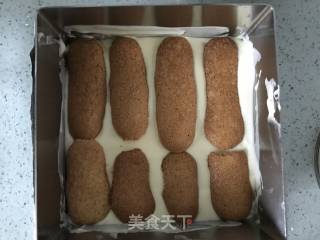
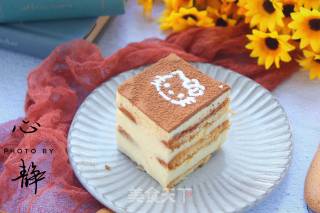
Pour one layer of taramisu solution, then spread a layer of finger biscuits, repeat this three times, spread three layers of finger biscuits, and pour three layers of tiramisu solution.
25.
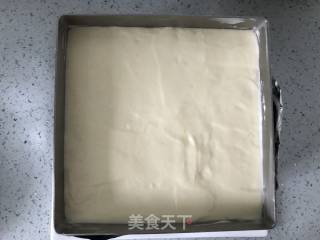
Finally, smooth the surface with a spatula and put it in the refrigerator for more than four hours.
26.
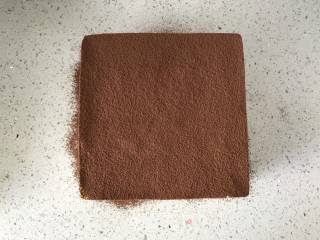
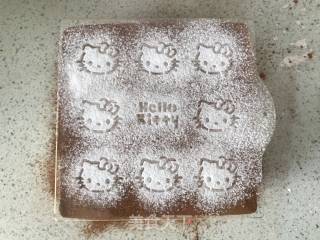
The refrigerated tiramisu is blown around the mold with a blower for two minutes, then demolded, and a thin sieve of cocoa powder is placed on it.
27.
Sift the powdered sugar again.
28.
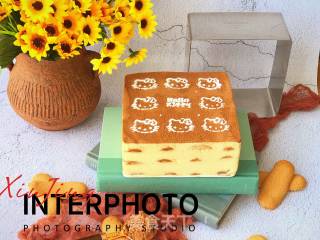
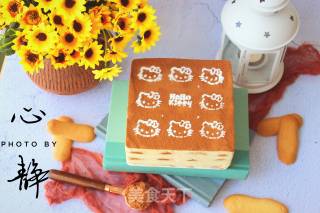
Finished product.
29.
Meng Meng Da.
30.
section.
Tips:
1. First, gelatine tablets must be soaked in ice water to soften, not tap water, and use mineral water refrigerator after refrigeration.
2. Don't spend too much Mascarpone to avoid separation of oil and water. Third, after sifting the powdered sugar, lift the powdered sugar sieve vertically, otherwise the surface will be scratched.

![Seasonal Vegetable Patties [baby Food Supplement] recipe](https://img.simplechinesefood.com/02/024b910033009872aea33017c755a377.jpg)
