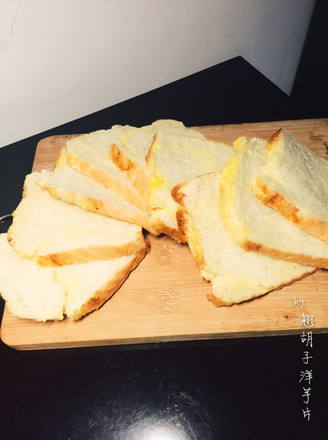
Let's Fit Together! Coconut & Toast!
1.
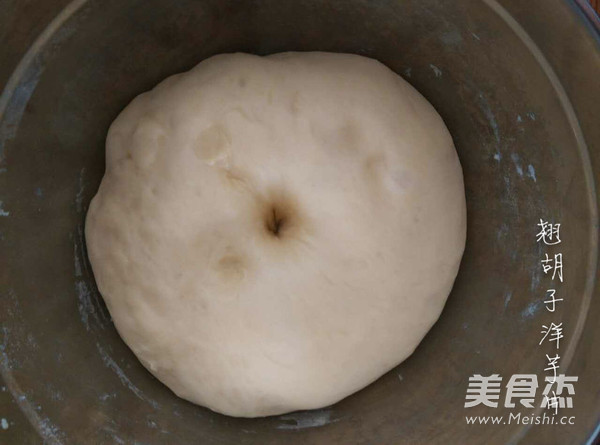
Dry yeast and coconut milk are melted, and let stand for about 5 minutes. All ingredients except butter are mixed evenly and knead into a dough. All kinds of beating, beating, kneading and kneading to make the dough come out and add softened butter, continue beating and kneading until the surface The film can be pulled out, that is, put it in a basin in the fully expanded stage and cover it with plastic wrap, and ferment to twice the original volume. The fingers will be dipped in the flour and the hole will not shrink, and it will be ready (the main ingredient is the bread embryo)
2.
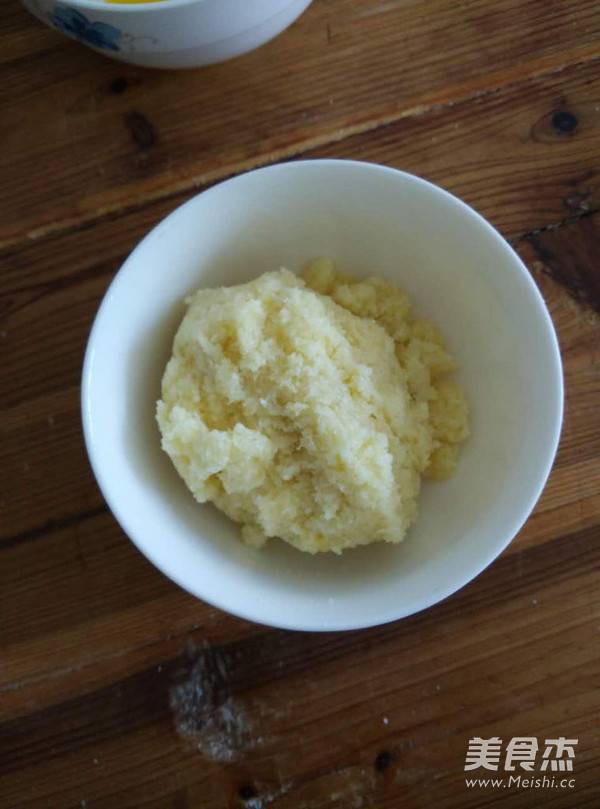
When fermenting the dough, process the coconut paste. After the butter is melted in water, add the soft sugar, milk, and condensed milk to the melted butter and mix well; sieve in low-gluten flour and mix well; add coconut paste and mix well; add half an egg yolk, mix well Evenly and spare
3.
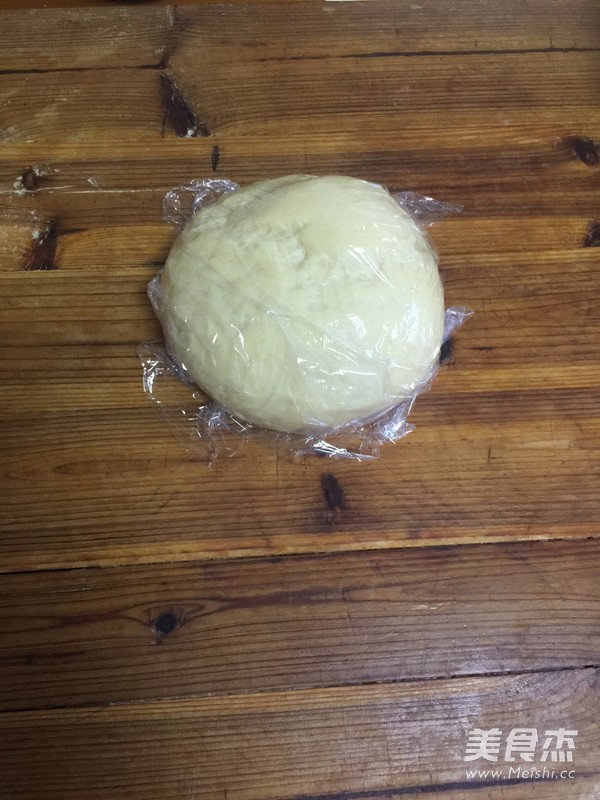
After the dough has doubled in size, take it out and wrap it in plastic wrap and let it wake up for 20 minutes
4.
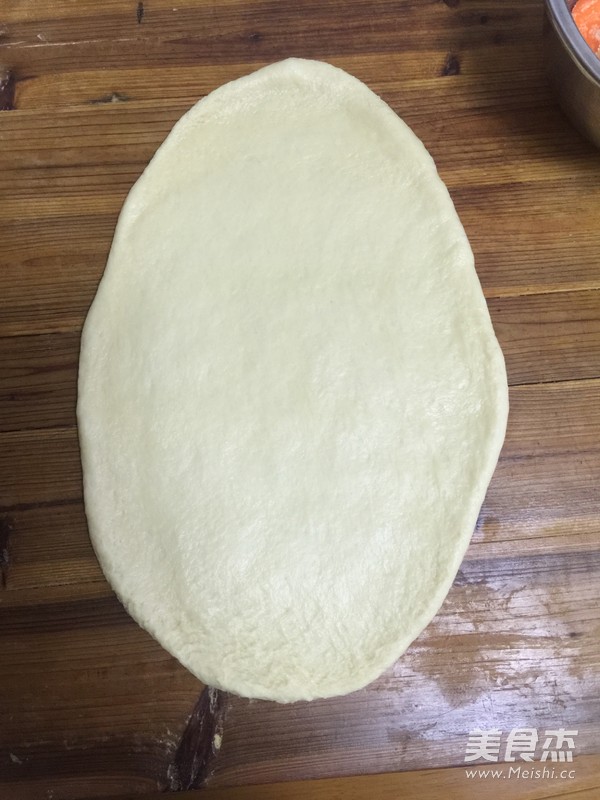
After waking up, roll it out into dough
5.
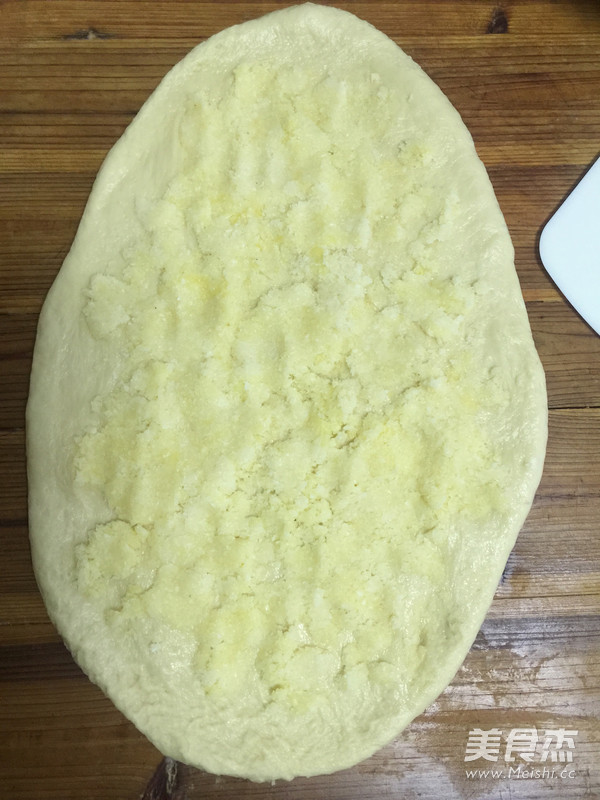
Spread the minced coconut evenly on the dough, roll it up from left to right as a letting, if you want to go from right to left, you can
6.
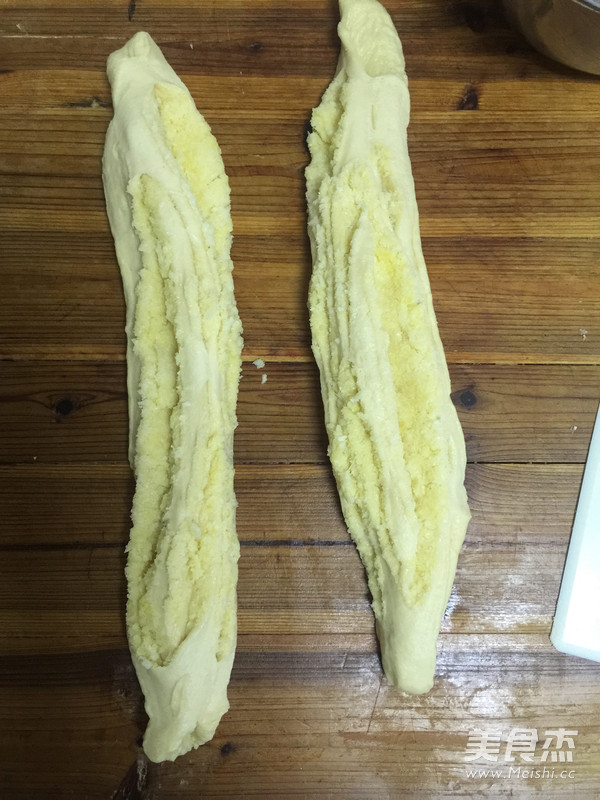
Cut it in the middle with a knife, the side with the mashed coconut is facing up
7.
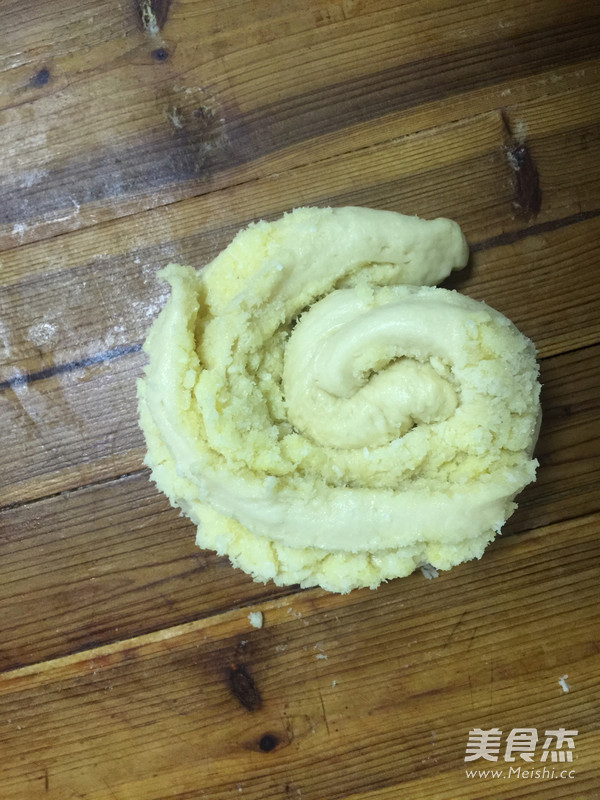
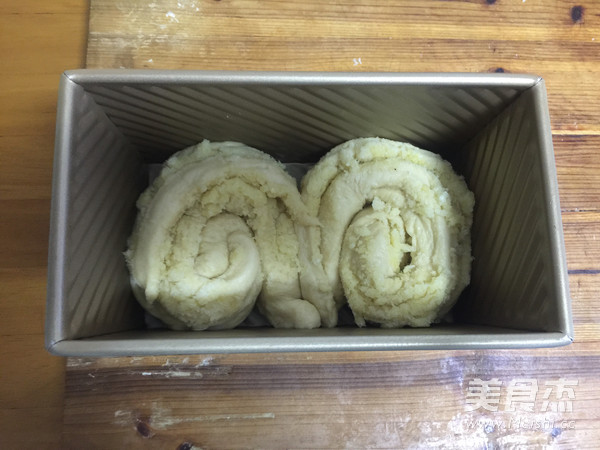
Then roll it up roughly! Remember that the side with coconut paste is up~
8.
After the two are rolled up, put them into the toast box, and ferment them in the oven for the second time until they are 80% full. Pay attention when fermenting in the oven. Put a bowl of boiling water at the bottom of the oven to maintain the humidity of the dough. The fermentation time is about forty minutes.
9.
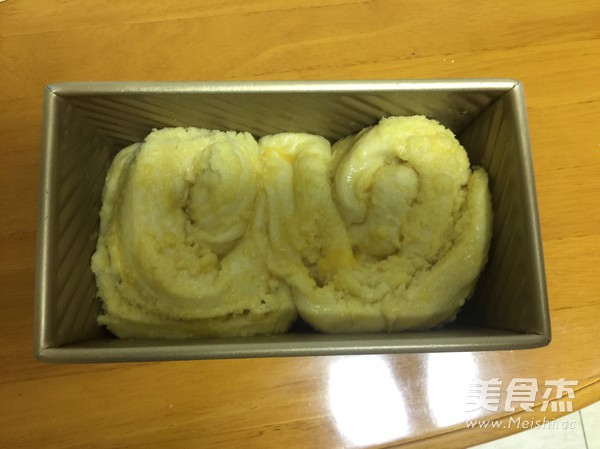
After fermenting to 80% full, take it out, brush the egg liquid on the surface, and preheat the oven
175℃, upper and lower fire, middle layer, 40min
After taking it out, buckle upside down, shake lightly, and demold, because the mold is not sticking, it is easy to take off~
Tips:
Because there is no lid, you must keep it by the side of the oven a few minutes before baking. After coloring, cover the tin foil in time to make the color of the bread just right~

