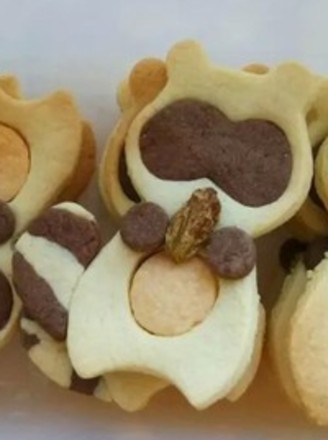
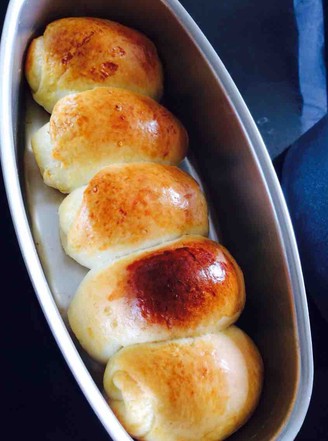
Little Raccoon Butter Cocoa Cookies
1.
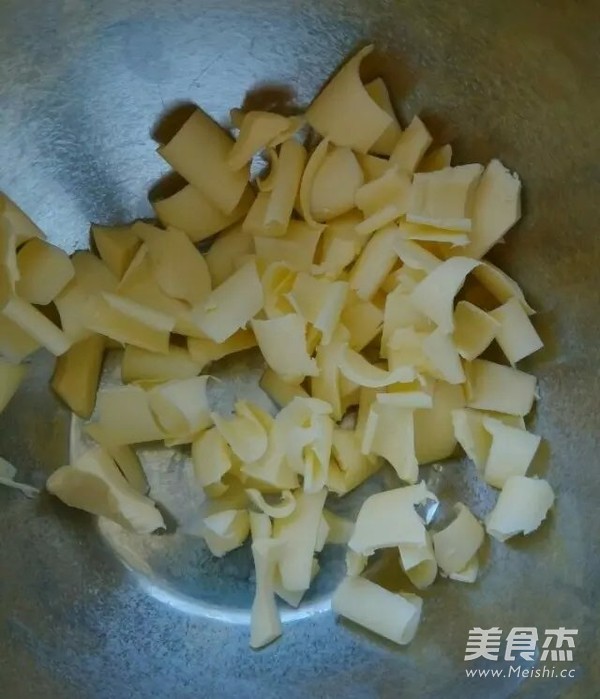
The butter softens at room temperature.
2.
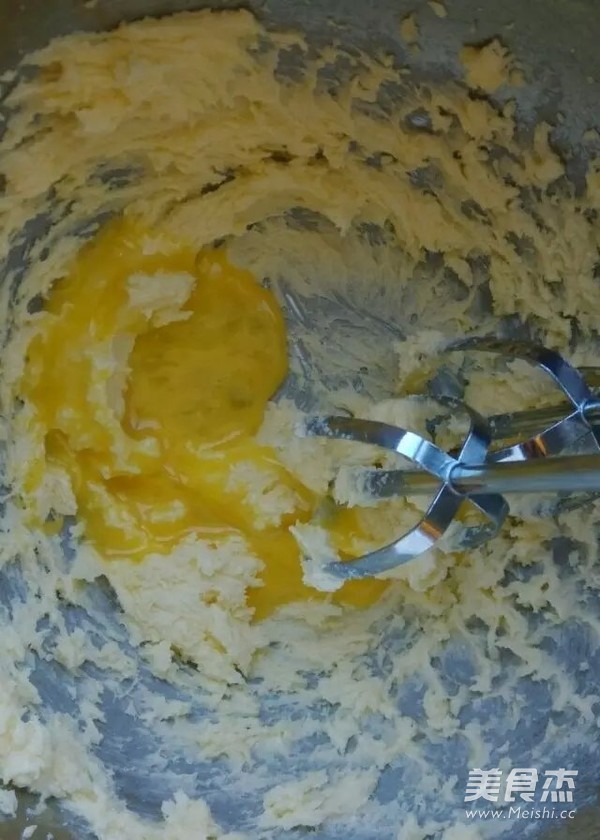
Add granulated sugar to the softened butter and beat it with an electric whisk. Then add egg yolk in batches and beat.
3.
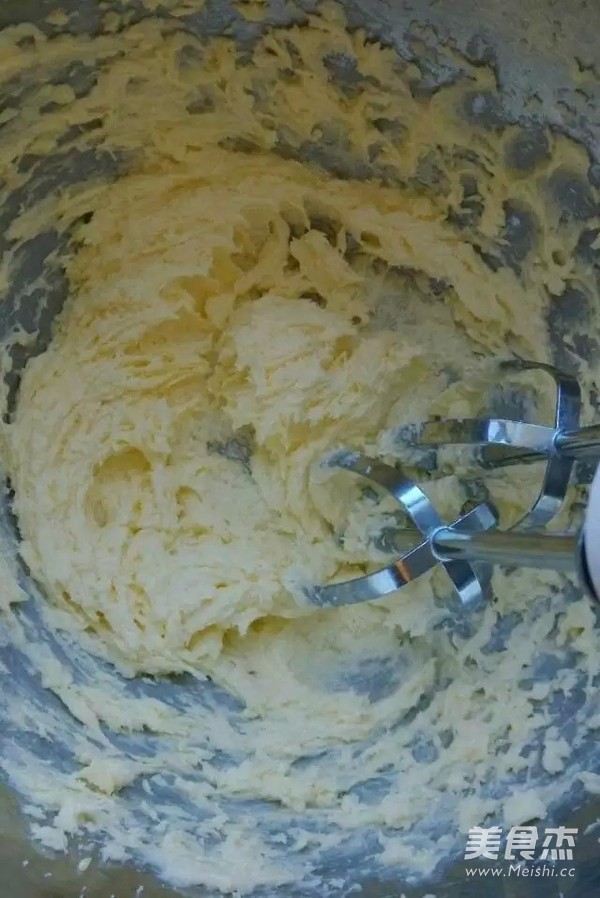
Dispatch it until it is completely mixed, the color becomes lighter, and the volume swells.
4.
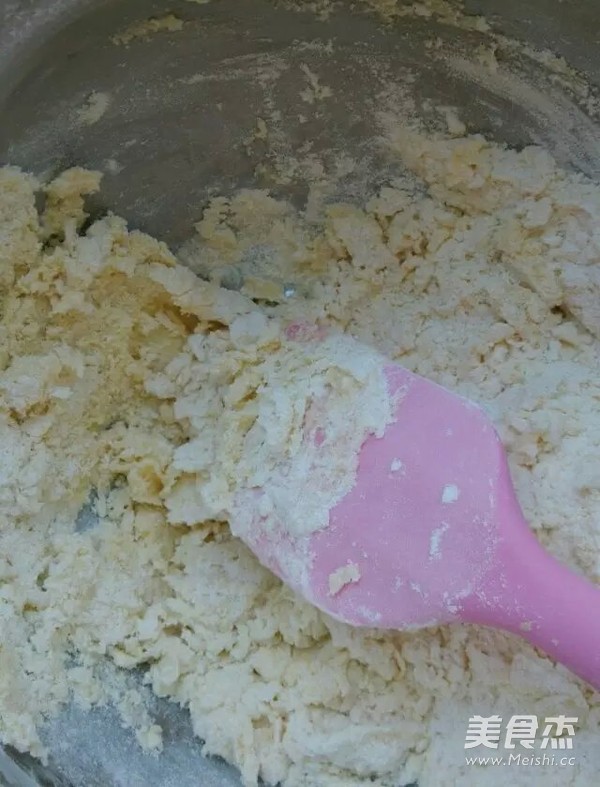
Stir in the mixture of low-gluten flour and high-gluten flour with a spatula.
5.
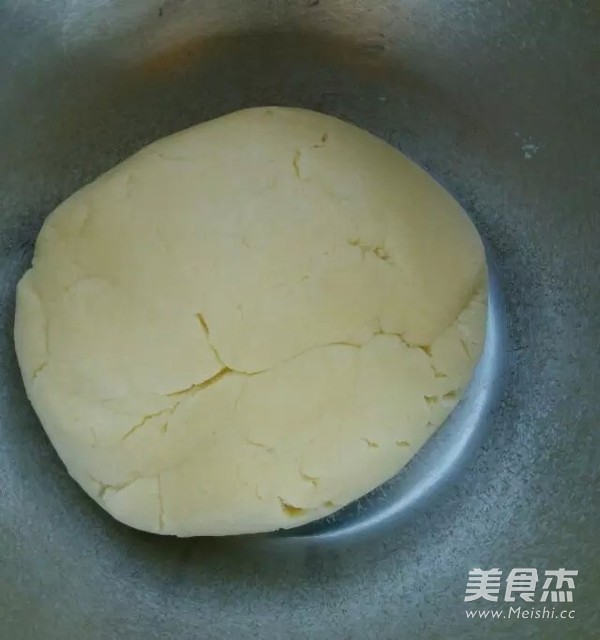
Knead it with your hands to make a smooth surface, it won't stick to your hands at this time. Cover with plastic wrap and let stand for ten minutes.
6.
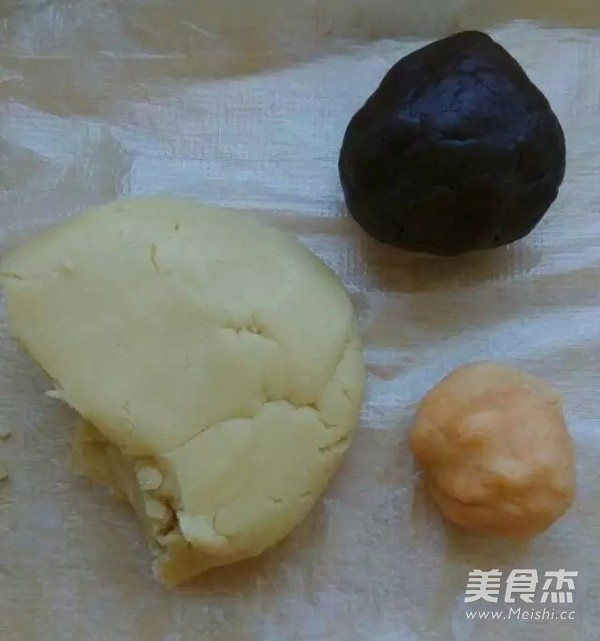
Divide a small piece, add cocoa powder, and knead it into cocoa dough. Another small piece, you can add colored fruit and vegetable powder, I added freeze-dried mango powder. You can also divide the dough into primary color and cocoa without adding it.
7.
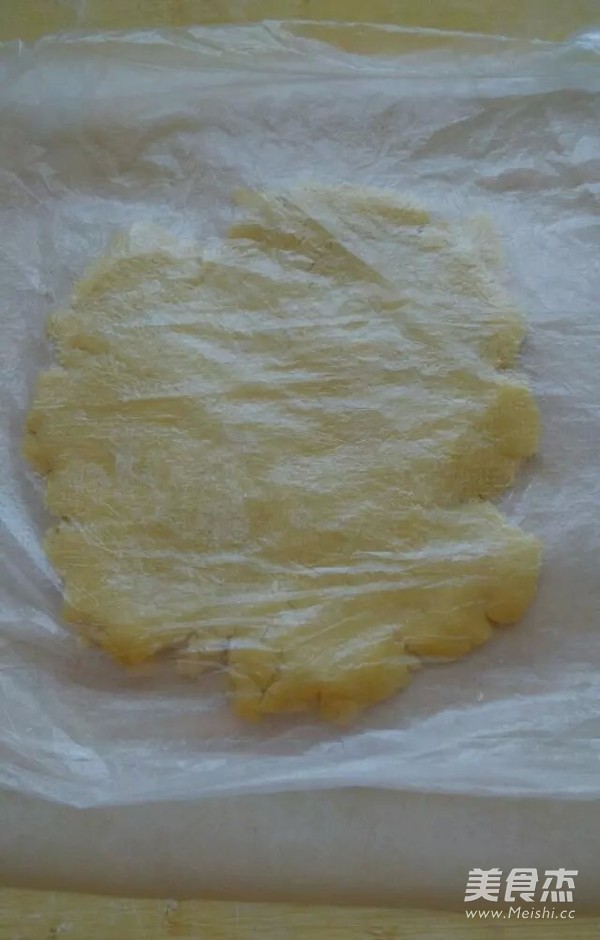
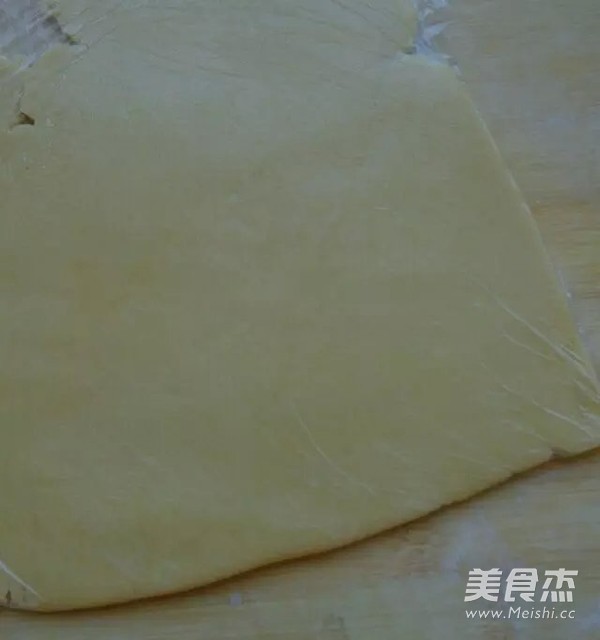
Put the dough in a fresh-keeping bag and roll it flat with a rolling pin so that it will not stick to the rolling pin.
8.
Roll it into a uniform sheet about 3mm thick and place it on greased paper.
9.
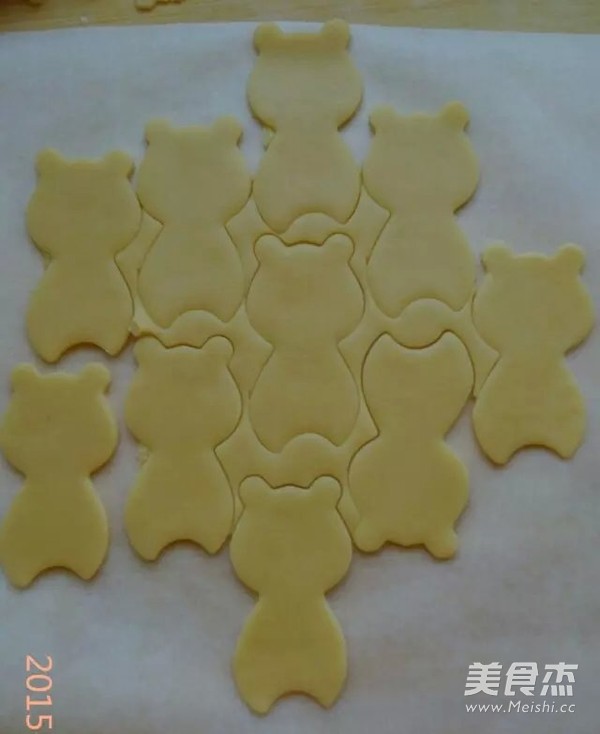
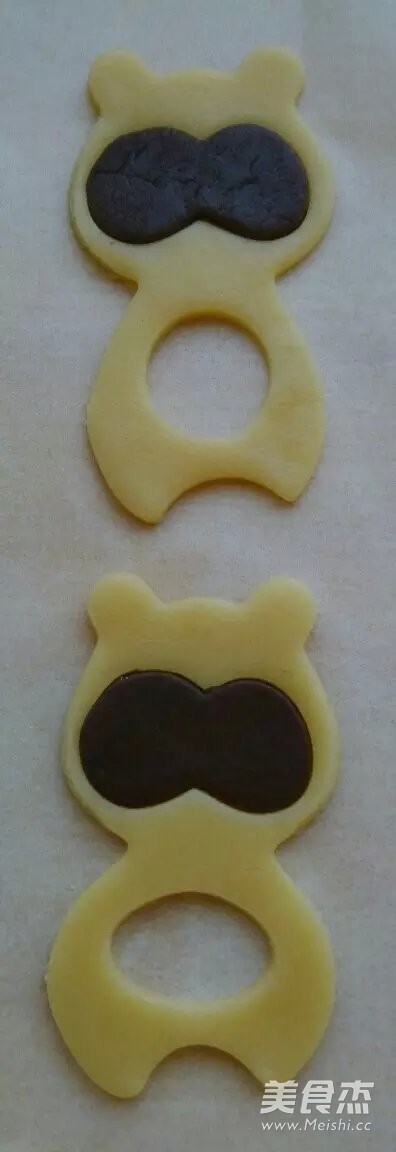
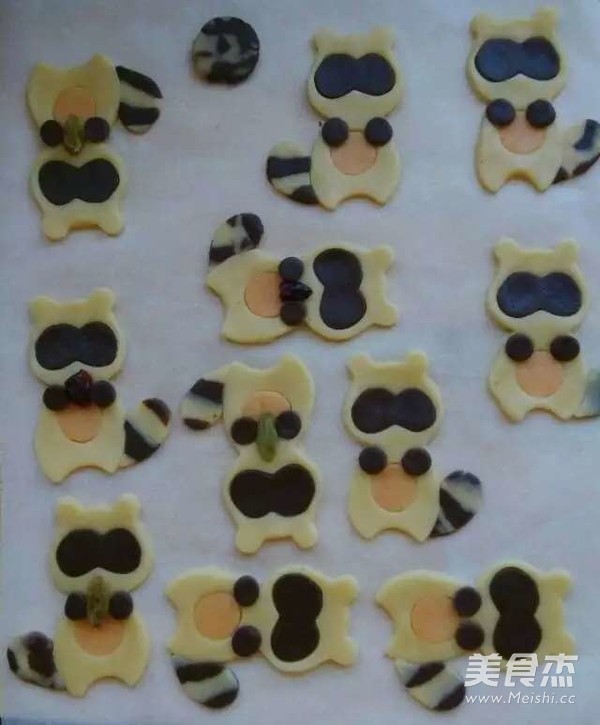
Use the body contour mold to extrude the shape. The part that needs to be removed in the middle can be easily removed by bending the oil paper underneath slightly.
10.
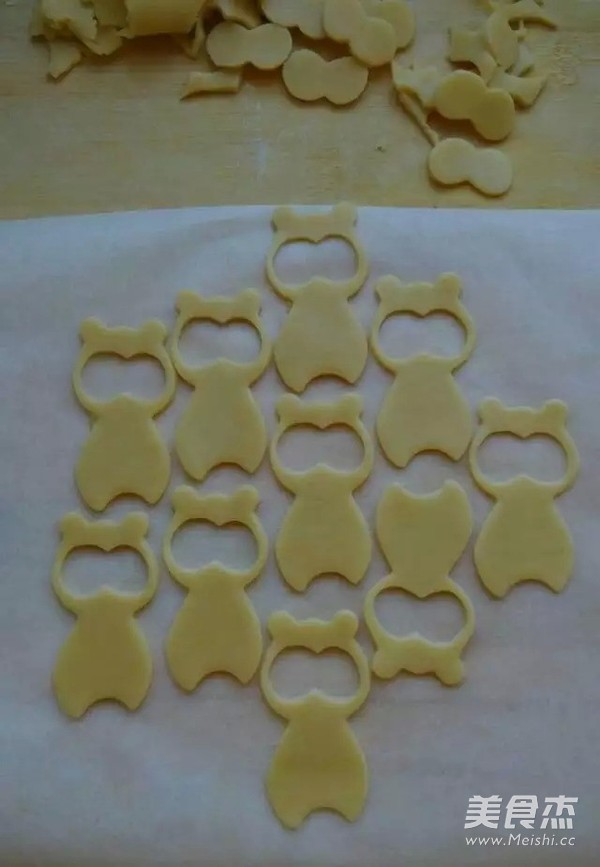
Use the mold of the orbital contour to press out the orbital shape on the body, and take out the orbital shape. .
11.
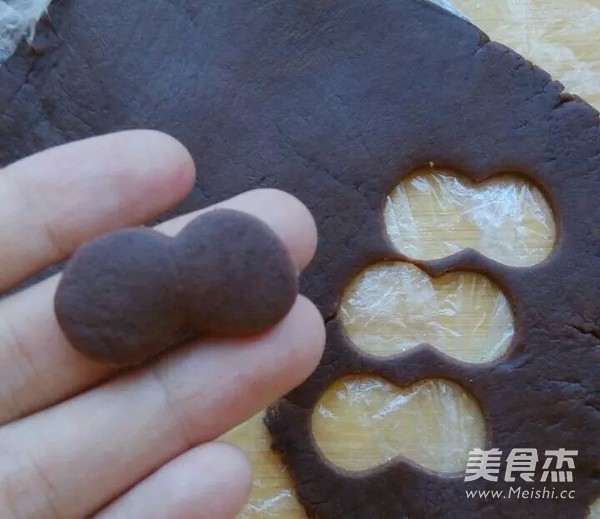
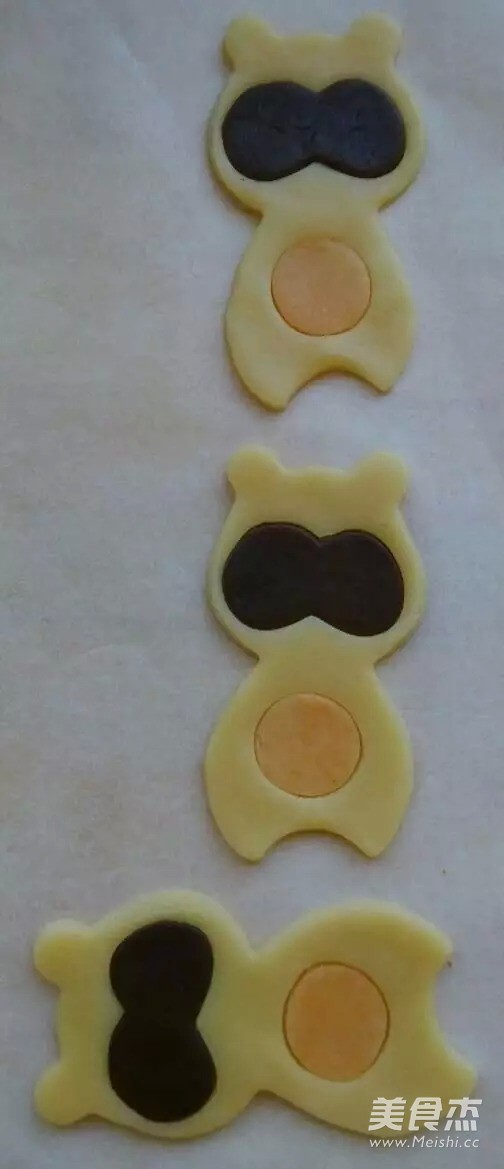
In the same way, roll the cocoa dough into thin slices and press out the desired eye socket shape. Press the orange map out of the shape of the belly.
12.
Place the cocoa dough in the shape of eye sockets on the body. Press lightly on the edges of the contact to make the bond better.
13.
Put on the belly too.
14.
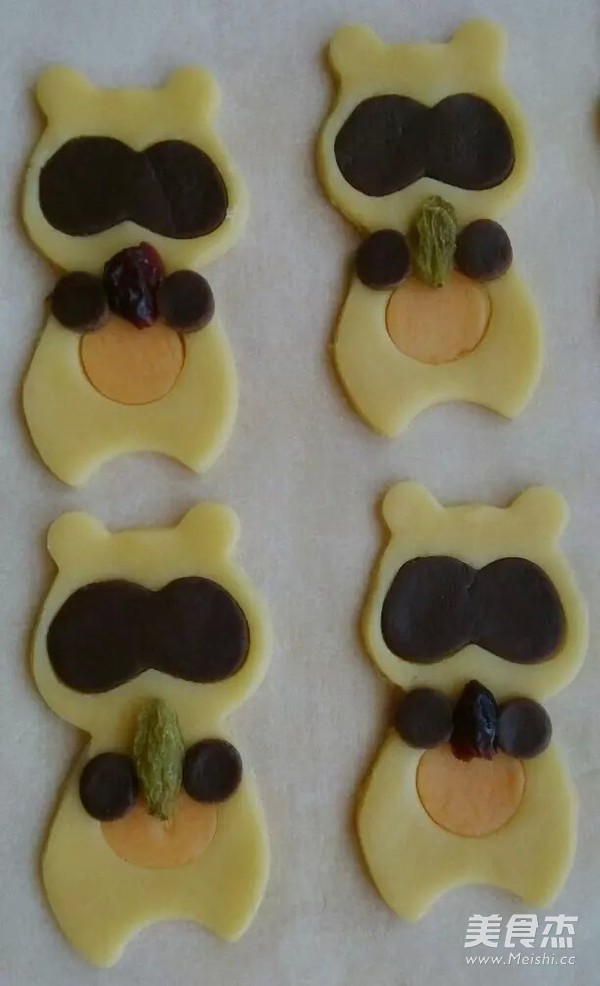
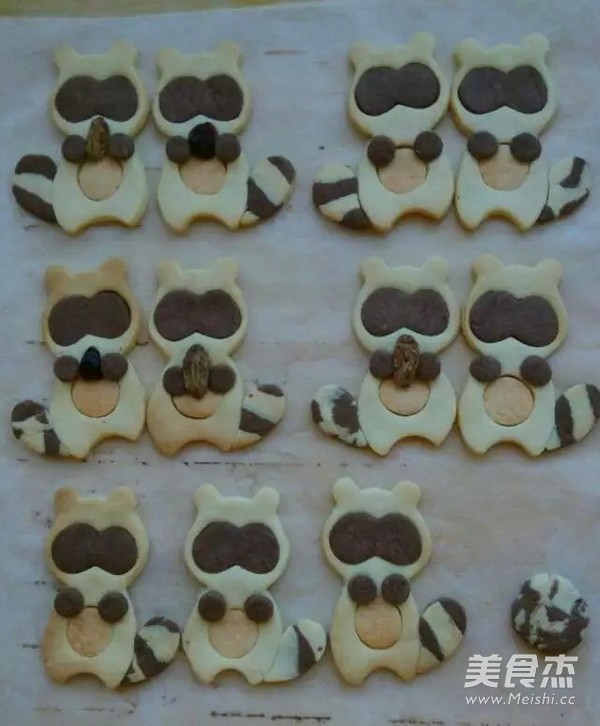
Similarly, press out two small round hands and place them on the body. Dried cranberries or raisins, almonds, peanuts, walnuts, etc. can be placed between your hands.
15.
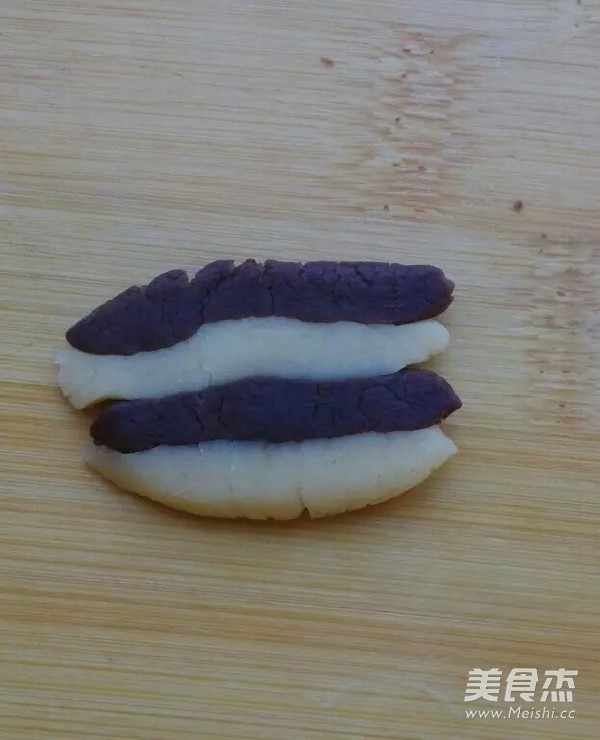
Make a striped tail. Knead the original color and cocoa dough into strips, glue them together, and press out the shape with a mold. The strips can be made very long at a time, but for the sake of economy and convenience, I made short strips.
16.
Attach the tail to the body. Feel free to move left or right. .
17.
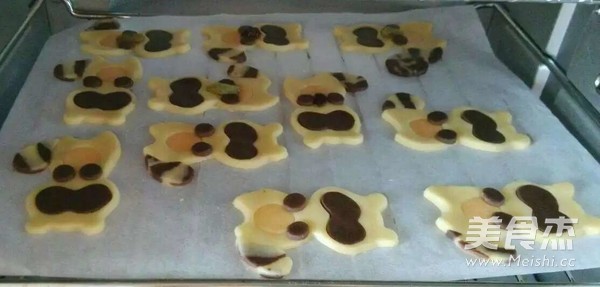
Preheat the oven for 170 minutes for 10 minutes. Put the oil paper directly into the oven, 170 degrees, up and down, middle level, about 15 minutes. The specific time can be adjusted according to the thickness of the biscuit.
18.
Okay, just paint the edges. You can eat it after letting cool. . . Isn't it cute? . . Hehe. . .

Tips:
1. When the butter is softened, use a knife to scrape it into thin slices, which can effectively shorten the time spent.
2. When kneading the dough, if the room temperature is high and it feels sticky, you can put it in the refrigerator and refrigerate it.
3. Put the rolled noodles on greased paper, and then press out the shape with a mold. If you don't use it to move back, the greased paper can be directly put into the oven to bake, so as to prevent the biscuits from deforming, which is also more convenient.
4. When using a biscuit mold to make a shape, press down and shake the mold slightly to bring the mold into close contact with the oil paper, and then pinch the mold to take out the unneeded part of the dough from the middle. But the shaking amplitude must be small, otherwise the cut out shape will be too large, and the gap between the filling part will be too large, which is not suitable.
5. When you put your hands together, put dried cranberries, raisins, almonds, peanuts and the like directly between your hands, so that you don't need to use chocolate to stick them when they are out of the oven. They are directly glued to the bottom of the biscuit.
6. I wanted to use chocolate to dot my eyes, but I just ran out of black chocolate, and I couldn't see clearly when I dot ordinary chocolate, so I was simply lazy and saved this process.

