Matcha Ice Cream
1.
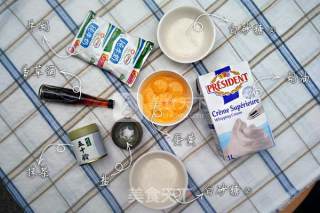
Prepare materials and complete weighing
2.
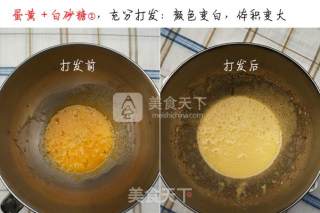
Egg yolk + white sugar 1, mix, and stir until the volume becomes larger and the color becomes lighter
3.
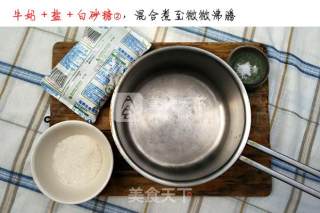
Milk+salt+white sugar 2, mix, medium-low heat, boil until slightly boiling (small bubbles are fine)
4.
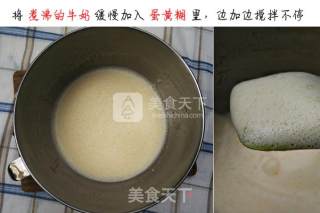
Slowly add the boiled milk in step ③ to the egg yolk in step ②, and stir quickly while adding it. After washing, the custard will have rich foam
5.
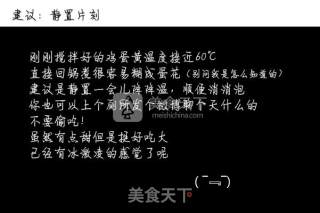
It is normal to let the liquid of step ④ cool down during the defoaming period. The temperature of the freshly prepared custard is close to 60°C, and it is easy to overcook if heated directly.
6.
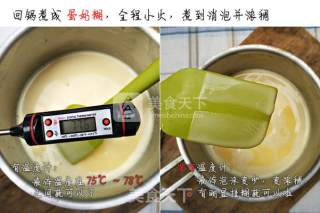
Return the slightly cool custard in step ④ to the pot, boil on low heat, and stir constantly. Judgment basis: there is a thermometer: cook until the liquid is between 75~78℃; without a thermometer: cook slowly, the foam gradually disappears, the liquid thickens and there is a paste, and there are obvious marks when you wipe it with your fingers.
7.
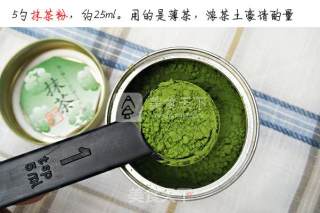
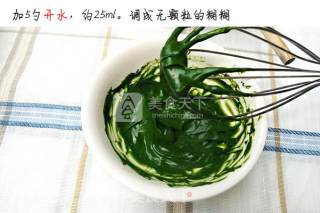
Take 5 teaspoons of thin tea, about 25ml
8.
Add 5 teaspoons of boiling water, about 25ml. Stir evenly without particles. (It is recommended to use egg soak, I tried it with chopsticks, but it was exhausted to no effect)
9.
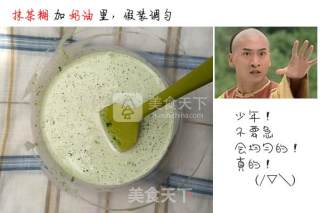
Add step ⑧ to the cream, mix it casually, it’s fine if there is no big lumps
10.
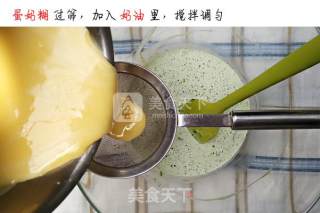
Sift the custard that has been heated in step ⑥, add it to the cream, and mix it casually.
11.
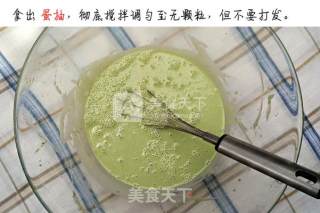
Use egg soak and stir quickly for a while to make the mixed matcha particles evenly mixed. Don't over-stir, and don't pass the cream!
12.
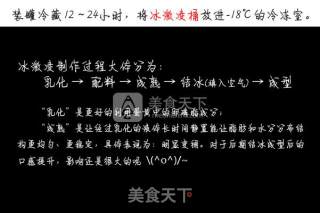
Put it in the refrigerator and chill for 12 to 24 hours. Make the ice cream liquid stable and mature (make the grease and water evenly distributed) Friends who have ice cream buckets can also start freezing the buckets.
13.
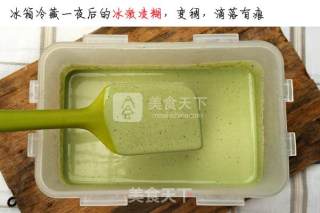
The ice cream liquid after standing still and mature: it thickens obviously, and there are traces of dripping
14.
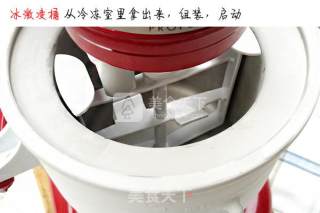
Prepare the ice cream machine, assemble, and turn on the power, start empty mixing
15.
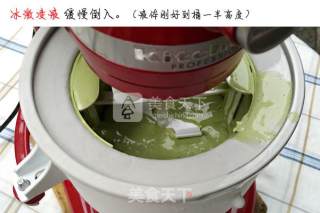
Pour the ice cream liquid slowly into the idling ice cream machine. Obviously, the ice cream liquid at this time reaches the general height of the bucket (you can see the paddle in the middle layer)
16.
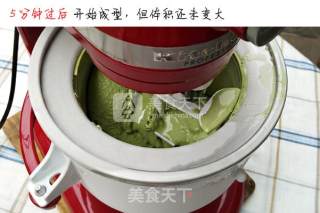
After stirring at room temperature for 5 minutes, the liquid began to freeze and form, but the volume did not change significantly (the room temperature here is about 26℃, the temperature is a bit high)
17.
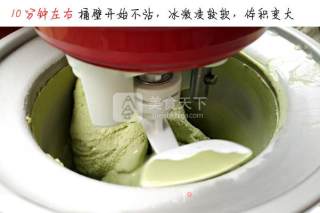
Continue to stir at room temperature, until about 10 minutes, you can see that it gradually does not stick to the wall of the bucket, and the volume of ice cream has increased significantly
18.
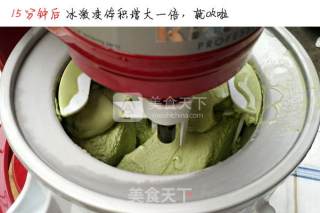
After 15 minutes, the volume of the ice cream has nearly doubled, with obvious thickness. It does not stick to the wall of the bucket, which means that the ice cream is ready.
19.
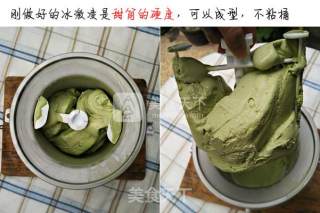
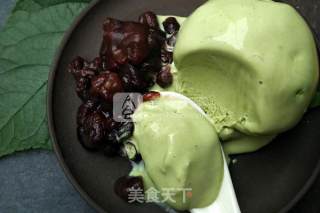
Take it out and take a look, it is obvious that this state is not reachable by non-machines~ The ice cream at this time is the same as the commercially available cone ice cream and sundae cups. It can be shaped and has a soft and smooth taste. If you need to be harder, you can put it in the refrigerator for a while.
20.
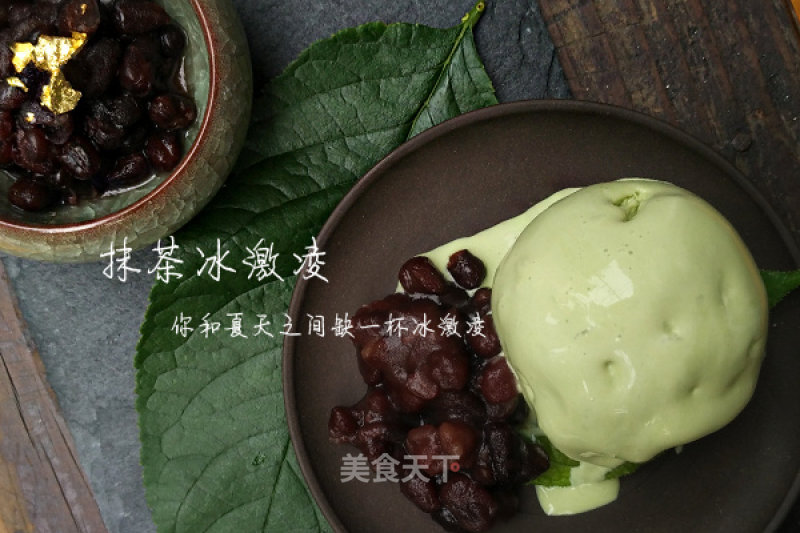
This ball is directly dug out for freezing, the surface is easy to melt, but the inside is still very firm~ Matcha with red beans, perfect~
21.
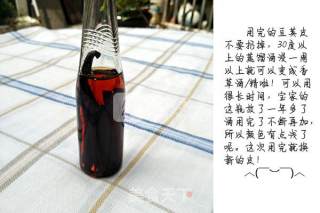
By the way: share the magical effect of vanilla peel. Many people like to make vanilla sugar, but it is very luxurious and expensive~ Leave the peel in the wine, any liquor will do, as long as the temperature is above 30 degrees, it’s ok, like vodka and Lang Mud wine is also fine. Generally, the color of the new bubble is darker than mine, anyway, the bubble is less thick, and the bubble is lighter. All-match, almost all pastries can be used, the last added
Tips:
The freezing temperature of the ice cream bucket should be below -18°C for more than 10 hours. Many old-fashioned refrigerators or refrigerators that have never been adjusted to the default freezing temperature are not lower. Everyone should pay attention when shopping!

