Montblanc
1.
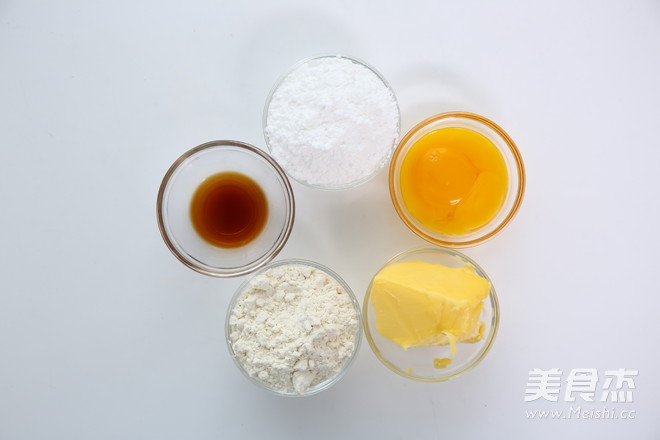
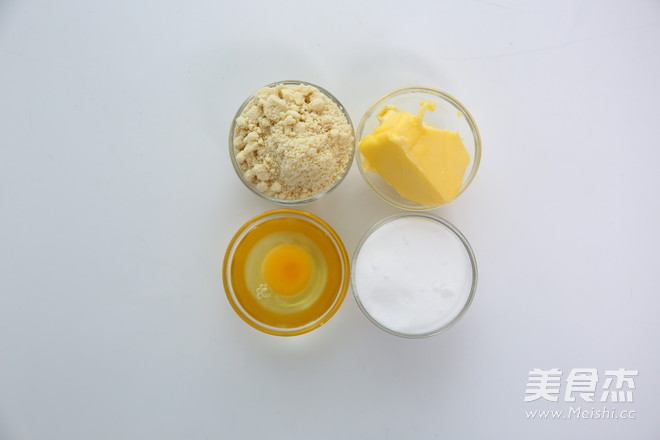
Tapi material
2.
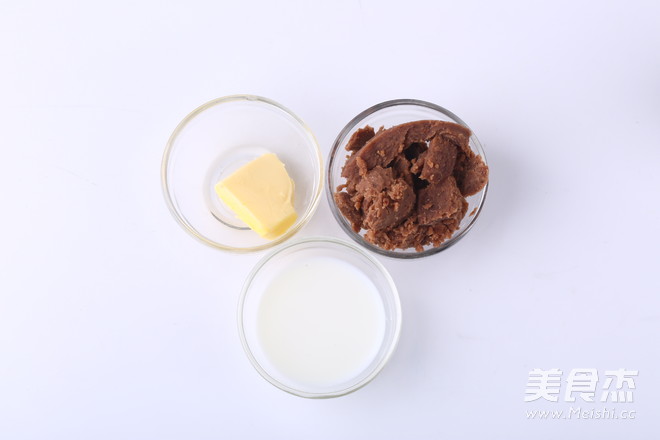
Chestnut Cream Filling
3.
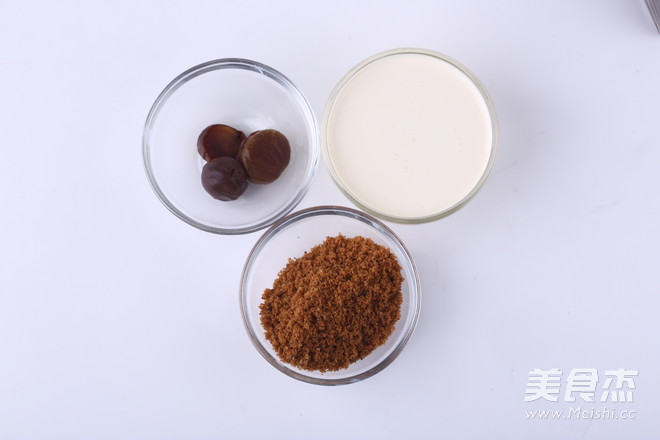
Inset cream material
4.
Almond butter ingredients
5.
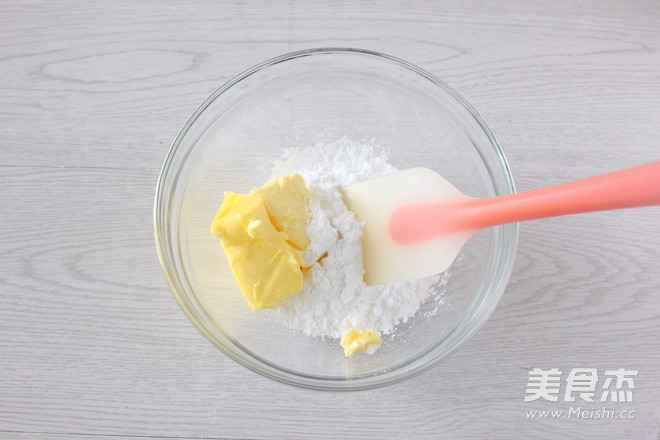
Tapi making step 1: Pour the softened butter and icing sugar into a large bowl together at room temperature, and stir evenly with a silicone spatula
6.
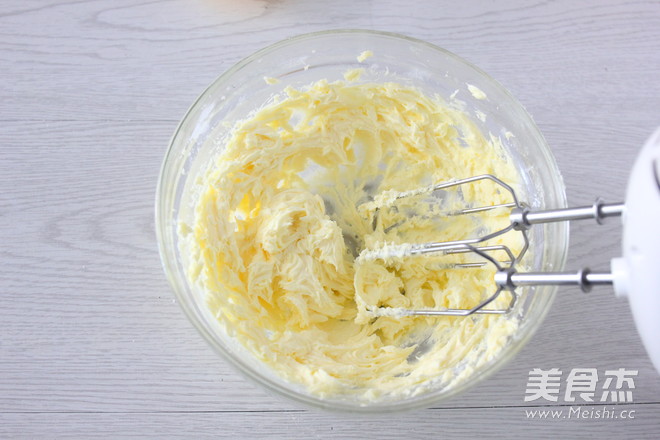
Tapi making step 2: Beat with an electric whisk until the butter becomes lighter in color and fluffy
7.
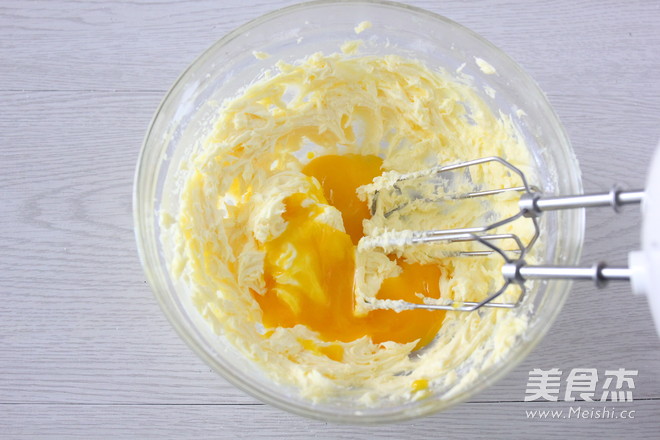
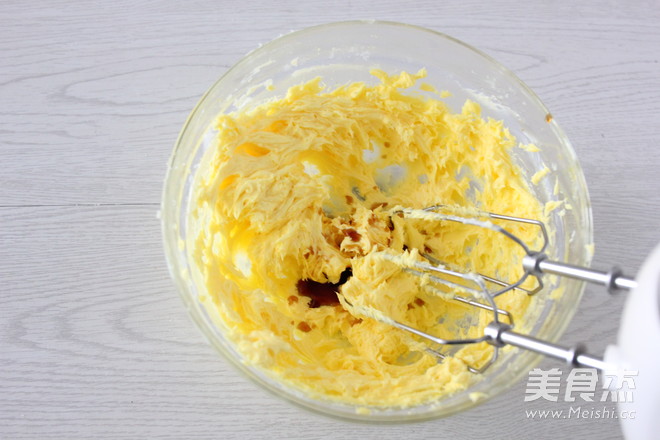
Tapi making step 3: Add egg yolks, fully beat and blend with an electric whisk
8.
Tapi making step 4: Add vanilla and banana and beat evenly
9.
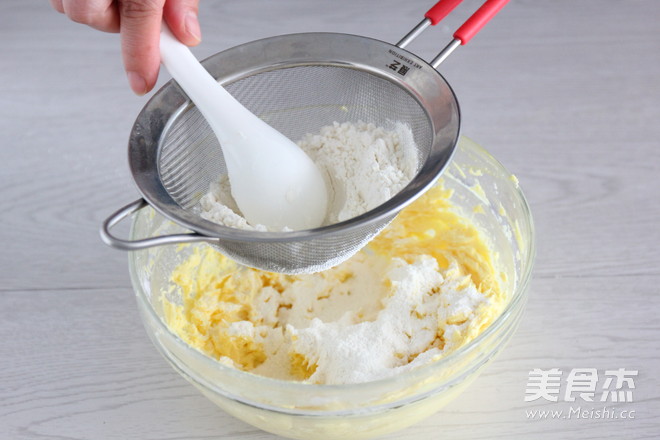
Tapi making step 5: finally sifting into the low-gluten flour
10.
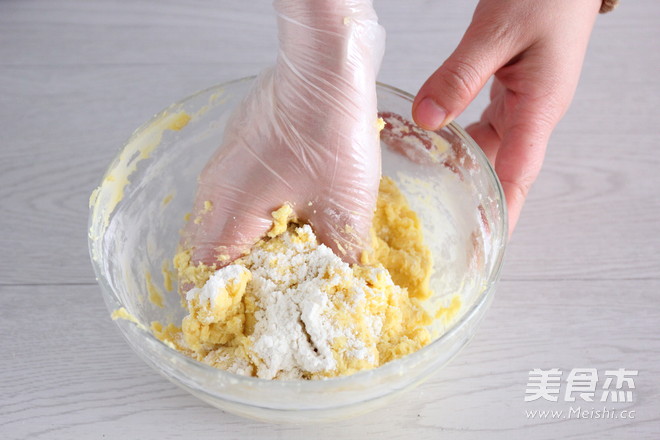
Tapi production step 6: Gloves show art disposable gloves, grasp and knead into a ball
11.
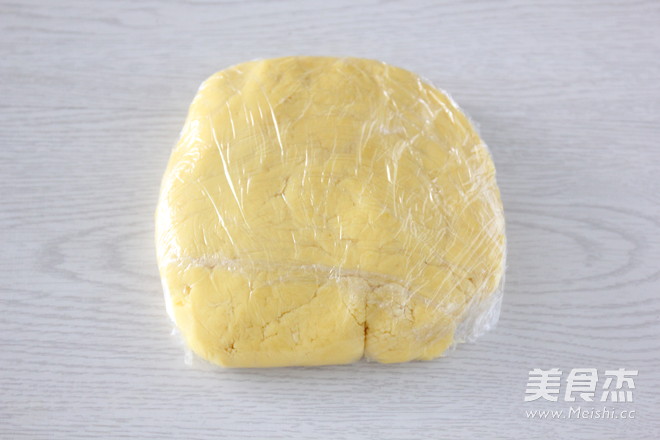
Tapi making step 7: Put the mixed dough on the cling film and flatten it, put it in the refrigerator for more than one hour until the dough has some hardness, which is convenient for operation
12.
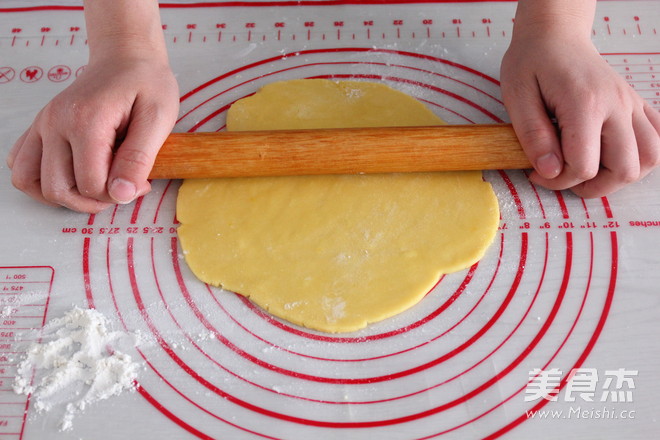
Tapi making step 8: Take out the dough in the refrigerator, sprinkle some powder on the silicone mat, put some powder on the surface of the dough, and roll it thinly with a rolling pin
13.
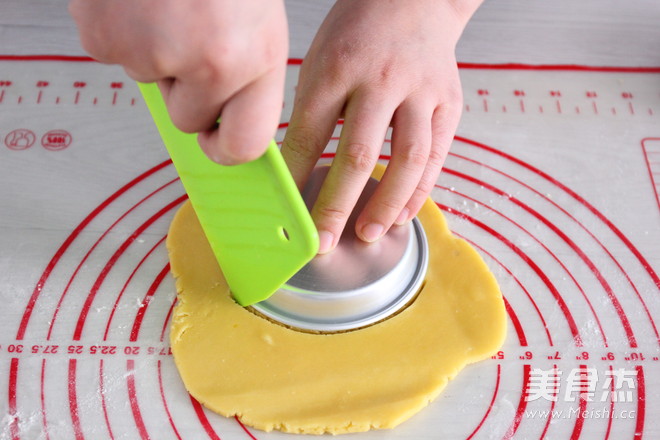
Tapi making step 9: The mold is upside down on the dough, and the size of the mold is carved out with a scraper
14.
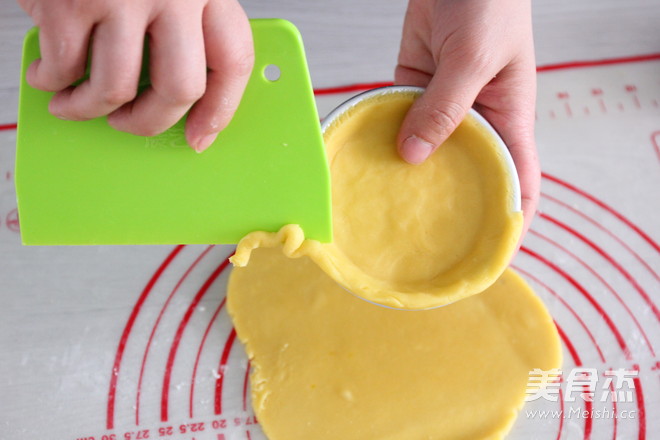
Tapi making step 10: evenly press the carved surface into the mold by hand, and use a scraper to cut off the excess surface on the edge
15.
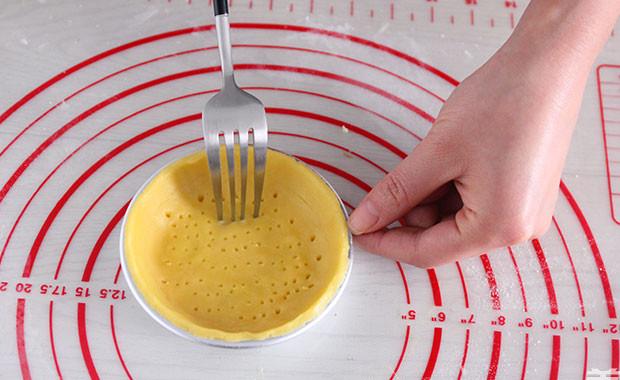
Tapi making step 11: Finally, use a fork to pierce some small holes on the bottom surface of the mold, and the bottom will bulge when it is placed for baking. Tie the holes and put them in the refrigerator for later use
16.
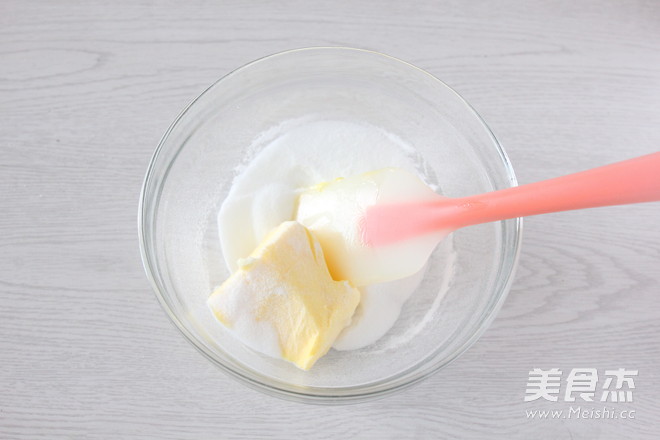
Finished step 1: first make almond cream filling, pour the softened butter and granulated sugar into a large bowl together at room temperature, first stir evenly with a silicone spatula, then use an electric whisk to beat until the butter color becomes light
17.
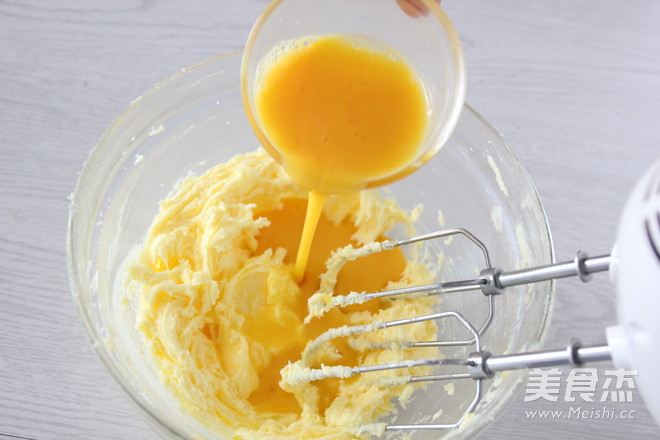
Finished product step 2: Then add the beaten egg liquid in batches, and use an electric whisk to fully beat and fuse
18.
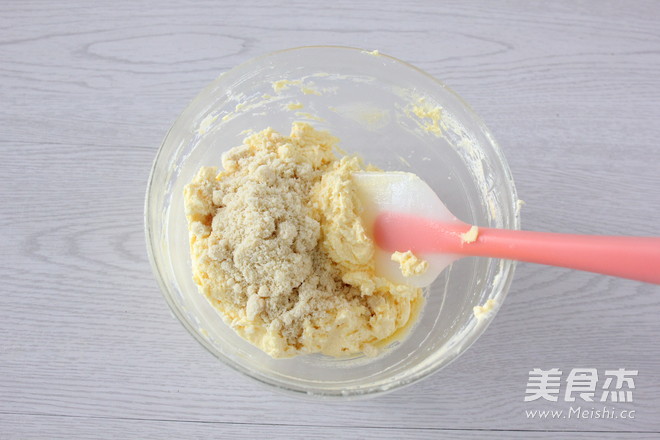
Finished product step 3: Finally add almond flour, stir evenly with a silicone spatula
19.
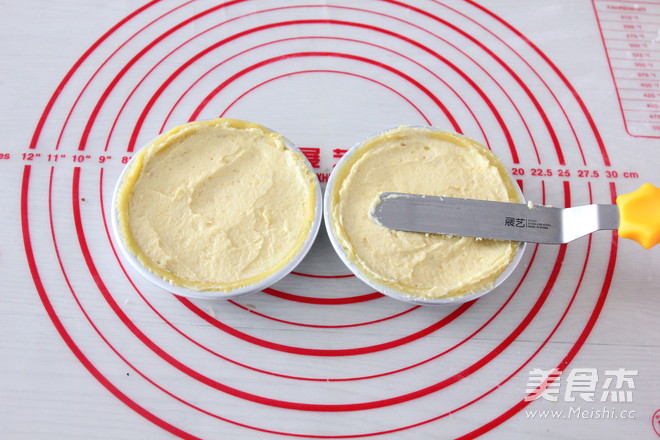
Finished product step 4: Fill the prepared cream filling with a small trowel with Zhanyi's small spatula. It should not be too full, there will be a little start during baking.
20.
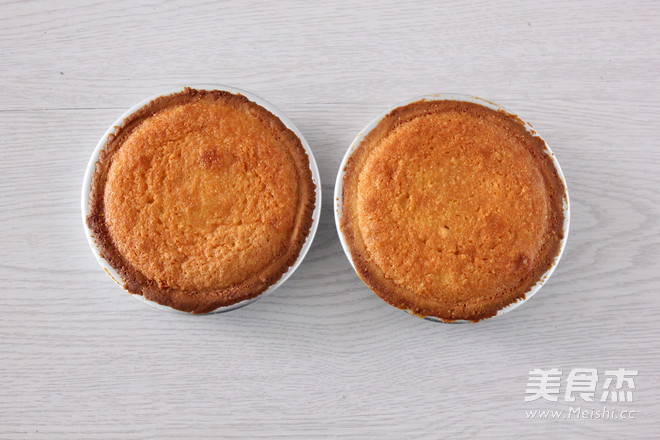
Finished product step 5: preheat the oven up and down to 180 degrees, bake the middle layer for about 15 minutes until the surface is golden yellow, and then it can be taken out and cooled for later use
21.
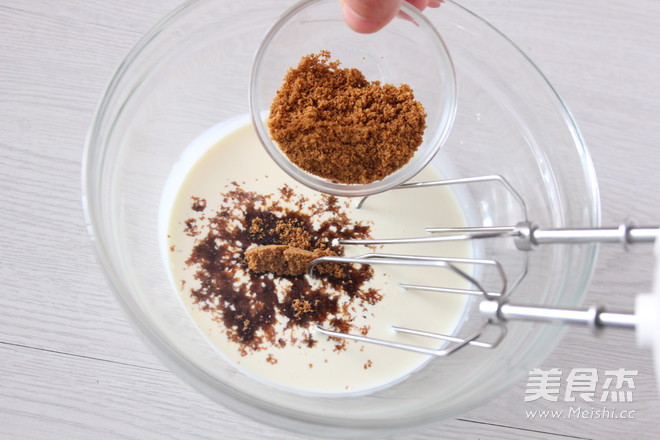
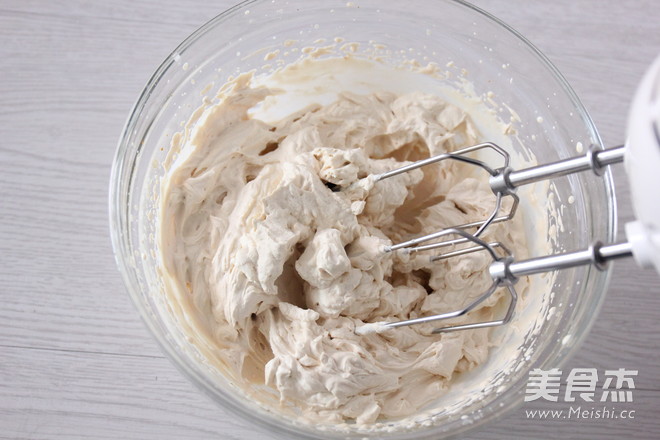
Finished product step 6: Then make the cream filling, pour the brown sugar into the whipped cream and use an electric whisk to beat
22.
Finished product step 7: set aside for later use
23.
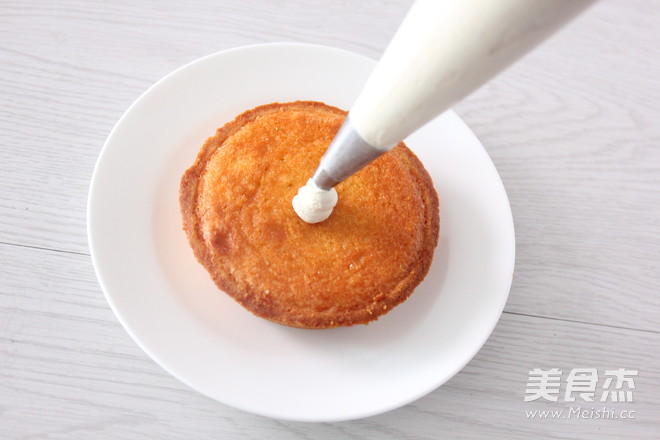
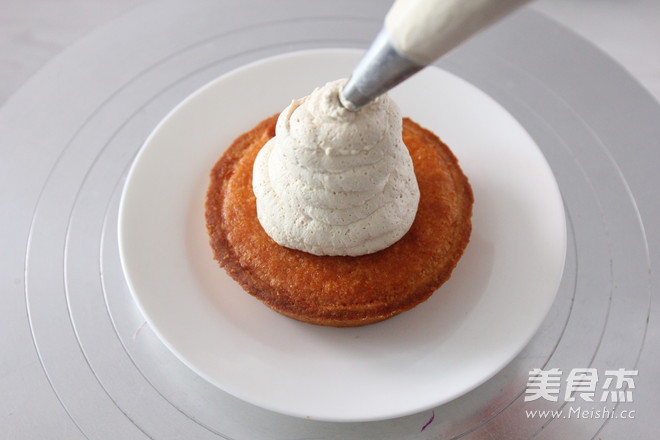
Step 8 of the finished product: Put the cream filling in the piping bag, use the medium round hole flower mouth to squeeze a little cream filling on the surface of the baked and cooled pie
24.
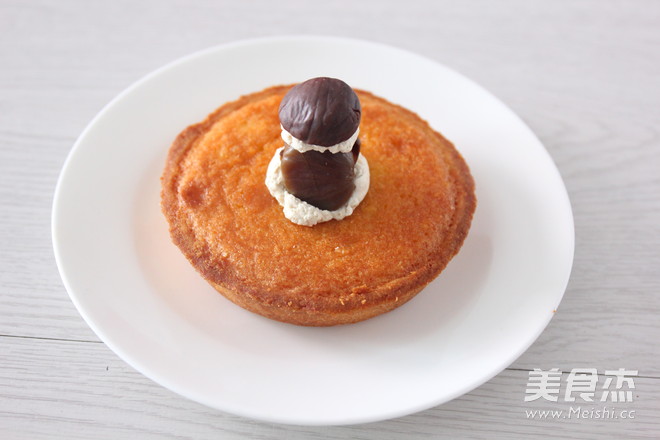
Step 9 of the finished product: fix the candied chestnuts on the cream and stack them up to a height
25.
Step 10 of the finished product: Then use the flower mouth to squeeze the outside of the stacked chestnuts in circles.
26.
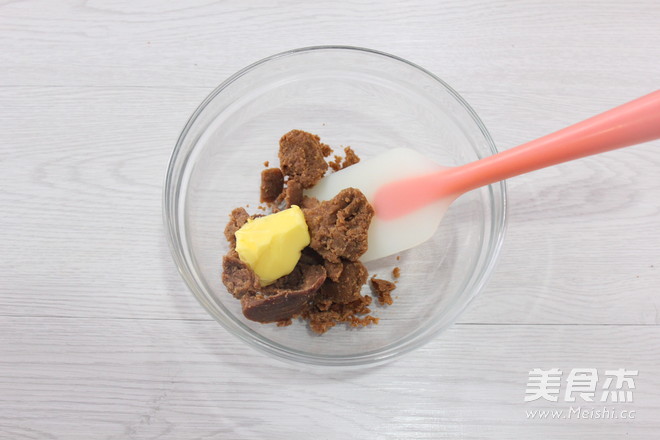
Finished product step 11: Then make chestnut cream sauce, mash the chestnut puree, pour it into a large bowl, add butter that has softened at room temperature and mix it evenly with a silicone spatula, and then use an electric whisk to fully beat and fuse
27.
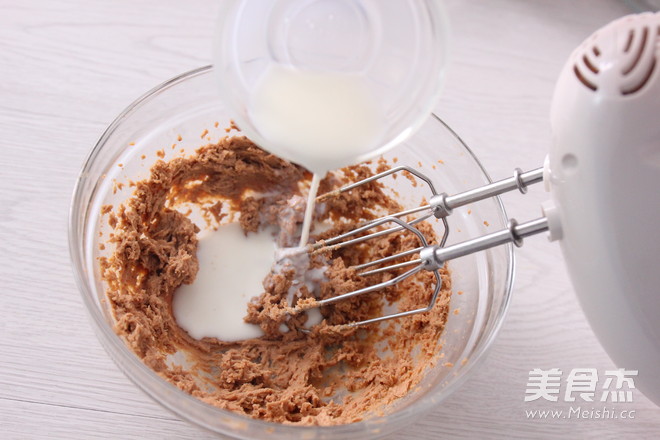
Finished product step 12: Finally, add milk in batches and fully blend together.
28.
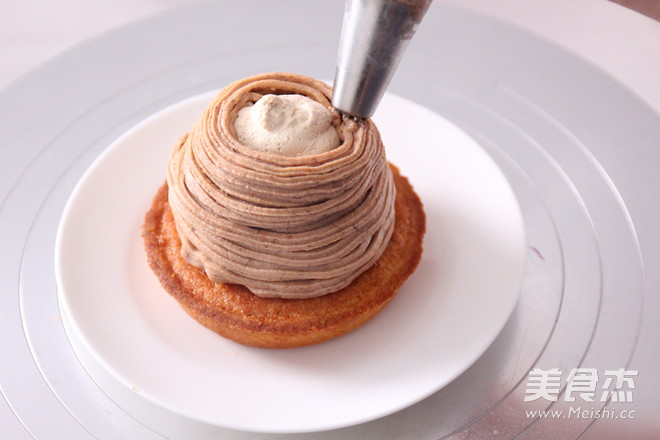
Step 13 of the finished product: Put the prepared chestnut cream sauce in a flower bag, and squeeze it around the inner filling with a small porous grass flower mouth to completely wrap the cream filling
29.
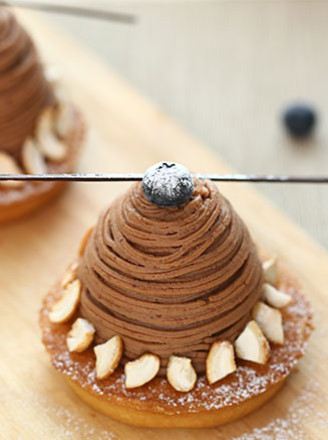
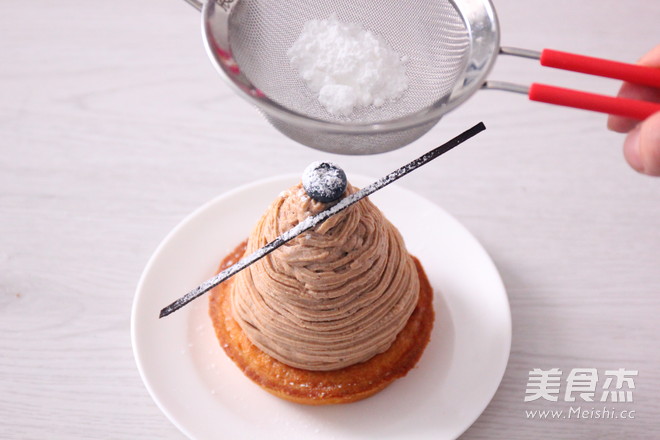
Finished product step 14: decorate some fresh blueberries and chocolate decoration, sprinkle a little powdered sugar on the blueberries
30.
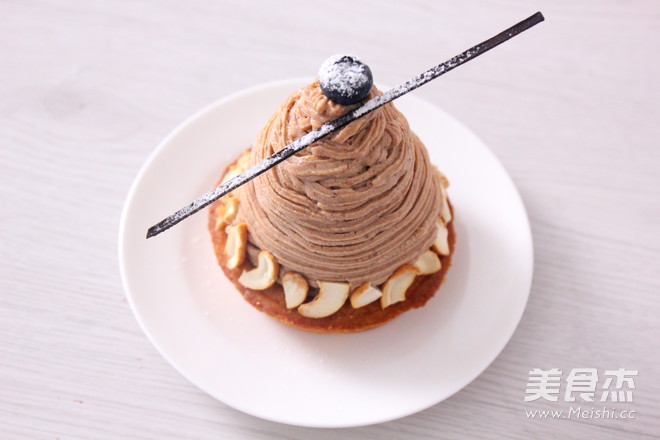
Step 15 of the finished product: Finally, put a circle of dried fruits on the bottom of the chestnut cream

