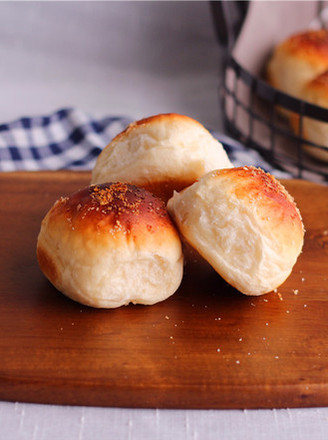
Plum Flower Cake
1.
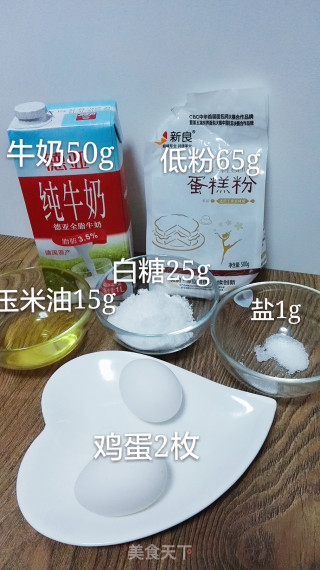
To prepare the materials, the raw material is a 6-inch round mold square. In order to save energy, two round molds of 6 inches + 8 inches were made.
2.
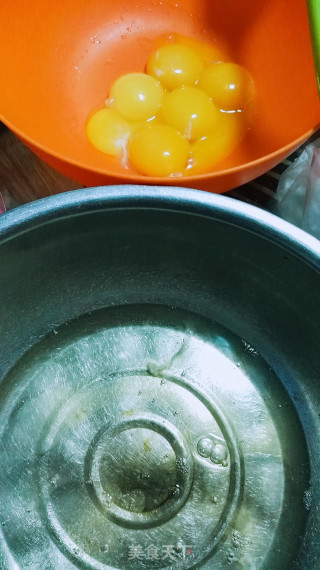
Prepare two basins to separate the egg whites and egg yolks, one of which requires anhydrous and oil-free storage of egg whites.
3.
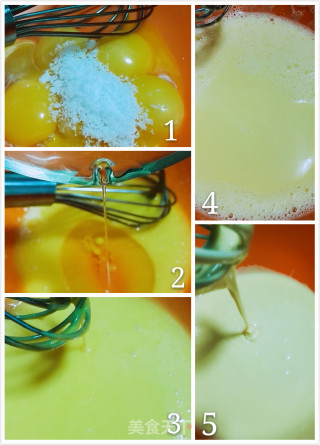
Add 5g of white sugar to the egg yolk, stir and melt, then pour in corn oil for emulsification. This step is very important. If the emulsification is not good, the oil and water will separate, and a layer of oil will float on it, which will affect the expansion and organization of the cake. Figure 3 shows the emulsified egg yolk after 3 minutes of continuous stirring. You can refer to it. Then pour in the milk, mix well, sift in the low powder, mark "Z" with a manual whisk, and stir without particles. Don't stir in circles.
4.
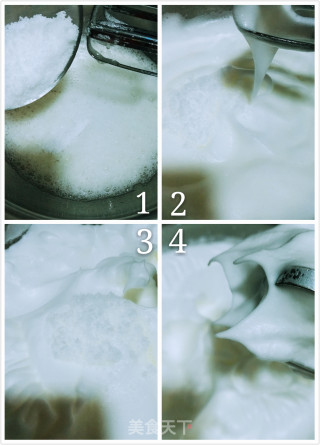
The egg whites are dripped into white vinegar, the mid-range whisk is beaten until it is thick, and 1/3 of the white sugar is added. Turn to the high-end to beat the egg whites in Figure 2 and add 2/3 of the white sugar. Use a low-grade whisk to beat the white sugar until the meringue is in the state of small sharp corners.
5.
At this time, the oven starts to preheat up and down at 140 degrees for 10 minutes.
6.
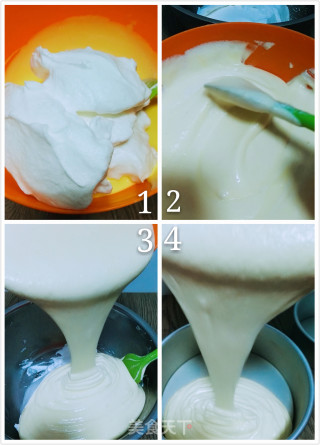
Add half of the beaten egg white to the egg yolk paste, mix well by turning, then pour the egg yolk paste into the remaining egg whites, continue to mix evenly, pour the egg paste into the mold at a height of 20 cm, and shake out the bubbles .
7.
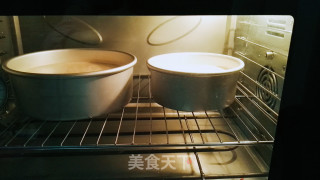
After preheating for 10 minutes, put the mold in the lower layer of the oven, adjust the upper and lower fire to 130 degrees for 40 minutes, and then turn to 150 degrees for 20 minutes.
8.
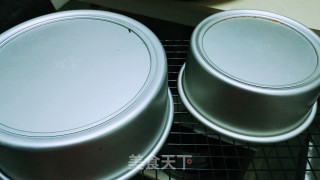
In 1 hour, the height of the cake drops from the highest point, indicating that the cake has been baked, out of the oven, shake the mold, bake the net upside down, and wait for it to cool before it can be demolded.
9.
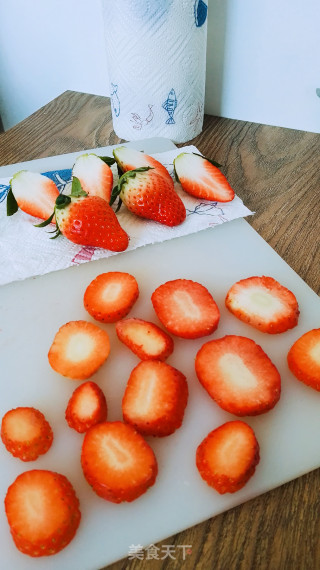
Wash the strawberries, dry them, and slice some of them for filling as shown in the picture.
10.
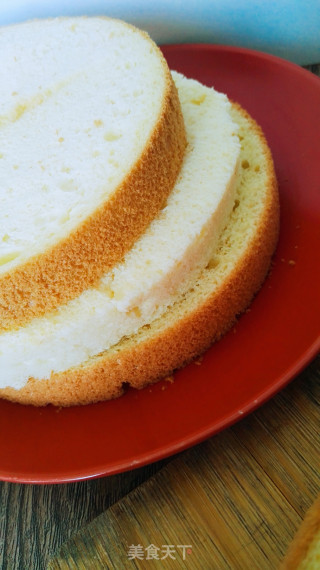
The cake base is evenly divided into three pieces for later use.
11.
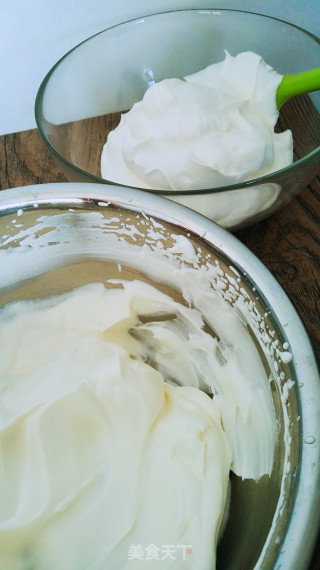
Refrigerate the whipped cream for more than 12 hours, add sugar, and beat until 8 minutes can flow, suitable for spreading, use a water-free and oil-free basin to separate most of the remaining whipped cream to continue to beat 10 minutes, there are obvious lines suitable Make a cake filling.
12.
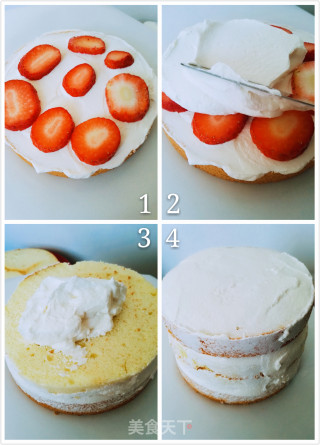
Take a piece of cake base and spread a thin layer of cream, place the fruit, and then spread a layer of cream to cover the second layer of cake base, repeat the above steps, the last three layers of cake base are evenly spread with a thin layer of cream and put in the refrigerator 30 minutes.
13.
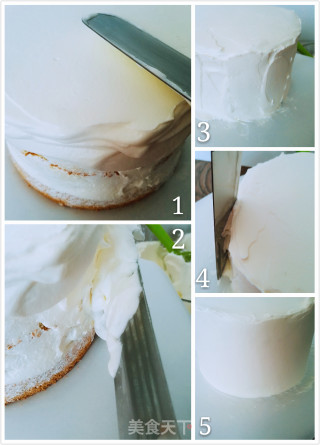
Cake spreading: Pour the whipped spreading cream into 2/3 of the cake base, turn the decorating turntable, and slowly push the spatula flat as shown in Figure 1, and then use the spatula to gently fill up the cream from the side of the cake base from bottom to top. The spatula and the cream are at an angle of 15 degrees. Turn the turntable to slowly push down the excess cream. The spatula must be wiped clean each time before operating. Figure 5 Cake base spread on the side.
14.
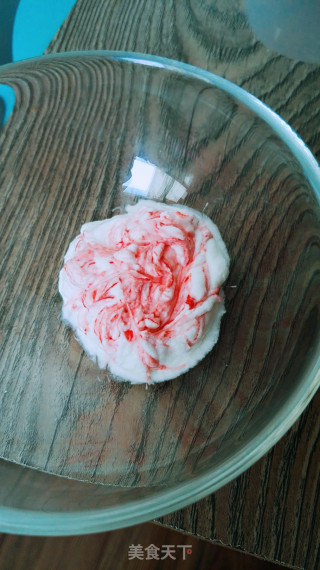
Dip the toothpick with red pigment and mix it into the white cream. Set aside.
15.
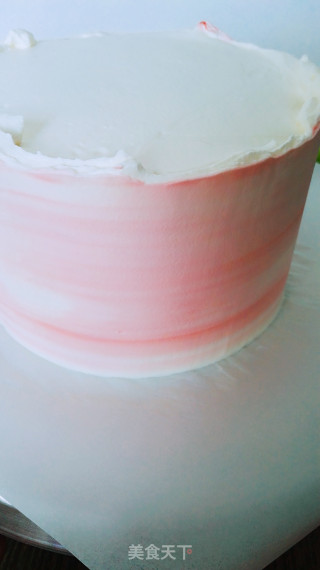
Take some red cream on the spatula and turn it around the side of the cake base to form a red border.
16.
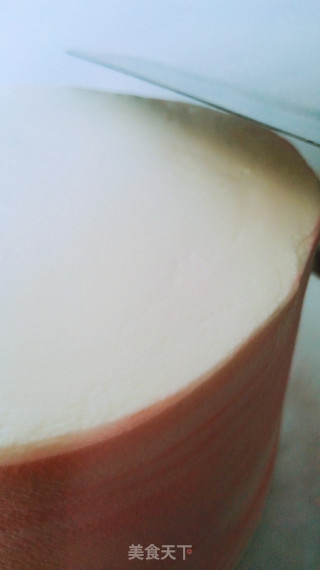
Spread the top of the noodle cake base, push the spatula and the edge to the middle at a 15-degree angle, change the position and continue to push it, and wipe the spatula clean each time before operating.
17.
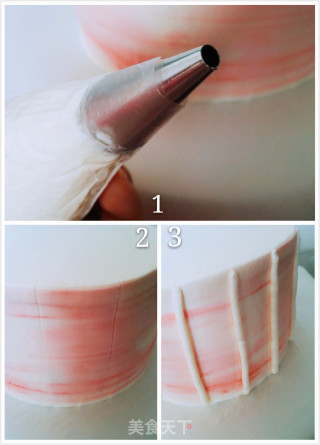
Put the small scalloped piping mouth into the piping bag, put the white cream in the bag, and use a spatula to gently divide the cake base into several portions, and squeeze the cream decoration strips from bottom to top according to the impression.
18.
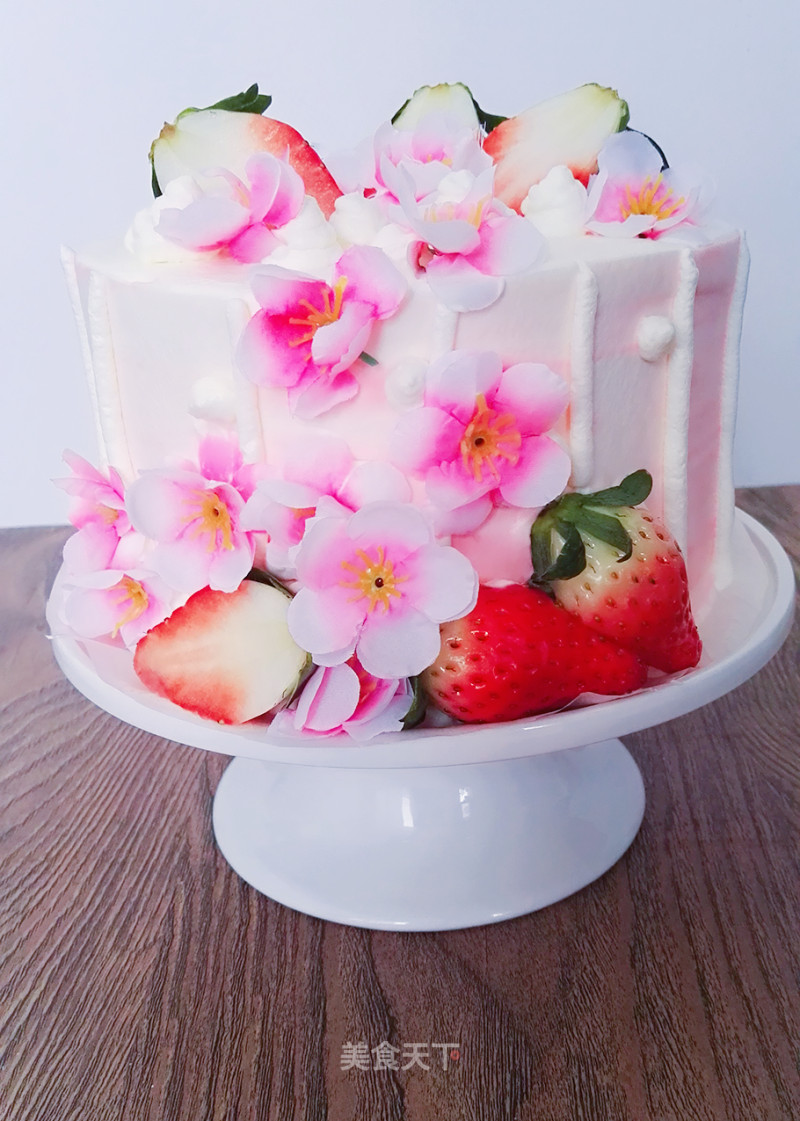
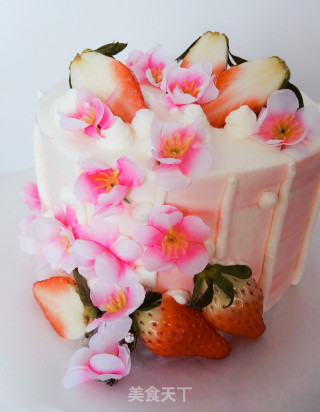
Place the cut strawberries and plum blossoms as decorations, and then squeeze them with small dots to decorate them, and a complete work is born.

