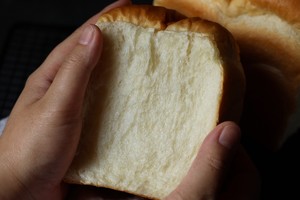
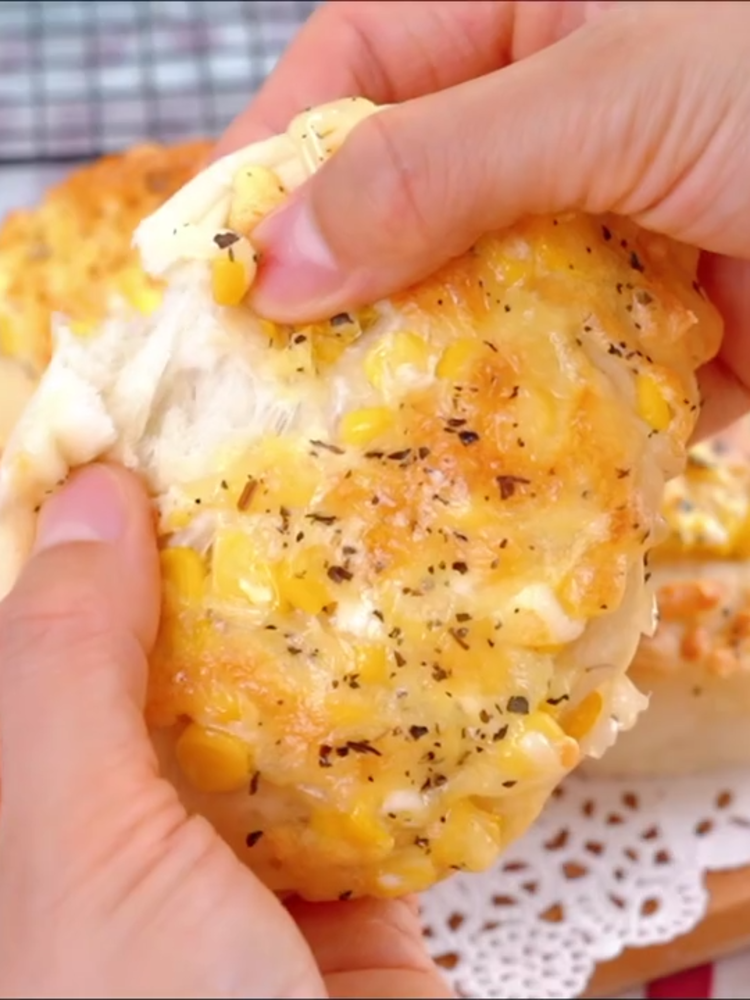
Premium Milk Toast
1.
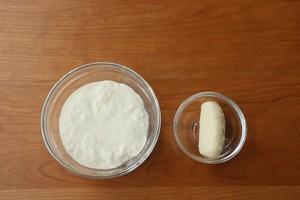
✔️Liquid seed: 75 grams of high-gluten flour, 75 grams of water, 1 gram of fresh yeast. Put the fresh yeast into warm water to dissolve, add flour and mix well, put it in the refrigerator at 4℃ for 16 hours before use.
✔️Soup: 35g high-gluten flour, 50g boiled water at 100℃, 0.4g salt, 0.4g sugar.
Mix the powder ➕ salt ➕ sugar evenly, pour in boiling water and quickly stir to form a dough. Make sure that the flour is cooked thoroughly and evenly. A successful blanching can form a dough. Seal it in the plastic wrap and refrigerate overnight.
🔺The amount of soup and liquid above is the amount of 1 piece of toast.
The liquid type is okay, you can use as much as you want.
But for the soup type, I suggest to make a little more at one time, it will be easier to operate.
For the specific operation method, please check my previous recipe: Search hot seeds, there are detailed pictures and texts.

2.
Kneading sequence reference:
1: In addition to yeast, salt, butter, other materials are poured into the bowl together.
After forming a low-speed dough, add yeast;
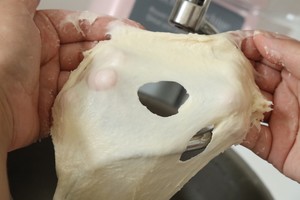
Knead again at medium speed for 4 minutes, add salt and continue to knead until (the dough is smooth, elastic, and slightly extensible, and can tear the thick film state) as shown in the figure. Add the softened butter in this state.
The noodle-making time of Tangzhong dough will be longer than that of ordinary dough, so be patient when making noodles!
3.
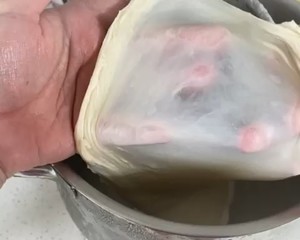
After adding the butter, first let the butter absorb thoroughly at low speed, and then turn to medium and high speed. When it reaches the complete stage, the film can be easily opened. The film is elastic and ductile, and the edge of the hole is smooth, which is the complete stage.
4.
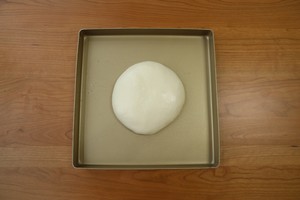
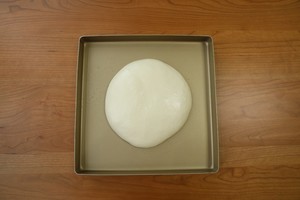
The kneaded noodles are fermented once.
Temperature: 28℃
Humidity: 75%
Time: about 30 minutes.
5.
Because we have to fold the noodles once, we don’t need to send too much
6.
Sprinkle a little high-gluten flour on the workbench and sprinkle a little flour on the surface of the dough to prevent sticking so as not to damage the smooth surface of the dough.
Then turn the baking tray over and move it closer to the countertop so that the dough will naturally fall on the countertop.
Slightly flatten the surface, fold it from right to left by 1/3, then from left to right by 1/3, then flatten it slightly, fold it by 1/3 from bottom to top, and then fold it by 1/3 from top to bottom...
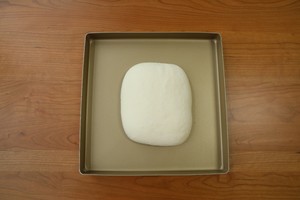
Put it into the fermentation tank and continue to ferment for another 30 minutes.
7.
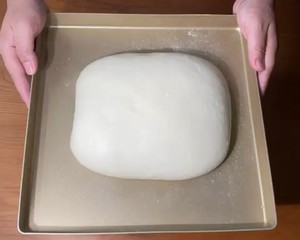
The state of the fermented dough!
Don't underestimate the folding of step 6, it will make your dough better and firmer.
8.
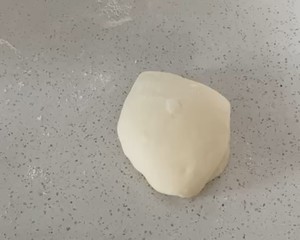
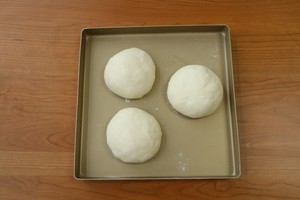
Sprinkle a little high-gluten flour on the workbench to prevent sticking, take out the fermented dough, and divide it into 3 portions, about 170g/piece.
First flatten the big bubbles, and then close the bottom with a tiger's mouth to make a full circle.
9.
Round and relax for about 20 minutes.
Be careful not to over-operate here, as the dough can be stopped after it is round to prevent gluten damage and damage to the organization.
10.
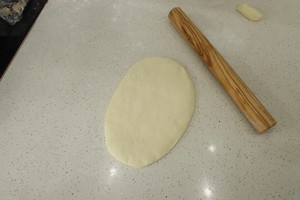
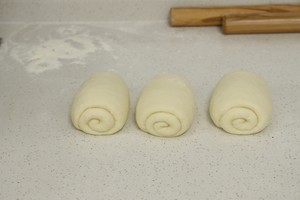
Roll out the loose dough as shown in the picture.
Before rolling, sprinkle a thin layer of powder on the countertop to prevent adhesion, and keep the strength uniform. After rolling, turn it over, and then roll up, the smooth surface is always facing outward~
11.
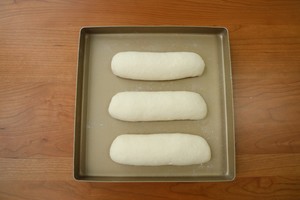
Roll it out and roll it into a cylindrical shape, about 1.5 turns.
Continue to relax for about 20 minutes.
Relaxation generally depends on the state. If the room temperature is high, it may be fine in 10 minutes. Determine whether the slack is in place, touch it with your hand, and feel that the dough is not so tight, and there are shallow pits when you press it.
12.
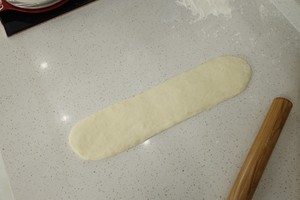
Then roll it out about 30cm long and turn it over.
13.
Roll up about 3 turns from top to bottom
14.
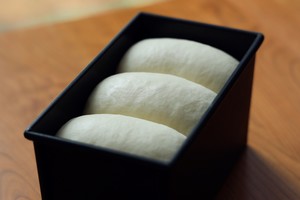
The circles are in the same direction and placed in the toast box.
The last fermentation:
Temperature: 33 degrees Humidity: 85%
Ferment to 9 minutes full
15.
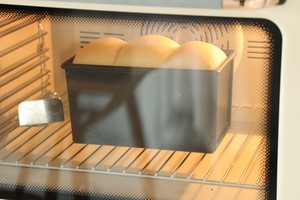
Put it into the preheated oven, the bottommost position, Beiding oven.
Upper heat: 150°C, lower heat: 230°C Sanneng low-sugar toast box, bake for 20 minutes.
Then lower the heat to 150℃, lower the heat to 210℃, and bake for 15 minutes
(Attention, the entire upper heat is constant at 150 degrees, and the lower heat has a change!) Don't forget! !
✔️This recipe has high water content and soup, so it takes longer than ordinary toast, otherwise it will be easy to shrink‼ ️
🔺If you are afraid of not mastering my temperature, you can also follow the temperature and time of your usual baking toast.
⚠️⚠️⚠️ Repeat it again! ! The temperature given is a reference!
What works for me, may not suit your oven!
If you usually bake at 180 degrees is good, please continue to bake at 180 degrees~ (the tip says why I use this temperature)
16.
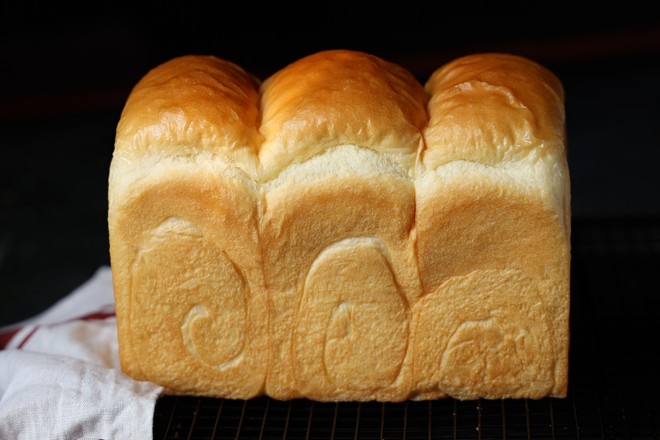
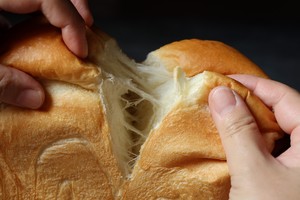
Your cute brushed feeling~~ so soft/...
17.
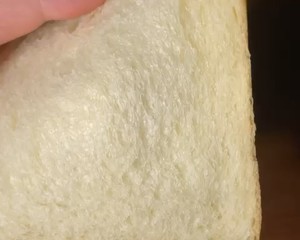
The organization is also very fragile!
18.
Very soft! As soft as without bones! !

Tips:
1: The hot seeds must be cooked
2: Fermentation must be enough
3: Why must the hot toast dough be very thin? It is to use water to dilute the wetness of the hot seeds, and the high-purity fermentation will make the materials in the dough emulsify more thoroughly.
4: The baking time and temperature must be controlled well, otherwise it is easy to shrink.
5: If you bake 2 sticks at a time, be sure to extend the time, and the toast box should be spaced a little apart, and the heat is even.
6: When baking, if the color is deep enough, the bread will be soft and shrinking, so you have to cool down and extend the time.
If the color is too light and the bread is too soft and shrinking, raise the temperature of the primer. Each recipe must have its suitable temperature to bake. Try more and record more. Even if it fails, don't be afraid, and increase your own experience.
7: Vibrate the mold and exhaust the heat to avoid shrinking the waist. This toast is very soft, please be careful when it comes out, so as not to hurt it.
⚠️⚠️⚠️ Repeat it again! ! The temperature given is a reference!
What works for me, may not suit your oven! If you usually bake at 180 degrees is good, please continue to bake at 180 degrees~
✍🏻️Then why do I use such a high temperature? ?
Because my master taught me that, except for special dough, most of the toast dough is baked at high temperature and quickly. The finished product will be much better than low temperature and slow baking. It can reduce excessive water loss and will be slower than low temperature. The baked ones are moist and softer! (This is why I bake at this temperature), and this temperature is also recommended in the original book! After testing, after running in with my own oven, it is more certain that this method can bake better texture toast.
My running-in skills: (The rigorous attitude shows that it may not be suitable for everyone)
This time I used a 230 degree bottom fire to baste, then the next time it will still be 230 degrees, the time will be reduced~
If your oven has a high temperature and a small oven (30 liters), it will be easier to control the baking with a bottom fire of about 210°C.
If it is more than 50 liters, just run in at 230°C.
Also, although the primer temperature is high, the priming temperature is low!
The heating is only 150℃, pay attention to adjustment, preheat the oven in advance and make a record.
Make notes every time you bake, adjust it a few times and it will run in.
Don't be afraid of failure on the way to making bread, and don't blame the recipe if you fail. You need to think, test, run-in, and compare, so that you can make progress!
If you are afraid of failure, please bake it at the temperature you were familiar with before!
thank you all!
🔺This hot toast is still a little bit difficult, suitable for advanced stage people to make it‼ ️Novices are still not recommended to try~ You can bookmark it first and do it later ❤️
There are other details written in the steps, you can leave a message if you don’t understand.
Looking forward to your work~~~
Pay attention, and share more bread recipes with you later.

