Pumpkin Bread
by Shimizu Shark's Fin Kitchen
Favorite
Difficulty
Easy
Time
1h 30m
Serving
2
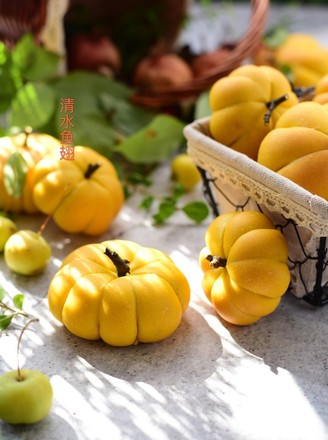
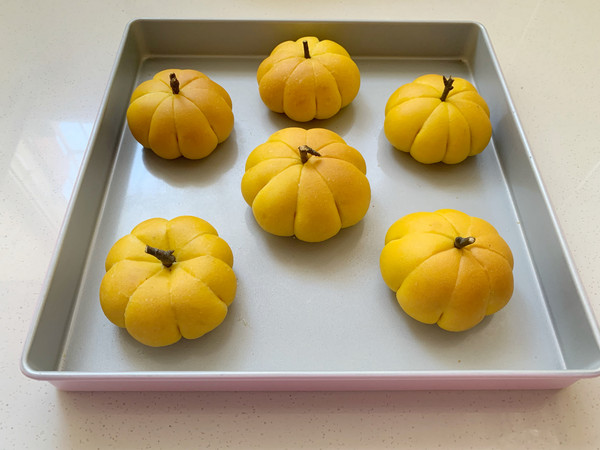
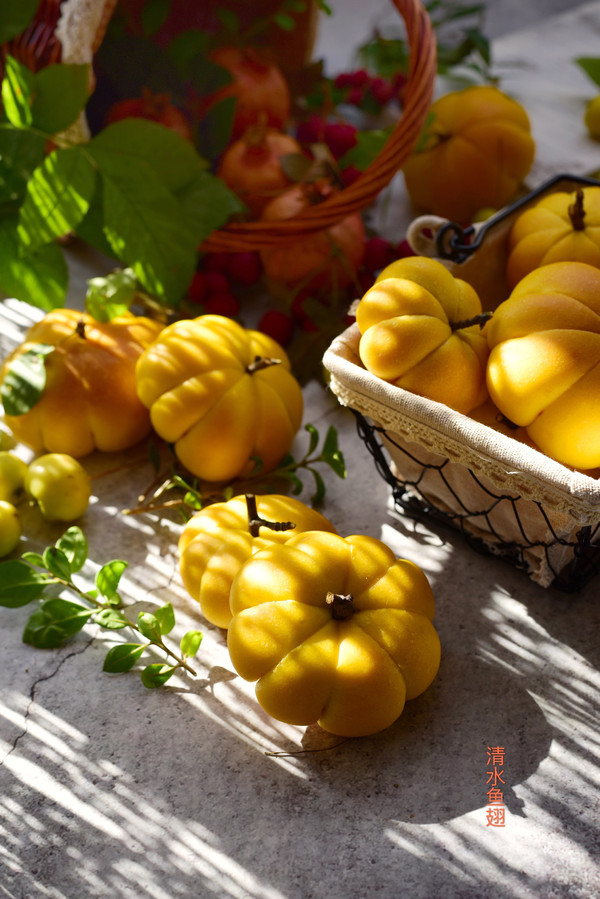
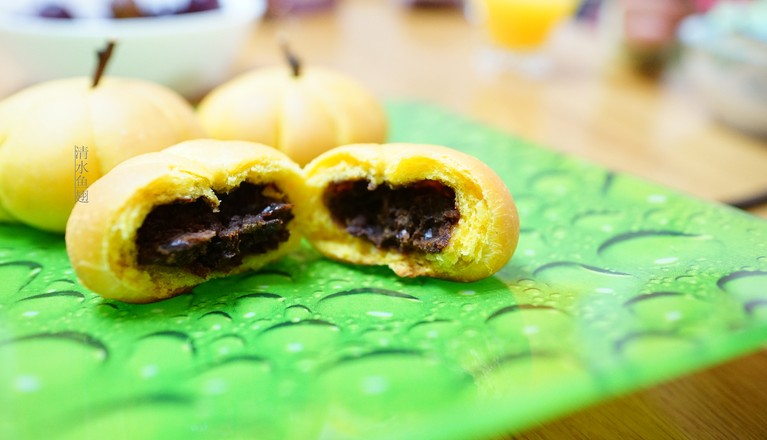
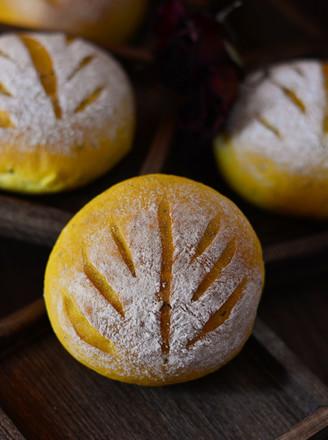
Halloween is coming soon. Although Halloween is a Western holiday, you know all kinds of Halloween monsters and pumpkin lanterns from the little picture books of children when they were young. Now shopping malls are also rushing to sell all kinds of Halloween food and toys. , Taking advantage of the public holiday to play dough with the children to bake pumpkin bread, because it is so beautiful and fun, the children prefer to eat early.
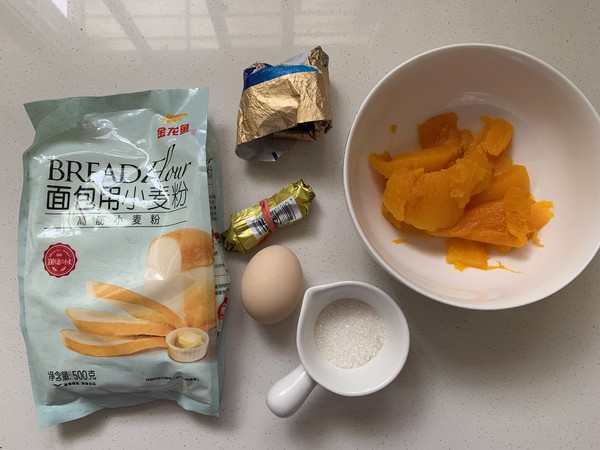
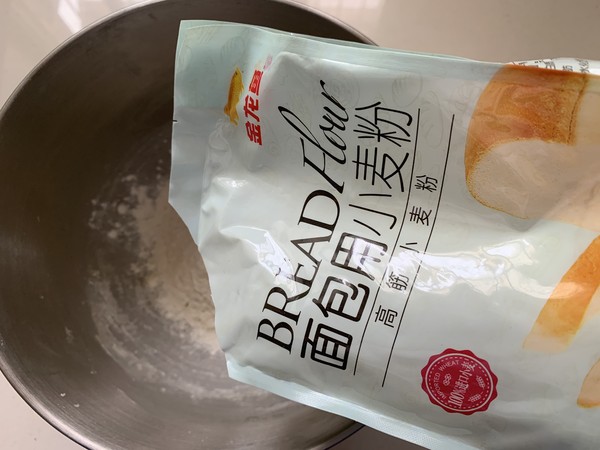
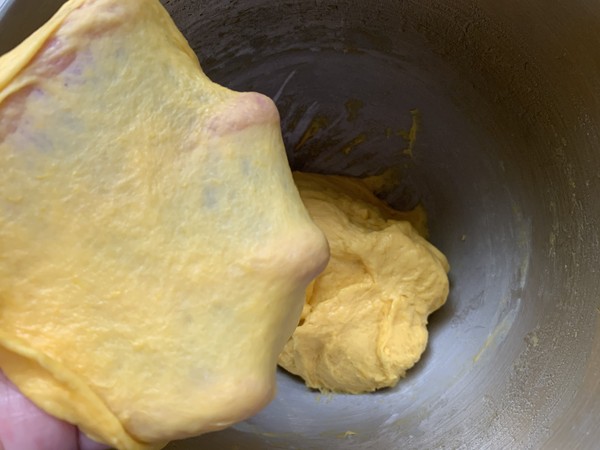
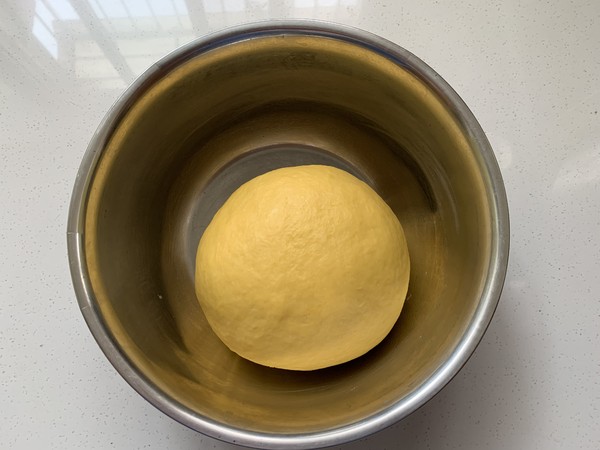
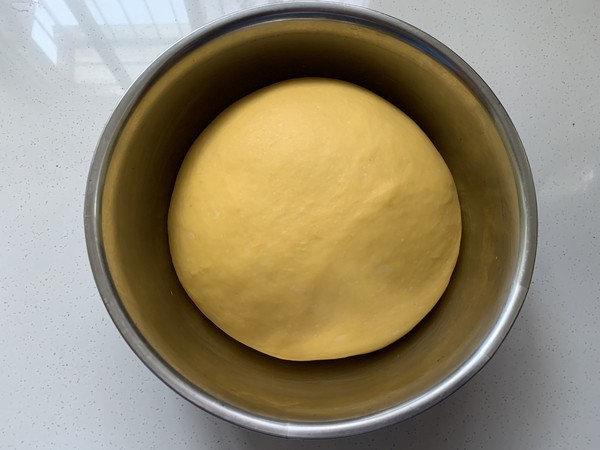
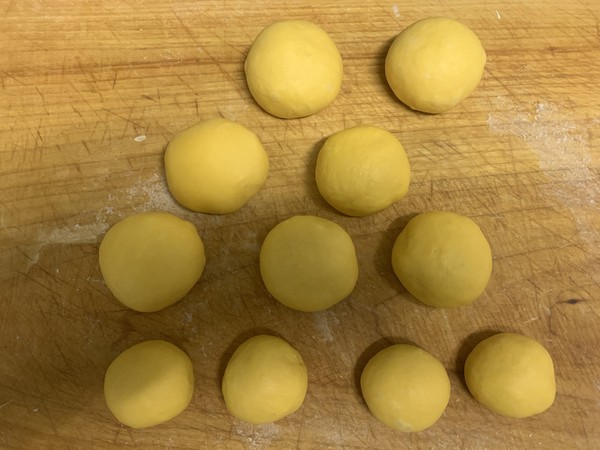
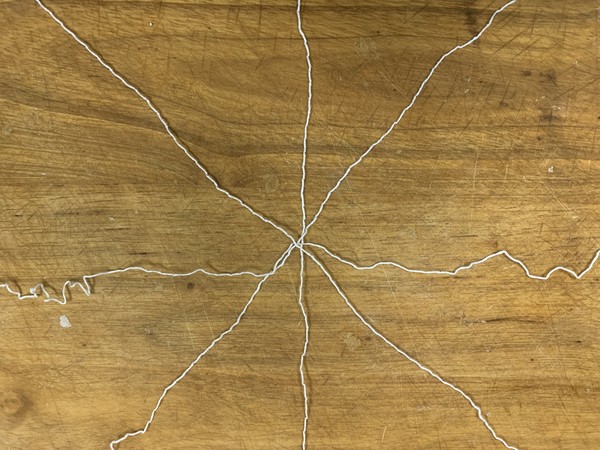
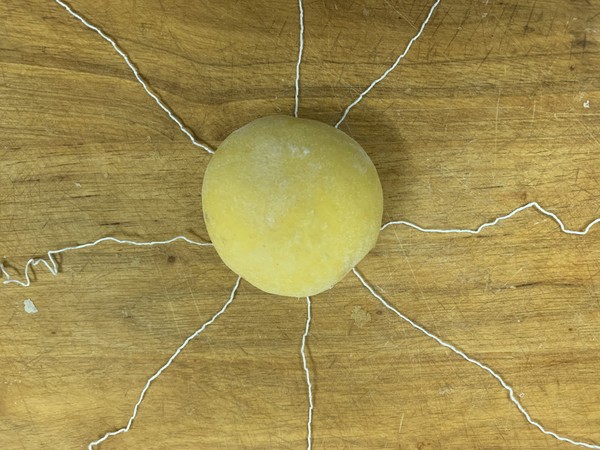
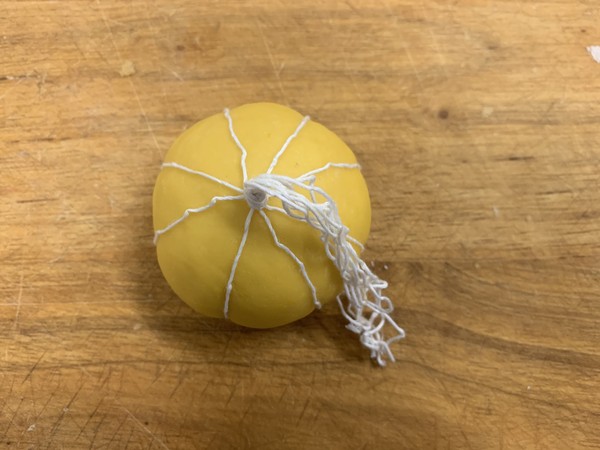
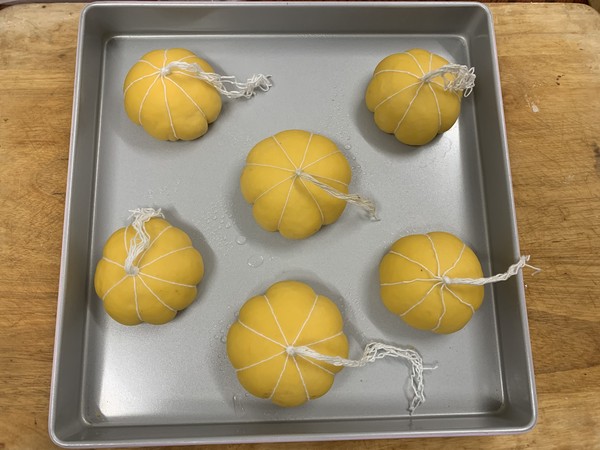
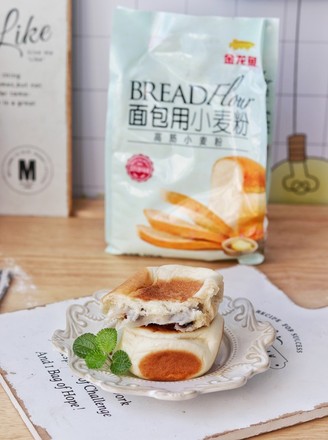
Baked pumpkin bread should choose bread flour with good gluten. Because there is a stunned pumpkin shape, the gluten is not good and easy to crack, then all previous efforts will be discarded, so choose the high-gluten flour with high gluten and easy to film. The styling is very simple and can be done with a few strings. The dough for pumpkin bread should be moderately soft and hard, especially when the pumpkin is different from water, and the color must be realistic, so the amount of various ingredients must be mastered. The next step There are detailed and accurate dosages and methods in the recipe to make you a success at the first time.
Baked pumpkin bread should choose bread flour with good gluten. Because there is a stunned pumpkin shape, the gluten is not good and easy to crack, then all previous efforts will be discarded, so choose the high-gluten flour with high gluten and easy to film. The styling is very simple and can be done with a few strings. The dough for pumpkin bread should be moderately soft and hard, especially when the pumpkin is different from water, and the color must be realistic, so the amount of various ingredients must be mastered. The next step There are detailed and accurate dosages and methods in the recipe to make you a success at the first time.

