"tinrry Afternoon Tea" Extra Story-strawberry Jam Full of Fleshy
1.
⭐️Follow our public account: Tianyuejia Baking, to get more teaching videos & baking tools, preferential information on materials.
Taobao Store: Sweet Home
If you have any questions during the production process, you can scan the code to add my assistant's WeChat, she will give you a detailed answer, you can also join the baking exchange group of Tianyuejia, and there will be Taobao discounts~
2.
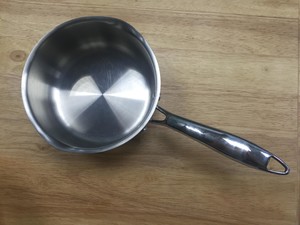
Make jam! You must prepare a thick-bottomed stainless steel milk pan, never use a thin-bottomed one, it will burn too easily.
3.
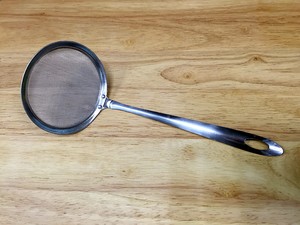
Then it’s best to buy a filter like this, also called oil net, which is sold in the vegetable market, because the aunts who cook the soup will buy one to filter the froth and purine, ranging from 8 yuan to tens of yuan. I bought it at the vegetable market for a few ten yuan each, which is relatively thick. If you can't buy it, please prepare a spoon with a longer handle. We also use it to filter the foam.

4.
First of all, weigh out the weight of the strawberries you need to use. It is best to add 30g, because the head will be cut off later and the weight will be about the same.
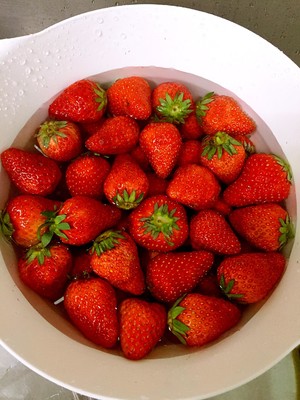
Then wash the strawberries, how do you wash them?
1. It can be washed with water for 15 minutes (I usually wash it like this, but it is really water-consuming!)
2. Like me in the picture, soak in water for about 10 minutes, and then rinse with water for 5 minutes. The same is true.
Why do you wash it like this?
Because strawberries are prone to pesticide residues, it is necessary to use running water or soak them to dissolve the pesticides in the water so that they can be washed clean.
5.
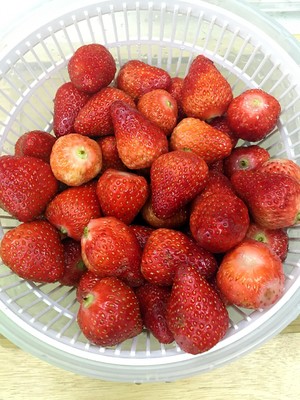
After soaking or scouring, we have to roll and rinse with hands for about 3 times. After washing, we remove the stalks of the strawberry, which is the place where the green leaves are~
6.
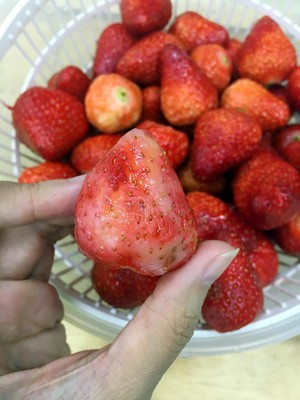
Then select the bad fruit or some injured areas. We have to cut them off. No, this will affect the taste of strawberry jam. After soaking in water, damaged or bad fruits will become white due to long-term soaking in water, which is easy. See it, all cut off, huh!
7.
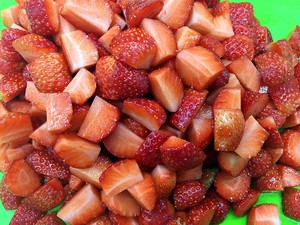
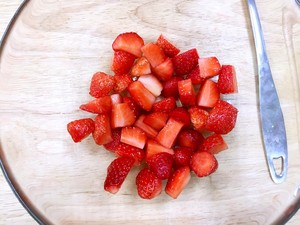
Then, cut the strawberry into small pieces. I usually divide it into four. If your strawberry is very big, divide it into six. Don’t cut it too small. You won’t be able to eat it when you pickle and cook later. To the pulp~
8.
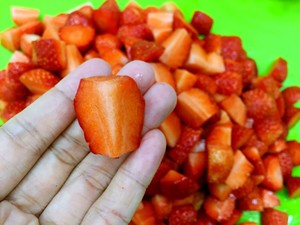
Cut it to the size of the one in my hand like the one in the picture. If you like the original strawberry, you don't need to cut it, just cut off the pedicle.
9.
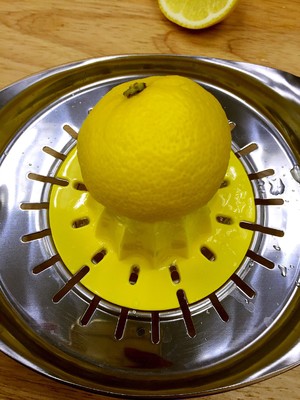
Then we clean the lemon and squeeze the juice. This kind of juicer will squeeze it cleanly. Hand squeezing and hand pressing are too laborious.
10.
The lemon juice is squeezed out and set aside. The recipe is 30g lemon juice. A medium-sized lemon is about the same. A little bit more does not matter, too much will be sour and affect the flavor.
11.
Then we'll go layer by layer, prepare a clean, oil-free bowl, otherwise your jam will go bad, put a layer of strawberries on the bottom of the bowl, and just spread a layer.
12.
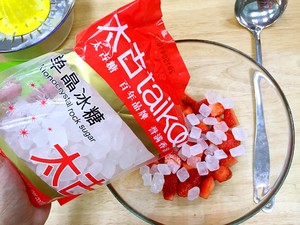
Then start to put in the rock candy, it is also flat, there is only one layer, after everyone has weighed the amount of rock candy, look at it and put it, usually divided into three times is almost the same
13.
Then spread another layer of strawberries
14.
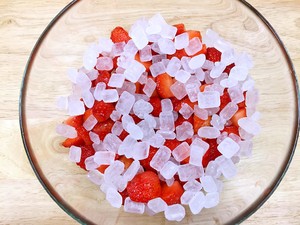
Spread another layer of rock sugar
15.
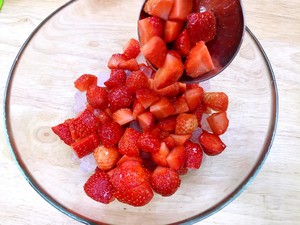
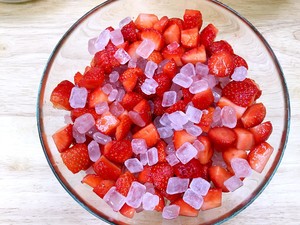
No matter how you spread it, the last layer must be strawberry. Try to cover the rock sugar underneath. It’s not a big problem if there is a little bit on top like me in the picture. After the water is discharged, the rock sugar will fall off.
16.
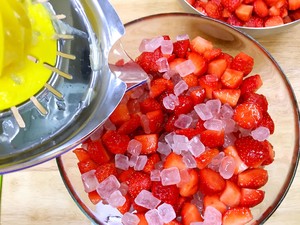
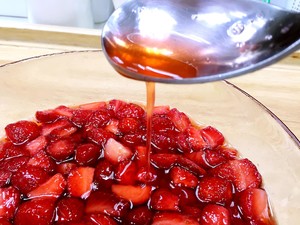
Then pour the lemon juice in evenly. This is very important. To make jam, lemon juice is essential! ! ! ! ! Otherwise, your strawberry jam will be gray, muddy, and not a pretty deep red. Just pour it in, no need to stir, otherwise the layering just now will be wasted
17.
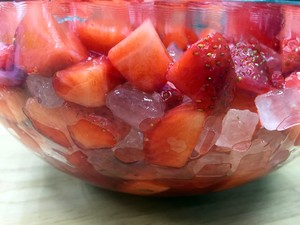
From another angle, you can see that the lemon juice is on the bottom layer, a little bit
18.
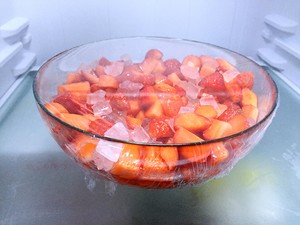
Then cover with plastic wrap and put it in the refrigerator (2~5 degrees) for at least 12 hours. I usually make it the night before, directly overnight, and then take it out the next day when I have time to make it, and leave it for at most 2 days. Left and right, and then put it again, the strawberry will change its flavor.
19.
Duang~~~
The next day, before we are ready to start production, we have to clean the jam jars, make sure they are oil-free, and then disinfect them.
[Jam jar selection: it must be acid-resistant, heat-resistant, and cold-resistant, so as to withstand the superheated jam, and store it in the refrigerator, and it must be sealed]
[Jam jar sterilization is one of the keys to long-term preservation of jam] There are two methods I know.
20.
Method of disinfection:
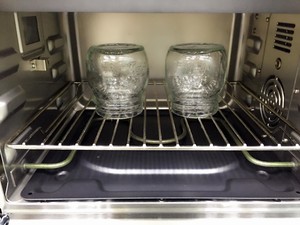
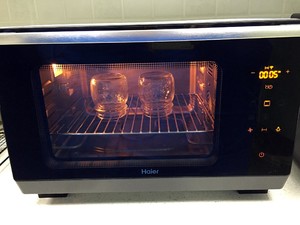
1. Put the glass bottle in the middle and lower layer of the oven, and bake at 100°C for 5 to 10 minutes. The disinfection will be done! (Tinrry common method! Ha!)
2. Boil a pot of boiling water, and then carefully put the jam jar in boiling water and boil it for 5 minutes. The boiling water is best to just cover the jam jar, then take it out and put it in a grill or a basket for washing vegetables and let it cool like in an oven. Dry the moisture, and the disinfection is complete!
21.
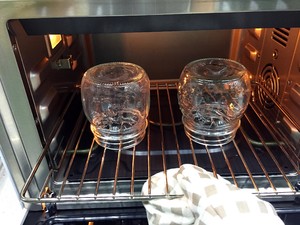
After the oven is disinfected, take it out carefully with heat-proof gloves. Be careful that the jam jar will fall. I often get it over and burn to death. Then put it aside to cool, and the jam jar is disinfected.
22.
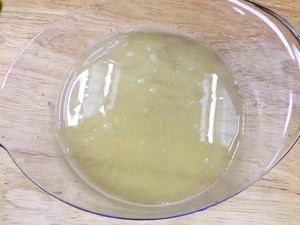
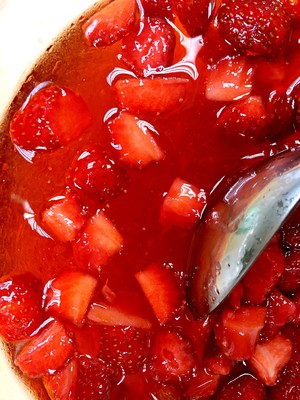
Then you are ready to make jam. Take the strawberries out of the refrigerator. You will find that there is a large plate of water. That is the sugar water after the rock sugar has melted. In the end, there may be a little bit of rock sugar that has not completely melted, it doesn’t matter. , Does not affect.
23.
Use a spoon to poke aside, all the strawberries that were full before have floated up, all underneath are sugar water, um, this means that the marinating is complete.
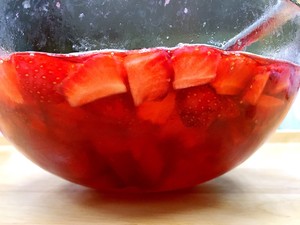
24.
Take a side look! Red is so tempting!
25.
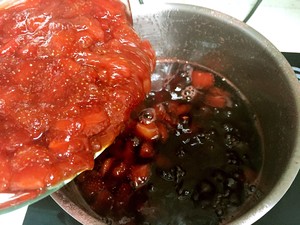
Pour all the marinated strawberries and sugar water into the pot at one time. Turn on medium and high heat to let the strawberries come out of water. Because the amount is not a lot, don't turn on the high heat, because it will overflow and make your hands in a hurry.
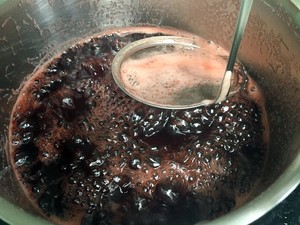
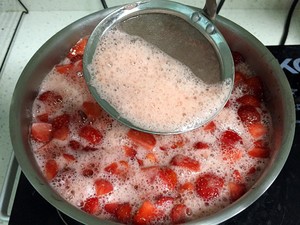
After the sugar water boils, there will be foam. This is astringent juice. I said when I made orange mousse and strawberry mousse. We must filter out this astringent juice as much as possible. First of all, because it is right The body is useless, and the most important thing is that it will affect the taste of jam. It feels like a bad smell. I tried it, so please don't try it, and don't be lazy! Be patient and filter it out slowly.
If you think the fire is too big, you can turn the fire down a bit to prevent it from overflowing. It is super hard to wash and sticky.

26.
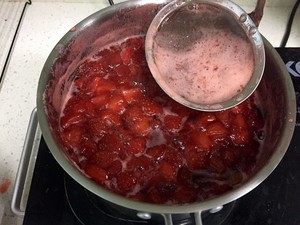
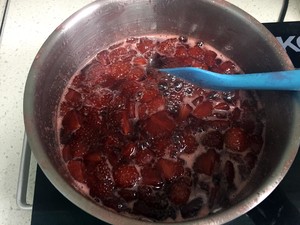
At the beginning, the strawberry was out of water, and the jam was very thin like juice. We kept straining out the astringent juice and cooking it for about 10 minutes. After all it was strained out, it looked like the picture.
27.
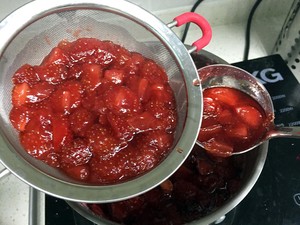
At this time, the strawberries are also cooked through, even the water comes out, and they are all soft. We need to filter out all the strawberry pulp with a large strainer.
28.
Put the pulp aside for the time being, leave it alone, I just turned the fire down, because I was taking pictures and I was really afraid of overflowing.
Leave the strawberry syrup and keep the strawberry jam in a boiling state. Cook for 5~10 minutes to evaporate the water until the syrup becomes a little thick. Medium-high or medium-to-small fire is fine. If the fire is too high, it will overflow. , Guard in one set, don't go too far.
29.
After cooking for a while, I found some astringent juice and continued to filter it out. Anyway, during the whole process, I saw white foam, just filter it out as much as possible.
30.
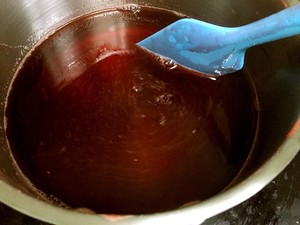
The syrup has thickened and the color is darker. We pour the strawberry pulp back into the syrup and stir it evenly. There is no time to suggest this. I probably still cooked it for 10-15 minutes.
31.
Until the whole jam becomes thick and super thick, you can turn off the heat. At this time, those froth on the surface, please filter out the patience friends. If you don’t want to make it, it will not affect it~ um !
At this time, you can taste the taste of jam, if it is sweet, you can add a little lemon juice!
32.
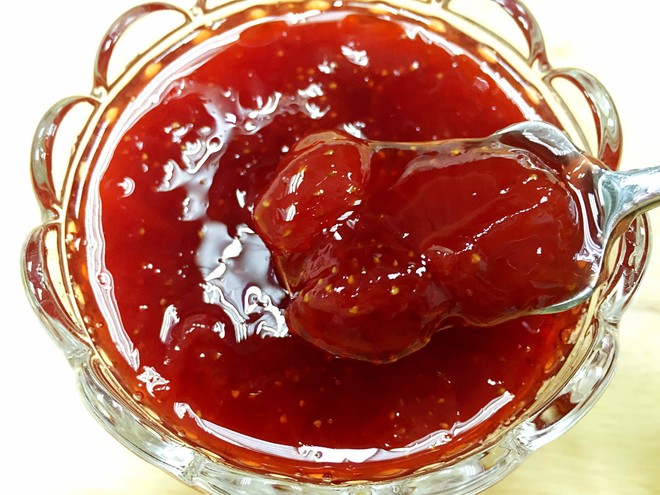
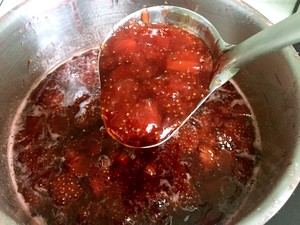
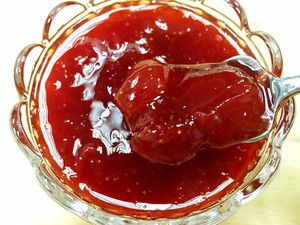
This is a freshly cooked jam. It has thickened, but it is still fluid. After cooling, the pectin will become thicker.

33.
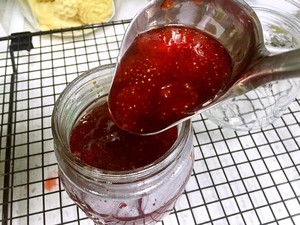
After the jam is cooked, put it into the glass bottle that has been sterilized just now while it is hot, and scoop it into it with a spoon. If your milk pan has a mouth, you can pour it directly in. The spoon in the picture is called "Duck". Spoon", many friends asked me before, this time I wrote it directly, and if you need it, you can buy it yourself!
Tips:
[After the jam is cooked, it should be bottled when the jam is still above 85 degrees, that is, when the jam is cooked, turn off the heat and put it into the jar immediately, otherwise the temperature will be very easy to breed bacteria if the temperature is below 80 degrees. If the jam is not ready, don’t turn off the heat for the jam, keep cooking at the lowest heat, prepare the bottle and everything, then turn off the heat]
[Jam can be filled into the bottle eighth full, leaving some space, this is to make the jam bottle upside down to squeeze the excess air out to achieve the effect of vacuum, but also use the high temperature of the jam to kill the bottle cap Bacteria above. 】

34.
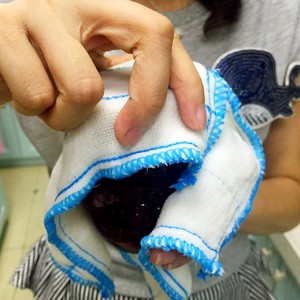
Then wrap a piece of cloth and tighten the cap. Don't use your bare hands, you will cry and burn to death! !
35.
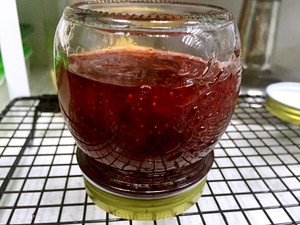
Put it upside down on a shelf or table immediately, and don't move it anymore. At this time, the jam is in the gel and the bacteria mentioned above are killing the bottle cap. Let it stand for at least 1 hour, don't move it, you can move it after an hour.
36.
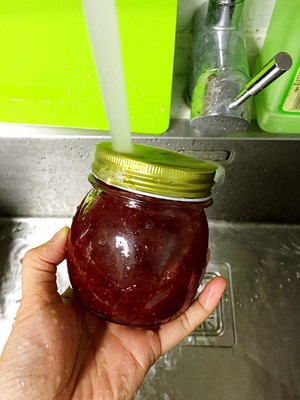
Take it to clean the bottle, wash the dirty place just now, leave it at room temperature for a week (mature), and then store it in the refrigerator.
37.
save time:
It can be stored in the refrigerator for about 3 months to half a year if it is not opened. It depends on the specific situation, because I tried it once for 4 months and it was a bit bad, maybe because I didn't complete the disinfection process: (.
After opening it, scoop it with a clean spoon. If it is not seriously contaminated, it will be stored for about a month.
The above is a rough time, and you have to judge whether the jam has deteriorated.
[The surface or bottom of the jam has changed color, the bottle cap is raised, that is, the vacuum is gone (open the bottle cap without audible bang), it must be deteriorated, you can not eat it! 】

Tips:
Here is a summary of tips. In fact, they are all written in the steps, just because the careless little ghosts will not see it.
[Jam jar selection: it must be acid-resistant, heat-resistant, and cold-resistant, so as to withstand the superheated jam, and store it in the refrigerator, and it must be sealed]
[Jam jar disinfection is one of the keys to long-term preservation of jam]
[After the jam is cooked, it should be bottled when the jam is still above 85 degrees, that is, when the jam is cooked, turn off the heat and put it into the jar immediately, otherwise the temperature will be very easy to breed bacteria if the temperature is below 80 degrees. If the jam is not ready, don’t turn off the heat for the jam, keep cooking at the lowest heat, prepare the bottle and everything, then turn off the heat]
[Jam can be filled into the bottle eighth full, leaving some space, this is to make the jam bottle upside down to squeeze the excess air out to achieve the effect of vacuum, but also use the high temperature of the jam to kill the bottle cap Bacteria above. 】

