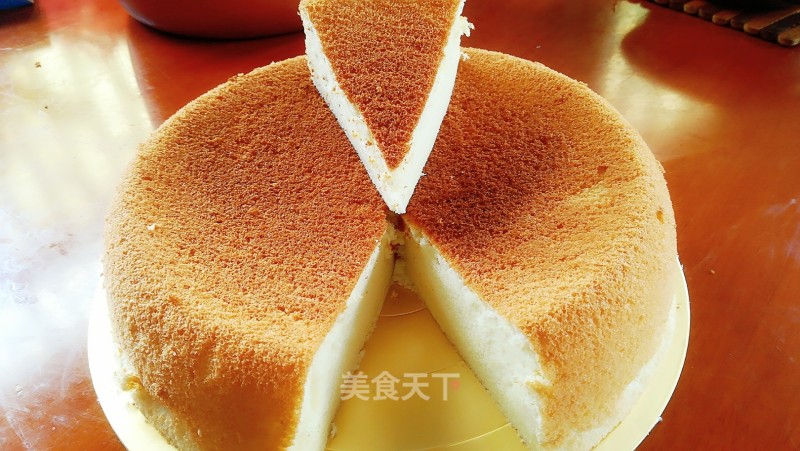

Rice Cooker Version Cake
by Dreaming back to early summer
Favorite
Difficulty
Normal
Time
1h
Serving
2
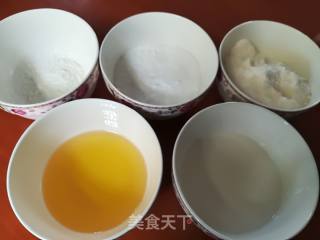
1. Materials needed for weighing

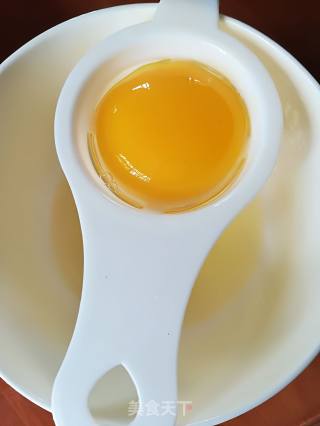
2. Separate the yolk and egg whites. Use an egg divider to separate the egg yolks and egg whites. The container for the egg whites should not be stained with water or oil, otherwise it will not be sent.

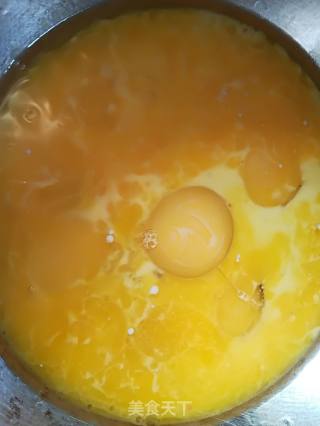
3. Pour milk and corn oil into the egg yolk, wrap the egg yolk and set aside for later use

4. At this time, you can preheat the rice cooker, just don’t add anything, just press the cooking button to preheat, it will automatically trip
5. Turn on the whisk to beat the egg whites at high speed until they are lifted up with a small hook. Add one-third of the first fine sugar and continue to beat.
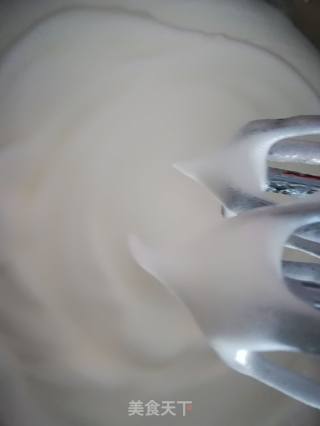

6. Add caster sugar for the second time and continue to beat at high speed
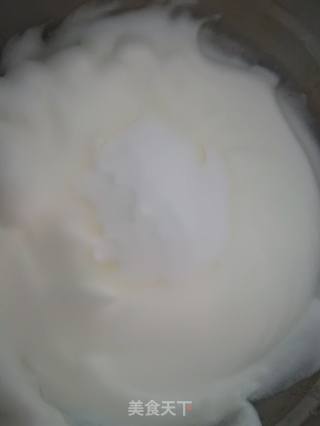

7. Add the remaining fine sugar and cornstarch for the third time, and beat at a medium speed (the meringue on the side of the container should be scraped off with a spatula and mixed.)
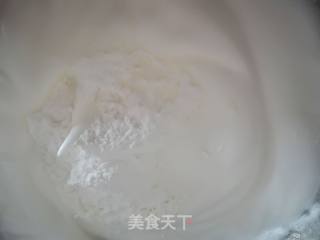

8. The meringue is finished~~~Set aside for later
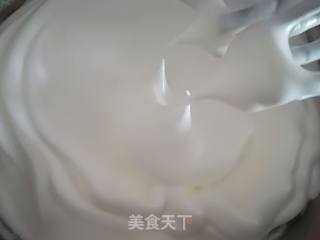

9. Sift the low-gluten flour into the egg yolk, stir evenly with a manual whisk or chopsticks, there must be no particles
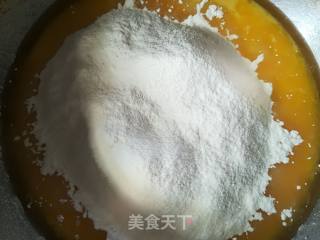

10. The fine and particle-free batter has been blended
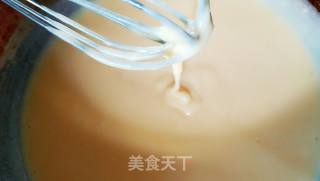

11. Add one-third of the meringue to the egg yolk paste, and mix the batter with a stir-frying method, like a stir-fry, remember not to make a circle, otherwise the egg white will defoam
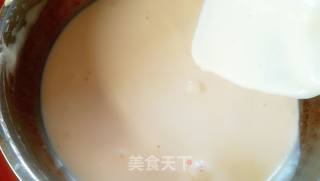

12. Pour the mixed batter into the remaining meringue and continue to stir evenly
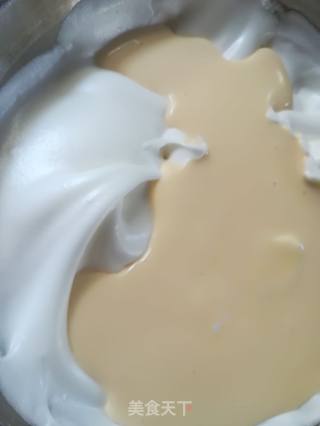

13. This is the final batter
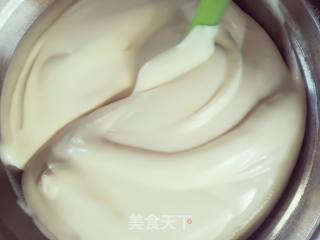

14. Take out the preheated rice cooker, and pour the batter about 15 cm away from the rice cooker. This will automatically eliminate some large bubbles. Drop it a few times to shake the bubbles out. Use if the small bubbles on the surface do not break. Toothpick punctured
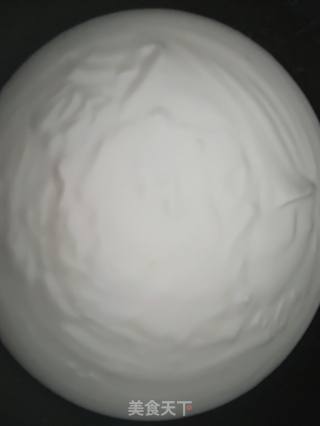

15. Press the cooking button, wait for it to trip for the first time, simmer for 15 minutes, press the cooking button, and simmer for 15 minutes. Remember to cover the vent of the rice cooker with a wet towel
16. After opening the lid, take it out immediately. If you are not familiar, you can poke it with chopsticks. If there is no batter, it will be cooked.
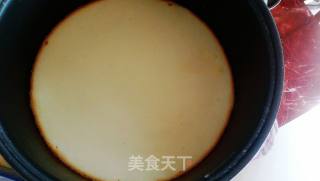

17. After letting cool completely, peel it off gently
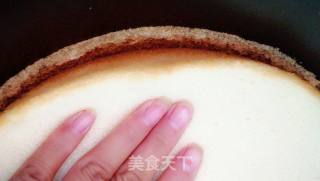

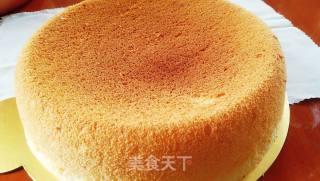
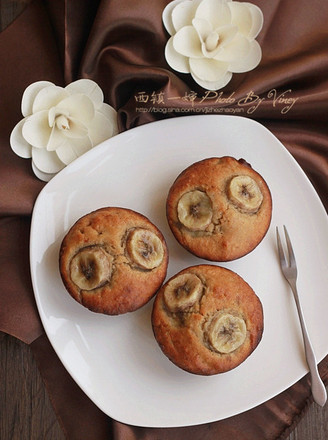
18. Haha 😄 This is the most successful rice cooker cake I have ever made

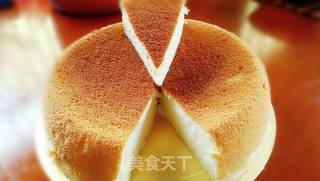
19. One more piece


 Buy on JD
 Buy on Amazon