Rich and Soft Chocolate Toast
by Beginning of the Rye
Favorite
Difficulty
Normal
Time
15m
Serving
2
When it comes to chocolate desserts, generally we first think of raw chocolate or chocolate cake, which uses chocolate raw materials to make bread, which also has a unique flavor. The rich flavor of cocoa powder and cocoa butter can make the aroma of bread more layered. For example, the popular "Raytheon Ruanou" and "Black Eyed Peas" are the typical representatives of this type of bread.
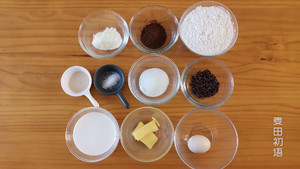
This chocolate toast belongs to sweet bread dough. From the perspective of baking percentage, the proportion of high-gluten flour is 100%, cocoa powder is 6%, milk powder is 4%, sugar is 16%, salt is 1%, and dry yeast is 1 %, eggs are 10%, milk is 66%, butter is 12%, and chocolate beans are 12%. Compared with ordinary white toast, cocoa powder and chocolate beans are added to double the flavor of chocolate. It is definitely a bread that can make chocolate control at first sight.
Since there are more flours and particles added, these will affect the gluten of the dough, so we try to choose high-gluten flour with higher protein content to avoid insufficient gluten and affect the expansion of the toast.
Cocoa powder can provide the main flavor for the bread tissue, and it can match with the milk powder to make the bread taste better. The addition of these two types of flour will increase the water absorption rate of the dough, so increase the amount of liquid added, otherwise the dough will be dry.
Because cocoa powder will bring a bitter taste, in order to reduce this effect, you can appropriately increase the amount of sugar and butter. In addition to butter, the fat in the raw materials can also be added to chocolate with high cocoa butter content, as another type of fat to match with butter, which can make the chocolate flavor more prominent.
High temperature resistant chocolate beans are made through a special process, usually in the shape of a drop, which is convenient for mixing into the internal organization of the dessert. It will not melt after high-temperature baking and can maintain the original shape and taste. It is best to use natural cocoa butter chocolate instead of cocoa butter substitutes, because cocoa butter substitutes taste like plastic. Don't add too much chocolate beans to the dough, because the fat-rich particles will weaken the gluten.
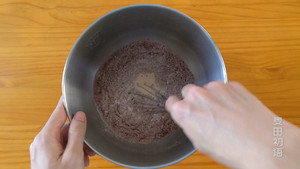
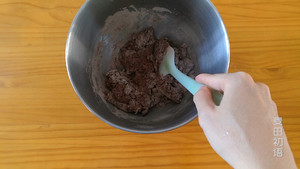
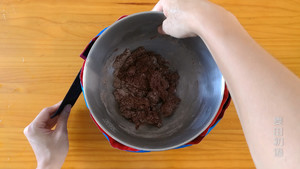
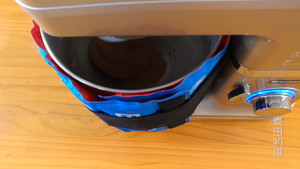
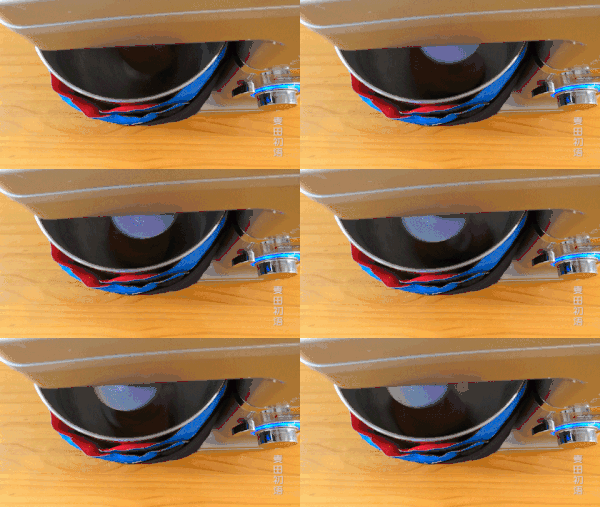
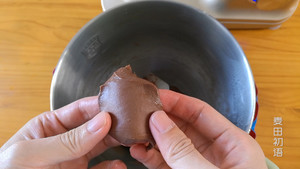
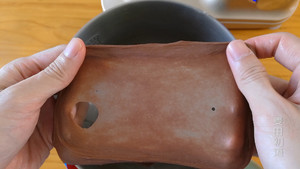
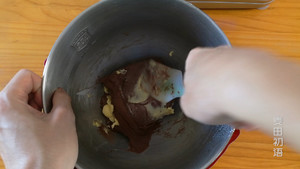
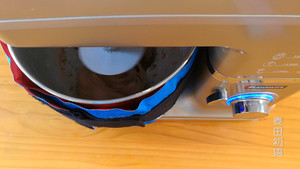
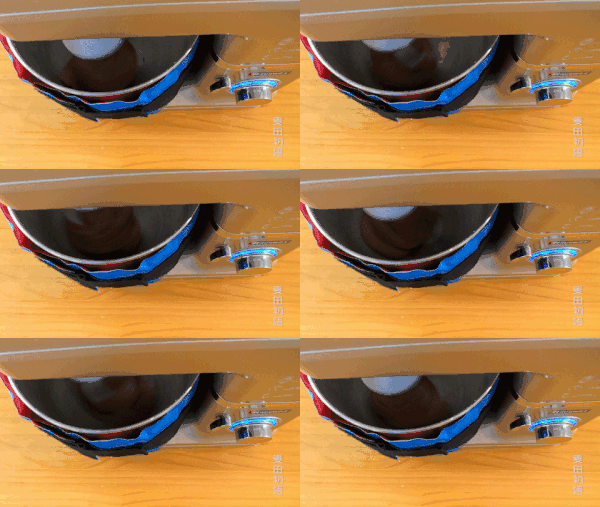
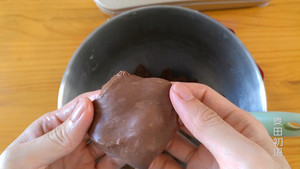
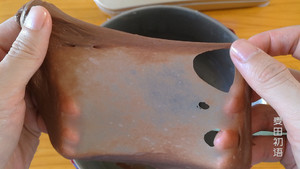
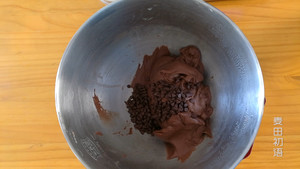
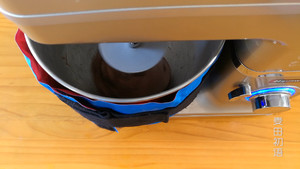
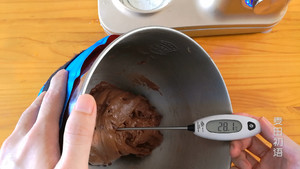
For dough, the addition of cocoa powder and chocolate beans, and the increase in oil and sugar content, all have a certain effect on gluten, so knead the dough more fully. Using the conventional post-oil method, knead the dough to 80 gluten degree, add butter and knead it to 10 gluten degree, and finally add chocolate beans and mix well. Be careful to control the temperature of the dough not to exceed 28 degrees, otherwise the dough will become wet and sticky. To lower the temperature of the dough, you can use methods such as freezing liquid, wrapping an ice pack, or refrigerating the mixing bowl.
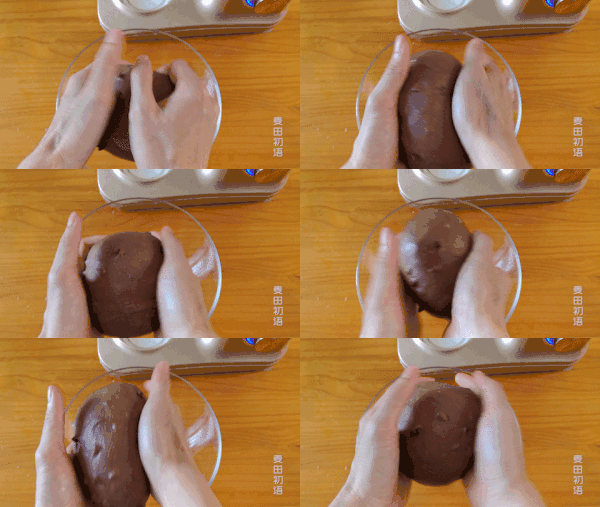
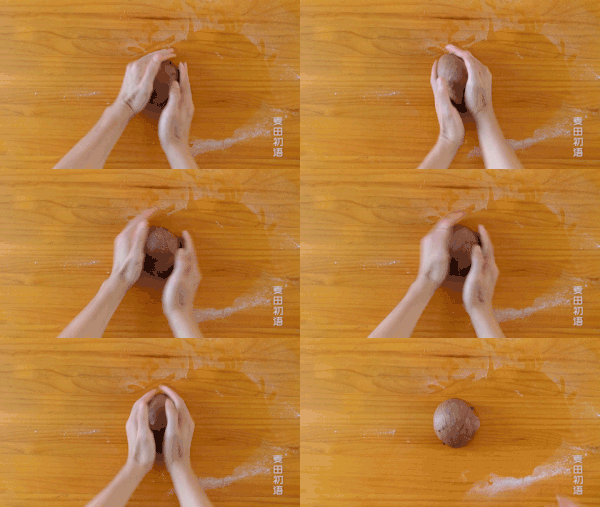
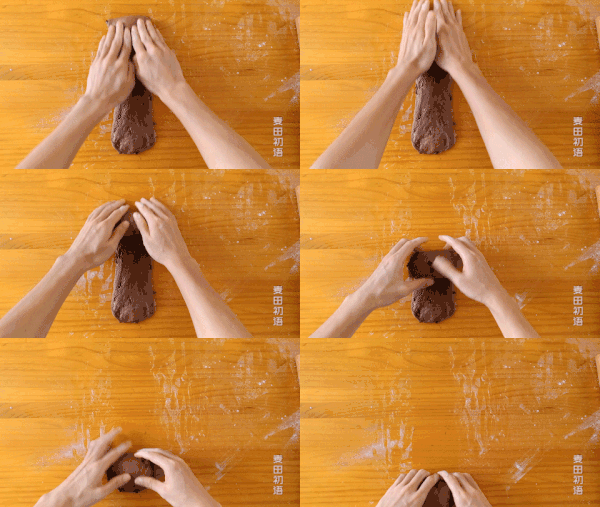
When rounding the dough or performing other operations, you should try to wrap the chocolate beans inside the dough to avoid appearing on the surface, affecting the integrity of the dough surface and reducing the dough's ability to coat gas. Although the chocolate beans are resistant to high temperatures, they are not very resistant to pressure. When you use your hands, you should reduce the touch of the chocolate beans, otherwise it will easily stain the surface of the dough.
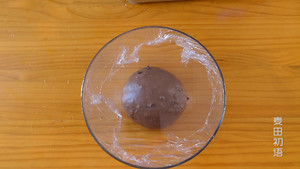
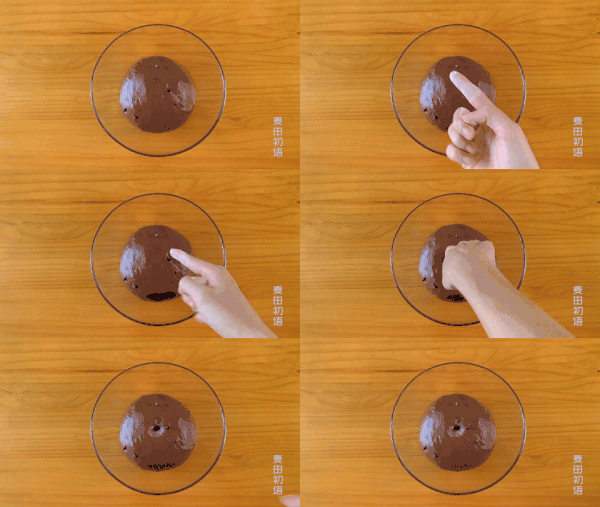
The suitable temperature for one fermentation is 28 degrees and the humidity is 75%. One fermentation is carried out at room temperature (above 25 degrees), usually covered with plastic wrap to keep the humidity in the basin. If it is winter when the room temperature is low, you need to use an oven or a fermentation box to provide a suitable temperature.
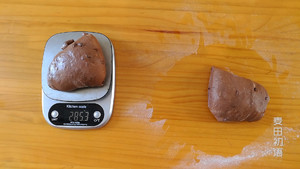
This time, 450 grams of toast is made, using two dough shaping methods. The difference between the three doughs and the two doughs is that the three doughs can make the gluten of the dough tighter, the ability to retain gas is stronger, and the degree of expansion will be relatively higher. However, because of the influence of chocolate beans, this toast does not need to be excessively high. As long as it is a bit higher than the toast box, you will be able to eat soft and delicious chocolate toast.
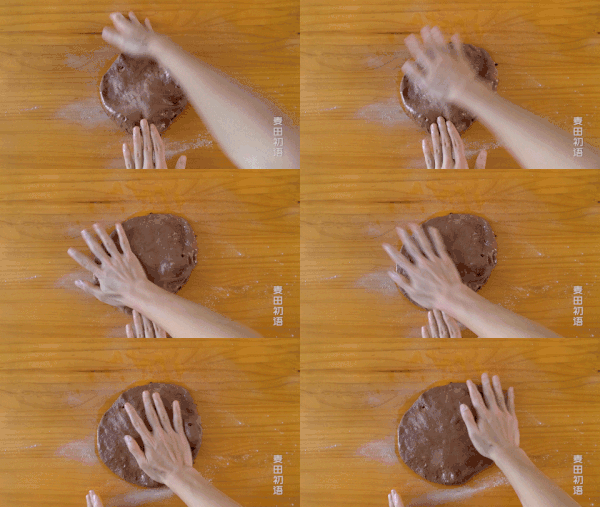
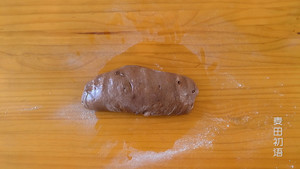
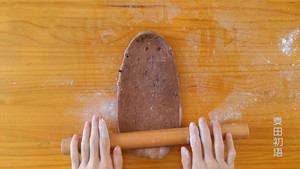
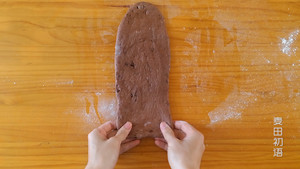
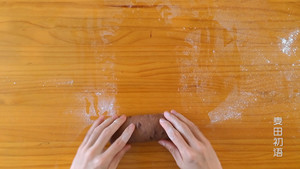
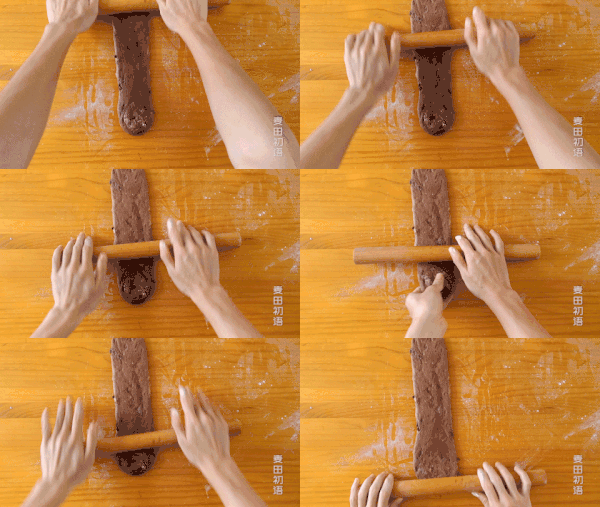
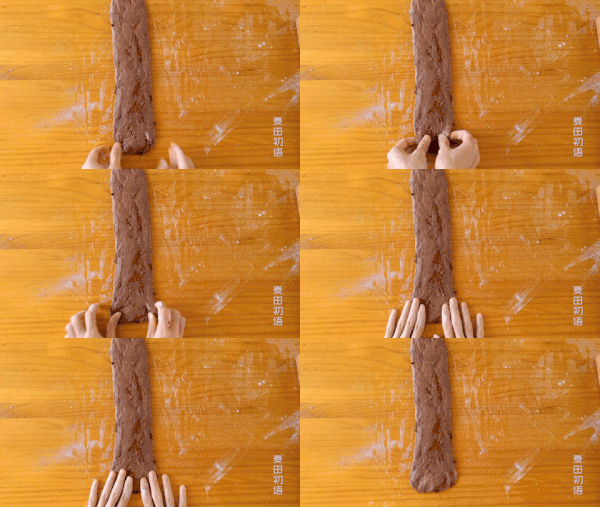
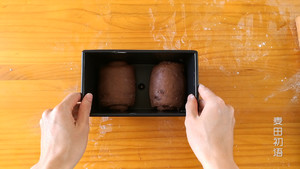
The primary rolling and secondary rolling of the dough are the same as the normal operation. If the rolling retraction is severe, the relaxation time is not enough. The more the number of dough rolls, the tighter the gluten, but the gluten is not as tight as possible, too tight and easy to break. For mountain-shaped toast with two doughs, you can put the rolled dough into the toast box symmetrically, that is, the direction of rotation is opposite when viewed from the side of the toast, so that the side of the finished product will look better.
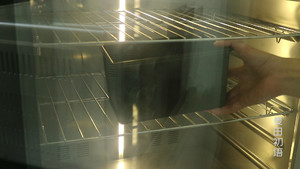
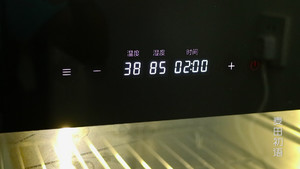
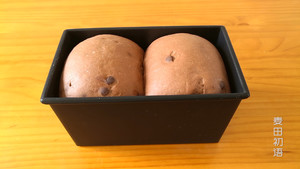
The suitable temperature for the secondary fermentation is 38 degrees and the humidity is 85%, which usually requires the help of equipment for fermentation. The volume of the secondary fermentation should reach 9-10% of the height of the toast box, which is generally flush with the edge of the mold. The surface of the fermented dough is brushed with a layer of whole egg liquid, which can prolong the hardening time of the skin in the oven and make the bread expand more fully. Brushing with egg wash can also make the surface brighter and increase your appetite.
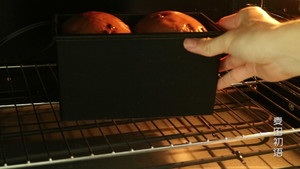
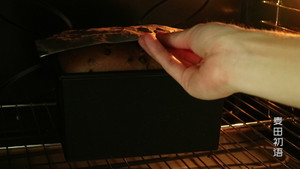
This tutorial uses a black low-sugar toast box, baked at 170 degrees for about 30 minutes, and covered with tin foil to prevent the top from being burnt. If you use an ordinary silver toast box, you need to bake it at 180 degrees for about 40 minutes. The toast itself is dark in color, and it is not easy to judge the degree of baking by the coloring. It can only be judged by more practice and sufficient experience.
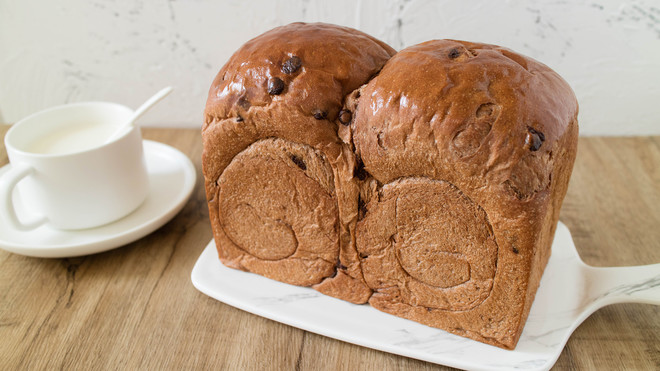
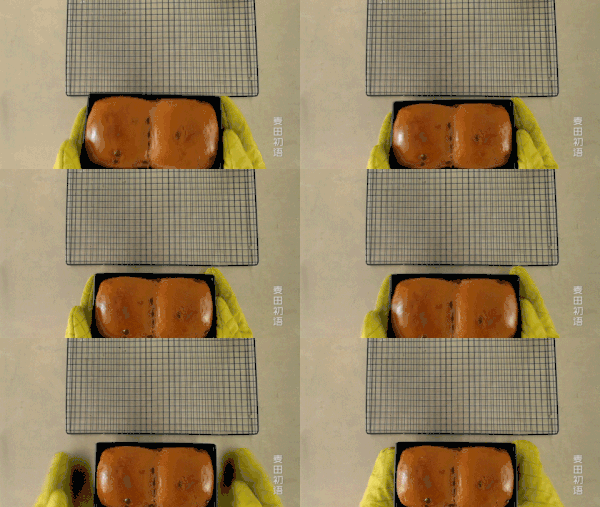
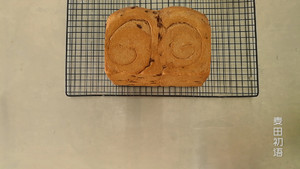
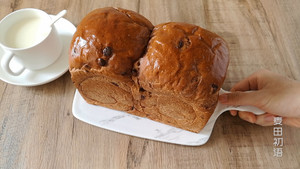
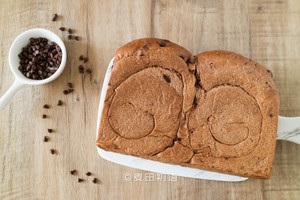
The high-temperature chocolate beans can still maintain their complete shape after baking, and the particles are fully embedded in the toast tissue, which attracts attention just like the diamonds embellished on the famous brand bag. The freshly baked chocolate toast has a strong fragrance, and it should be sealed and stored in time after it has completely cooled to prevent the toast from losing too much aroma and moisture.

