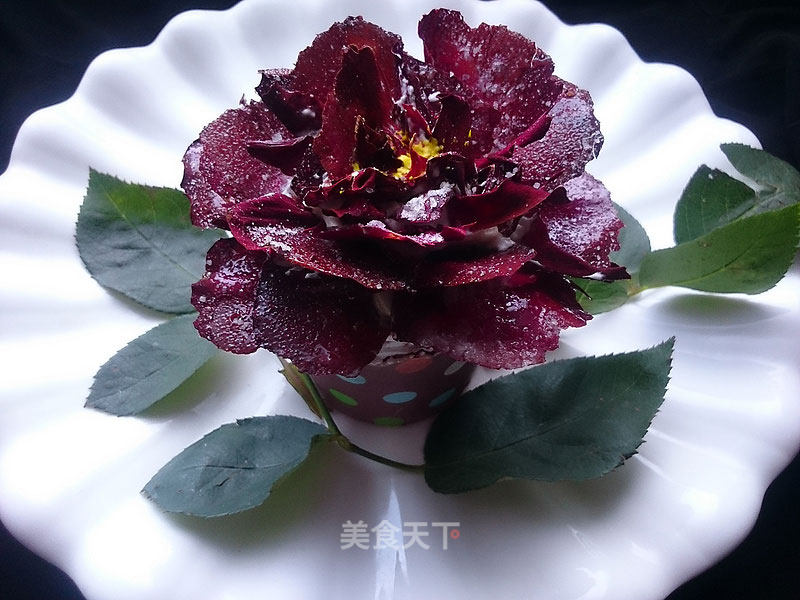
Rose Chocolate Cupcakes
by Elegant piano rhyme
Favorite
Difficulty
Hard
Time
2h
Serving
2
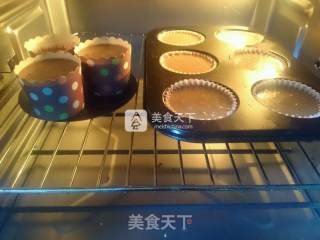
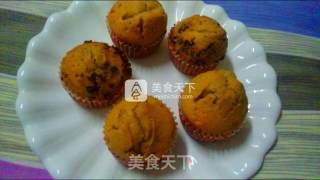
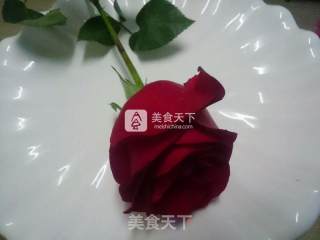
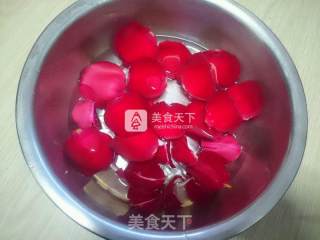
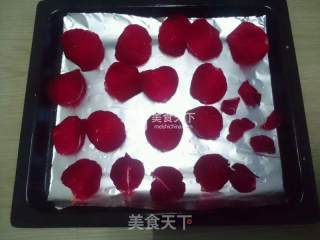
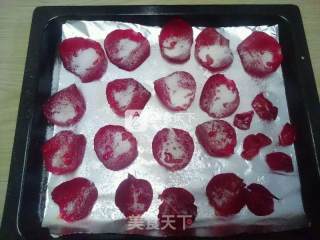
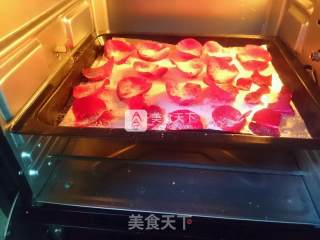
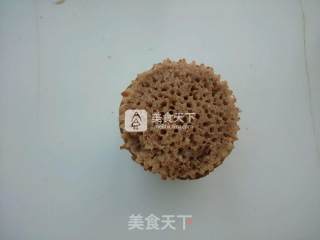
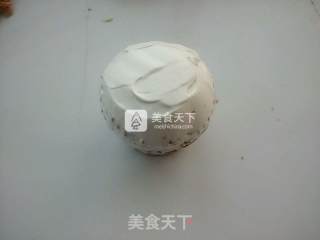
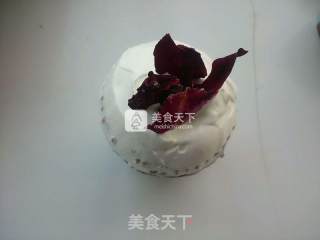
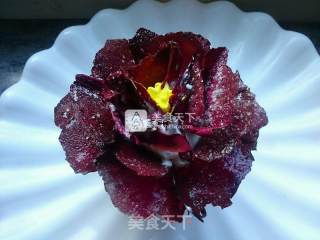
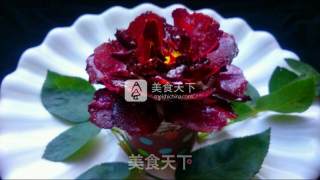
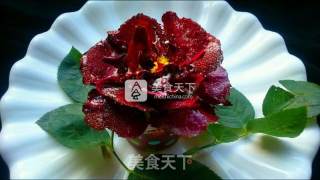
Roses and chocolates have always been gifts for Valentine’s Day. Use chocolate cocoa powder to make sweet and delicious cakes, and then make a bunch of air-dried roses. Assembling them on the cake is a perfect match. The air-dried roses made today are You can eat, buy real roses. Roses have the effect of regulating qi and promoting blood circulation, can remove blood stasis and relieve emotions, beautify the skin, and the rose petals are cleaned, dried, soaked in egg whites, sugar stained, dried, and dried. This paper cup rose Chocolate cakes can be given to lovers. It can be given to parents and children. It can be given to parents and children with warm love. After the cake is eaten, the roses can be preserved. You can slice it gently with a knife and place it on a small plate. Appreciate it, it will last longer"

![Seasonal Vegetable Patties [baby Food Supplement] recipe](https://img.simplechinesefood.com/02/024b910033009872aea33017c755a377.jpg)
