Santa Cake Roll
1.
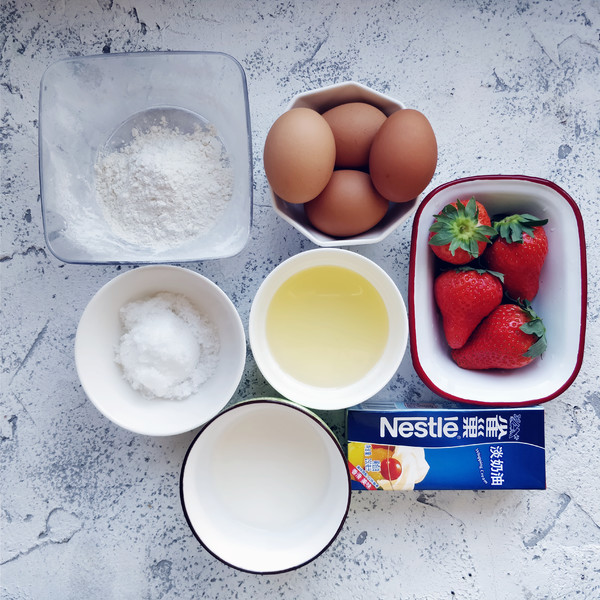
Weigh and clean all kinds of ingredients.
2.
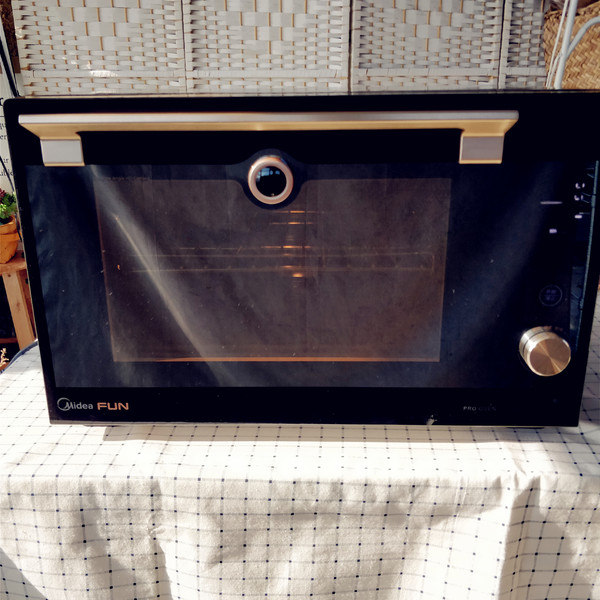
Preheat the oven, select the upper and lower fire mode, 160 degrees, 15 minutes, click start, the preheating mode will be turned on automatically, and a beep will sound when the temperature is reached.
3.
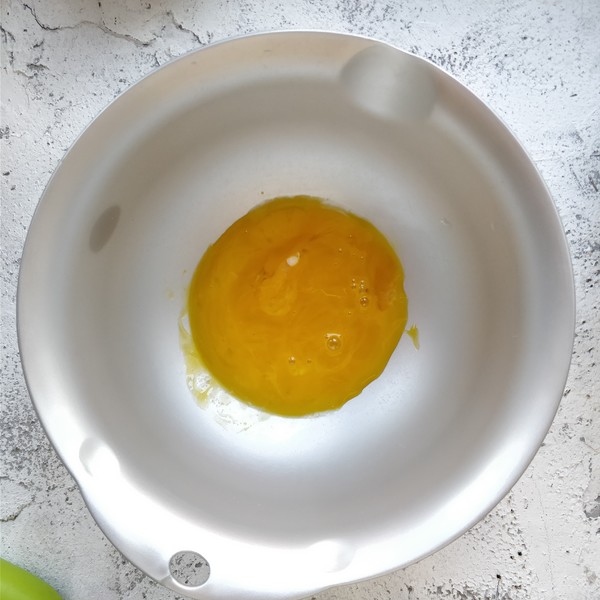
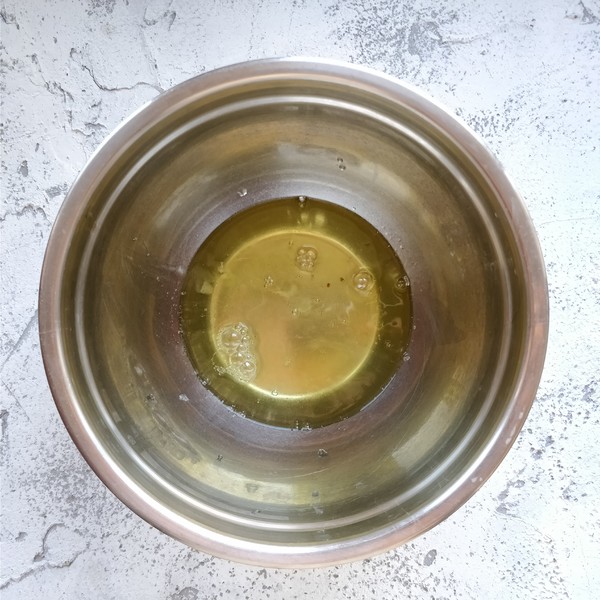
While preheating the oven, separate the egg whites and yolks of the four eggs and put them into a clean egg-beating bowl without water and oil.
4.
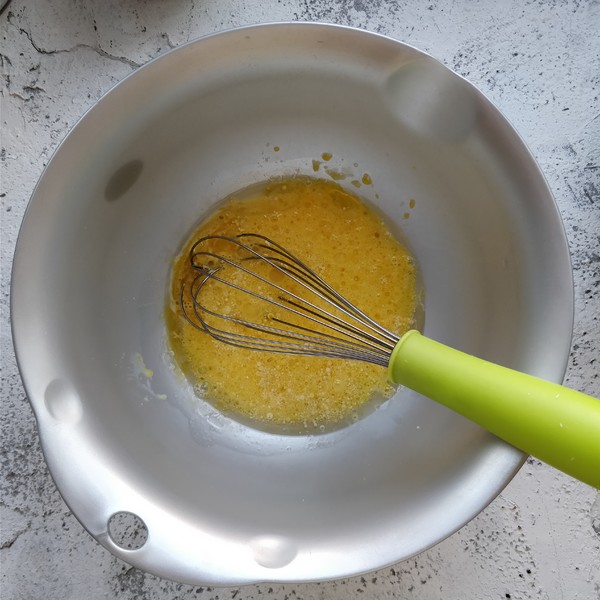
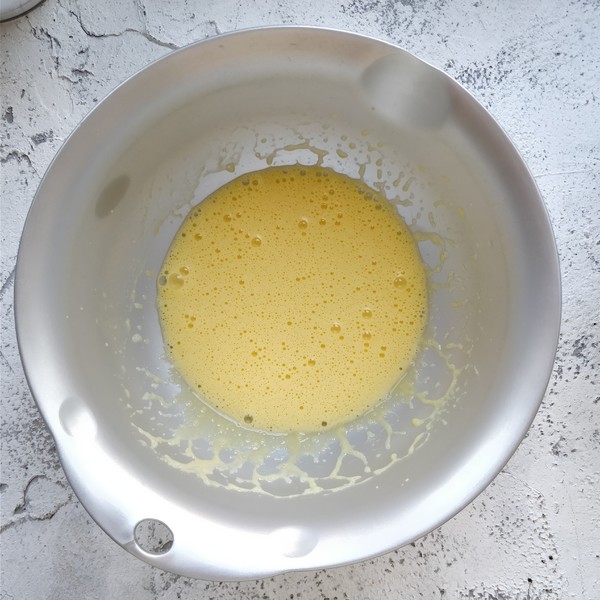
In the egg yolk bowl, add vegetable oil and milk, and stir in one direction with a manual whisk.
5.
Stir until the color becomes slightly lighter, the volume swells slightly, and there is no obvious oily state on the surface.
6.
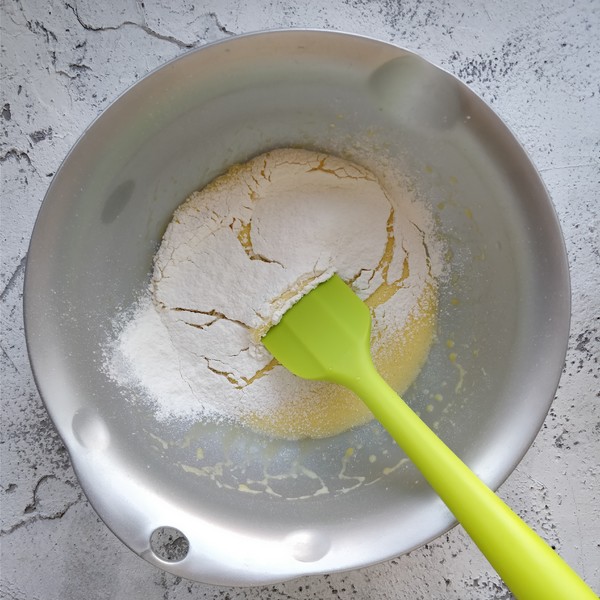
Sift in low-gluten flour.
7.
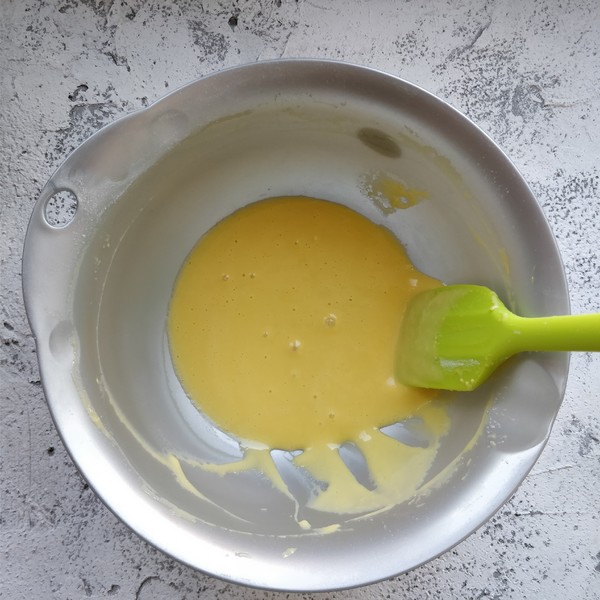
Use a spatula to mix into a fine and even egg yolk paste, set aside for later use.
8.
Start to beat the egg whites.
9.
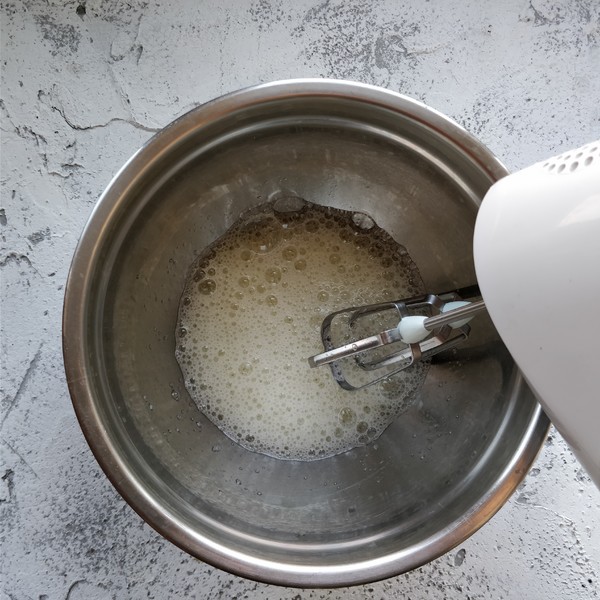
Use an electric whisk to beat the egg whites in one direction. When the fisheye bubbles are formed, add half of the fine sugar to beat.
10.
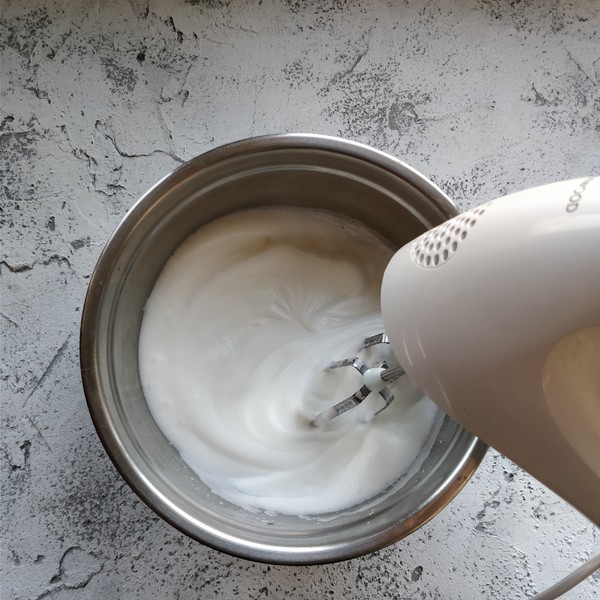
After the obvious pattern appears, add the remaining half of the fine sugar and continue to beat.
11.
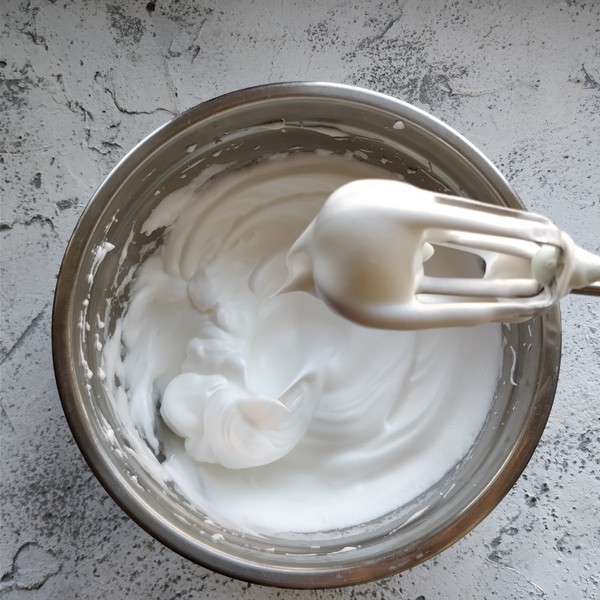
Dispatch until you lift the egg beater to form a big hook.
12.
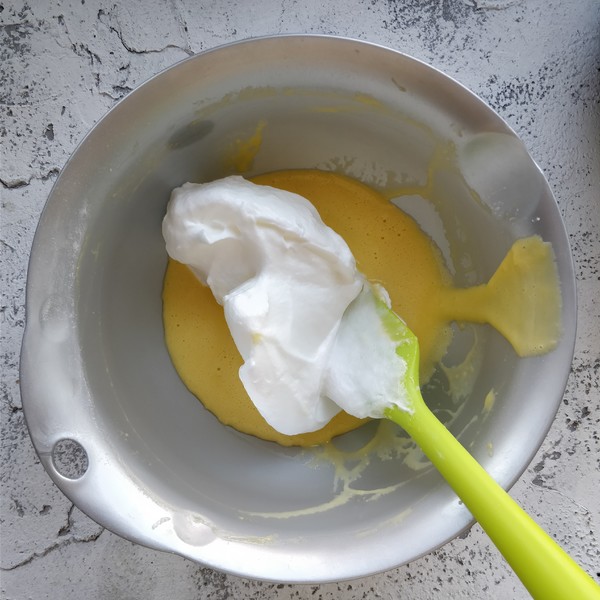
Add one-third of the whipped egg whites to the egg yolk paste.
13.
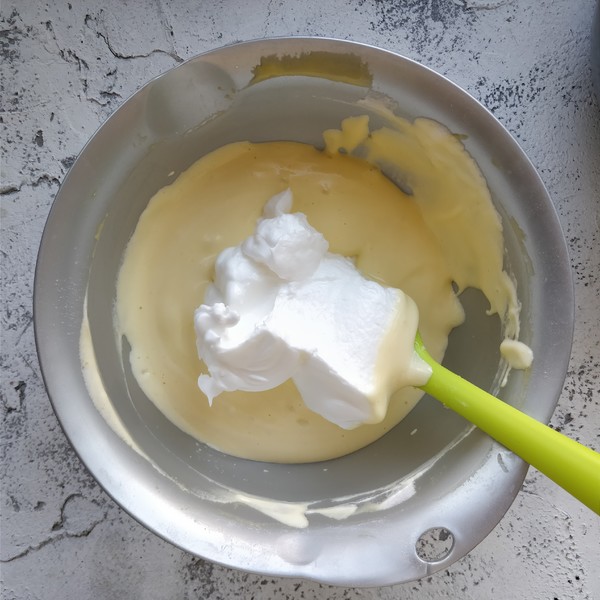
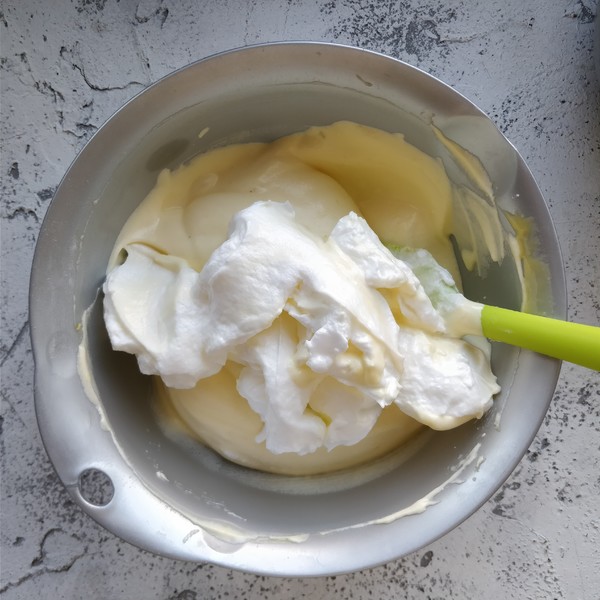
Stir evenly from the bottom with a spatula, then add one third of the whipped egg whites.
14.
Repeat the above steps.
15.
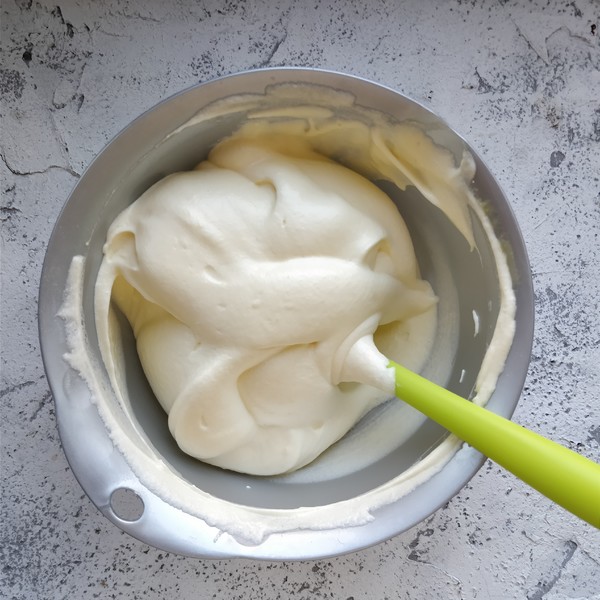
Until it mixes well into a smooth and even cake batter.
16.
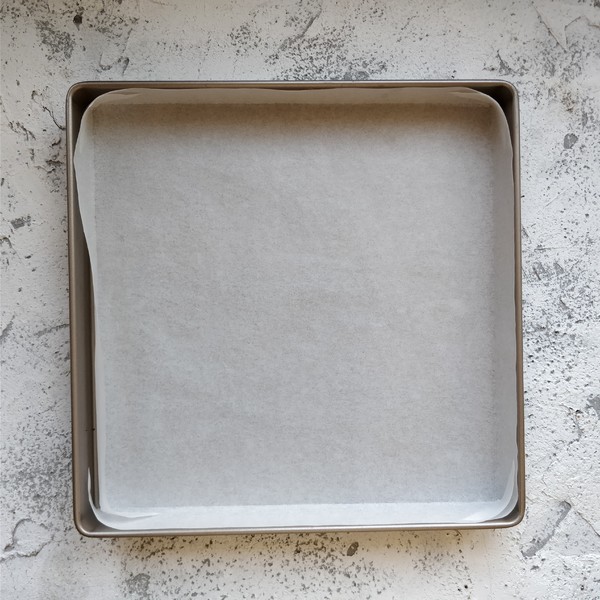
Spread the matching oil paper or non-stick oil cloth on the gold plate and arrange the corners.
17.
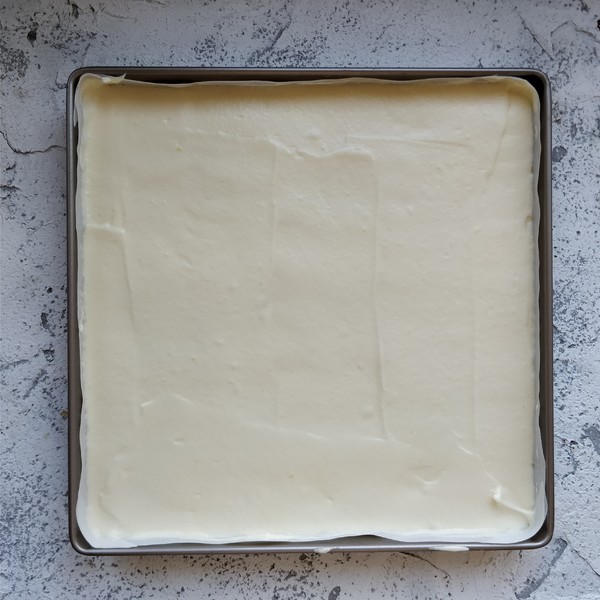
Pour the cake batter and use a spatula to smooth the corners and tops.
18.
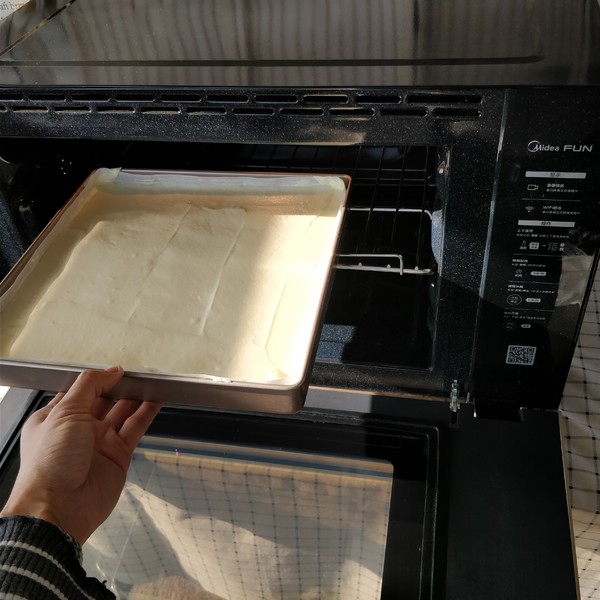
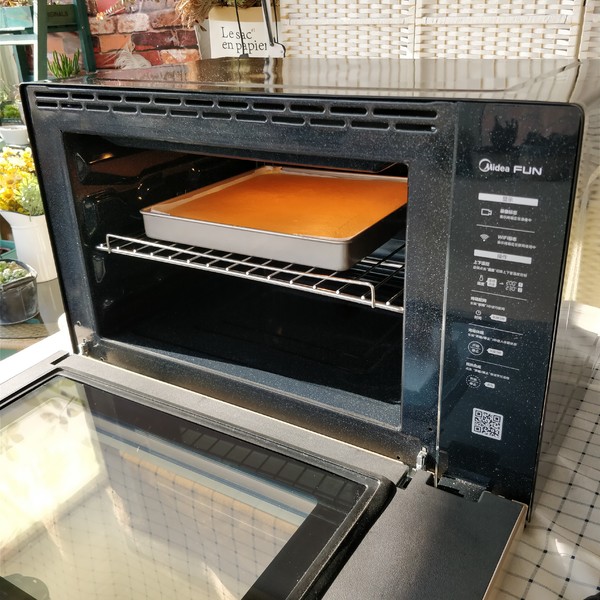
Put the golden plate on the middle grill of the pre-heated Midea FUN oven (that is, the second floor from the top).
19.
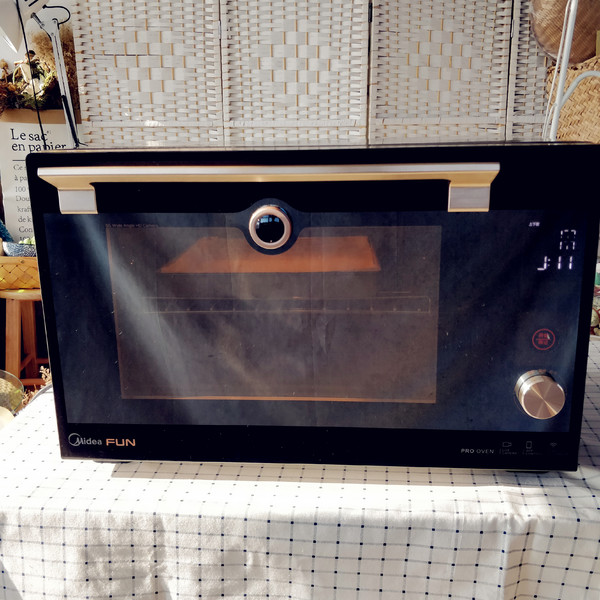
Click start, the lamp in the furnace will automatically light up, execute the setting of 160 degrees up and down, and bake for 15 minutes.
20.
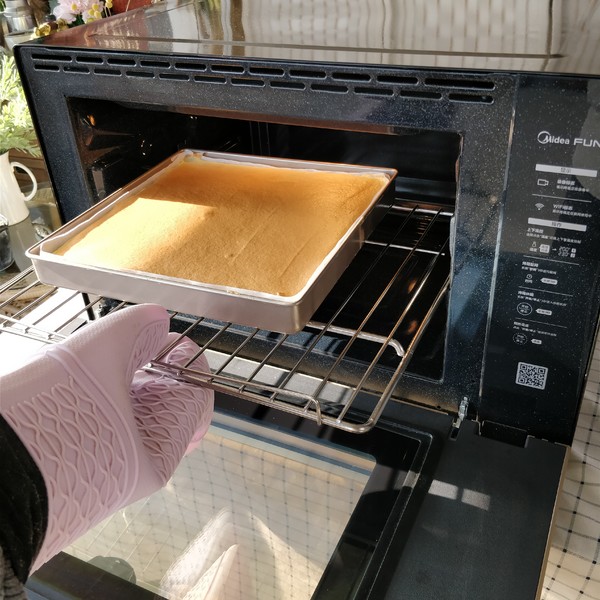
After hearing the buzzing sound of the end of baking, turn on the oven.
21.
Take out the baked cake body, you can see that the coloring is very uniform and the surface is also very flat.
22.
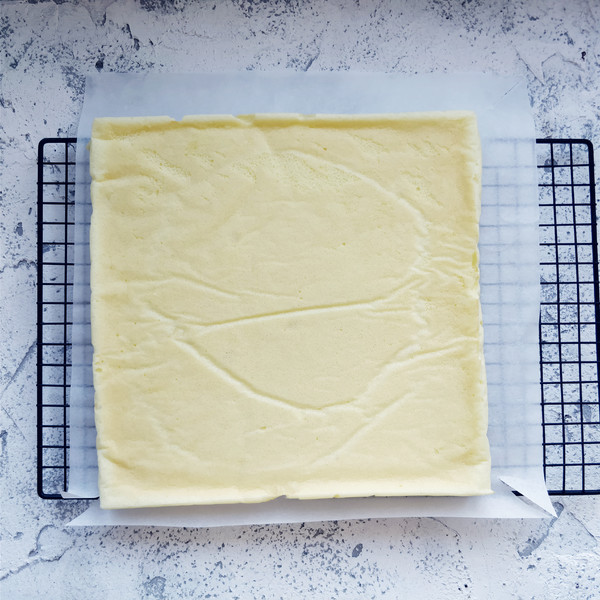
Lift the edge of the greased paper in the gold plate by hand, buckle the cake body upside down on the drying net, and tear off the greased paper at the bottom to let cool.
23.
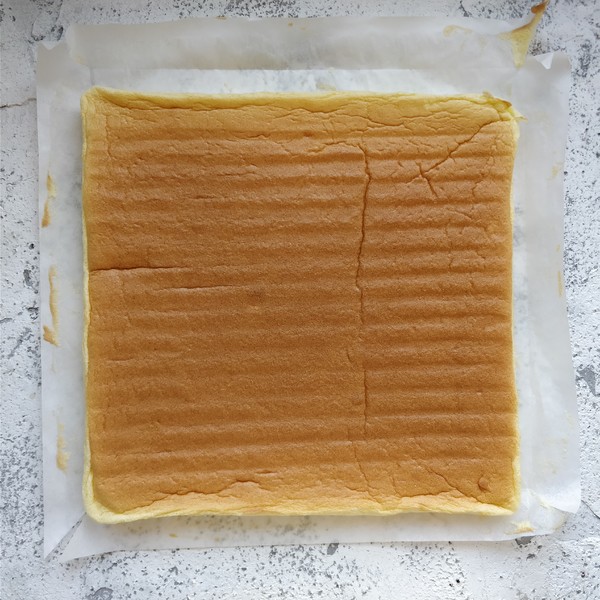
After cooling, turn the cake body over and place it on greased paper, with the front side facing up when it is put in the oven.
24.
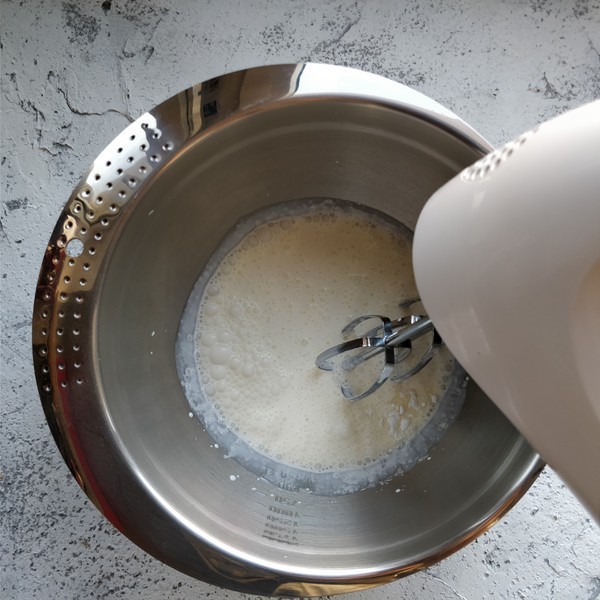
Pour the refrigerated whipped cream into an egg beater, add icing sugar and beat at a low speed with an electric whisk.
25.
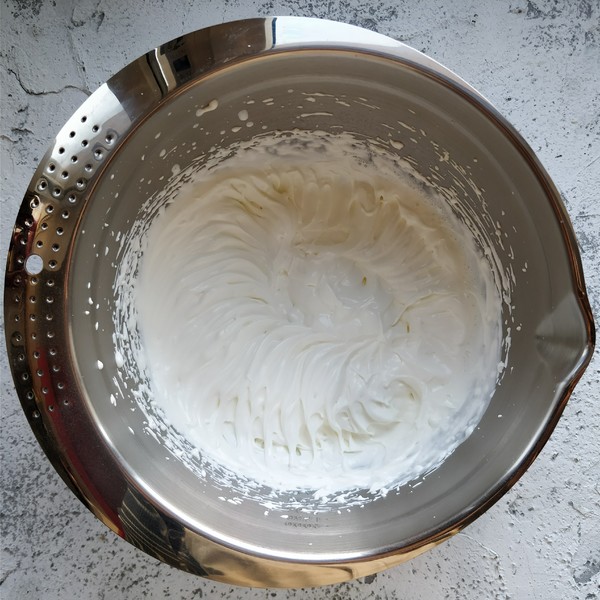
Dispatch until the pattern is obvious and the side basin is slightly flowing.
26.
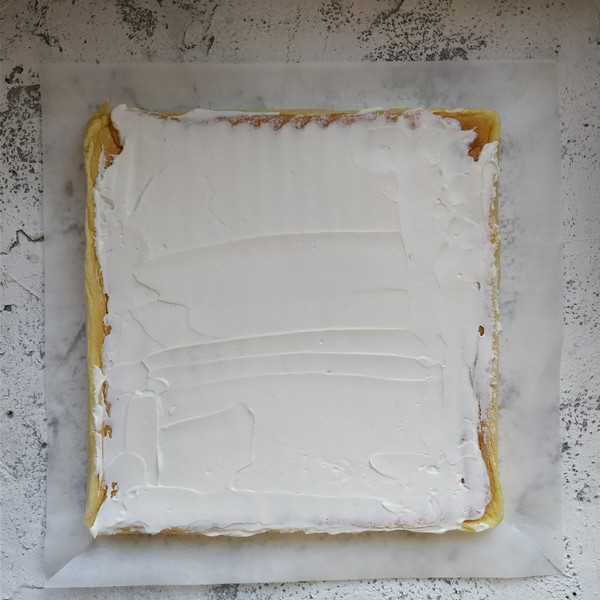
Use a spatula to spread the right amount of cream on the flat cake body. On the side of the starting roll, the cream can be slightly thicker.
27.
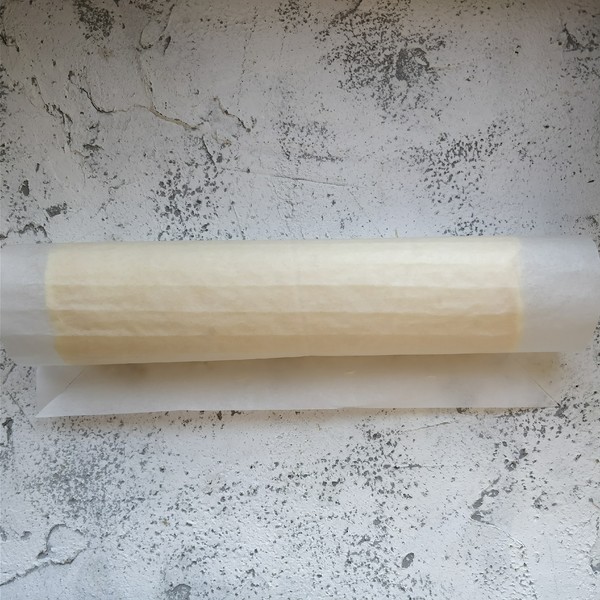
With the aid of greased paper, roll up the cake body with the interface facing down, and put it in the refrigerator for a while to shape.
28.
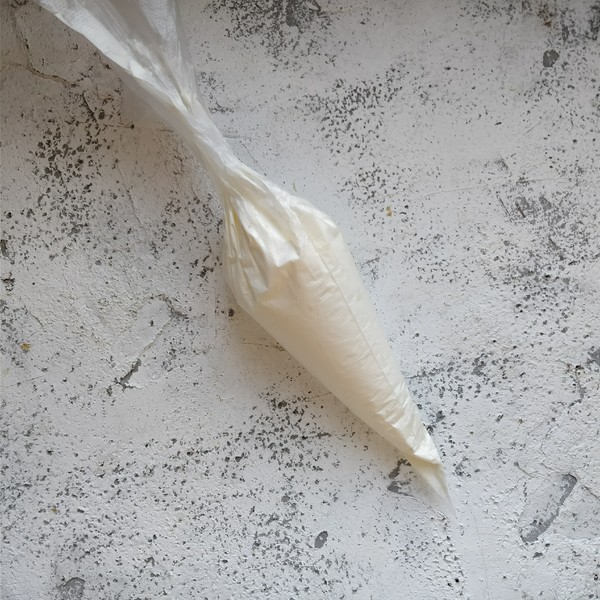
Put the remaining cream in a piping bag with small openings.
29.
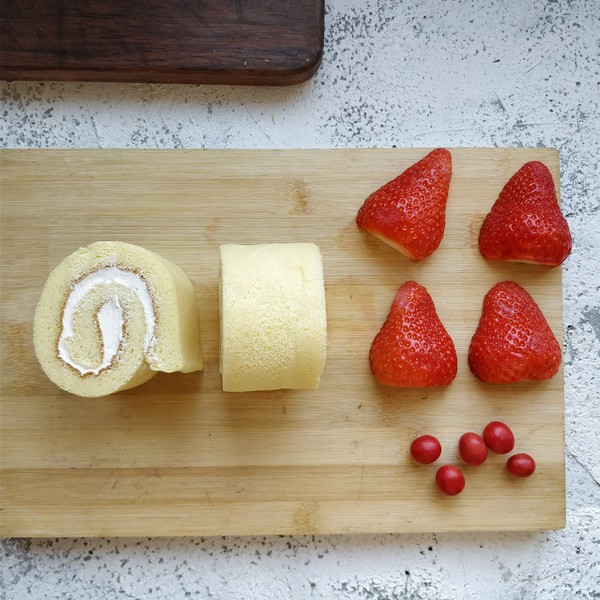
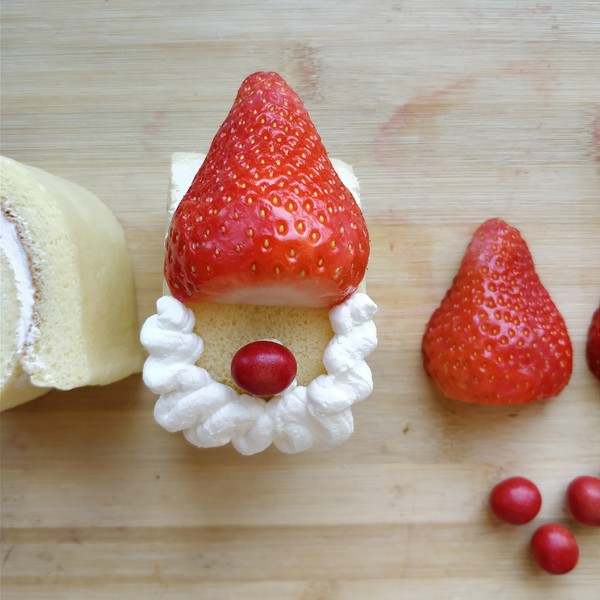
Remove the stems of the strawberries and cut them in half lengthwise. According to the width of each strawberry, cut the cake roll into pieces of corresponding width.
30.
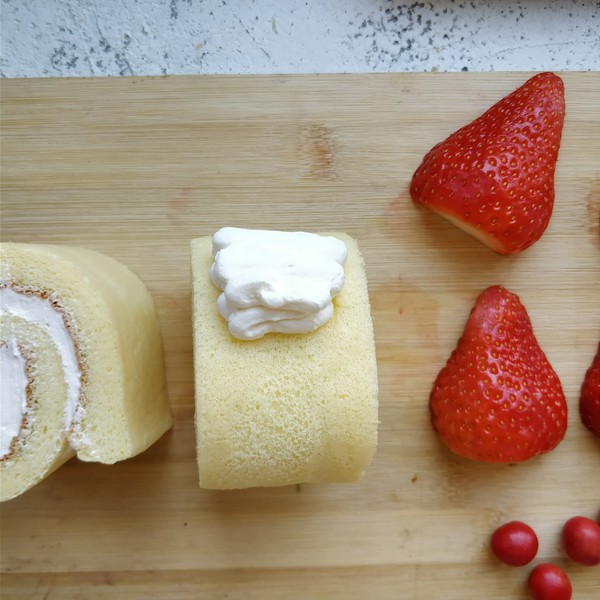
Squeeze a little cream on the upper side of the center line of the cake roll to bind the strawberries and the cake body.
31.
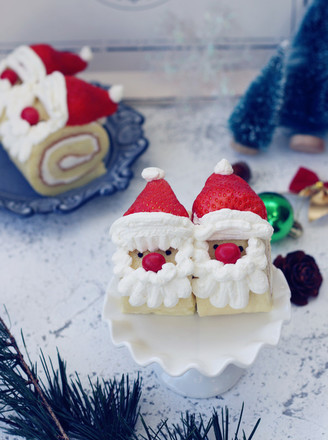
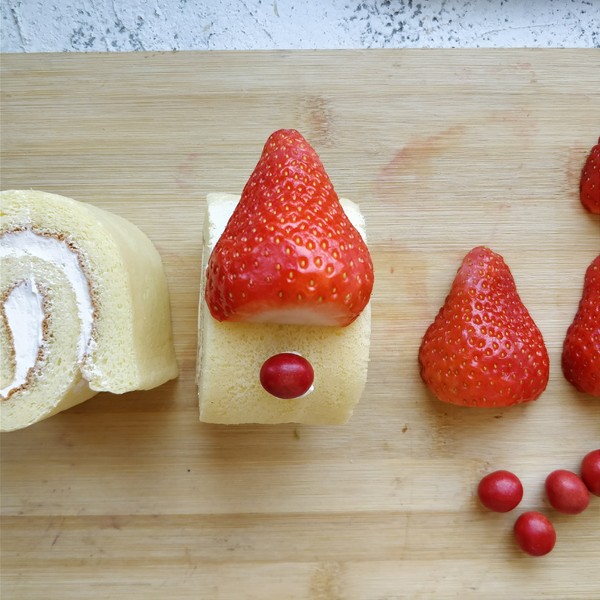
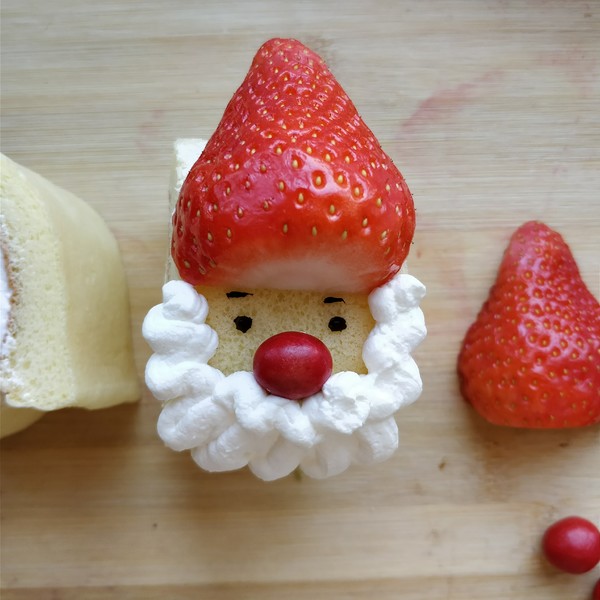
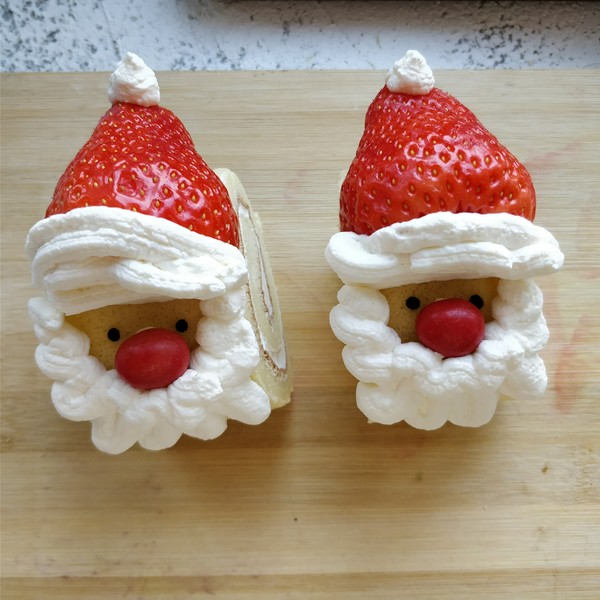
Glue the sliced strawberries and chocolate beans in place to serve as Christmas hats and red noses.
32.
Use the piping bag to squeeze out the wavy lines along the left and right sides of the strawberry cap, leaving a place for the oval face.
33.
Put a little dark chocolate into the piping bag, melt it with the hot air function of a hair dryer, and squeeze out small round eyes on both sides of the nose.
34.
Then squeeze out the white pompom on the top of the strawberry hat and the white brim, and a piece of Santa Claus cake roll is ready.

Tips:
1. The stuffed whipped cream needs to be refrigerated in advance for whipping. If it is too late to refrigerate, you can also put an egg beater on ice cubes to whet.
2. When whipping the whipped cream, it needs to be whipped at a medium-to-low speed to avoid over-whipping, forming a tofu-like dregs that separates water and oil.
3. The oven needs to be preheated in advance, and the cake batter should be mixed and put into the oven for baking immediately. Because it is expanded by whipping the egg white instead of using an expanding agent such as baking powder that expands when exposed to heat, the cake batter that has been stored for a long time is easy to defoam and affect the bulkiness of the cake.
4. The egg yolk paste should be beaten until there is no obvious oil star on the surface, and then stir in the low-gluten flour. The uniform distribution of fat is conducive to the expansion of the cake body tissue.
5. Don't stir too much when mixing low-gluten flour to avoid gluten. If the flour particles are obvious, sift the egg yolk paste.
6. When whisking the egg whites, the granulated sugar should be added in batches, and the granulated sugar should be repeatedly beaten each time before adding the next time.
7. The egg white should be sent to the wet foaming state, that is, the big hook state. If it is not sent enough, the cake body will shrink and collapse due to insufficient support during the baking process. If it is over-spread, the cake body will not be flexible enough, and it will crack when it is rolled.
8. When mixing the egg yolk paste with the beaten egg white, turn it up from the bottom and mix well with the help of gravity. Do not over-mix to avoid defoaming. If the volume of the mixed cake batter becomes significantly smaller, it is defoaming.
9. Laying greased paper in the gold plate, it is more convenient to operate during demolding, and there is no need to clean the gold plate, it will not damage the non-stick coating of the gold plate, and it is convenient to discard the used grease paper directly.
10. When squeezing the cream to glue the strawberries on the cake roll, it is best to squeeze the curved part a little more, so that the strawberry cap is placed more smoothly.
11. The dark chocolate used for eyes can be melted in a microwave oven, or melted in water, because the amount is very small this time, you can replace it with bake-resistant mini chocolate beans, or use a hair dryer to melt a little chocolate, which is also very convenient .
12. The decorated cake rolls should be sealed in the refrigerator and kept for two or three days.

