Shredded Danish Toast
1.
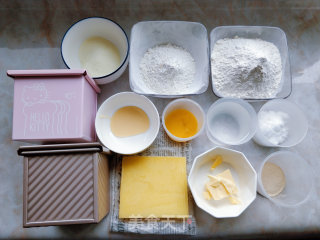
Prepare various ingredients, cut the unsalted butter into small pieces and soften it at room temperature.
2.
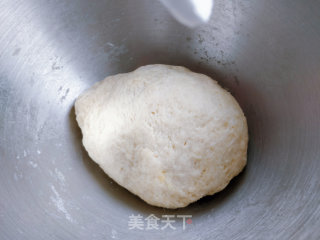
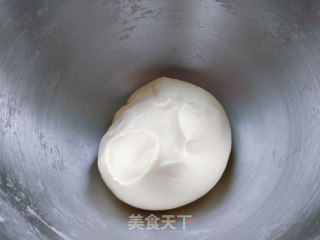
Pour all the ingredients except butter into the mixing bucket of the chef's machine one by one, and knead them into a dough (the yeast powder should not directly touch the sugar and salt).
3.
Continue to knead the dough, knead the dough until it becomes gluten, and the thick film can be pulled out.
4.
Add the softened butter and continue to knead the dough.
5.
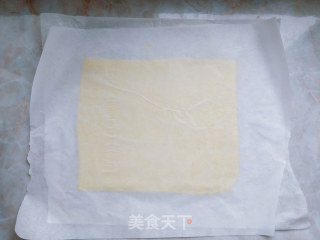
While kneading the dough in the cook machine, sandwich the flaky butter between two pieces of oil paper, roll it into a uniform rectangular slice, and put it in the refrigerator to freeze.
6.
Knead the dough until it absorbs the butter and becomes smooth and delicate.
7.
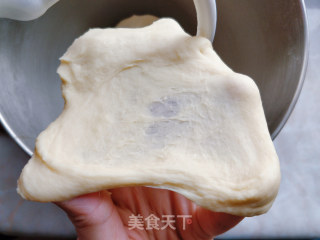
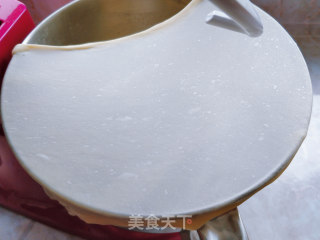
Cut a piece of dough, pull around with your hands, and stretch out a uniform film, that is, fully expanded state (do not pull the dough with your hands to avoid breaking the gluten).
8.
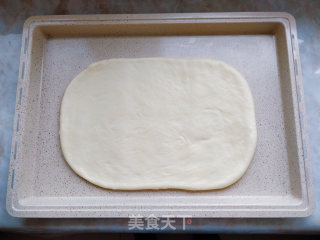
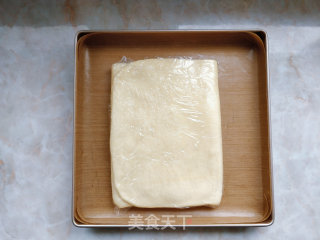
Roll out the dough into thick rectangular slices, cover with plastic wrap and freeze for 1 hour (the temperature of the center and the edges of the rolled dough can be the same, if it is a ball, the center temperature will be higher than the edge).
9.
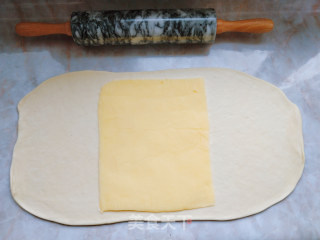
Take out the frozen dough and roll it out to double the size of the butter slice. Put the butter slice in the middle, fold the dough pieces on both sides toward the middle, and pinch the seams in the middle.
10.
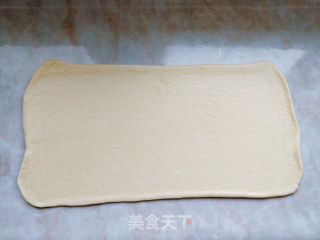
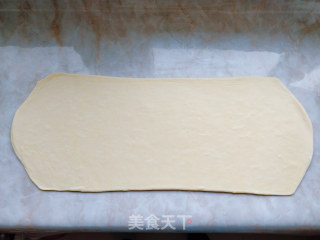
Rotate the dough 90 degrees, and roll the dough into a 0.5cm thick piece along the seam (first press the middle interface and roll it back and forth, and then roll the whole piece from the beginning to the end. Use a walking hammer to roll the dough and apply even force , So that the butter interlayer can be evenly distributed).
11.
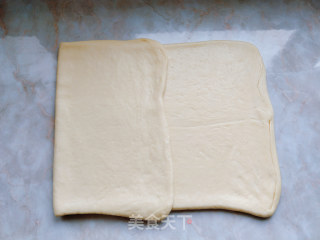
Divide the dough into thirds, and fold the left and right ends toward the middle one by one.
12.
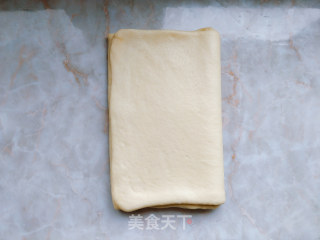
Complete the first tri-fold as shown in the figure.
13.
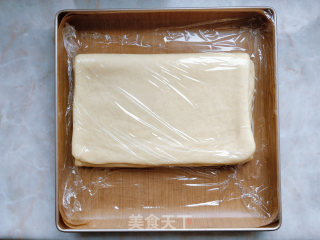
Cover the first three-folded noodles with plastic wrap and put them in the refrigerator to relax for 20 minutes.
14.
Take out the dough piece, rotate it 90 degrees, and roll it out into a rectangular piece again.
15.
Repeat for the second three-fold.
16.
Cover with plastic wrap, put it in the refrigerator to chill and relax for 20 minutes, and then finish the third three-fold.
17.
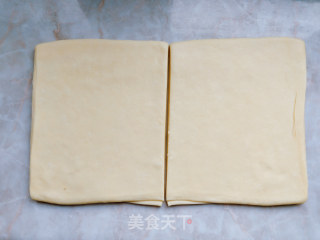
Take the third-folded dough out of the refrigerator, roll it into a sheet with a thickness of about 1cm, and cut it from the middle (divided into two square toast boxes. The Hello Kitty mold is slightly larger than the golden corrugated mold. Divided into 6:4).
18.
Cut one portion of the dough into 6 finger-thick strips.
19.
Put the cut side up and pinch the top together.
20.
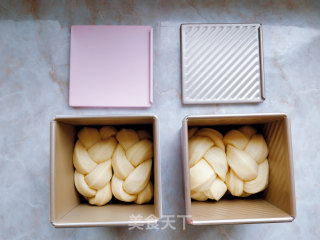
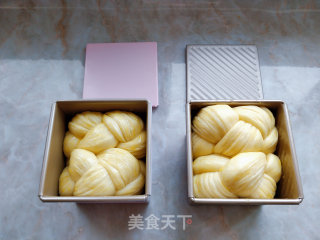
Weave it in accordance with the three-strand braid method.
21.
Pinch and roll both ends, and put them in a square toast box.
22.
Put it in the lower part of the oven, set 28 degrees, and ferment for about 90-100 minutes (fermentation temperature should not exceed 30 degrees, so as not to melt the butter and become crispy).
23.
When the dough is fermented to nine minutes full, brush a little egg yolk liquid on the surface (add a little water to the egg yolk and mix thoroughly).
24.
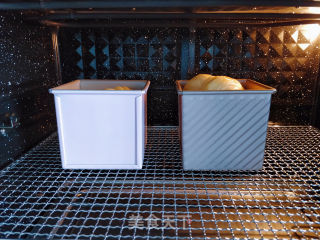
Put it in the middle and lower level of the oven preheated to 170 degrees and bake for about 25 minutes. The specific time and temperature should be adjusted according to the actual furnace temperature of different ovens. If the top is too close to the upper tube after expansion, it can be covered with tin foil.
25.
Remove from the oven after baking.
26.
Remove the mold while it is hot and let cool.


Tips:
1. Use ordinary unsalted butter for the flaky butter to be wrapped in. Don't use fermented butter with too low melting point. Also, make sure that the temperature of the butter and the dough are low enough before wrapping into the dough, otherwise the butter will easily melt into the dough and there will be no beautiful layering.
2. I use high-gluten flour for Jinxiang bread. The amount of water is just right. If you use other brands of high-gluten flour, make sure that the gluten is sufficient. In addition, the dough should be fully hydrated, and the dough with proper water content should be fuller. The gluten is better. Excessive or insufficient hydration will affect the stability of the open crisp and the structure of the finished product.
3. I used three folds for three times, and you can also use four folds to wait for the opening method. Before rolling out after refrigerating each time, rotate the dough 90 degrees so that the opening of the last folding is parallel to the direction of rolling out.
4. The final proofing process takes longer than ordinary sweet bread, usually about 90-110 minutes. If butter flows out during the proofing process, it means that the fermentation temperature is too high and the finished product will be mixed. Proofing time should be enough. If the proofing is insufficient, the structure is too tight and the expansion is not enough; if the proofing is over, the structure will be too loose, causing collapse and retraction.


