Squeeze Buns
1.
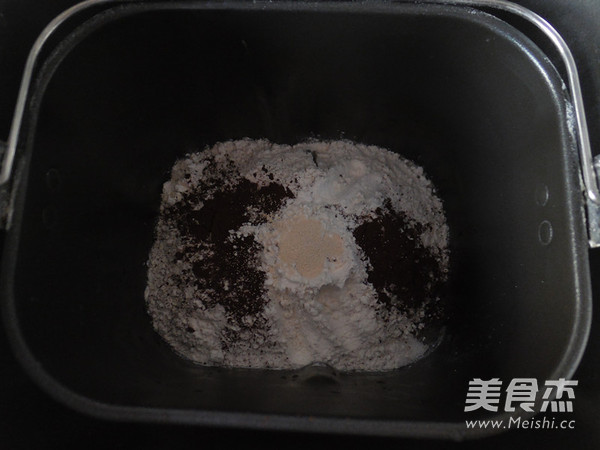
Except butter, all the ingredients are put in the bread machine! Start and face key (milk is best added while stirring, add as appropriate according to the water absorption of flour)
2.
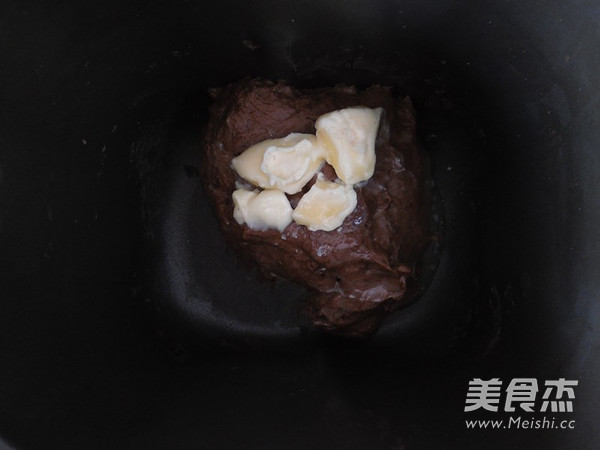
After kneading for nearly fifteen minutes, add the softened butter and continue to press the dough button. At this time, check the film output every five minutes to avoid over-mixing
3.
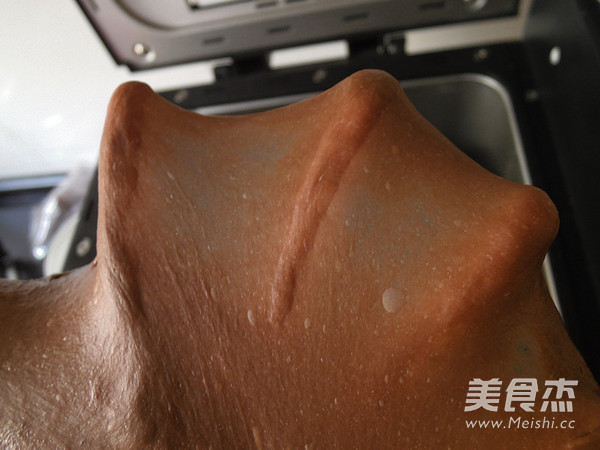
Knead until you can pull out a large piece of film
4.
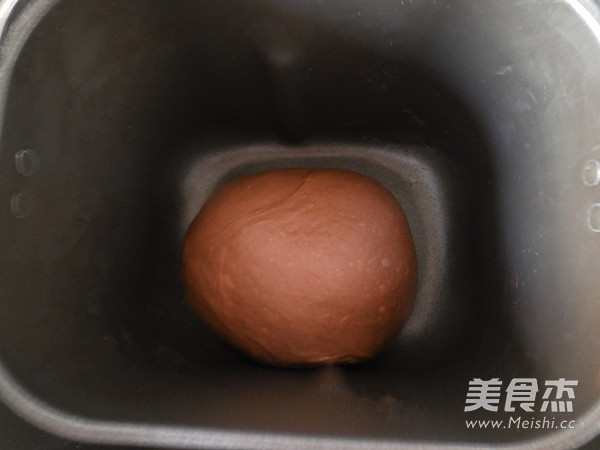
Round the kneaded dough and put it in the bread machine to ferment
5.
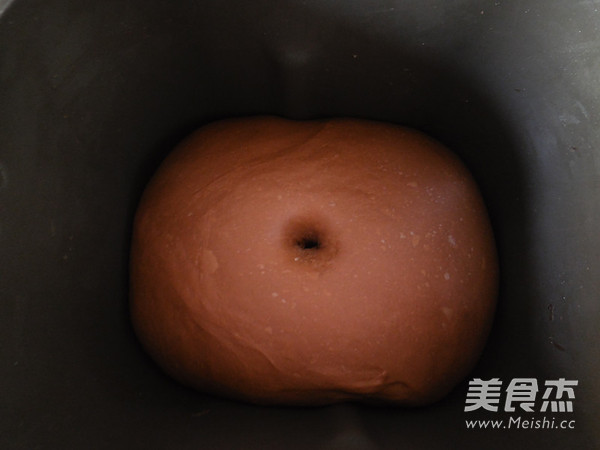
Fermentation is enough to double the size of the fermented bread. Dip your fingers into the dough and poke a hole in the middle of the dough. The hole does not rebound, and the surrounding area does not collapse. It is fermented. (If you poke the hole, the dough will collapse quickly. Over-fermented)
6.
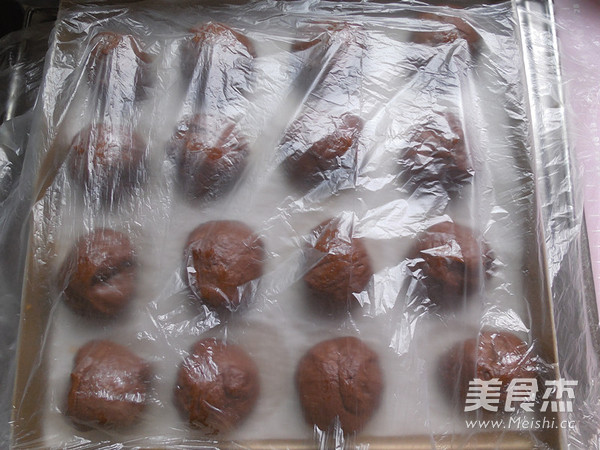
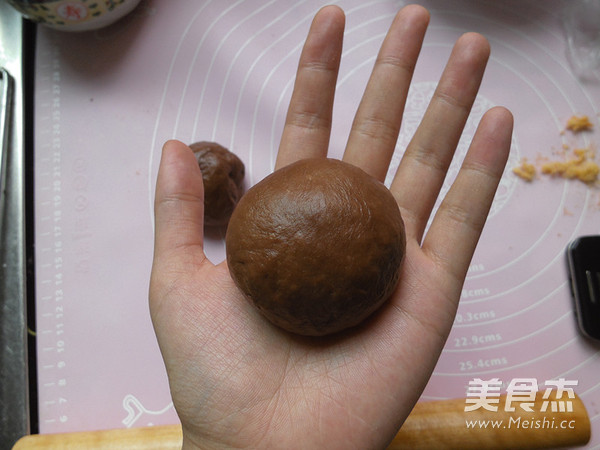
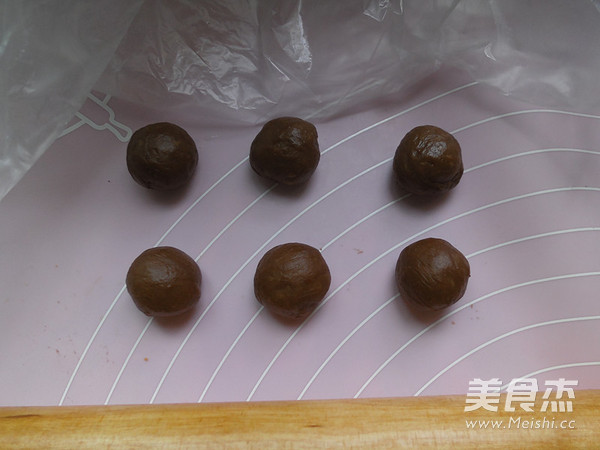
Take the fermented bread out of air and knead it evenly. First cut out 6 small round balls for use (for ears), each weighing about 4 to 5g. Then divide the remaining dough into 16 doughs of the same size. Cover with plastic wrap and let stand for 15 minutes
7.
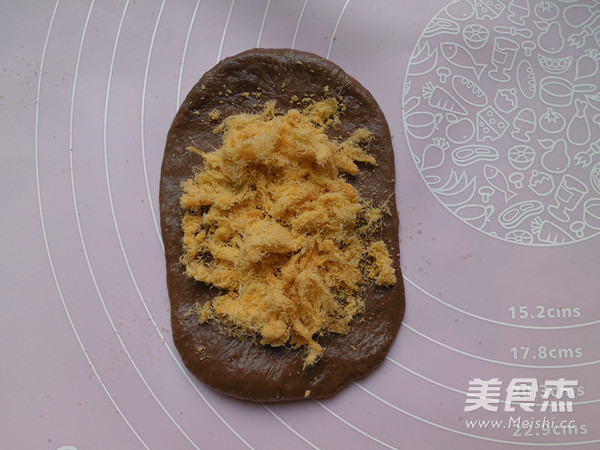
After standing, take a dough and roll it into a piece, sprinkle pork floss on top
8.
Then wrap it up and round the dough
9.
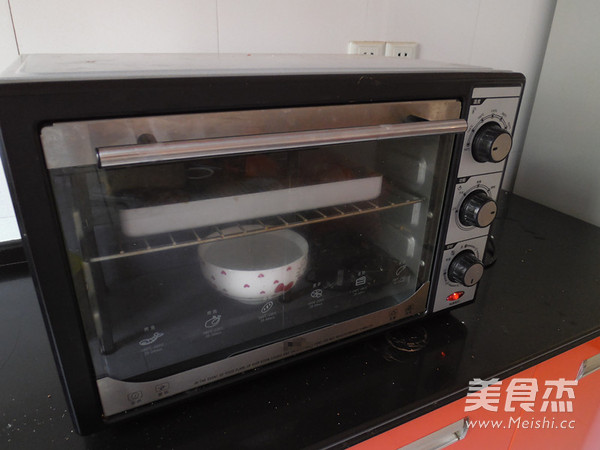
After everything is done, put it into the oven to ferment. Remember to put a bowl of warm water in the oven. Ferment to double the size
10.
During the fermentation period, we will make bear ears. Just round the dough and cover it with plastic wrap. When the bread in the oven is half-fermented, take out the bread and stick the ears on the dough. Remember to put some water on your ears. Otherwise, I'm afraid that I won't stick. After being glued, put it in the oven until the bread rises to twice its size
11.
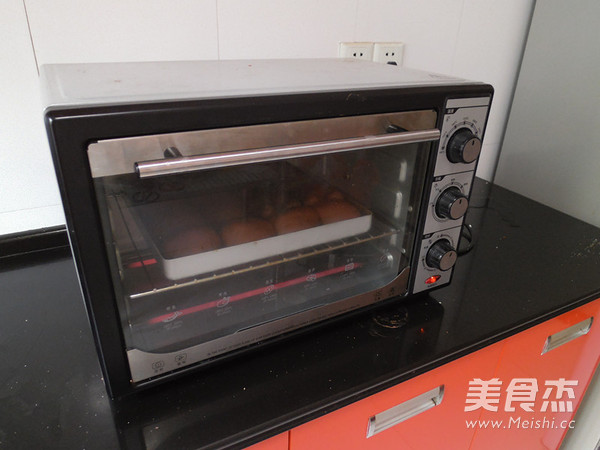
(The oven is preheated to 175 degrees) The fermented bread is sent to the middle of the oven. Bake at 175 degrees for 10 minutes, and at 170 degrees for 10 minutes. Remember to cover with tin foil halfway (the temperature is for reference only)
12.
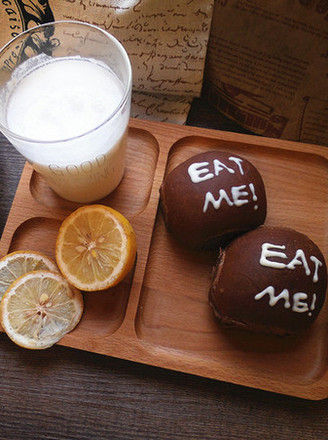
When the baked bread is cooled to the remaining temperature, we can decorate it with chocolate pens

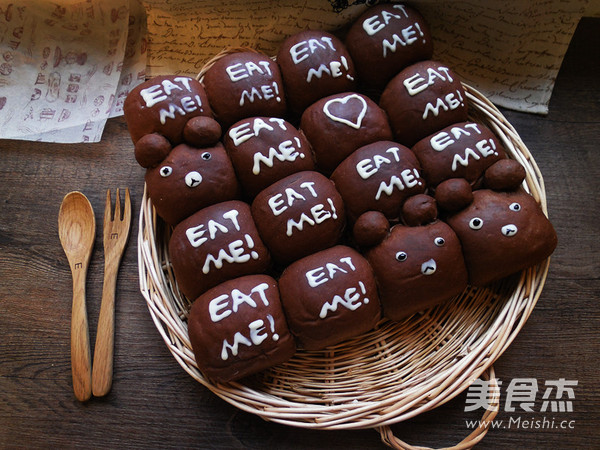
Tips:
1. The chocolate pen sold outside is not easy to master. Don't open the chocolate pen to write immediately after it has been heated with hot water. It will take a few minutes to write. If you just take it out of the hot water and write, the white chocolate squeezed out will not Very rare. The tip of the chocolate pen I used is too thick. It is not recommended to write with a chocolate pen. You can also buy white chocolate by yourself and put it in a piping bag. Tie the bag tightly and put it in hot water. Cut a small opening on the head of the drawing bag, so that the words written by yourself using the piping bag to pack the chocolate will be finer and more beautiful.
2. Don't look at how much water is written on the recipe when mixing the dough, just use as much water as you like. This is wrong, because the water absorption of each flour is different. You should add it as appropriate according to your own water absorption of the flour, so it is better to add milk while stirring.

