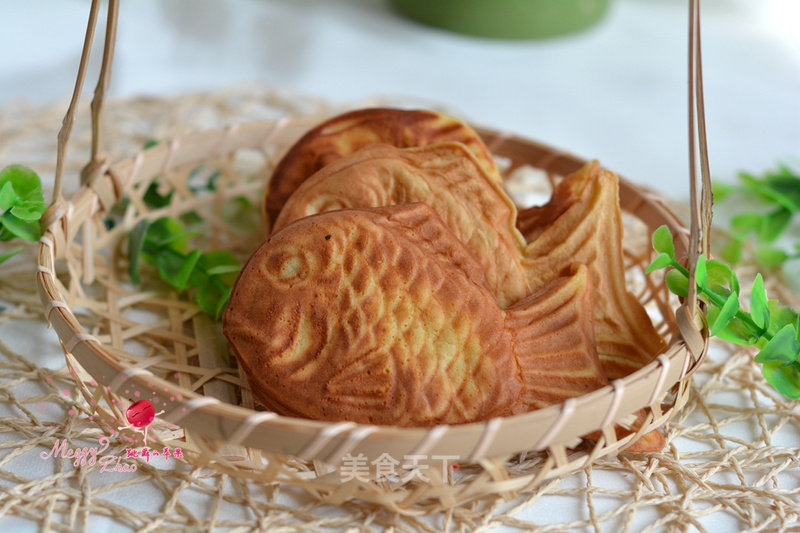
Taiyaki
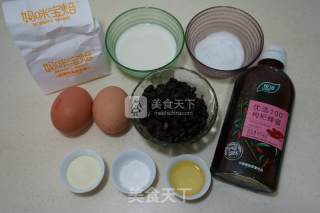
1.
All ingredients are ready
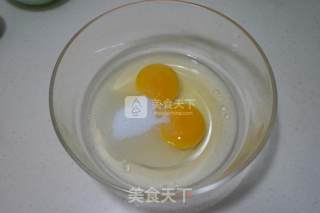
2.
Eggs with fine sugar, whipped evenly
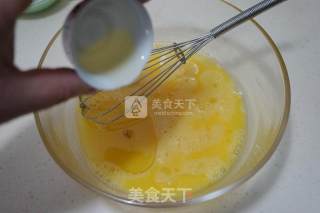
3.
Add corn oil and beat evenly
4.
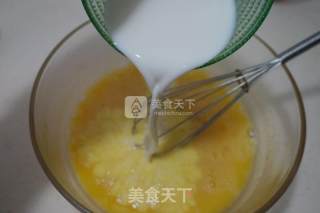
Add milk and beat evenly until all the sugar is melted
5.
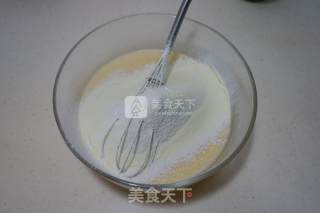
Sift in flour, milk powder, baking powder
6.
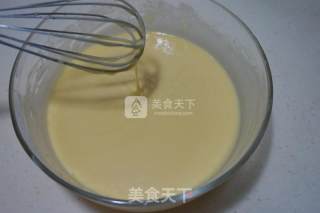
Whisk in an irregular direction to form a uniform batter, cover the batter bowl with plastic wrap, and store in the refrigerator for about 15 minutes
7.
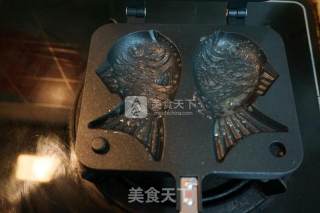
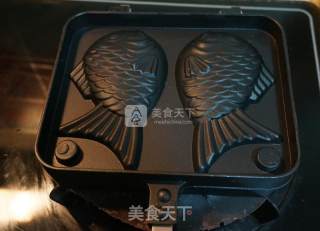
After the taiyaki is cleaned, put it on a gas stove and heat it on a low heat; put the butter in a bowl in advance and heat it over water. Use a brush to dip a small amount of butter liquid on the upper and lower sides of the mold to apply a layer of butter
8.
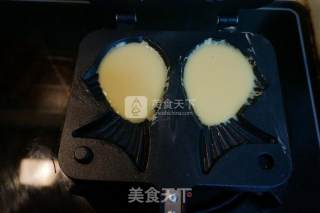
Use a small spoon to scoop the right amount of batter into the sea bream mold
9.
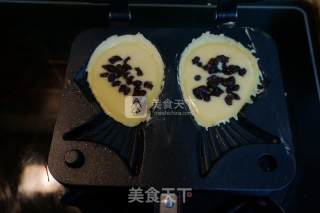
After the edges are slightly set, put in the right amount of red bean paste
10.
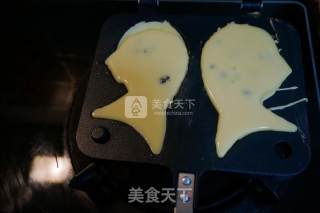
Then scoop an appropriate amount of batter to cover the red beans, and fill the fish tail with batter
11.
Cover the other side of the mold, and heat both sides with low heat for a minute or two
12.
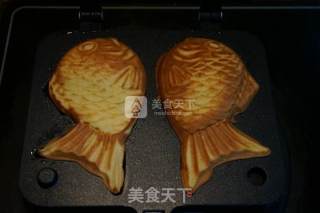
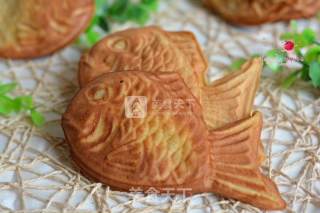
The cooked taiyaki is plump and golden in color
13.
The pattern is very clear
14.
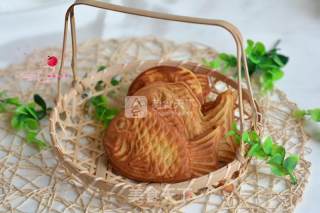
So cute taiyaki
Tips:
Although the taiyaki mold is non-sticky, there are many small patterns in the fish shape, so a thin layer of butter liquid is more conducive to demolding when you use it for the first time; the heat must be low throughout the process, and you can hold it up and down. Several times; it is not recommended to open the mold in the middle, which will cause the middle to not fully mature. Basically, it will mature in two minutes. In addition, you can also observe the spacing between the molds to judge whether it is cooked. Use aluminum-free baking powder; the red bean paste can also be replaced with red bean paste, cheese, or thick jam; if the temperature of the gas stove is not well controlled, you can add an iron sheet to the stove to heat more evenly.

