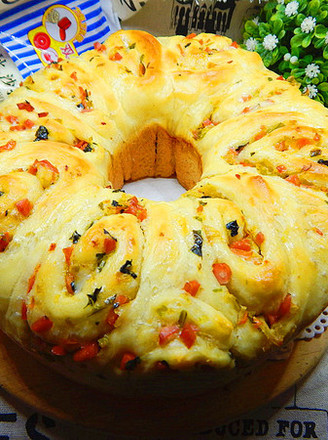
Taro Bread
1.
Put the middle kind of ingredients into the bread machine, knead the dough into a smooth dough according to the kneading procedure, wrap it with plastic wrap, and leave it in the refrigerator to ferment overnight, 3 times the size.
2.
In addition to the butter, put the ingredients of the main dough into the bread machine, put the fermented middle seeds into small pieces together, and knead the dough for 15 minutes.
3.
Press the stop button, put in the softened butter, restart the dough button, and knead until the program is completed. (My bread machine has a kneading process of 30 minutes, and a total of 45 minutes of kneading.)
4.
This dough has a large oil content, and it is easy to produce a large film (glove film).
5.
Fermented to 2 times the size. Rub your fingers in and take out the dough without rebounding or collapsing.
6.
Take out the dough and press to exhaust, divide 54 g/portion of small dough into 24 portions, which is 2 portions of ingredients.
7.
Take 35 g/ten portions of taro filling and roll them into small balls. I made pineapple custard buns for the rest.
8.
Take a small dough and wrap it with taro filling.
9.
Tuck into a long strip shape.
10.
Make two strokes in the middle.
11.
Hold the two ends with both hands and stretch them slightly, twist them in the opposite direction to form a round shape, and close the mouth underneath.
12.
Arrange on a baking tray and ferment to 1.5 times the size for the second time. I turned the oven on to lukewarm temperature, put a bowl of boiling water in it, and fermented the bread in it. It took 30 minutes. Take it out, start preheating the oven to 350F/180C, and brush the surface of the bread with egg liquid.
13.
Bake for 20 minutes. (The temperature and temperature of different ovens are different. The temperature and time are adjusted according to the temperament of your own oven. Just use the temperature and time of your own baking bread.)
14.
Take it out and let it cool on the grill.
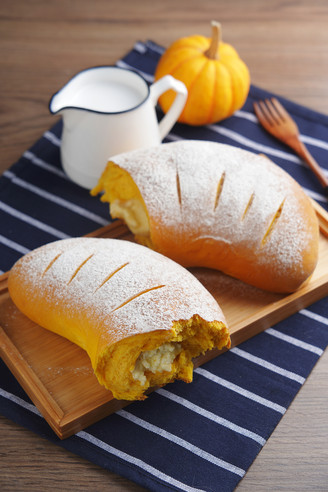
15.
The taro filling is slightly sweet and the bread is soft.
16.
The organization is very good.
17.
Can't help but beat another big baking pan, which can bake 15 breads at a time, which is very cool. 🤗