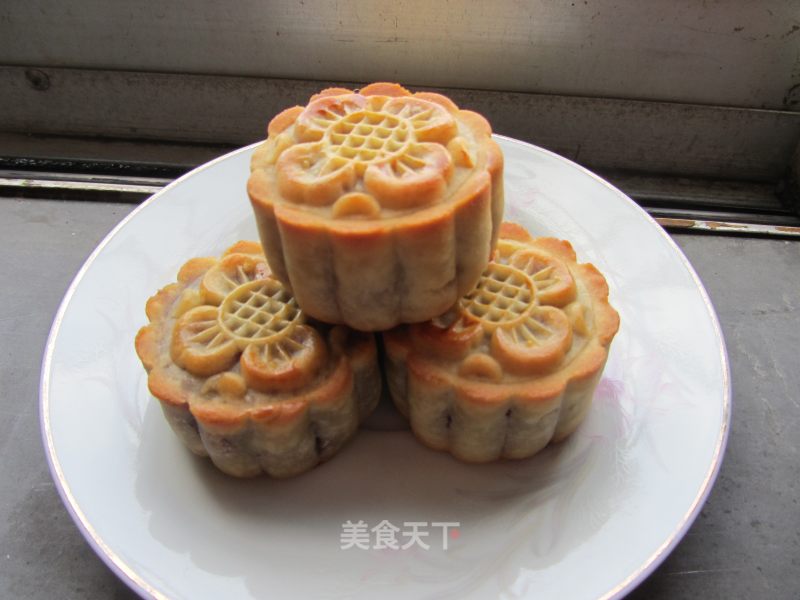
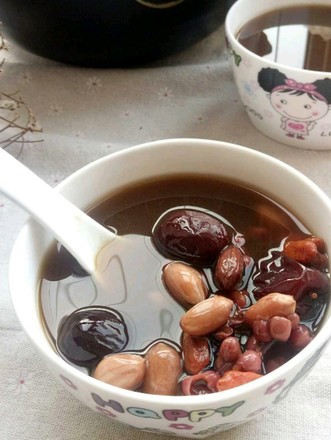
The First Season of Imperfect Mooncakes-lucent Bean Paste Mooncakes
1.
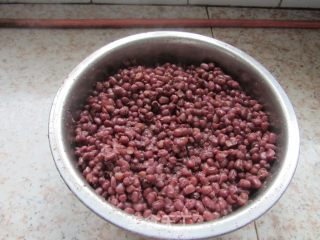
1. Boil the red beans until they are soft and waxy and bloom. I simmered it for ten minutes under the lid, then turned off the heat and simmered for 20 minutes. Repeating this twice is almost the same.
2.
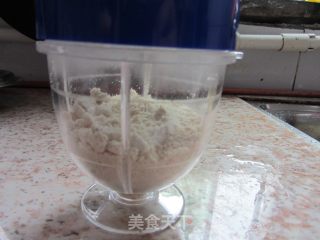
2. After sautéing sesame seeds, add corn starch and smash together. It will become a little lumpy, because the sesame seeds will produce oil during the crushing process. The addition of cornstarch can prevent them from sticking together. At the same time, the cornstarch can also absorb water when the stuffing is fried.
3.
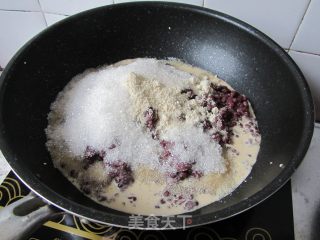
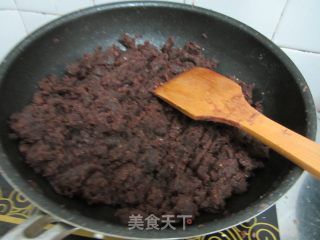
3. Put all the ingredients except oil in the pot and fry them together. Don't put the oil all at once, put it in 3 times during the frying process. The shovel can be swiped against the bottom of the pot so that it can quickly evaporate the water vapor
4.
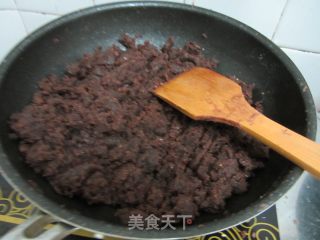
Stir-fry until the stuffing becomes a ball and then loosens, it can be made into a ball, but the shovel will loosen with a light touch. If you use a 75g mold, the mooncakes that are fried to this state will not crack. Mooncakes of other weights can be moisturized as appropriate, but they must be dispersed as soon as they are touched. The stuffing is dry.
5.
4. Fry until the stuffing becomes a ball and then loosens, it can be made into a ball, but the shovel will loosen with a light touch. If you use a 75g mold, the mooncakes that are fried to this state will not crack. Mooncakes of other weights can be moisturized as appropriate, but they must be dispersed as soon as they are touched. The stuffing is dry.
6.
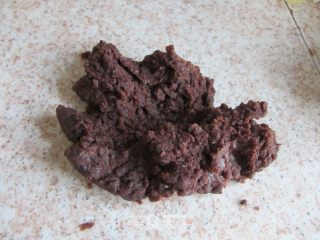
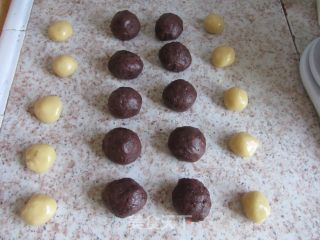
5. Knead the filling evenly after letting cool, and divide it into the size of the filling. During the cooling process, we can make pie crust. Mix the baking soda into the water and add the oil and syrup. Finally, add the medium powder and mix until there is no dry powder. You don’t need to knead it by hand, just use a fork or spoon to mix it until there is no dry powder. Let stand for one hour.
7.
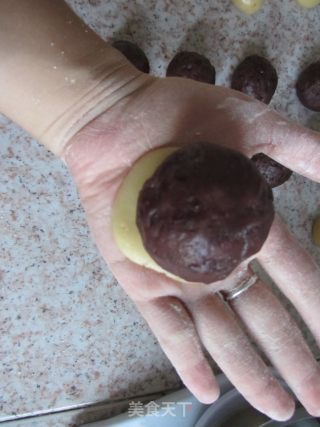
Separate the crust and fillings.
8.
The skin is slightly rounded, you can put the skin on the filling first, and the surface is almost wrapped, after it is even. Turn it over and turn the surface into the bottom. Slowly push the skin up. It's really not difficult. Just be patient and push the thick skin to the thin or skinless. , It is easy to be uniform. I'm alone in the kitchen, so I can't take this picture.
9.
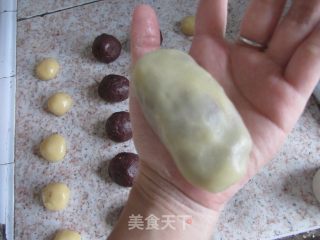
After wrapping, crumple the mooncake embryo into an oval shape. It doesn’t need to be as exaggerated as I am, as long as it is smaller than the diameter of the mooncake mold.
10.
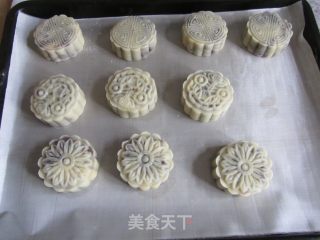
Dip a layer of cake powder on the mooncake and place it in a baking tray. You can also sprinkle a handful of cake flour in the mold, shake it, and then pour it out. Place the moon cake mold on the moon cake embryo and press down. Apply a little bit of force so that the surface will be flat and will not result in no pattern in some low places. I forgot to take the mold, so let's make it up next time. I use a plastic press type. Shake the moon cake mold a little, then lift it up slowly, and the moon cake will come out. If it sticks to the mold. . . --Let's do it, just tap it. It's really ugly, just rub the pattern flat and squeeze it again. The bad pattern is usually caused by the mold, so remember to hand powder

11.
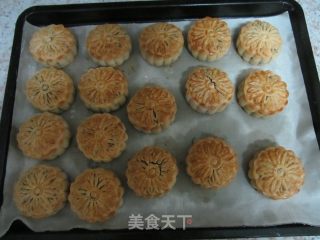
You can preheat the oven when you pack it to the last two. Mine is Cestbon 45L, adjusted to 175 degrees. Once wrapped, you can put it in the oven immediately. According to the legend, mooncakes with hand powder should be sprayed with water before baking to prevent cracking. I am a legendary lazy person... I always don't remember to spray ==~ but it has no effect on me. This is how it was freshly baked, slightly cracked. But just let it cool, it will automatically retract, so don’t worry
12.
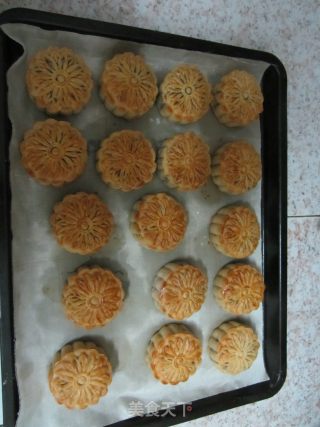
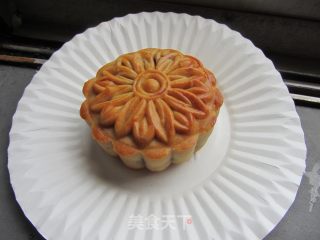
The cracks on the mooncakes after cooling will be repaired automatically. At this time, you can put it in a sealed box and let it stand at room temperature for a day or two to return the oil. My filling was too dry this time, and the oil returned on the third day. If the filling is moist, I usually return the oil overnight.
13.
The oil has returned.

Tips:
1. The red beans can be broken with a food processor, so that the taste will be much more delicate, and it is expected to absorb less oil. At that time, I disliked the need to add water for the delicate cooking, so it would take a lot of time to fry. But it seems that if you take one more step, the result will really be different. If you don't break it, the red beans will be too oil-absorbing, so the filling will be very dry. My improvement plan is to beat the honey red beans into red bean paste, and then reduce the oil to 150ml~200ml
2. It is recommended to put the sesame powder until the filling is almost dry, so as to ensure the aroma of sesame. I made this mooncake twice, and the second time I added sesame powder later, but I didn't take a picture of the steps. So everyone will just watch.
3. I made many mooncakes of different weights and found that 75g is the easiest to burst. The stuffing I wrapped in the picture in the picture is not dry enough, so the whole dough is very soft, it becomes the oval in the picture. The reward it gave me was cracking, and the cracking was terrible. My mother said it was delicious and ate up that bunch of failed products. Then I fry the rest of the stuffing to the extent of loose sand like in the picture. You can see that the moon cakes are still cracking at this level. But that’s okay, this kind of slight cracking will shrink back when the mooncake cools, so don’t worry. But all in all, Momo strongly does not recommend that you use a 75g mold unless you are using ready-made fillings.
4. If you want to see the complete moon cake strategy, please move to my food diary.

