

Triangle Coconut Bread
by Shi Kewei
Favorite
Difficulty
Normal
Time
2h
Serving
2
Paranoid, I just like coconut paste. I like it in a different way..."
1. Prepare all the dough materials and use the ACA small scale to weigh out the required weight...


2. Except the butter, put all the ingredients of the main dough into the bread machine, (the yeast is on the top, do not directly contact the salt), start the dough for 30 minutes.


3. After 30 minutes, add the softened butter and continue to knead for 30 minutes to complete.


4. Gently pull the dough to support a thin film. Then we will ferment in the bread machine...


5. Let's prepare the coconut filling for the fermentation dough time, and we will prepare all the ingredients.


6. Melt the butter and white sand sugar in water. Add milk and stir well, then add egg liquid in batches, beat evenly each time, and add another time until all is added.


7. Add coconut paste and mix well.


8. Cover with plastic wrap and put it in the refrigerator for later use.


9. Fermented dough....


10. The fermented dough is taken out and squeezed to expel the air...


11. Divide into six equal parts...and cover with plastic wrap and wake up for ten minutes. (Of course, if you want to divide smaller, you can do it yourself...)


12. Take a wake-up dough, squeeze it in the palm of your hand, and pack an appropriate amount of coconut filling...


13. Wrap it in the tiger's mouth method and round it...


14. Use a rolling pin to roll it into a sheet like the one shown in the picture...


15. Stack up from the left and right sides of the dough... to form a triangular shape...


16. Turn your back and cut it with scissors...Be careful not to cut it...


17. The cut look.....


18. Pick up the dough and open the cut. Pull the pointed end of the dough out of the cut...


19. Use the same method to handle everything...for secondary fermentation...


20. The fermented dough, (at this time, we can preheat the oven.)... Brush a layer of egg liquid on the fermented dough... (If there is a little black sesame, it will look better)


21. Put it into the preheated oven.. The heat is 150 degrees. The heat is 130 degrees. It will be OK in about 20 minutes...


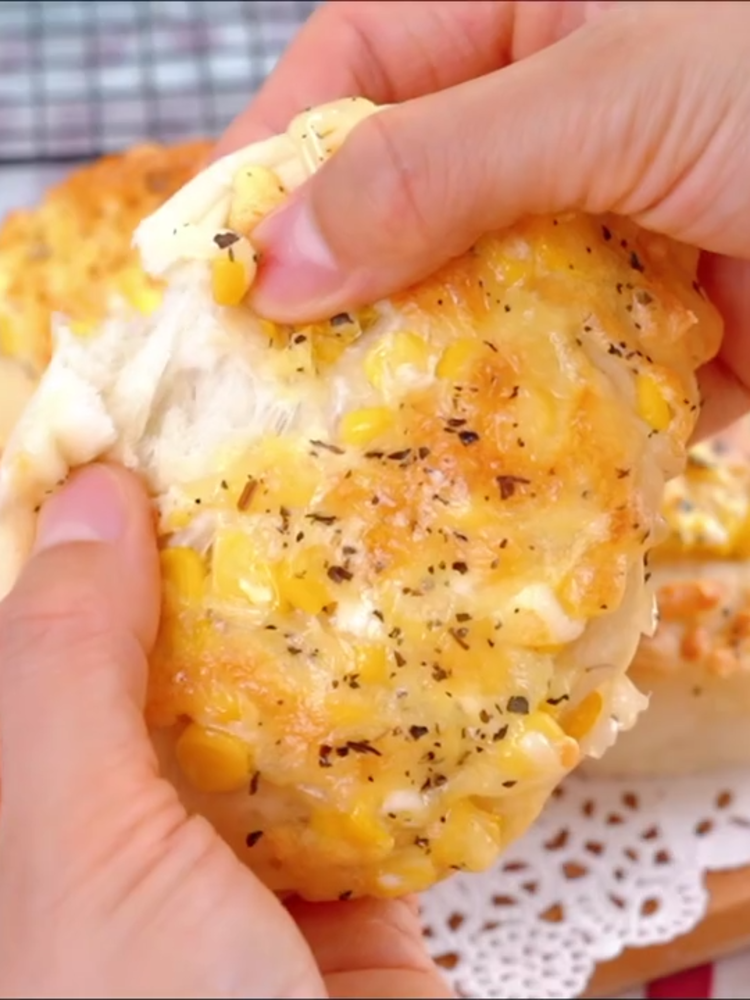
22. The finished picture is attached....


23. The finished picture is attached....


24. The finished picture is attached....


25. The finished picture is attached....


26. The finished picture is attached....


27. The finished picture is attached....


28. The finished picture is attached....


Tips:The oven temperature given is only for grilling...







 Buy on JD
 Buy on Amazon