#trust of Beauty# 6 Inch Chiffon Super Detailed Description
1.
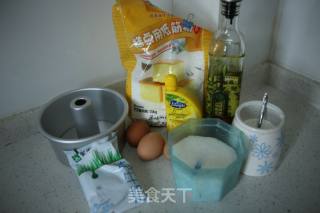
This is all required materials
2.
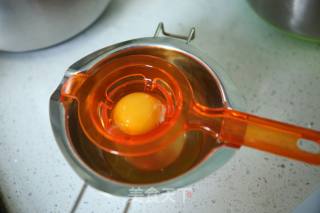
Separate the egg whites and yolks of the three eggs into two oil-free and water-free egg beaters. (The eggs must be fresh, otherwise it will lead to failure to beat the stable meringue. The stability of the meringue is the most critical link for the success or failure of a chiffon cake. Fresh eggs have round yolks, and stale eggs appear to be loose yellow. Never use it. Make sure that the egg-beating bowl is oil-free and water-free, especially the meringue bowl)
3.
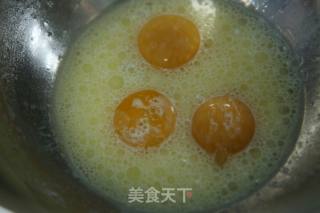
Weigh and add 40 ml of whole milk, 35 ml of olive oil or corn oil to the egg yolk bowl. (Do not use peanut oil, because the taste is too strong to affect the taste of the cake.) Shake the egg-beating bowl so that the surface of the egg yolk is wrapped in milk and oil to prevent the surface from drying out. (spare)
4.
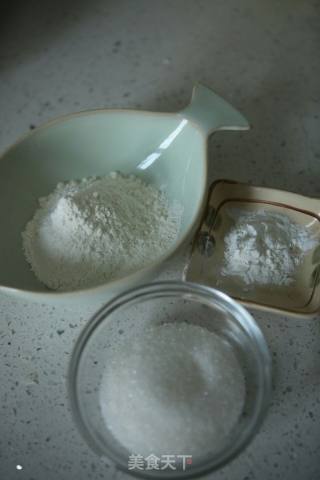
The three white powders are: 50 grams of low-gluten flour, 5 grams of corn starch, 60 grams of white sugar (the amount of sugar can be increased or decreased according to your taste)
5.
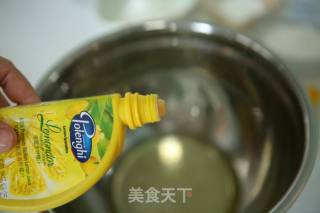
Add a few drops of lemon juice to the egg white bowl (a few drops are good, this is to promote the egg whites, it has nothing to do with the taste)
6.
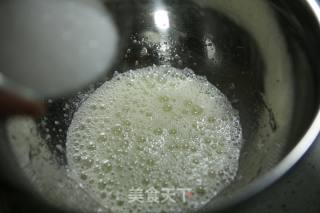
Use an electric whisk to beat the egg whites at a medium speed. When it becomes a big foam, add 1/3 of the amount of sugar and continue to beat
7.
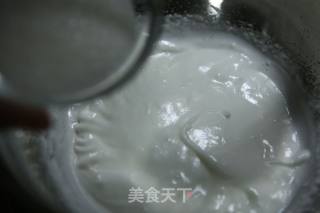
When the lines appear on the surface and will not disappear immediately, add a second portion of 1/3 sugar and continue to whip
8.
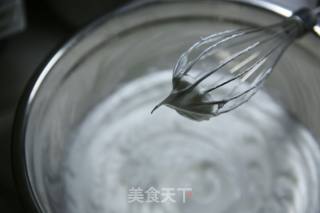
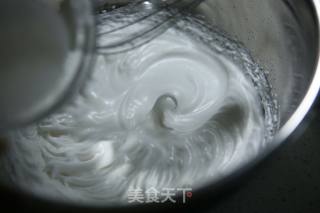
When the egg whites are beaten until there are obvious lines that do not disappear, and the egg beater can bring out the small hooks of the egg whites, add the remaining 1/3 of the sugar and 5 grams of cornstarch to a low speed and continue to beat (the addition of cornstarch can make The meringue is more stable. This step is not available in many recipes, but I have proved that the addition of cornstarch can indeed achieve a multiplier effect with half the effort. The meringue should be sent out in one go, and try not to interrupt the middle.) Now you can start to preheat the oven. , Preheating up and down at 150 degrees...

9.
After all the sugar and starch are added, turn to a low speed and continue to whip the meringue (should be beaten in circles from the inside to the outside, don’t let the edges pass, all must be beaten evenly). Finally, when you lift the whisk, the sharp corners that cannot stand upright indicate that the whisk is complete. You can try it with your hands to scratch the surface of the meringue, and it feels very delicate, soft and shiny. (Don't overdo it, otherwise the meringue will become rough). Let the whipped meringue stand for 2-3 minutes, so that you can check whether the meringue foam is stable. This process is very important (this step is not included in many recipes, and it has proven to be very effective.)
10.
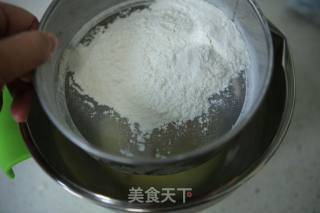
While the meringue is standing still, we start to make egg yolk paste. 50 grams of low-gluten flour sieved (the sieve is for less stirring and easier mixing)
11.
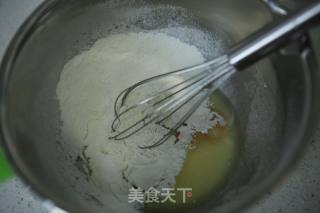
Use a steel wire manual whisk (this can mix the egg yolk paste evenly and faster than a spatula)
12.
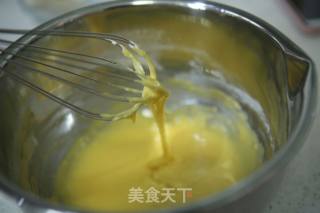
Gently turn the manual egg beater to fully mix the milk, oil and flour in the egg yolk in a circular motion. The action must be slow, stir one circle, then another circle, don't draw circles in rapid succession, otherwise the flour will become gluten and the cake will not succeed. The final egg yolk paste is as shown in the figure, and it can be stirred evenly and it is runny. (The egg yolk paste that is over-stirred will not flow and become sticky. In that case, it is absolutely impossible.)
13.
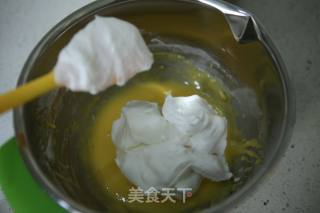
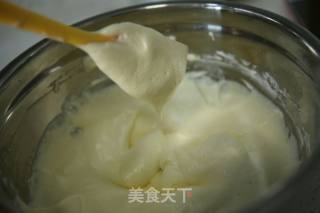
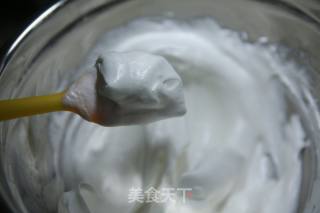
It usually takes 2-3 minutes to make the egg yolk paste. Now is the time to test the meringue that has just been left standing. Use a spatula to pick up the meringue, the structure is still delicate and shiny, indicating that the foam structure is stable and can be used directly. (If the tissue becomes rough, it means that some defoaming has begun. If the situation is not serious, you can use a manual whisk to beat quickly, and you will soon be able to restore the delicate and shiny. But if it is severely defoamed, or there is water at the bottom of the meringue, It means that if it is left for too long, the watery meringue can not recover its delicate texture anyway, and it must be discarded. The meringue should not stand for more than 15 minutes)
14.
After the meringue is confirmed to be qualified, use a spatula to take a part of it and put it into the egg yolk paste, and stir it evenly like a stir-fry. The technique must be light to prevent the meringue from defoaming. Stir this part evenly first, so that it will be quicker and easier to stir evenly when the whole is stirred for a while.
15.
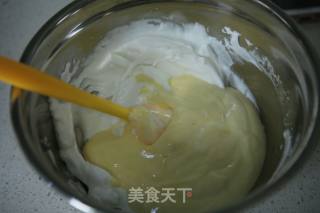
Then pour the well-stirred egg yolk paste into the remaining meringue, and still use the stir-fry method to stir the egg yolk until the meringue is invisible (don’t stir too much, otherwise the meringue will easily defoam and the flour may rise. Tendon)
16.
Stir the egg yolk to this level
17.
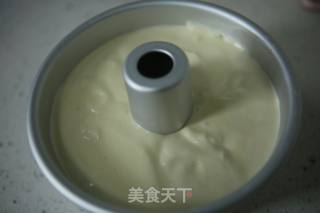
Pour into the 6-inch anode movable bottom abrasive tool for 7-8 minutes (the eggs are big and small, so there may be more or less whipped meringues, and the abrasive tools should not be too full, otherwise there is no room for growth. If the batter is Too much, you can bake a small cup cake. In addition, you can’t use non-stick molds, because the cake can grow taller with the help of the adhesive force of the mold. If you use non-stick molds, the cake will not grow tall.)
18.
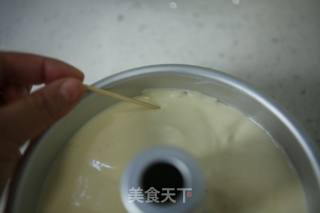
Pour the batter into the abrasive tool and shake it twice, so that some air bubbles can be shaken out. Don't shake it too much, otherwise it may cause gas to enter the bottom and form bubble pits. If there are some bubbles on the surface, you can use a toothpick to puncture it. The surface is basically flat. Some lines are not important, they will disappear naturally after baking.
19.
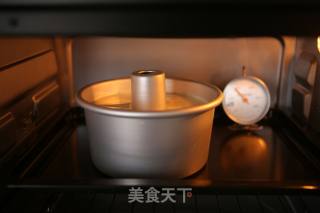
The processed egg yolk paste should be sent to the oven as soon as possible, and it will defoam if it is left for a long time. Bake up and down at 140 degrees, and bake the middle level for 1 hour (do not put it directly on the grill, it is better to use a tray, which can block some of the temperature under the fire) (the above oven temperature and time are for reference only, please follow your own oven situation as appropriate Setting, it is best to prepare an oven thermometer.)
20.
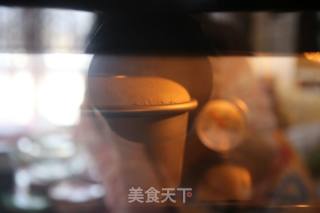
This is what it looks like when it has been baked for 25 minutes, and the cake is already inflated very high. When the cake swells to the highest point and then retracts a bit, it indicates that it has matured. If you are still unsure, you can use a toothpick to insert it inside. When you pull it out, no cake tissue is taken out, which means it is cooked. Do not open the oven door frequently during the baking process, otherwise the temperature is unstable and beautiful cakes will not be baked.
21.
After the cake is baked, it is 15 cm above the table top and falls in free fall twice, so that the internal heat can be shaken out.
22.
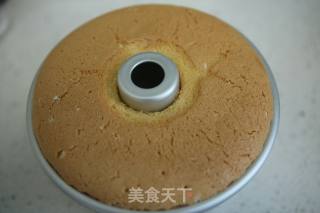
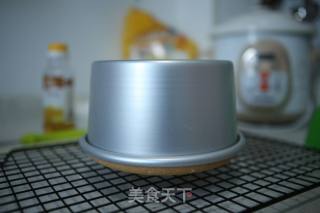
After falling, immediately buckle upside down on the cooling net to cool down. (Don't rush to demold, you must completely cool down before demolding. Cooling time is best to be more than two hours. The internal structure of chiffon cake is very soft, and it can be formed stably after complete cooling, otherwise it may cause collapse. .)
23.
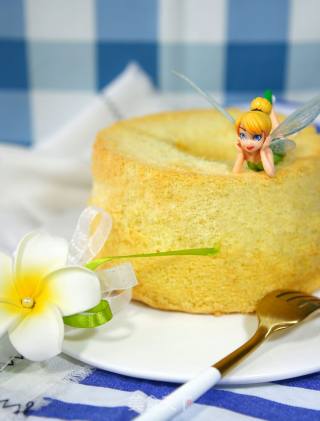
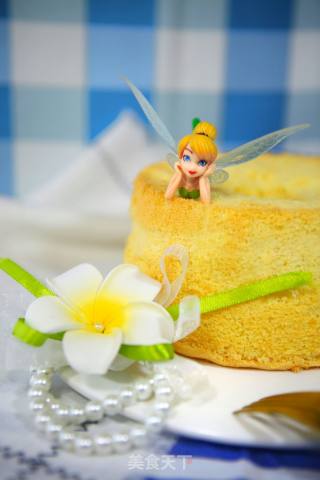
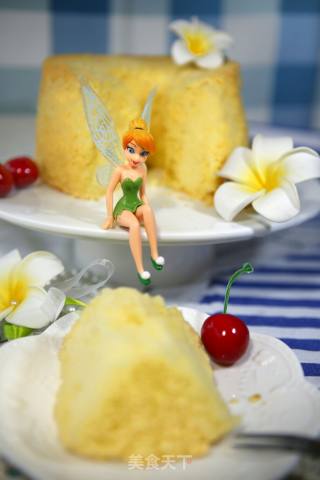
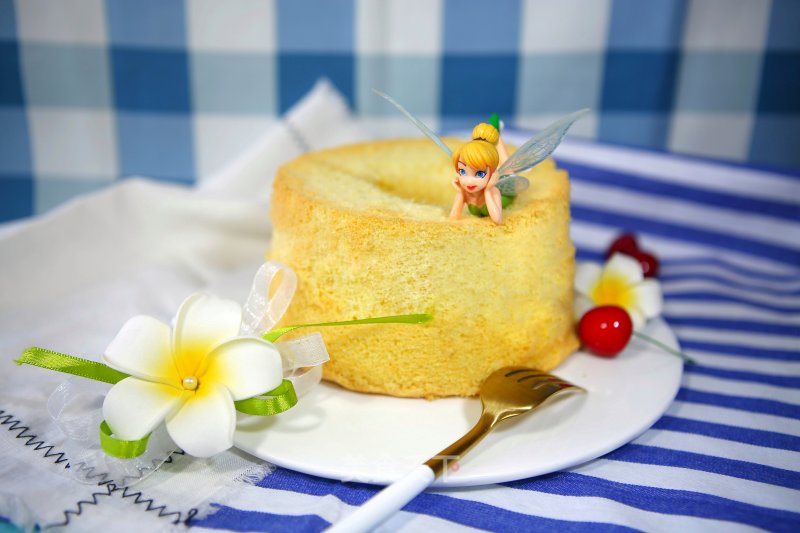
After cooling thoroughly, carefully demould with the aid of a stripper knife. Alright, the chiffon cake is finally ready.
24.
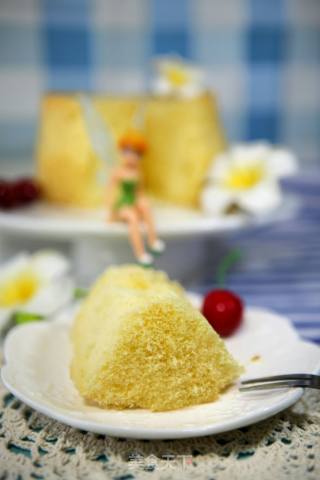
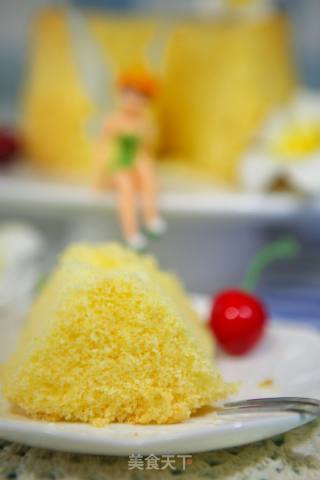
Chiffon cake has a soft texture and melts in your mouth
25.
The internal organization is delicate and it is a very delicious basic cake.
26.
It is not easy to make chiffon cakes successfully
27.
It takes a lot of practice. After many failures, I finally found this method. I have read a lot of prescriptions before, and I feel that the best state of the meringue and the final form of the egg yolk paste are more general and unclear. If you are a beginner who is just getting started, you can't understand what state is in place. I was defeated at the best state where I couldn't distinguish the important links.
28.
Therefore, I will express as clearly as possible in every link, and clearly show the best state of success of the meringue and egg yolk paste in the form of photos. I hope I can give you some help and make no detours as much as possible.

 Buy on JD
 Buy on Amazon