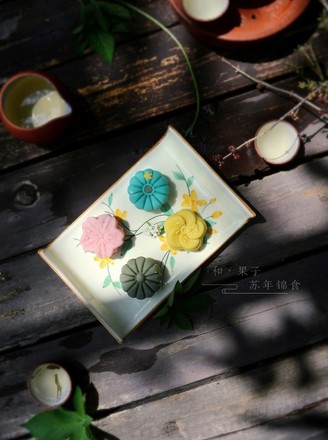
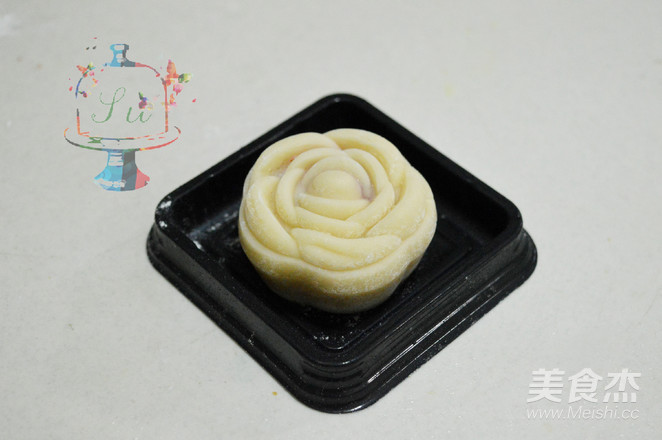
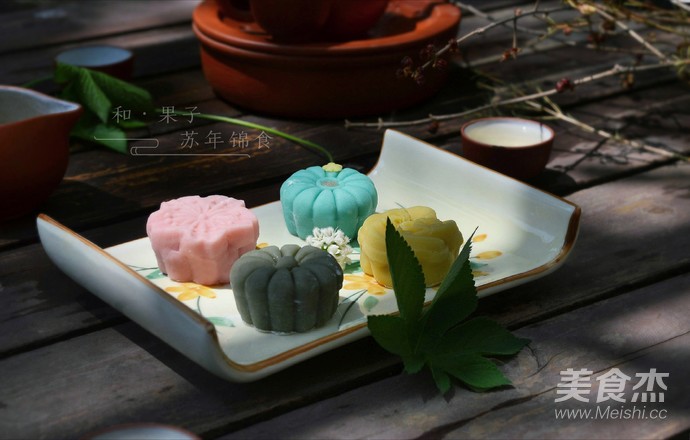
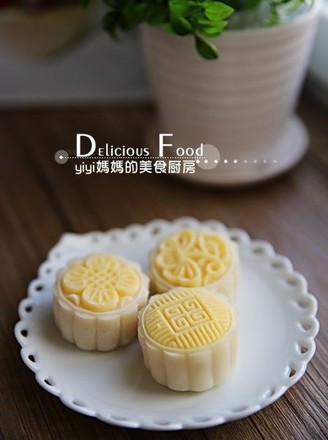
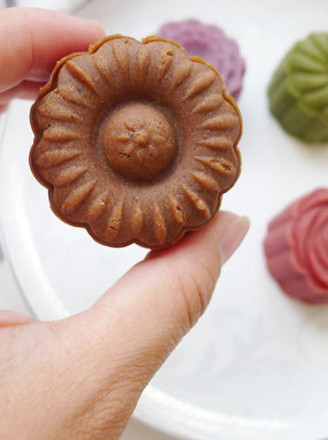
We are Not Snowy Mooncakes, We are Very Serious and Japanese Style and
1.
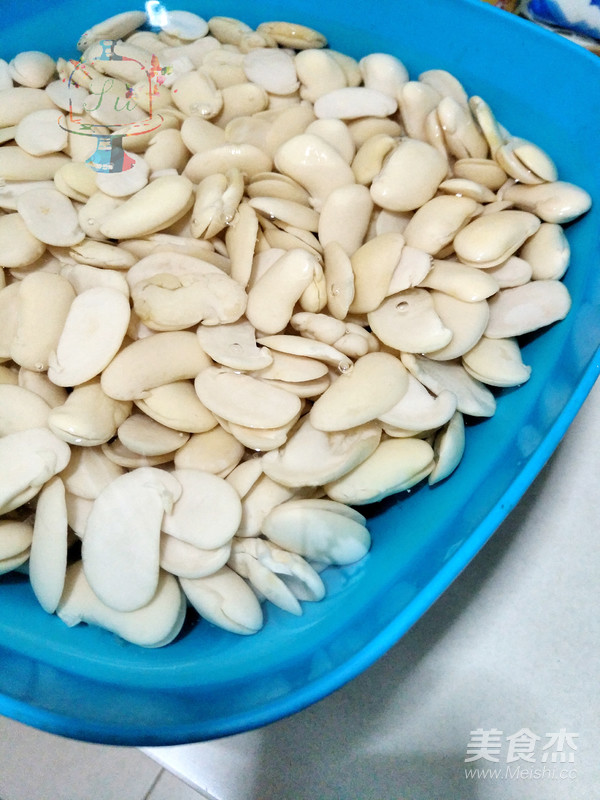
Soak the white kidney beans with plenty of water outside the formula for one day in advance to completely cover the kidney beans. If the weather is hot and the room temperature is high, it is recommended to change the water 3-4 times in between. After the beans are fully saturated with water, please turn on the manual mode. Peel it! --Anyway, my waist was sore after I finished peeling and standing. I suggest you sit down, or call for help at home. Drain the peeled kidney beans, add 2kg of water in the recipe, and steam for 50 minutes in a rice cooker. Then pour out and drain the excess water for later use
2.
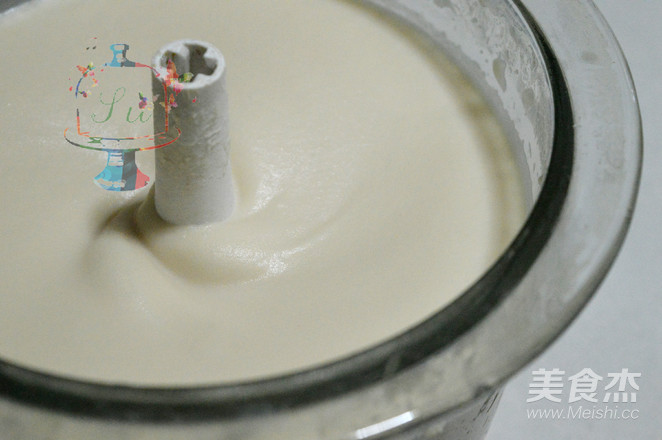
Drain the white kidney beans and add them to a food processor or crusher to break them. It must be very delicate and not large particles.
3.
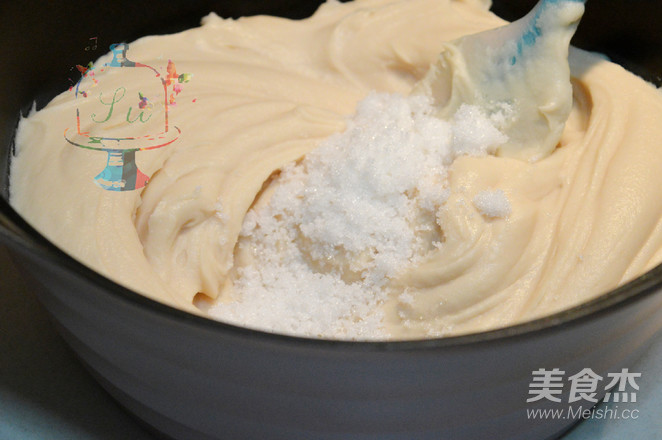
Add the mashed kidney beans to the sugar and mix well in a non-stick pan. Be sure to use a non-stick pan. Stir fry over a small fire. Don't be lazy, or the bottom will be lost in 2 minutes
4.
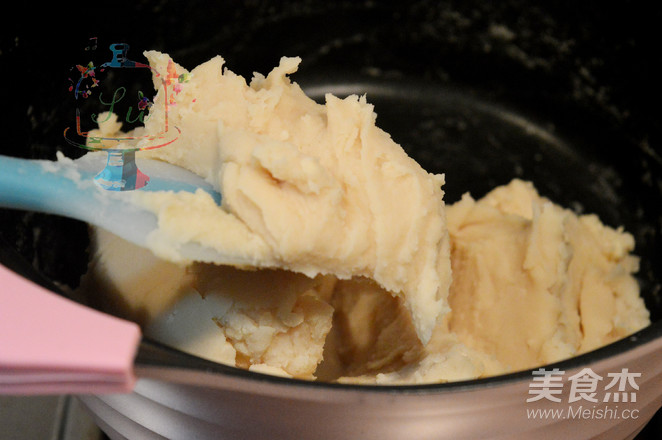
Stir-fry until the kidney bean paste can hold the unity block
5.
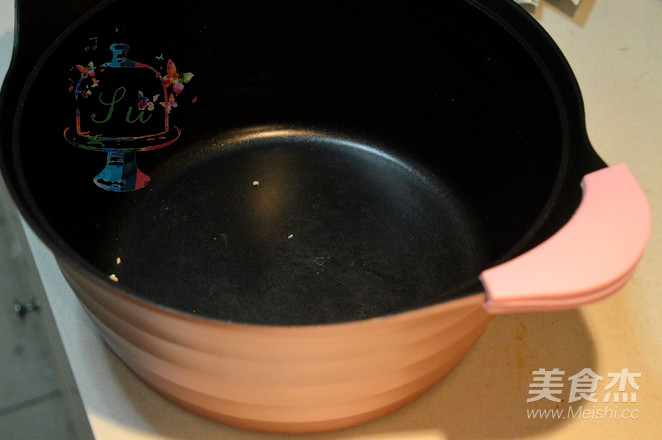
Show you my new favorite. Nagatomo's rose gold non-stick soup pot. The non-stick effect is really super good. After frying, I took a rag and wiped it a few times and it was clean. In addition, don't use a metal spatula to stir-fry the puree of kidney beans in a non-stick pan, it is easy to damage the non-stick layer. I like to use a silicone spatula, it is easy to clean up when handling the edges and bottom
6.
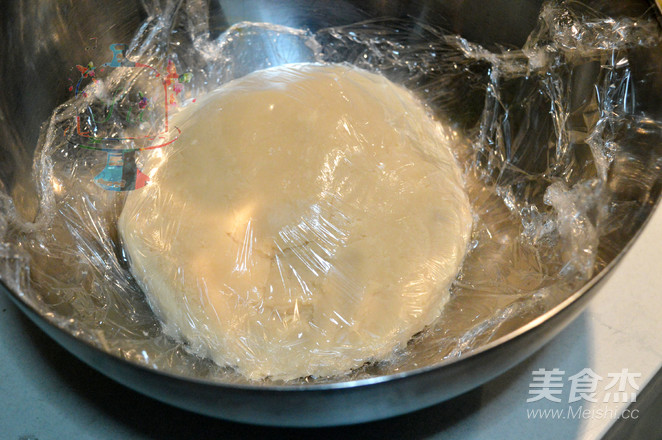
The fried kidney bean paste should be preserved in plastic wrap and set aside for later use.
7.
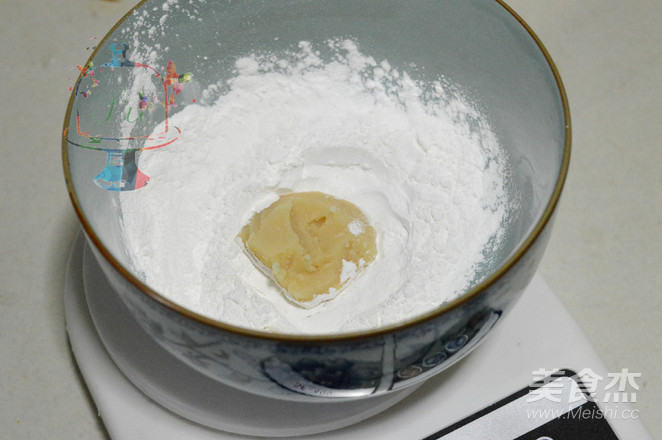
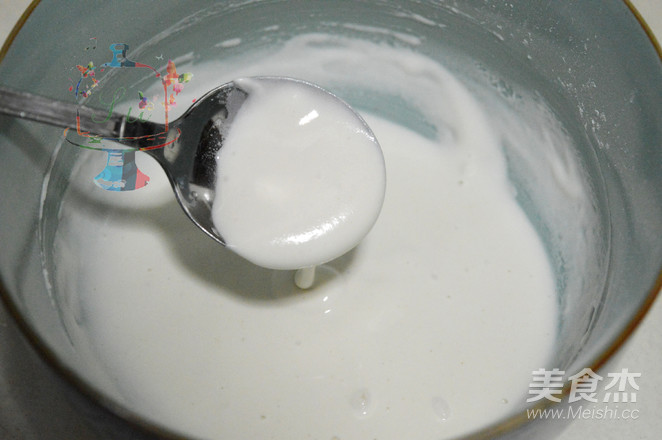
[Wagashi Peel] Take 15g of fried kidney bean paste, add glutinous rice flour, slowly pour 35g of water and stir evenly
8.
Stir until there are no particles at all smooth. Then steam it for 15 minutes
9.
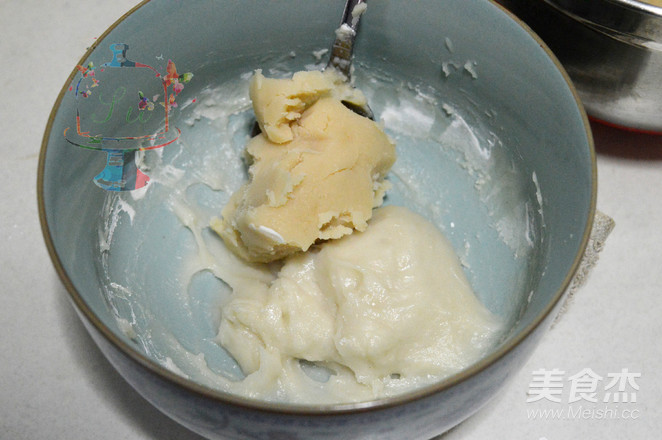
Take a small amount of kidney bean paste and steamed [Step 8], mix and mix well. Each time you add kidney bean puree, you must mix it well before adding it to the next time.
10.
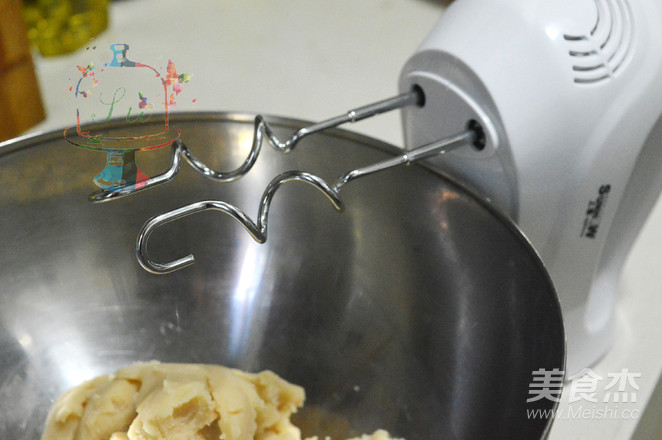
After adding about 1/3 of the kidney bean puree, you can switch to an electric whisk. Put on the dough hook. It is still necessary to mix the kidney bean paste every time before adding it to the next time. It is best to use a whisk with a relatively large power and horsepower to operate, because the kidney bean paste starts to get stronger in the later stage. If the horsepower of the whisk is insufficient, it will be very laborious and easy to burn out. I use Shanghao's egg beater, which is relatively cheap and has strong horsepower. It’s just that the body is a bit heavy, and you’ll get tired after holding it for a long time. This step can be done by replacing the strong labor at home~
11.
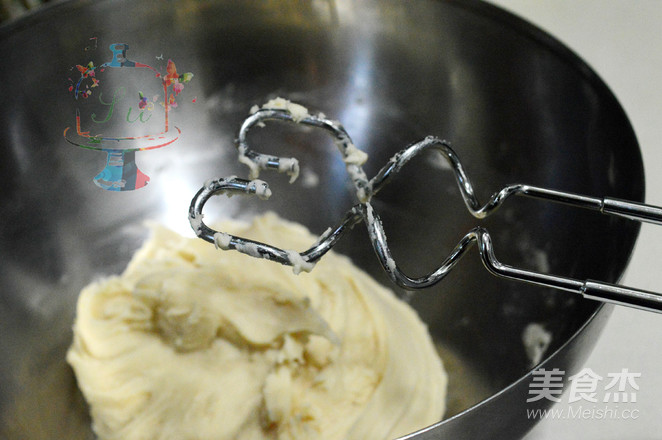
The material of the dough hook is good, and it will not stick too much material after adding all of it and mixing it. Avoid waste~
12.
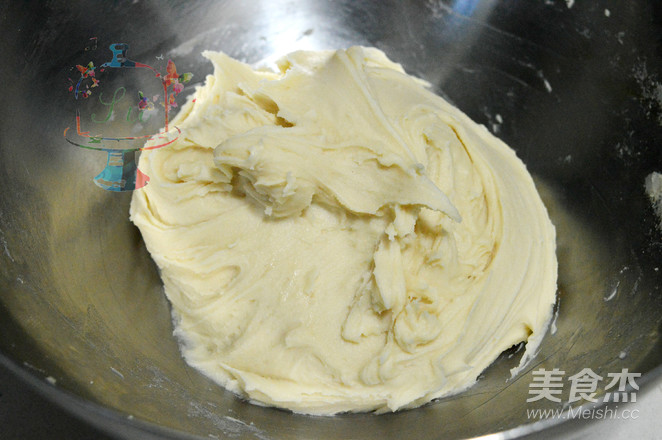
Finally, mix and stir evenly the wagashi peel material. After placing the cling film at room temperature, turn to refrigeration. Refrigerate for about 2 hours before using. The glutinous rice is a little sticky when it is not completely cooled, which makes it difficult to perform the following operations.
13.
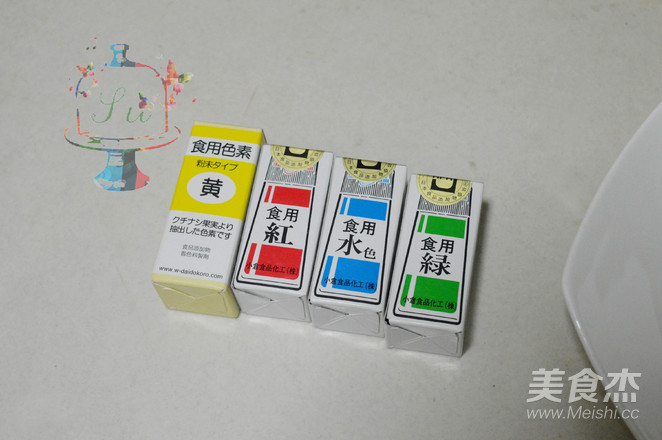
Tones of wagashi use toner, and I use toner for wagashi. Do not use liquid pigments for toning, which will make the skin more sticky. You can also use fruit and vegetable powder instead, which will have a unique flavor.
14.
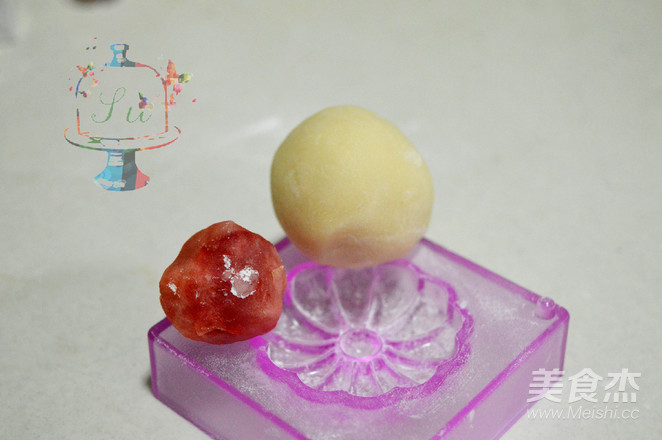
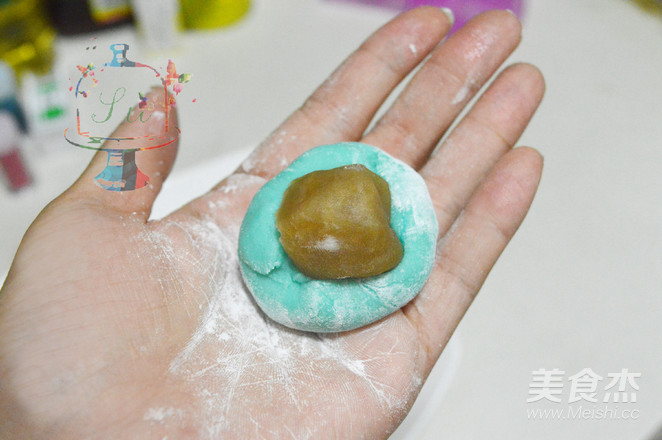
28g skin and 10g stuffing. This amount is limited to Yangchen Wagashi Moulds. As for the fillings, his favorites are red beans and matcha after testing by our foodies. For the filling, we can use the kidney bean paste from [Step 6] and matcha powder or other fruit and vegetable powder to make.
15.
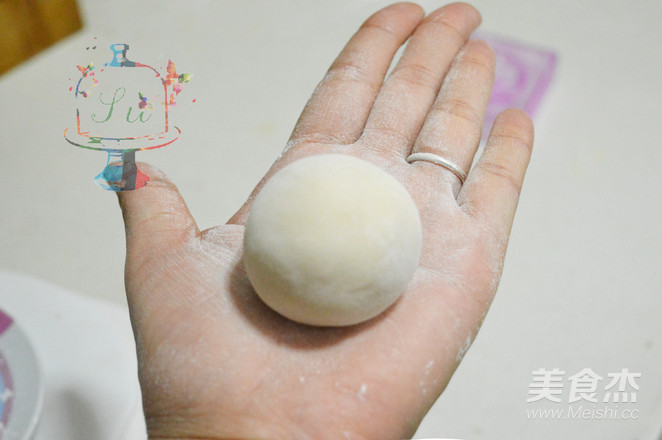
Sprinkle more hand powder on your hands to prevent sticky hands.
16.
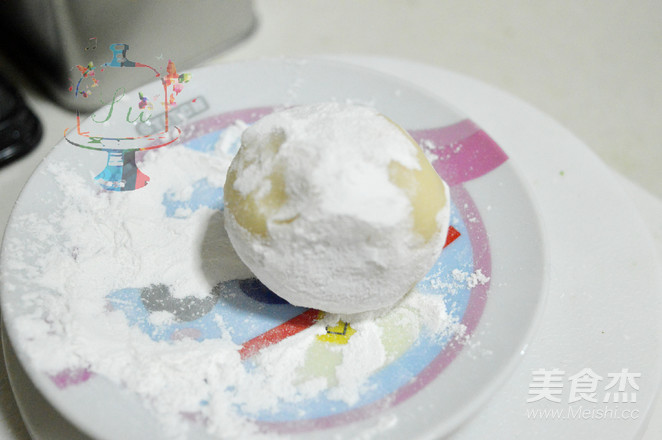
Roll more hand powder with the wrapped wagashi. The peel itself and the fruit peel need to be sticky. If the hand powder is too small, it will stick to the mold and make it impossible to release the mold.
17.
After the hand powder is rolled, alternate hands to remove excess hand powder. Hand powder adheres too much, and finally the surface of the finished product is easy to dry and crack, which is not good.
18.
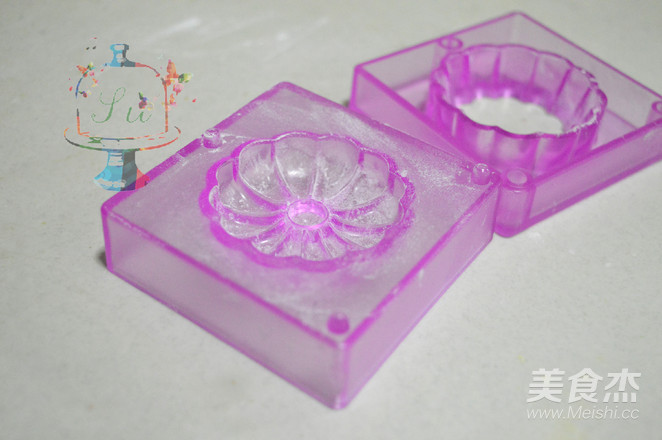
Sprinkle the hand powder in the mold, and then evenly, knock off the excess hand powder.
19.
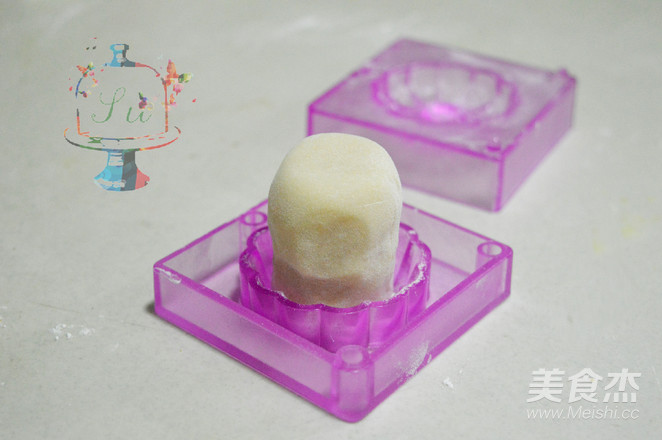
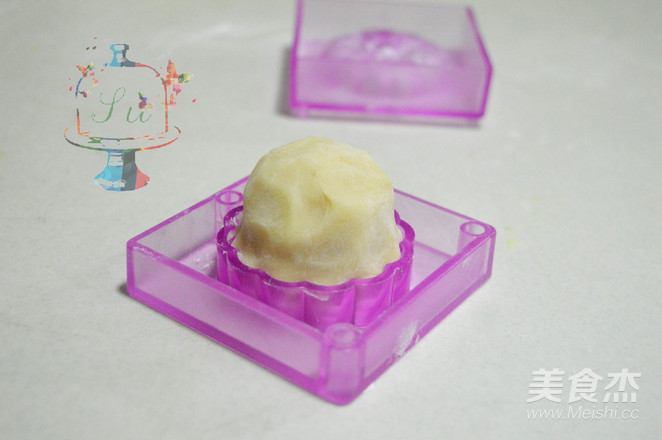
Roll [Step 17] into a cylindrical strip and put it into the mold. Be sure to sprinkle hand powder on the edge of the mold.
20.
Press lightly to make the distribution substantial at the bottom of the mold. Then put the hand powder on the part that was pushed out again to the center, and sprinkle the hand powder on the edge.
21.
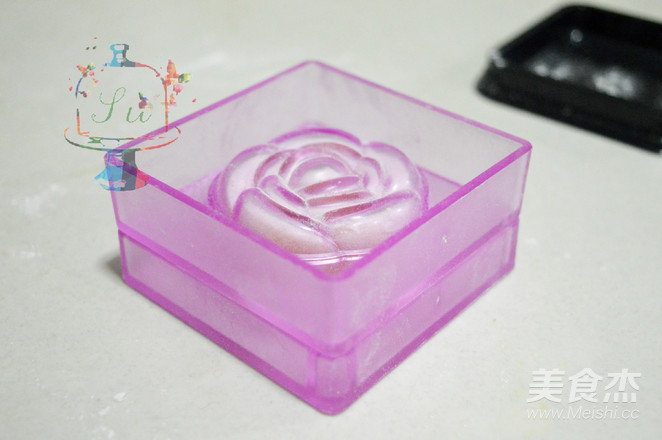
Install the other half of the mold and press it
22.
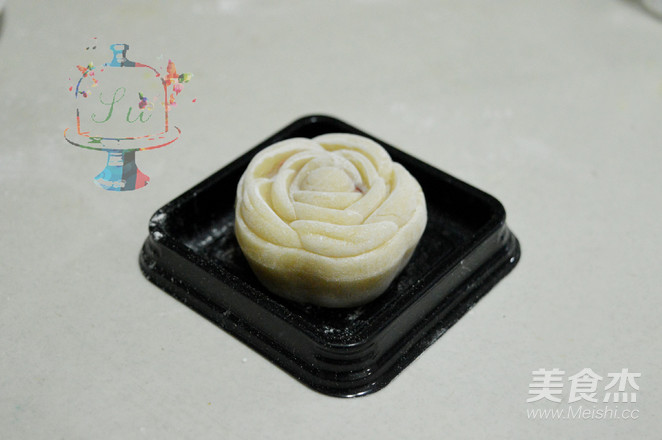
Don't hold it too high when demoulding, about 5cm away from the table top. Knock the mold lightly, and the mold can be easily demolded. After demoulding, it can be transferred to the container with a small spatula. There may be some floating powder on the surface, how to deal with it, look down and teach you
23.
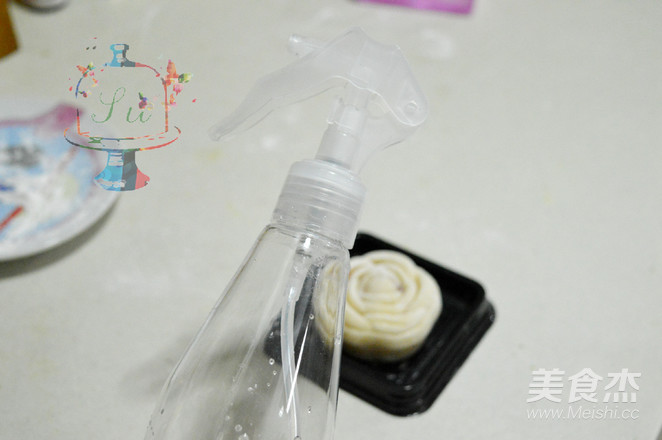
Prepare a watering can with fine spray. At a horizontal position about 20cm away from the wagashi, spray 1-2 times to let the sprayed water mist fall naturally on the surface of the wagashi.
24.
After spraying the water mist, there is no so obvious floating powder on the surface. Do not spray too much, it must be sprayed, otherwise the pattern will be blurred.
25.
The sugar in the recipe has already been reduced, so it is recommended not to reduce it. The wagashi skin itself needs some stickiness. Hand powder is essential during operation. Turn off the heat when the pot is heated, add glutinous rice flour and stir-fry for a few times. Don't stir-fry for too long, otherwise it will turn yellow and unsightly.

