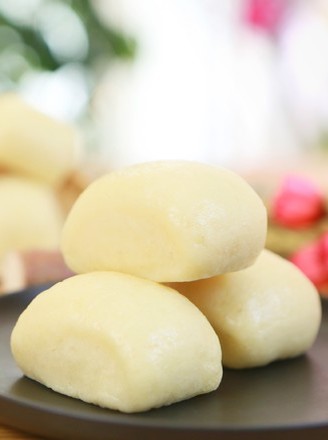
Yam Buns
1.
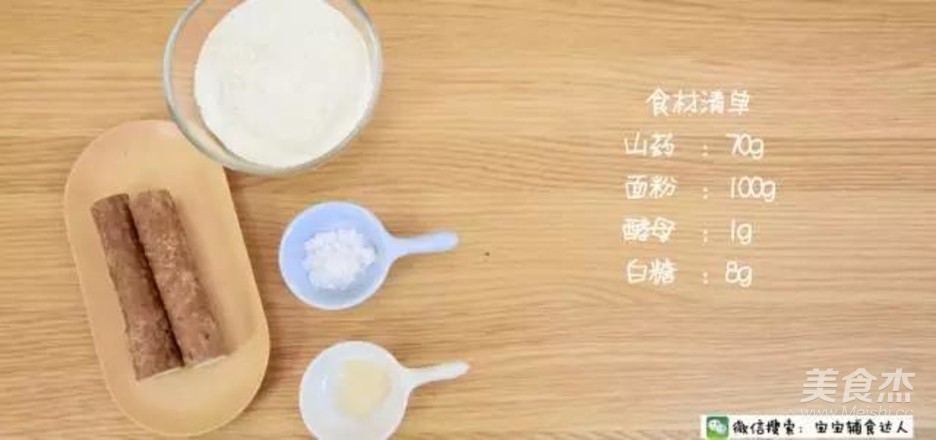
Reference age: more than 10 months. Food preparation: 70g yam, 100g flour, 1g yeast, 8g white sugar
Cooking time: 40 minutes Difficulty analysis: The amount of yeast here does not need to be tangled, you can use 1-2g.
2.
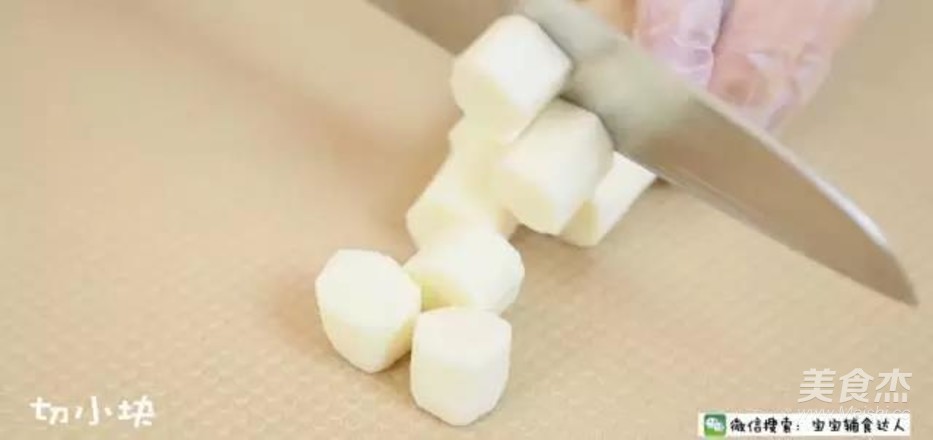
Wash the yam, peel and cut into small pieces.
3.
Steam in the pot for 15 minutes, until the yam is cooked through.
4.
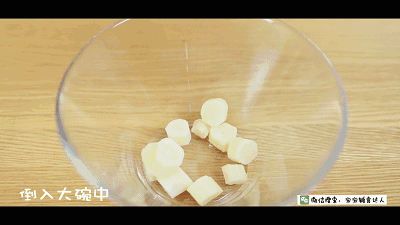
Pour into a large bowl and mash into puree.
5.
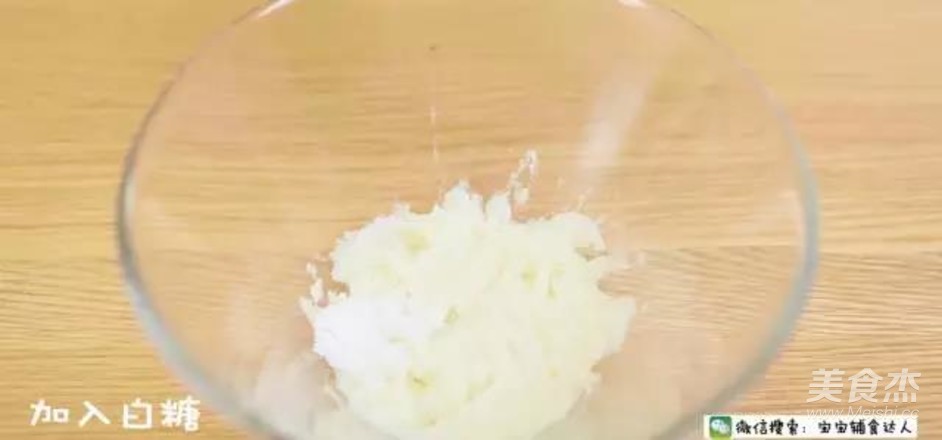
Add sugar.
6.
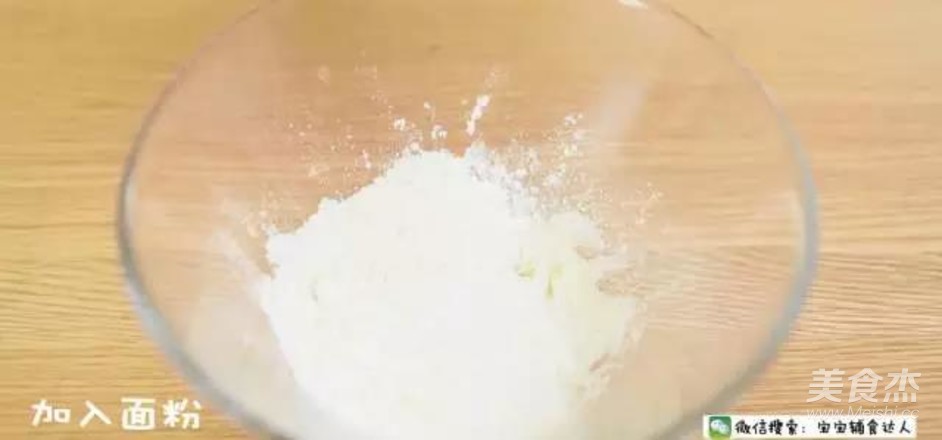
Add flour.
7.
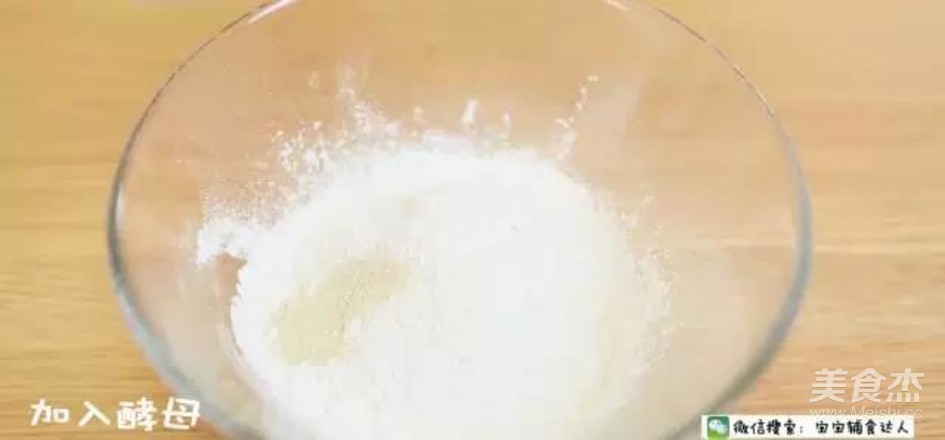
Add yeast.
8.
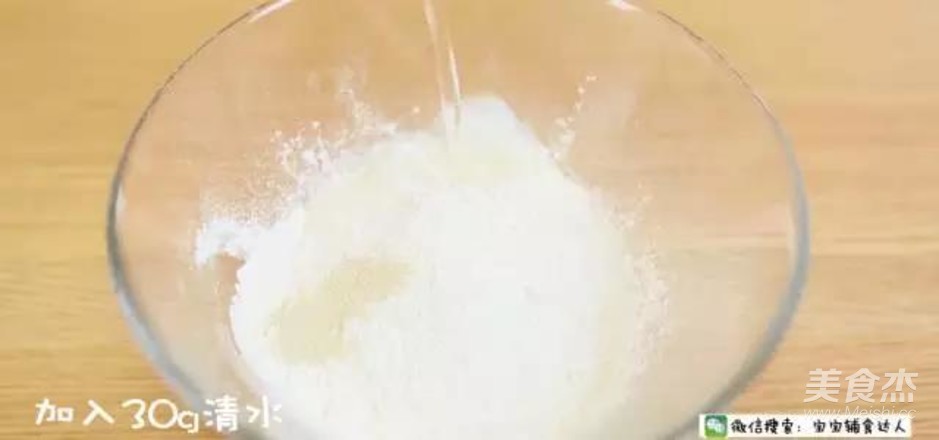
Add 30g of water.
9.
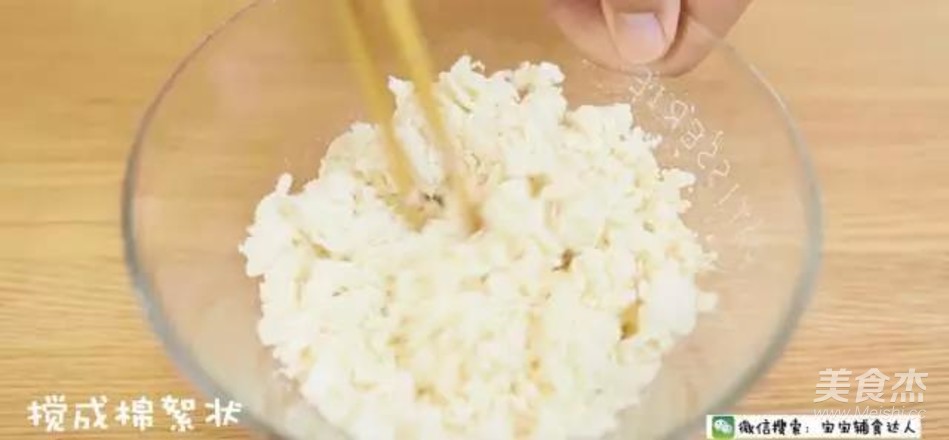
Stir it into cotton wool.
After adding all the ingredients, use chopsticks to stir it into a flocculent shape. This step is very important. Take the stirred flour on the cutting board and knead it for a while. If the water and flour are not mixed evenly, a lot of the noodles will still be dry and it will be hard to knead!
10.
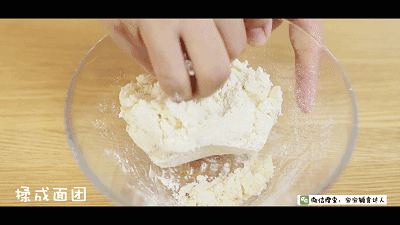
Knead the dough with your hands. (Steps 4 to 10, the processes of kneading and fermentation, you can leave it to the bread machine to complete!)
Press the cotton wool together with the power of your palms and knead it together and knead it into a dough. Make sure to knead until the surface is smooth. It doesn't matter if you knead it several times. The surface of the dough should not be too wet. The surface of steamed buns from sticky dough is also not beautiful. You can put a little more dry powder on sticky hands.
11.
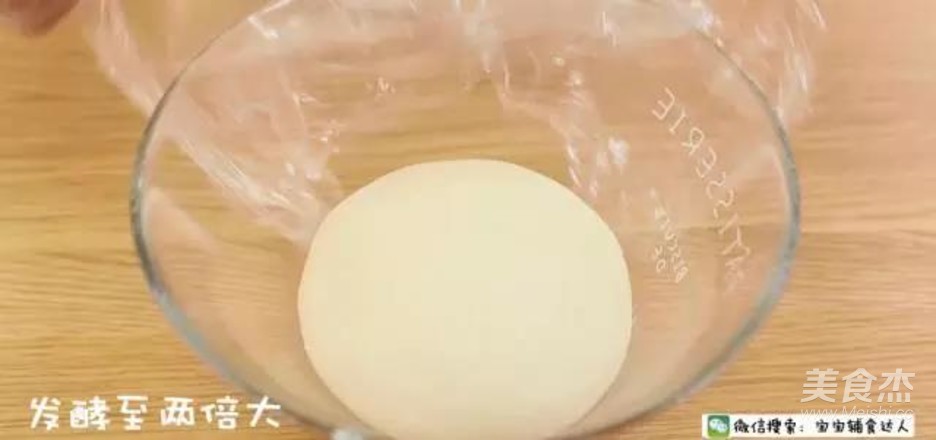
Ferment patiently to double the size.
I have always been accustomed to fermentation in the oven, constant temperature fermentation, the temperature is already very high in many areas in the current season, and fermentation can be successful at room temperature or in a warm place.
12.
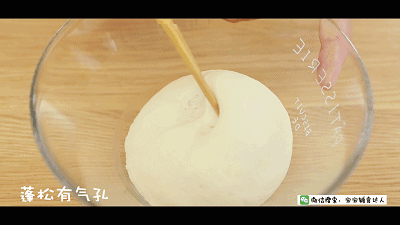
Fluffy with pores.
If you can smell a little bit of sourness, and the dough collapses when you press it lightly, it is a bit over-fermented.
13.
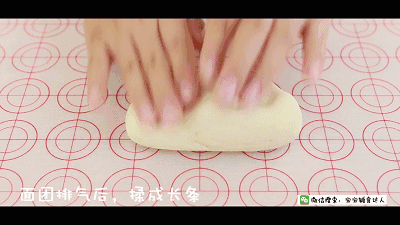
After the dough is exhausted, knead it into a strip.
Take out the fermented dough, continue to knead, empty the "honeycomb air" in the dough, cut the cross section without any bubbles, the fermentation part is done perfectly, and you have succeeded more than half.
14.
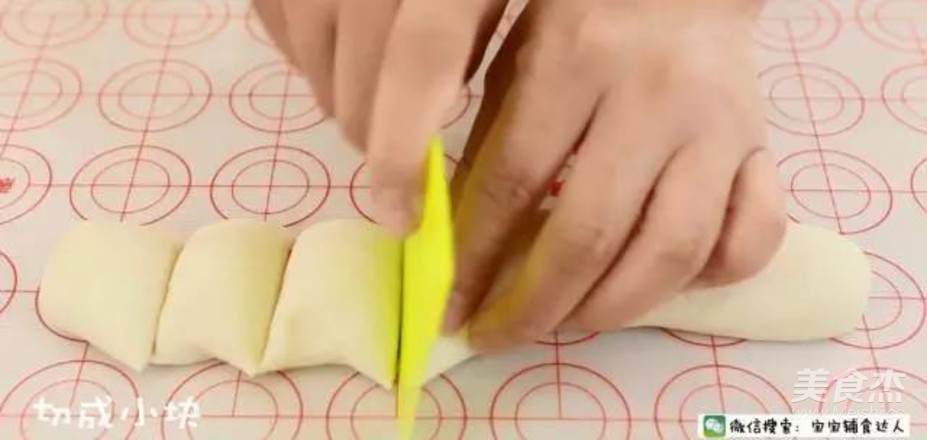
Cut into small strips.
Just cut it according to the size you want, but we are preparing it for the baby, and it is recommended to make it smaller. The steamed bun will almost double its size, so don’t cut it too big.
15.
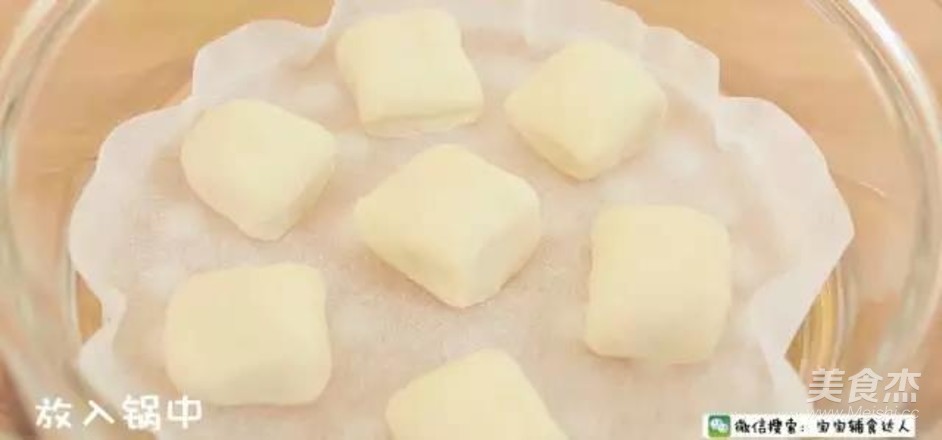
Put it in the pot, and put the steamer cloth/paper on the steamer in advance. The steamer cloth can effectively insulate the water vapor.
Steamed buns will expand and become larger during the steaming process, so leave enough space when placing them.
Put the small steamed buns into the steamer and cover the lid. In order to get a good effect, you can wake it up again and observe that its volume increases to 1.5 times its size.
16.
After the water boils, steam for 15 minutes.
The steamed buns I made are relatively small and very mini. They are steamed for 15 minutes after the water is boiled, and the time is just right. If you make a bigger one, you can extend the steaming time appropriately.
17.
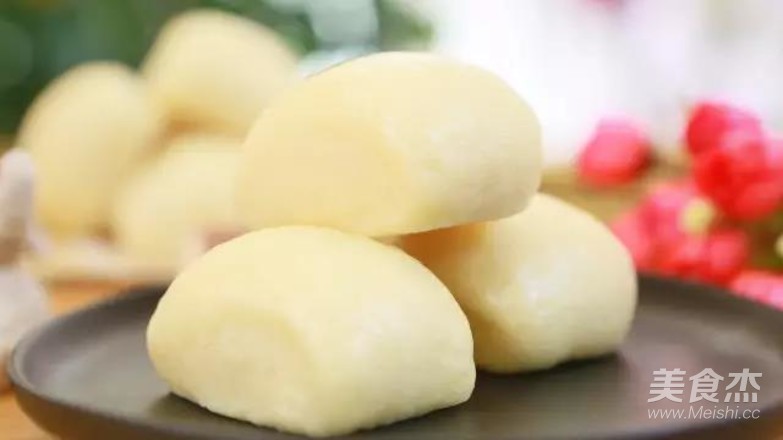
Don't open the lid immediately after steaming, let it stuff for 3-5 minutes, then open the lid.
It is best to let the steamed buns cool slightly and eat them while they are warm. The taste and taste are the best at this time. The steamed buns that you can't finish eating should also be sealed, or they will be air-dried, refrigerated or frozen, and steamed again when you eat it next time, which is convenient and quick.
Steaming steamed buns is also a technique. Don’t be discouraged if you fail the first time, and then find out the reason and sum up the experience before making a comeback. You will definitely get better and better.
Tips:
You can personally make supplementary food and feeding problems: shipu788

