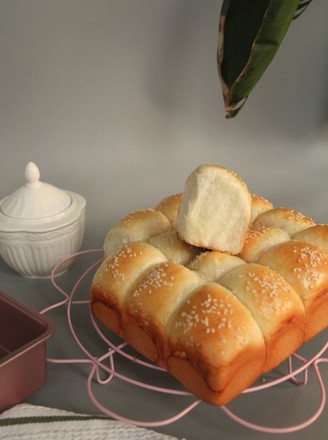
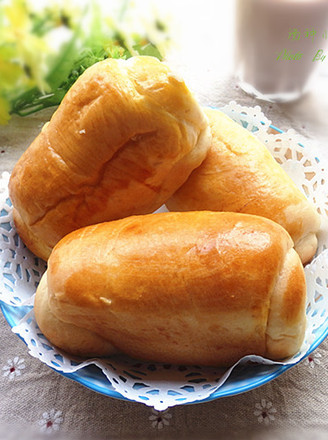
Yifa Honey Milk Bean Paste Small Meal Pack
1.
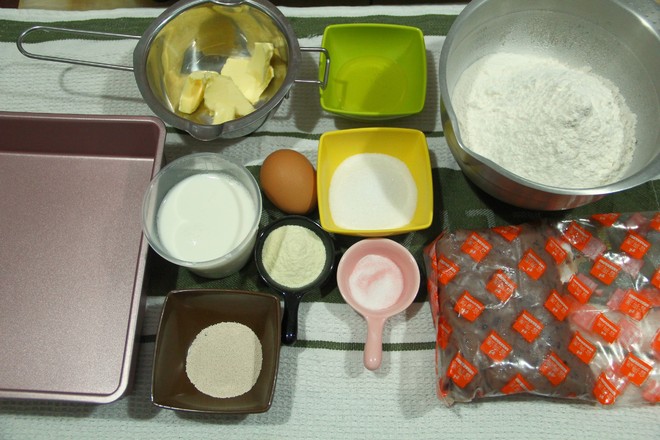
Butter needs to be cut into small pieces in advance to soften it. Then prepare other materials. In cold weather, refrigerated liquid is not used on the left or right. The eggs and flour were taken out in the cold storage.
2.
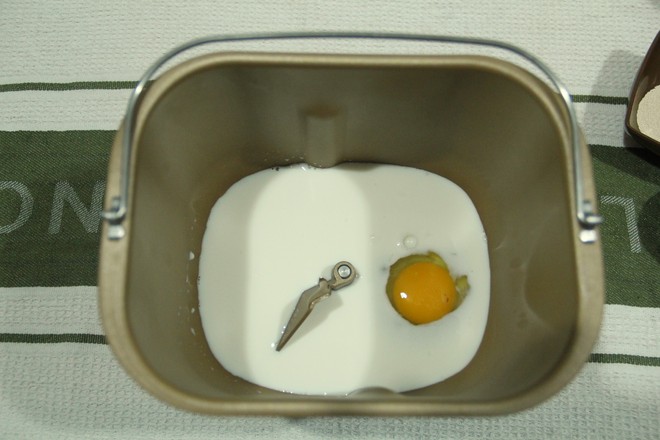
The butter continues to soften. First put the liquid part into the bucket of the bread machine with the mixing blade, and pour the sugar and salt separately on the two corners.
3.
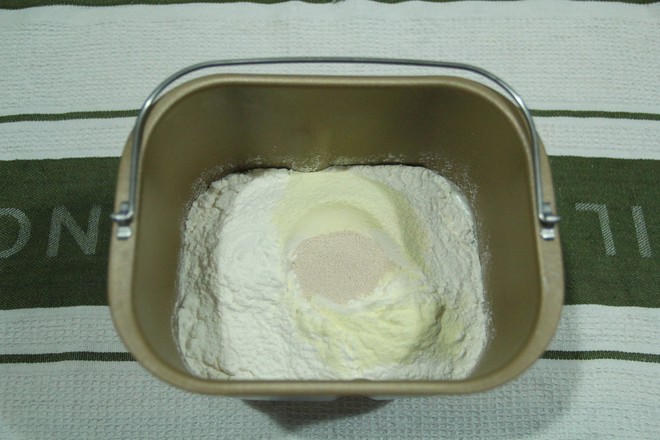
Then pour in the flour, dig a small hole in the top, and pour in the dry yeast. The order of liquid first, powder.
4.
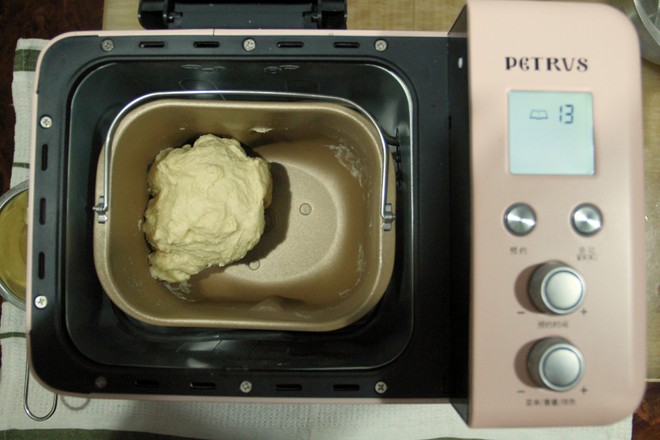
Put the bread machine bucket into the bread machine, turn on the program MIX, adjust for 30 minutes, and start mixing. After a while, it will form a dough. If there is dry powder on the wall of the barrel, you can scrape it off with a spatula and let it mix thoroughly.
5.
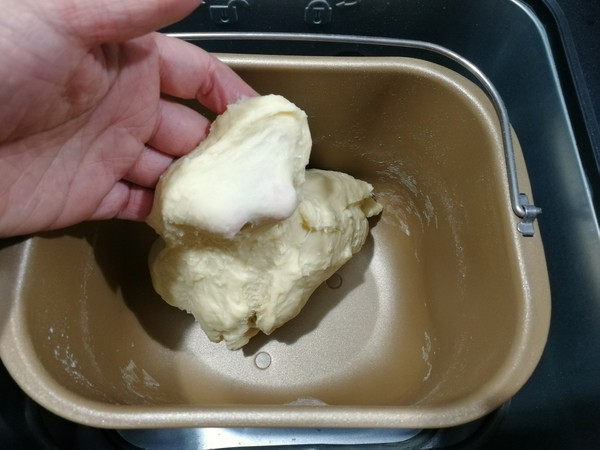
When it reaches the rough film stage, as shown in the figure, the film can be pulled out, but it is rough and has holes.
6.
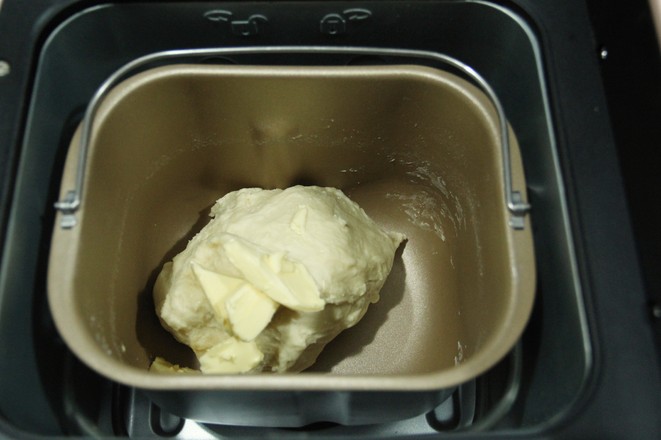
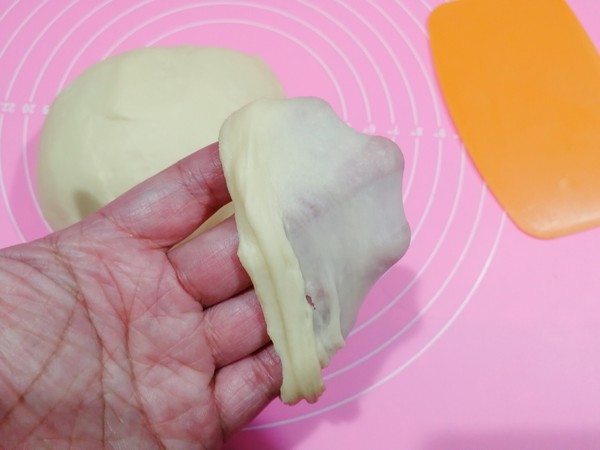
At this point, you can add the softened butter and continue to beat the noodles. Until the program is almost finished, you can take a little dough and pull it apart and observe. It can pull out a relatively complete and slightly thin film. The small meal bag is not like toast. Toast needs a glove film. The small meal bag does not have such high requirements.
7.
Look, at this level, you can make a meal bag. Take out the dough, hold the dough with both hands, and fold it outwards to make it round.
8.
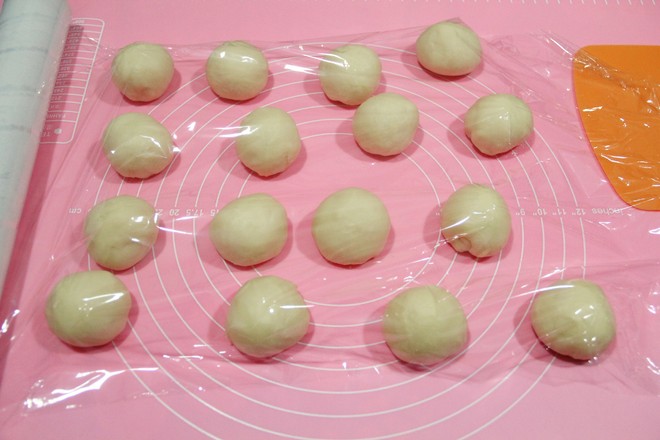
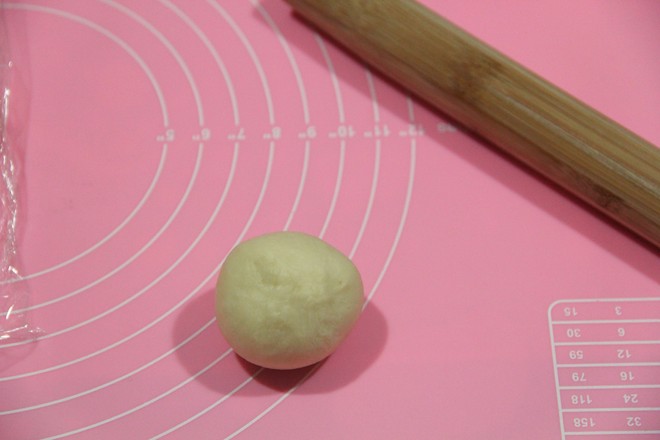
Then weigh the dough, mine is about 632 grams, divided into 16 portions, each about 39.5 grams. Slightly round, you can use the rounding method to round, or hold the dough in reverse C shape with your right hand, round slightly counterclockwise, cover with plastic wrap and relax for 10 minutes.
9.
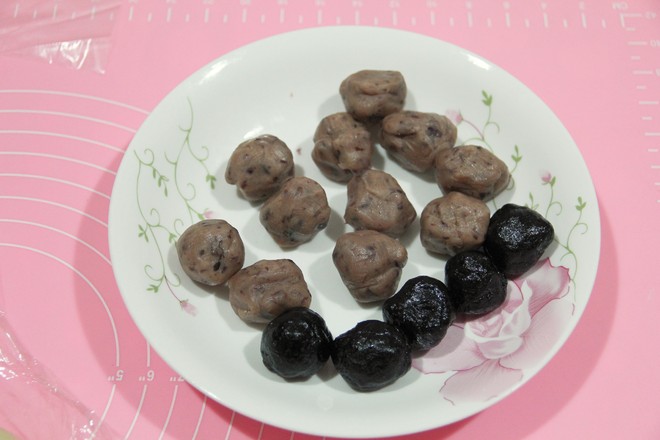
At this time, you can divide the fillings, 15-20 grams each. Round up and set aside. Note that if it is water bean paste, it is the ordinary bean paste bought in the supermarket. It needs to be sorted before being beaten, and it is slightly frozen, which is better to pack.
10.
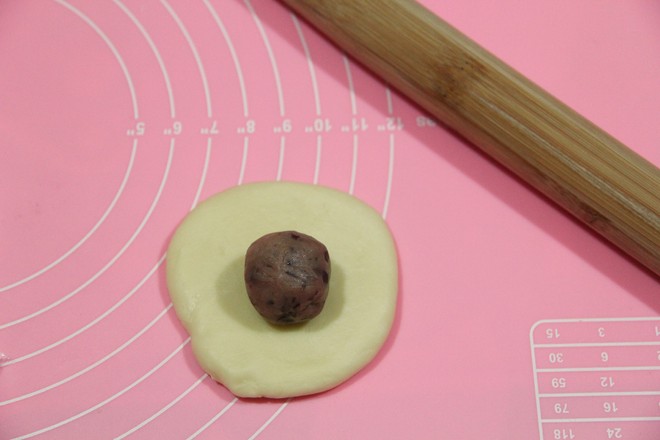
Take a loose dough, close it down, roll it into a round shape, turn it over, and put a filling ball on it.
11.
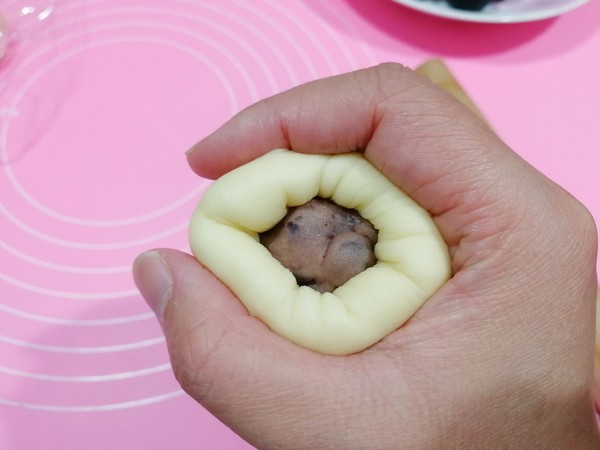
Paste the dough on the filling ball, and then gather it up with your right hand.
12.
After receiving it, there is no gap, just tighten and close the mouth. In this way, the dough is almost evenly distributed, and the finish is not too thick.
13.
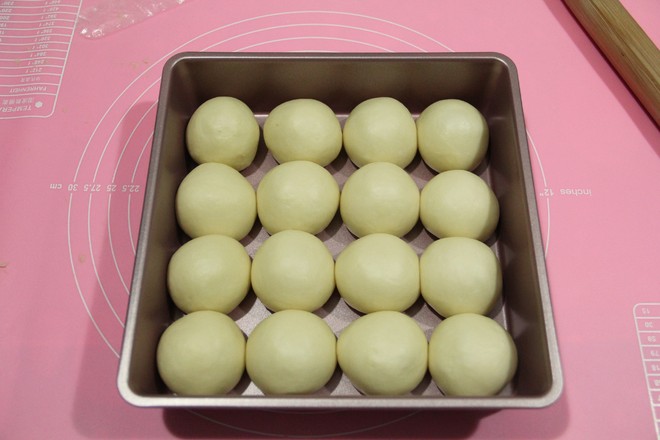
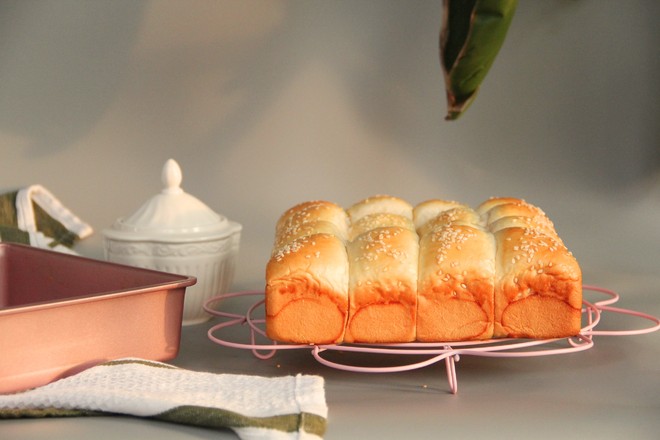
Close the mouth down and arrange into an 8-inch non-stick square baking pan.
14.
Put it in the middle and lower level of the oven, turn on the fermentation gear, 33-35 degrees, and the fermentation will be 1.5-2 times larger. Depending on the time, I will leave it for about 40 minutes. I covered a fermented cloth with a little humidity to maintain the humidity. If not, I can put a bowl of warm water in the oven to increase the humidity.
15.
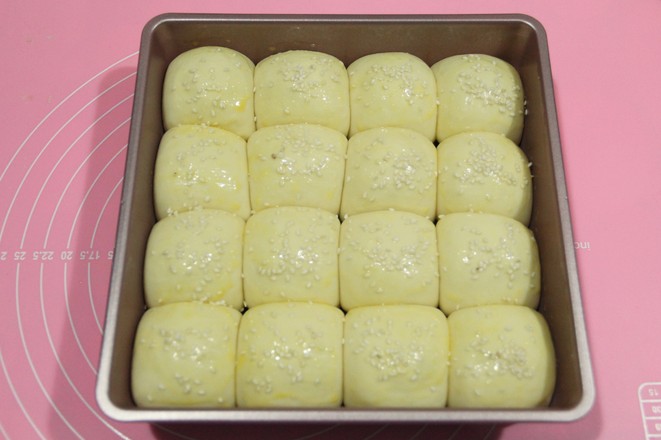
Take out the raw meal package and preheat the oven to 180 degrees up and down. Then brush a layer of egg liquid on the raw embryo of the meal package, sprinkle with sesame, white sesame, or black sesame!
16.
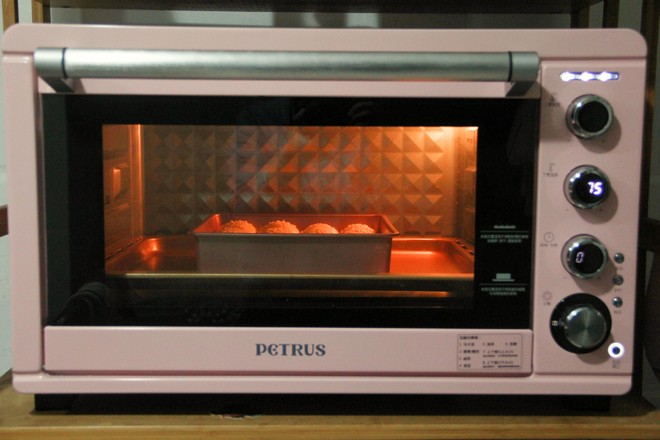
Put it in the middle and lower level of the preheated oven, turn it up to 180 degrees, down to 175 degrees, and bake for 23-25 minutes. If the color is satisfactory, you can cover it with tin foil. If you don't want to paint so deep, cover the tin foil in advance.
17.
After roasting, shake it to release the heat, and transfer it to the cold shelf to cool it down. The mold is not sticky and easy to demold. Of course, it is more convenient if there is a movable bottom mold. I just shake it out. Seal and pack after cooling down.
Tips:
1. The bread can be sealed and stored at room temperature in cold weather. Do not refrigerate, it will accelerate aging.
2. Those who don't like fillings can add no fillings, and after rounding, they can be put into the baking tray for fermentation.

