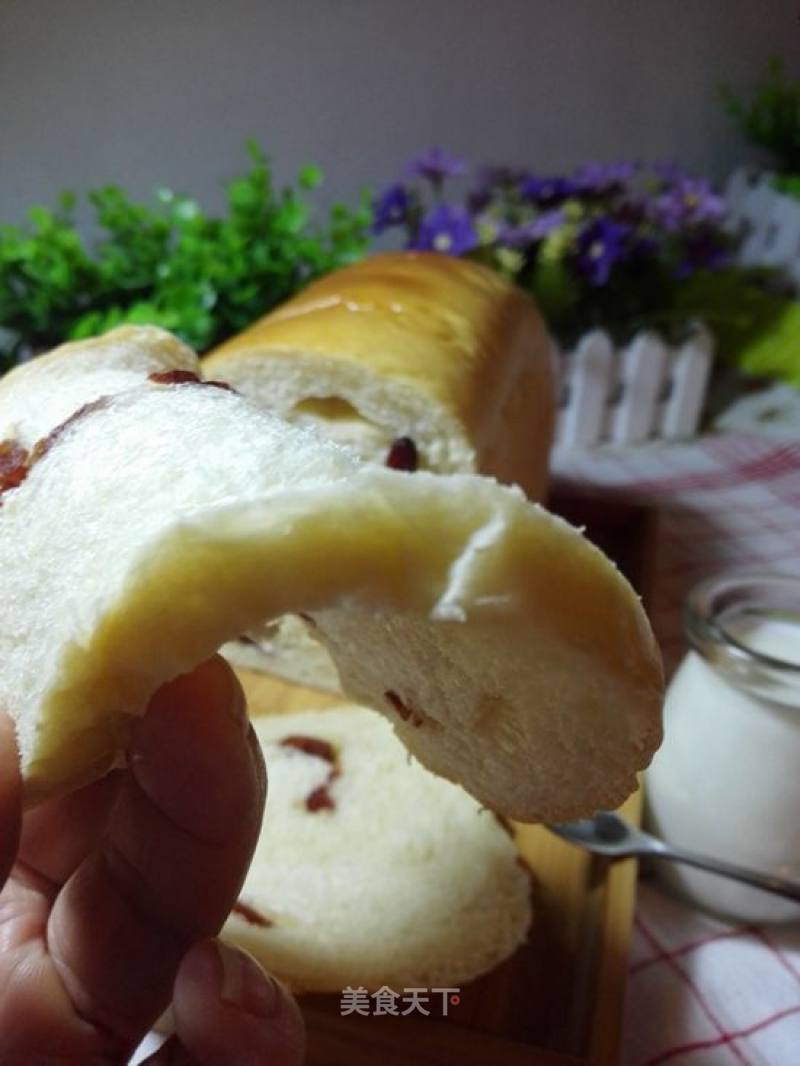
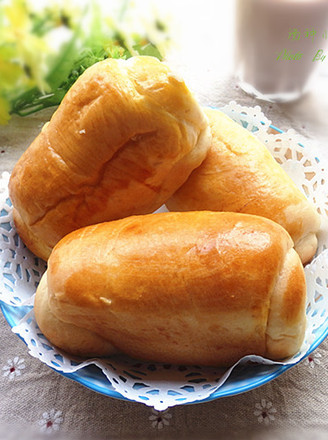
#aca烤明星大赛#california Toast—— It’s Fun to Make Two at A Time (two 450g Toast Molds)
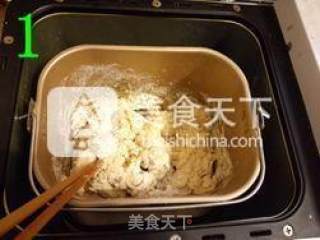
1.
Put the ingredients other than the butter (do not add all of the liquid amount at once, leave one tenth in the second step to add according to the situation) into the bread bucket, stir with chopsticks until there is no dry powder
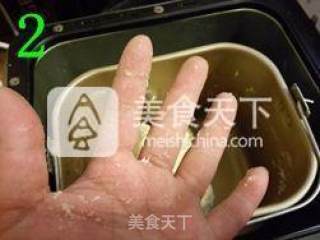
2.
Start the "kneading" program, pause the machine when the dough is kneaded, and knead the dough with your hands. The dough is soft (a little softer than the dough used for steamed buns), and a small amount of batter on your hands indicates that the dough has a proper humidity. Turn on the bread machine Continue to mix the dough; if the dough is dry, add liquid, pay attention to adding little by little
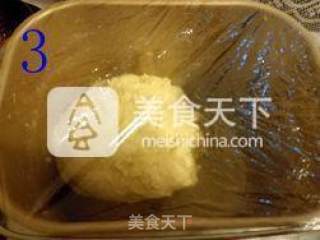
3.
After the "kneading" process is over, put the dough in a plastic wrap and put it in the refrigerator for 20 minutes (because the machine will heat up during operation, so in order to avoid premature fermentation of the dough, refrigerate it, and refrigeration will also change and destroy the structure of the dough Structure, easier to get out of the glove film)
4.
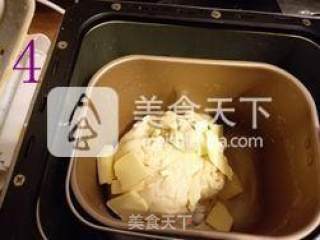
After 20 minutes, add softened butter to continue mixing (note: it is softened butter, not melted butter)
5.
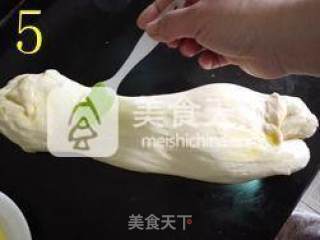
Take out the dough, hold one end of the dough with one hand, and throw the other end of the dough onto the table with the other hand 6-10 times, the dough will be beaten longer and longer. If the dough breaks as soon as it falls, or it gets drier as it falls, it means that the dough is not wet enough. Add water or milk, paying attention to it. Brush a layer of olive oil on the surface of the rolled dough, fold it in half and fold it 6-10 times, brush the oil, fold it in half, fold it in half, fold it in half, fold it in half, and fold it again... and so on.
6.
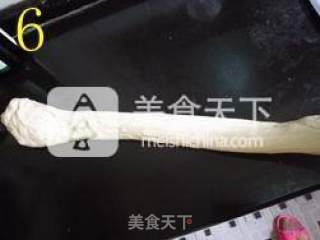
When the dough gets softer and softer, it will be very long and thin after falling a dozen times, and it will not break when you hold it. It will feel like holding a balloon with insufficient air. , This is almost the time to produce the glove film. At this time, it is necessary to check the state of the dough at any time, so as to avoid excessive beating and tearing of the gluten.
7.
There are always friends who say that "glove film" is not good for making dough. In fact, the current bread machines are very good, and generally can make "glove film" dough. I guess the so-called "glove film" dough is not produced. It is probably because you can't pull the film. . Let me tell you a simple method: just apply some oil on your hands, and then slowly stretch out the tip of the dough that has been smashed on the table ten times with both hands.
8.
The dough will become thinner and thinner, and a large, almost transparent, non-breakable film will slowly come out. If the film is pierced, the edge of the hole will be smooth, which is almost the end.
9.
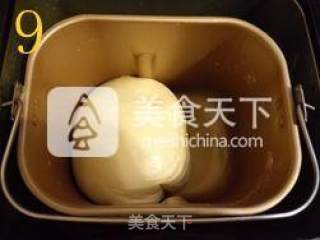
Round the dough, put it back in the bread bucket, cover with a piece of baking paper, flick some drops of water on it with your hands, cover a damp towel, and then cover the lid of the bread machine to allow the dough to rise naturally.
10.
I made two toasts this time. I like the sweet and sour taste of cranberries, so one is original and the other is with dried cranberries. Soak the dried cranberries with rum when the dough is fermented
11.
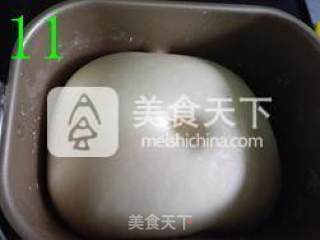
When the dough has grown to 2-2.5 times the size, dip your fingers in water (or dry flour) and poke a hole in the dough. Take out your fingers and leave the hole unchanged, which means it will be fermented.
12.
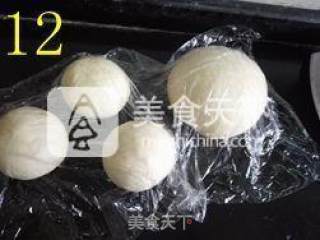
Take out the fermented dough, divide it into 2 equal parts after exhausting, and divide one part into 3 equal parts. Close the round and cover with plastic wrap and relax for 15 to 20 minutes (at this time cover with plastic wrap to prevent the surface of the dough from drying out and crusting)
13.
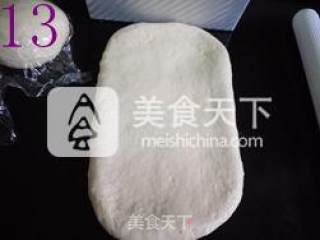
Roll out the large dough into a rectangular bread with a width similar to the length of the toast mold
14.
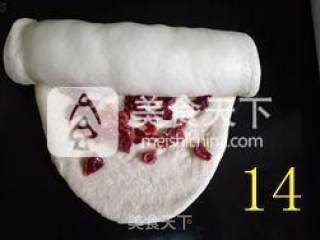
Turn the dough over and press the bottom edge thinly, remove the dried cranberries, and sprinkle it evenly on the dough, roll it up from top to bottom
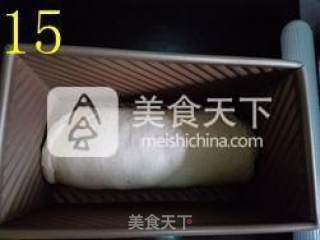
15.
Place it in a toast mold and cover it with plastic wrap for the second fermentation
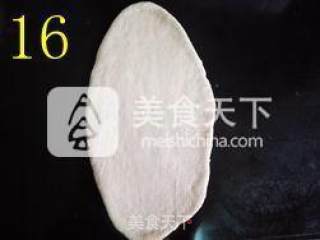
16.
Roll the small dough into an oval shape
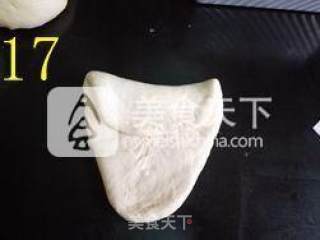
17.
Turn it over and fold it one third from top to bottom
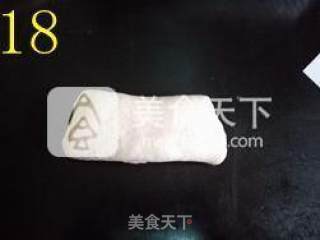
18.
Fold it down again, and it will become a three-layer one-third of the original size. All three small doughs are made like this.
19.
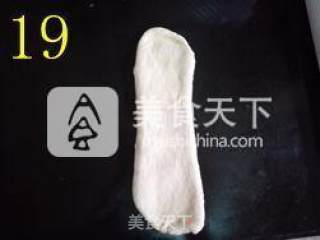
Turn the dough 90 degrees and roll it out again (roll it out slowly, if you don't roll it well, you can relax it for another 15 to 20 minutes, don't roll it hard)
20.
After turning it over, thin the bottom edge and roll it up from top to bottom (do not roll it too tight, roll it loosely, just roll it 2 and a half turns) and stick the bottom tightly
21.
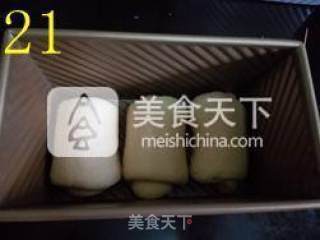
Place it in a toast mold and cover it with plastic wrap for the second fermentation
22.
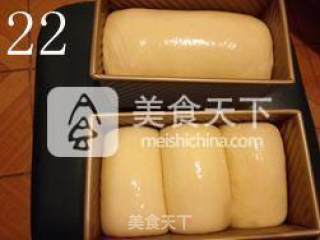
When it is 8 minutes full, brush a layer of egg liquid on the surface of the dough
23.
When I prepared the ingredients, I broke up an egg and poured it into the noodles, leaving a bowl of egg mixture to brush the surface of the bread before baking.
24.
Put it on the bottom grilling net in the preheated oven at 170 degrees and 190 degrees, and bake it for 35 minutes at 165 degrees and 180 degrees. If the coloring is enough, cover a piece of tin foil to name the bread too dark


Tips:
1 The bread dough must be soft enough to make the film easy to knead out, and different brands of flour have different water absorption properties, so do not add the liquid in the formula at the beginning, and leave one tenth in the dough. Pinch the dough to check the dry humidity of the dough. If it is too dry, add liquid. Note that you still have to add it bit by bit at this time. Do not pour in it all at once; if the dough is too wet, you must add flour. The same is also true. Add little by little until the dough is dry and wet before continuing to knead.
2 The secret of soft and silky bread is-slow fermentation! The texture of the bread that is fermented slowly is more stable and mature, and the holes are smaller and the taste is softer. For the first fermentation, it’s best to control it in about two hours to make the dough twice as large. So I make bread, as long as the weather is not particularly cold, and the dough will not rise without the help of the fermentation function of the bread machine or oven. Next, for the first fermentation, I let the dough rise naturally. And I don’t use the cling film to ferment, because the cling film is not breathable. To judge whether the fermentation process is appropriate, use your fingers to dip in water (or dry flour) to poke a hole in the dough, take out your finger, and the hole remains unchanged, which means that the fermentation is suitable. If the pressed hole bounces up quickly, it means that the fermentation is insufficient; if the area around the hole sinks significantly or rapidly, it means that the fermentation is over-fermented.
3 The oven should be preheated in advance, and the temperature during preheating should be higher than the baking temperature, because the temperature in the oven will be lower when the bread is put in and baked when the door is opened.

