Bear Bread
1.
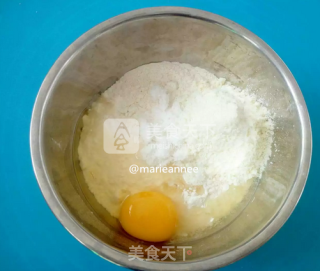
Weigh the high-gluten flour, milk powder, salt, sugar, baking powder, etc. to the appropriate number, put them in a larger basin, knock in an egg, and mix well with chopsticks
2.
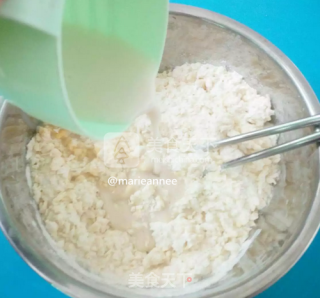
Add 2 grams of yeast powder to the water, stir with chopsticks until it is fully dissolved, then slowly pour it into the flour bowl, and stir while pouring
3.
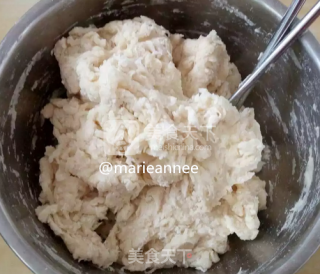
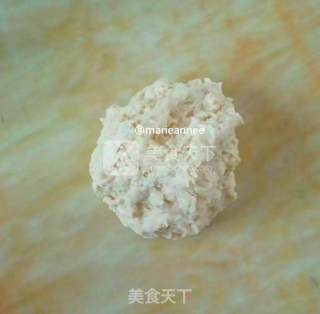
Stir until there is no dry powder and is like cotton wool. Then knead the dough with your hands, cover it with plastic wrap, and let it rest for half an hour, so that the flour can fully absorb the moisture and become very moisturized, which can greatly shorten the kneading time. (The temperature is high in summer, so put it in the refrigerator to avoid yeast fermentation)
4.
After half an hour, put the dough on the slate countertop
5.
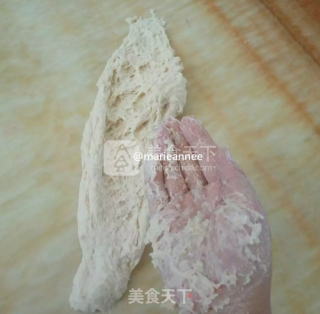
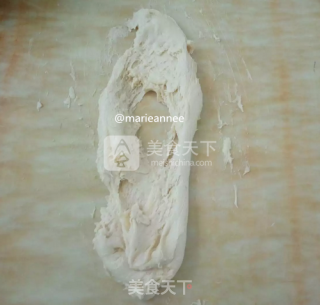
Press the end of the dough slightly with your left hand, and use the strength of your right wrist to rub the dough out (it is very sticky when you first knead, it is normal, you need to be a little patient)
6.
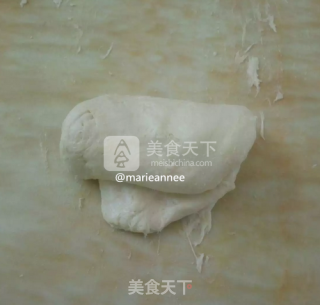
Take it back and fold it, then change the direction of the dough and rub it out
7.
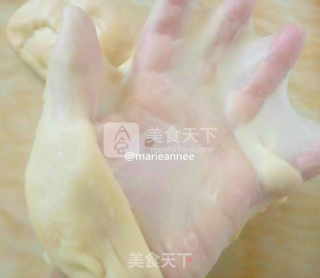
Repeat steps 5 and 6 (rubbing out and retracting) until the thick film can be pulled out, as shown in the figure
8.
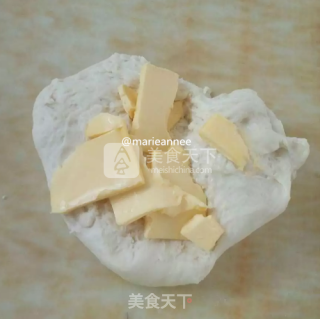
After kneading the thick film, add softened butter
9.
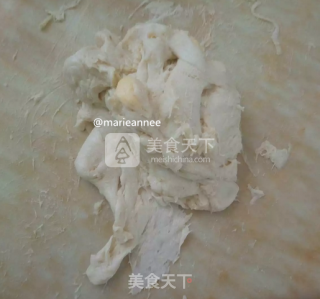
The dough after adding the butter will be very slippery when you start to knead it, and the dough will become wet and sticky again, just like a pile of torn cotton wool. It looks terrible. If you knead for about 5 minutes, the butter will be fully kneaded into the dough.
10.
Start rubbing again, rub it out first
11.
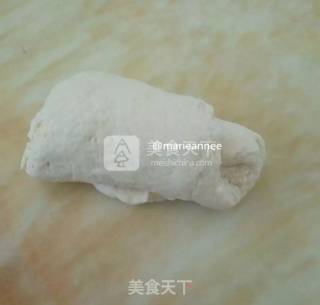
Retract to fold
12.
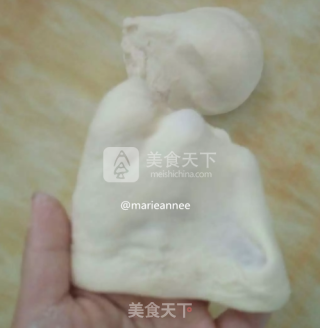
Repeat steps 10 and 11, until the dough can be easily pulled out of the glove film, and it is not easy to break, it is very tough, it means that the dough is kneaded in place, and the dough is broken all at once, indicating that kneading is still needed
13.
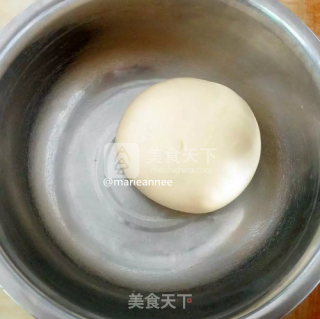
Round the dough again and put it in a basin, cover it with plastic wrap or a damp towel and leave it to ferment in a warm place
14.
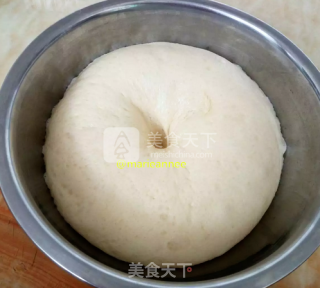
This is the successfully fermented dough, as shown in the picture. The fermented dough is 2.5 times larger than the original volume. It feels very light when you hold it. If you stick a little flour with your fingers, press the dough lightly, the fingerprints will not recover immediately, and it will not collapse slowly like a discouraged leather ball. Fermented just right)
15.
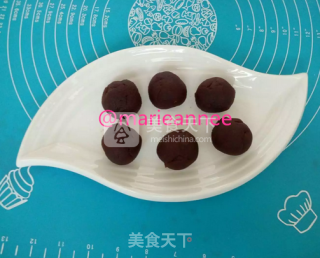
During the dough fermentation process, the bean paste filling can be prepared, divided into 6 equal parts, 30 grams each
16.
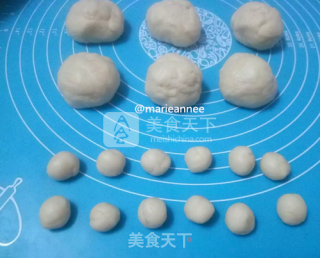
Take out the fermented dough, press it to exhaust, and then divide it into 7 large doughs, each about 51 grams. Take one dough and divide it into 12 small doughs, each about 5 grams. Cover all the dough with plastic wrap and let it stand for ten minutes.
17.
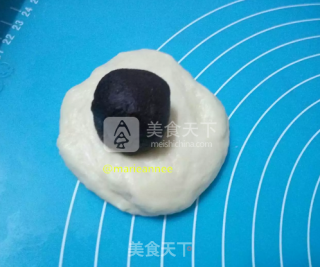
Take a large dough and press it flat, put on the red bean paste, wrap it up and make a round
18.
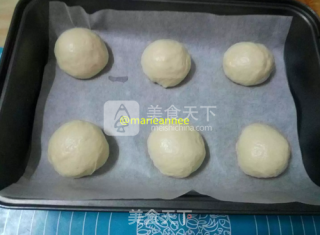
Finish the bread dough with the mouth facing down, put it in a baking tray lined with tin foil, and lay it out evenly
19.
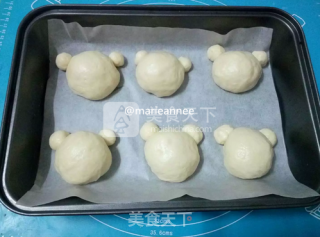
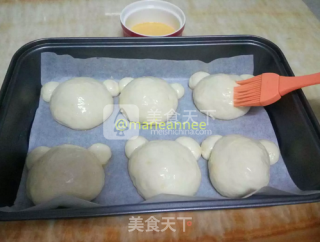
Place a small dough on the top of each large dough in a symmetrical position to make the bear's ears, and pay attention to the tight bonding with the bear head
20.
Place the shaped dough in a warm and moist place for secondary fermentation. If you use the oven fermentation function, put a bowl of water in the oven to moisturize
21.
Take out the raw bread embryo when it fermented to 1.5 times the original size, and brush the egg liquid on the surface
22.
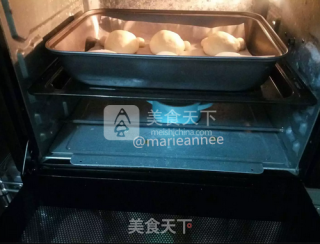
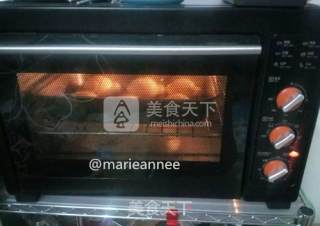
Put the baking tray into the middle layer of the oven that has been preheated at 180 degrees, and bake on the top and bottom for 15 minutes before it is out.
23.
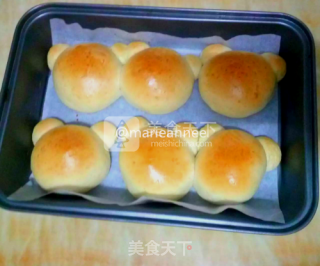
Cooling out of the oven
24.
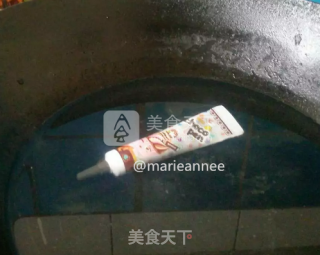
Melt the chocolate pen in hot water and draw the eyes, ears, nose and mouth on the corresponding positions of the bread.
25.
Such a cute little bear, are you willing to eat it?


Tips:
1. The time and temperature should be adjusted according to the situation of your own oven;
2. If you don’t have a chocolate pen, you can directly use chocolate in a bowl to heat it and melt it with chopsticks to paint with chocolate. You can also use cocoa powder and a little water to make a thick chocolate paste to paint face decoration.
3. The size of eggs and the water absorption of flour are also different, so the amount of water must be controlled. If the amount of liquid you just added is not enough at the beginning, and the dough feels dry, you should add water in time at this time. The method of replenishing water is to take a bowl of water and pat it on the dough with your hands. Do not pour water directly on the top of the dough. Dip your hands with water to replenish moisture and knead the dough until the film is formed.
4. Put it in the oven and bake for 10 minutes and observe frequently. When baking, cover with tin foil to prevent the surface from being overly colored. Just cover the surface with tin foil, check the surface of the bread two minutes before the oven, and decide whether to remove the tin foil in advance according to the actual color (if the color is light, remove the tin foil in advance, and expose the surface of the bread under the heating tube Color; if the color of the bread surface is just right, keep it covered with tin foil until it is out of the oven).

