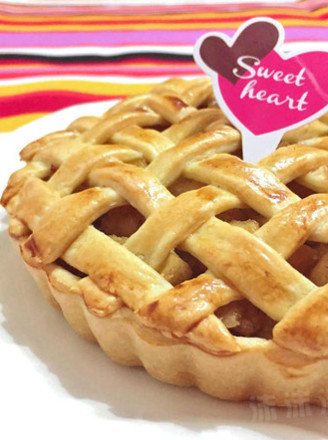
Braided Apple Pie
1.
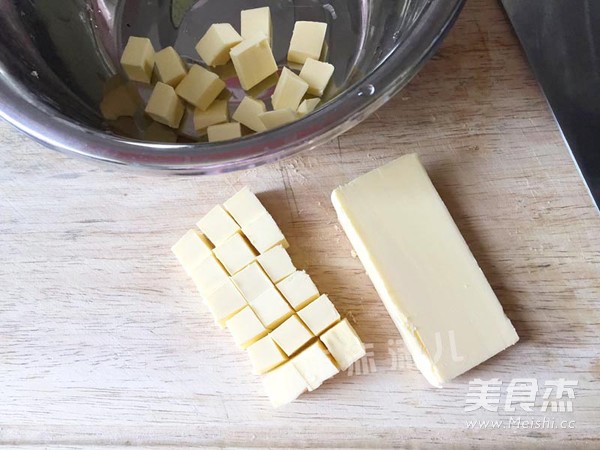
First make the pie crust. Because the pie crust needs to relax for several hours, it can be made in advance. Cut 60g butter into small pieces and soften at room temperature.
2.
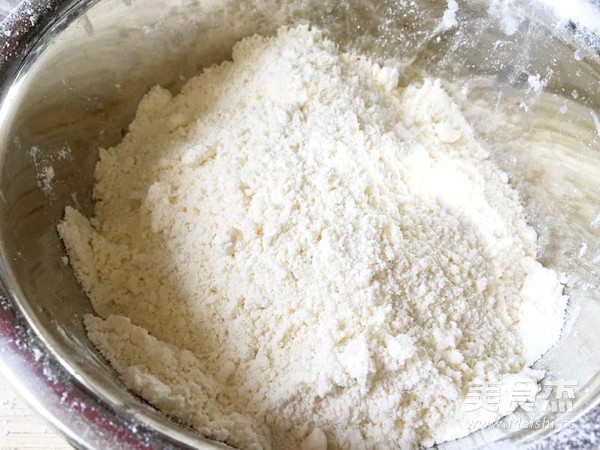
Pour 150g of low-gluten flour and 10g of sugar into the softened butter and knead it with your hands until all become coarse sandy particles.
3.
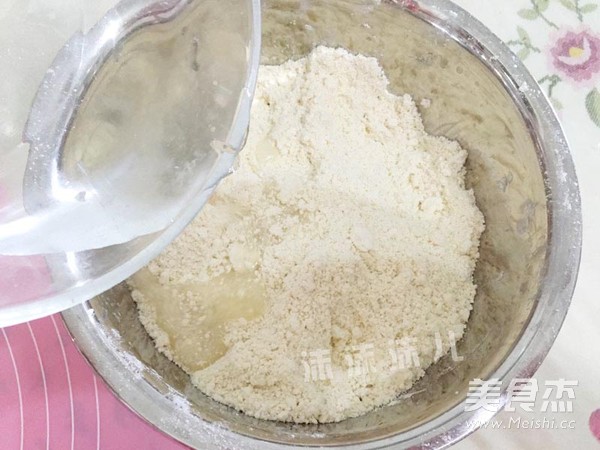
Add water. Add as appropriate according to the state of the dough.
4.
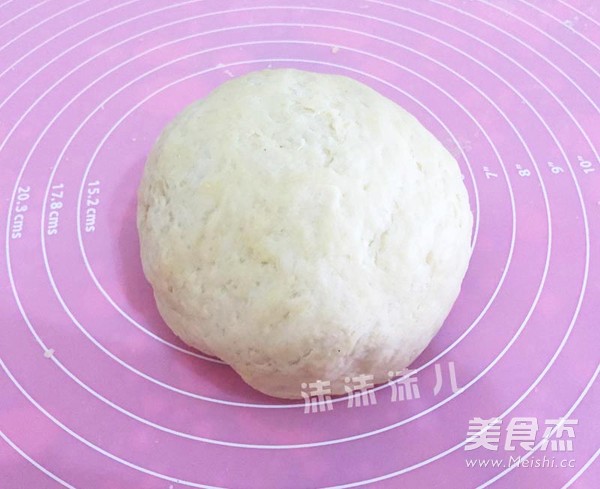
Knead into a slightly smooth dough. Do not knead for too long to avoid tendons.
5.
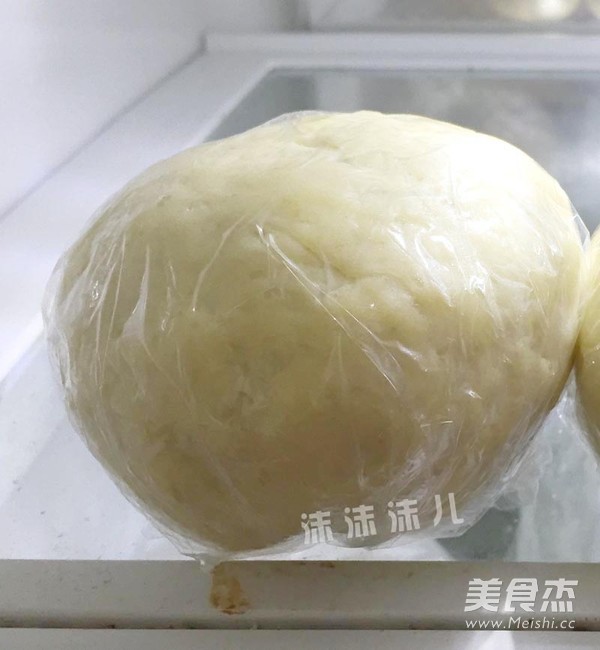
Wrap the kneaded dough with plastic wrap, put it in the refrigerator, and let it rest for 2 hours. The shortest time is 1 hour.
6.
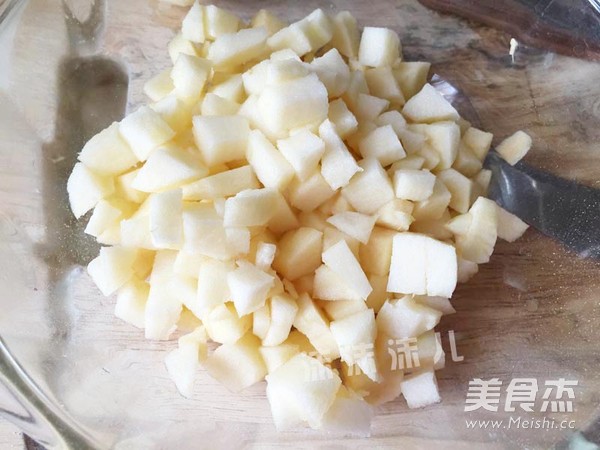
Then make the pie filling. Peel the apple and cut into small pieces, about 260g.
7.
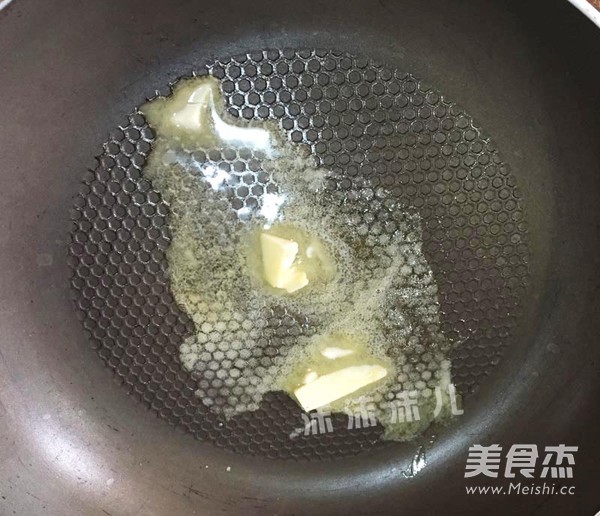
Put 10g of butter in the pot and heat it on a small fire to melt it.
8.
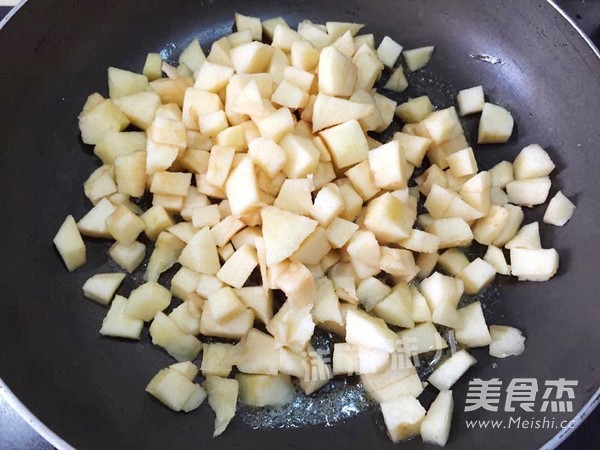
Pour in the diced apples, stir-fry for a while on low heat, add 45g of fine sugar, and continue to stir-fry.
9.
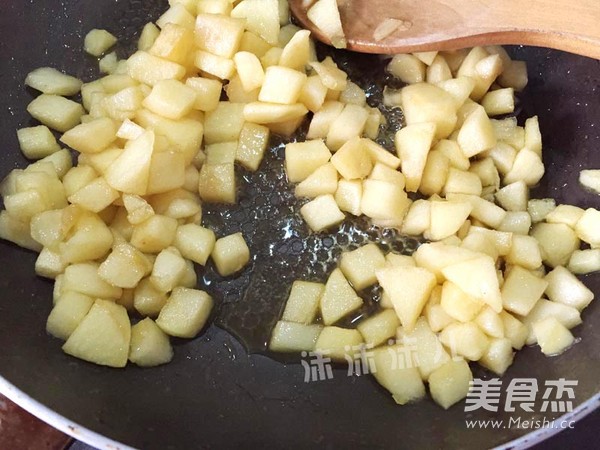
After adding sugar, the apple will soon see out a lot of water, continue to stir fry, let the water boil and soften the apple.
10.
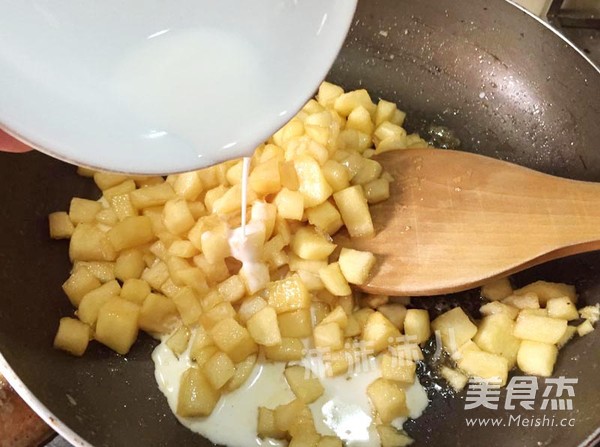
Mix 10g cornstarch with 20g water and add it to the diced apples. Continue to stir fry until the diced apples become sticky.
11.
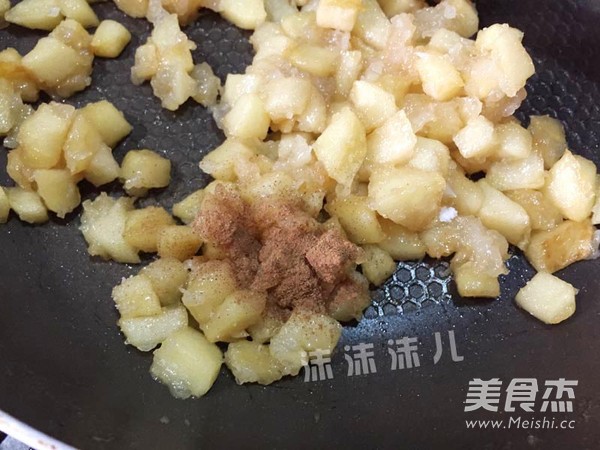
Turn off the heat, add 1/4 teaspoon salt and 1/4 teaspoon cinnamon powder. Stir fry evenly.
12.
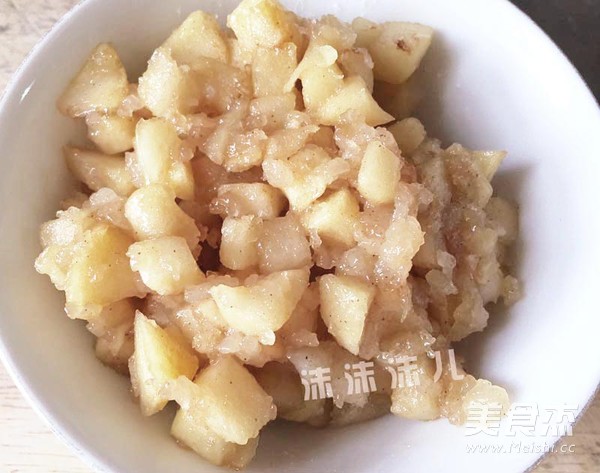
The pie filling is ready, take it out of the pot and let cool for later use.
13.
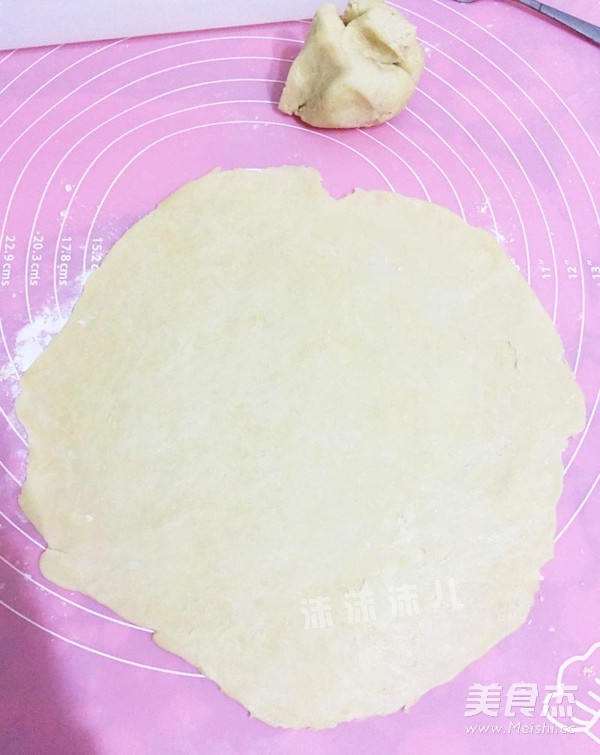
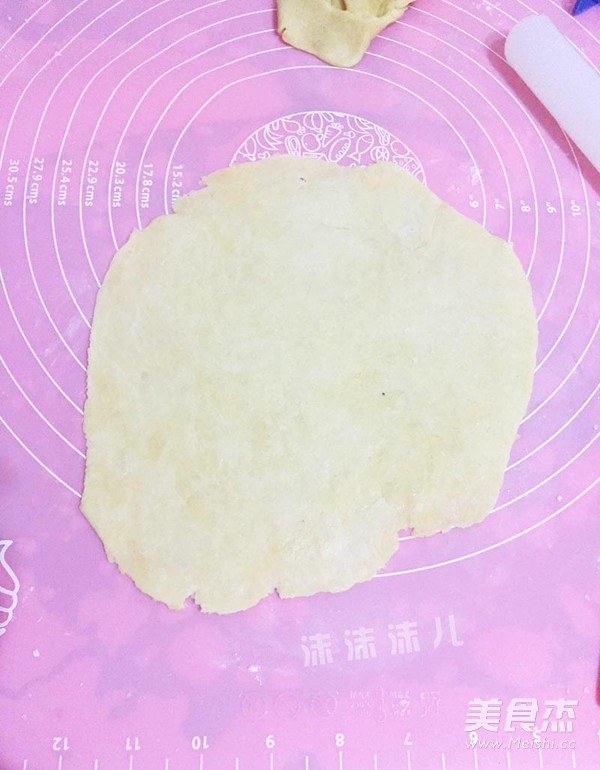
Spread thin flour on the chopping board, take out the loose pie crust dough and place on it. Divide the dough into two parts with a weight ratio of 2:1. First roll the larger portion into slices slightly larger than the pie pan.
14.
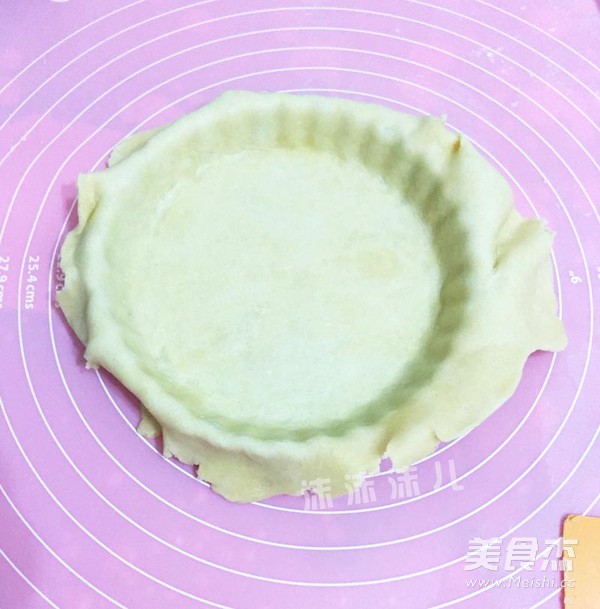
Place the dough sheet on the pie pan and gently press it with your hands to make it fit the pie pan and become the bottom of the pie.
15.
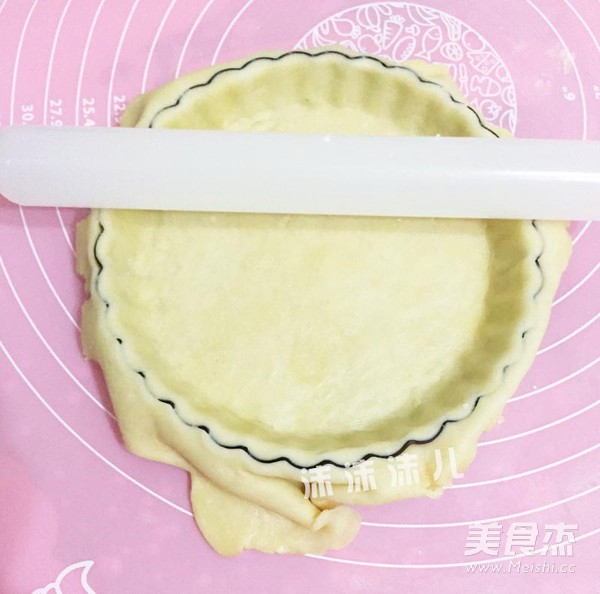
Use a rolling pin to press a circle on the pie pan.
16.
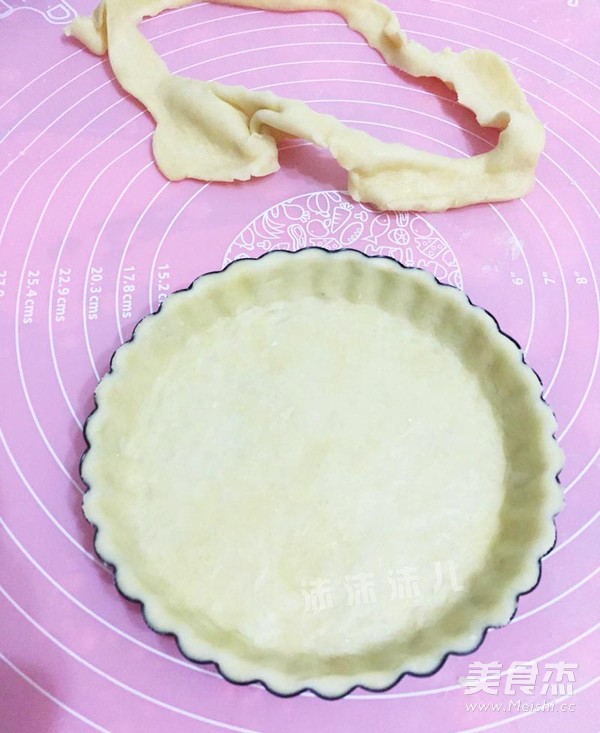
Remove excess dough pieces around.
17.
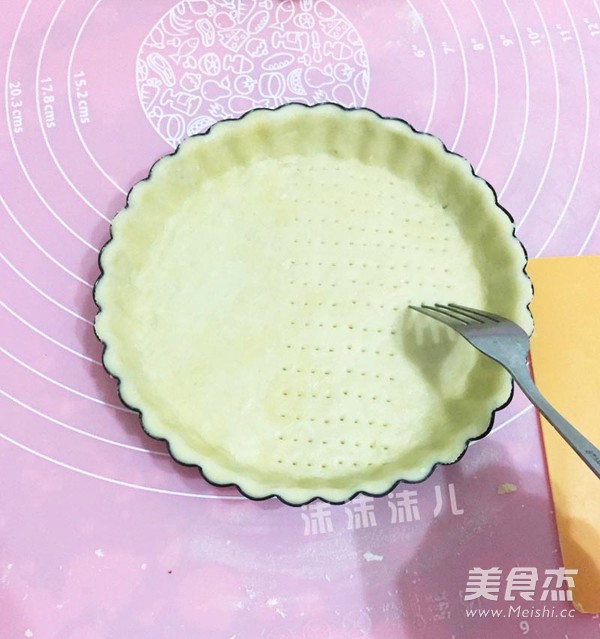
Use a fork to pierce some small holes evenly on the bottom of the pie to prevent it from bulging during baking.
18.
Roll out another smaller portion of dough into thin slices.
19.
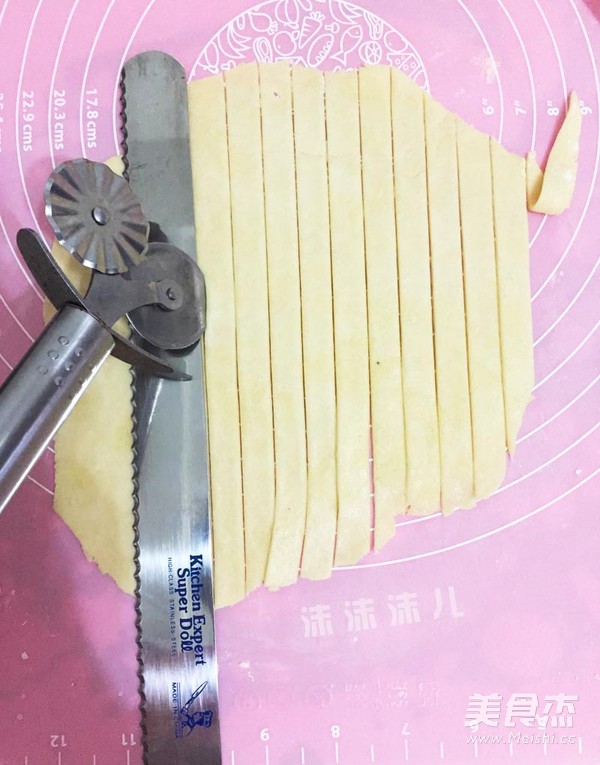
According to the width you like, use a ruler or other tools to cut it into uniform strips with a roller or knife.
20.
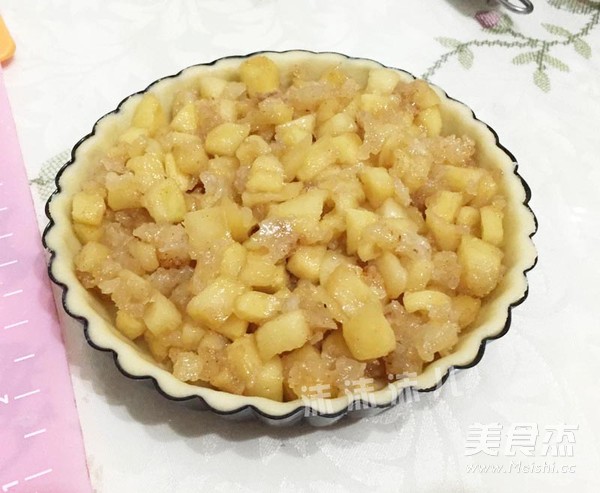
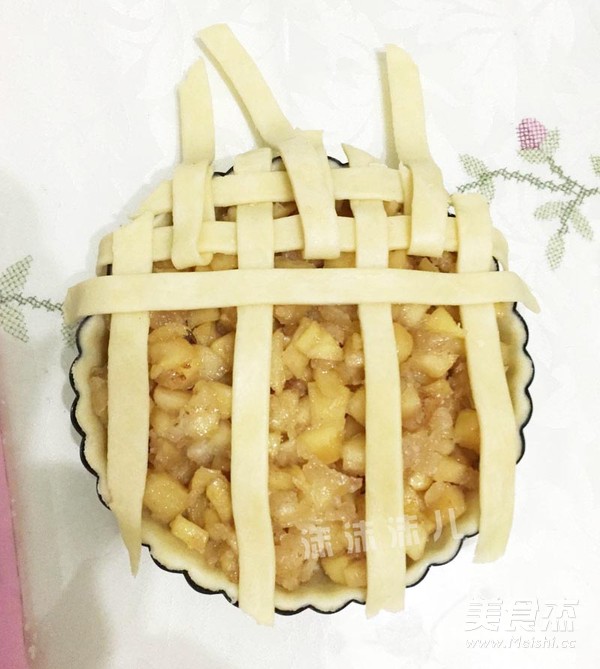
Fill the pie pan with the pie filling made before, and pile it up a little bit higher in the middle.
21.
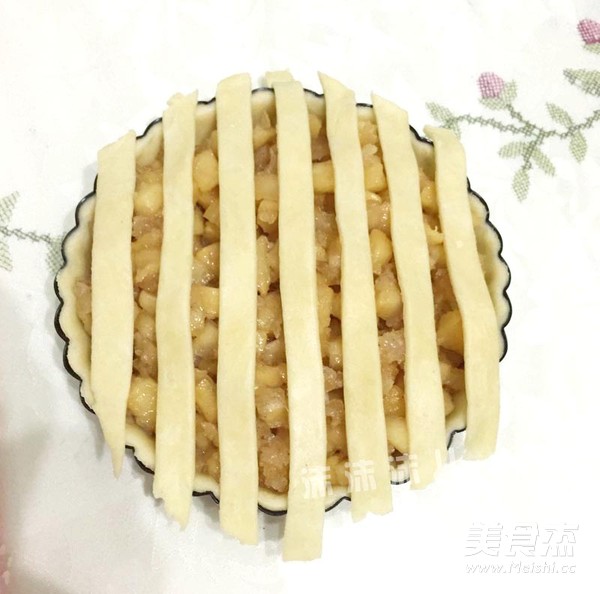
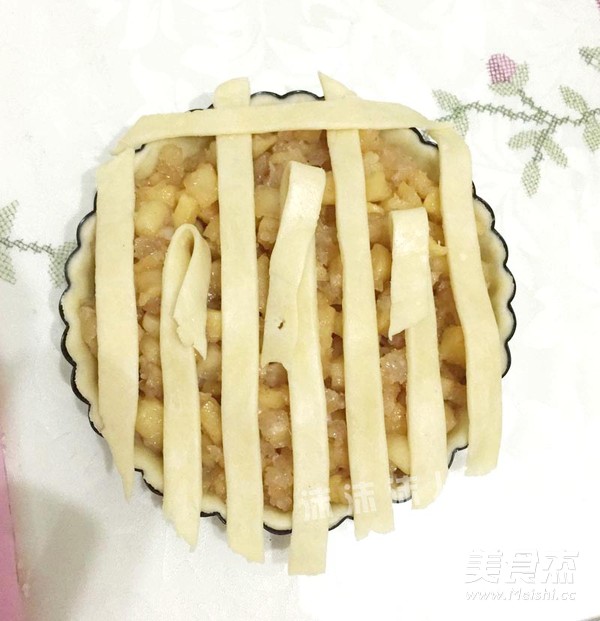
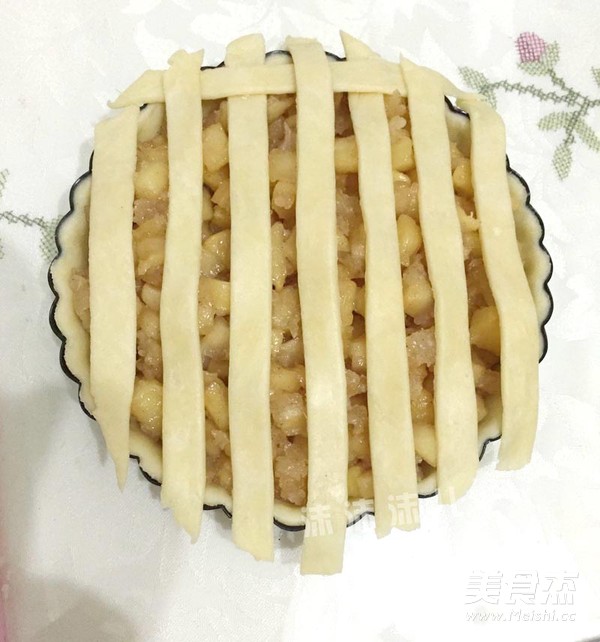
Next, start weaving pie crust. It seems very troublesome, but it is very simple to master the method. The first step is to place the vertical bars first.
22.
Turn the pie crust over every other bar and place the first bar on the top.
23.
Turn the pie crust back over and press the first bar.
24.
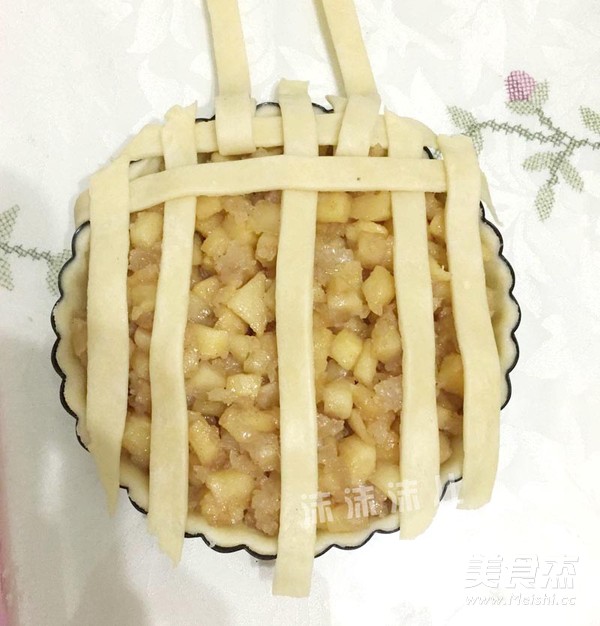
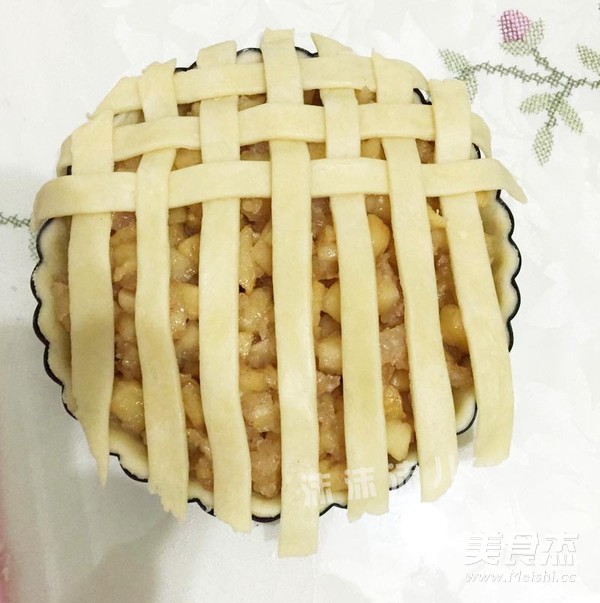
Then turn up the vertical bar under the horizontal bar, and place the second horizontal bar.
25.
Turn the vertical bar turned up and press the second horizontal bar.
26.
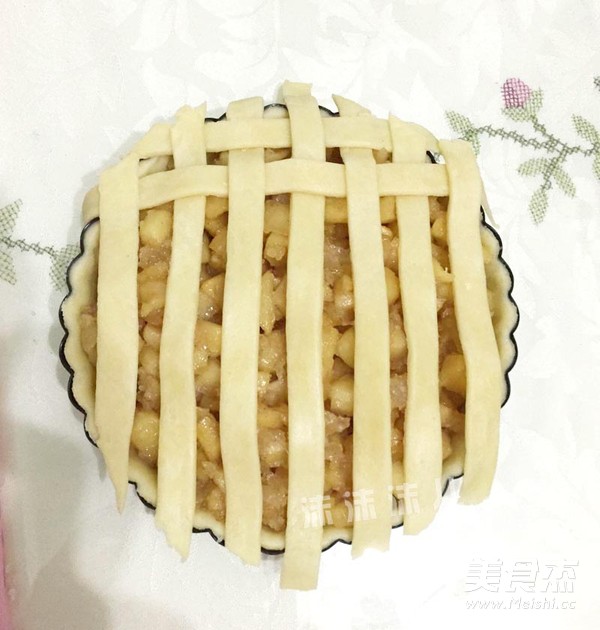
By analogy, turn it up and put the horizontal bar.
27.
Flip it down and suppress it.
28.
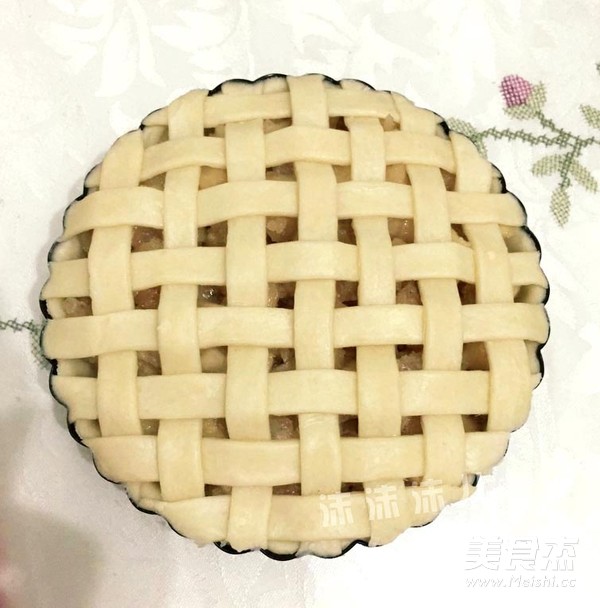
Until the whole pie is compiled. Use your fingers to press the junction of the pie crust and the pie pan to remove the excess pie crust around. At this time, preheat the oven at 200 degrees.
29.
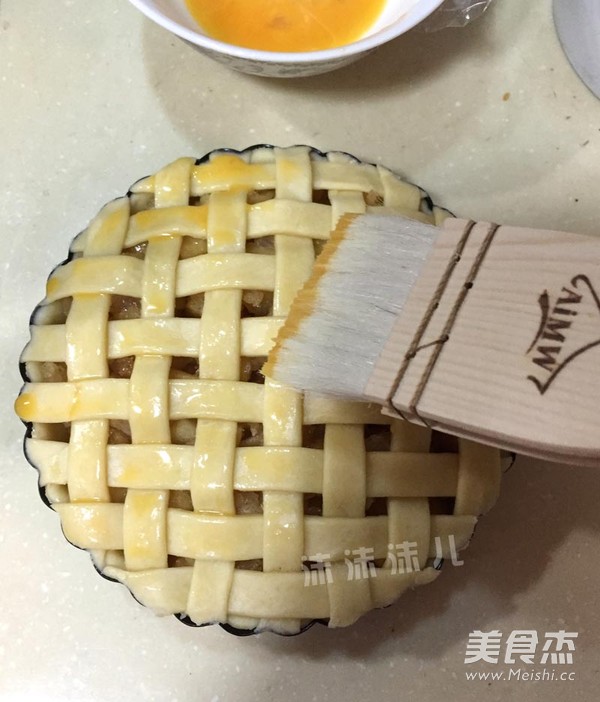
Brush a layer of egg wash on the surface of the pie crust.
30.
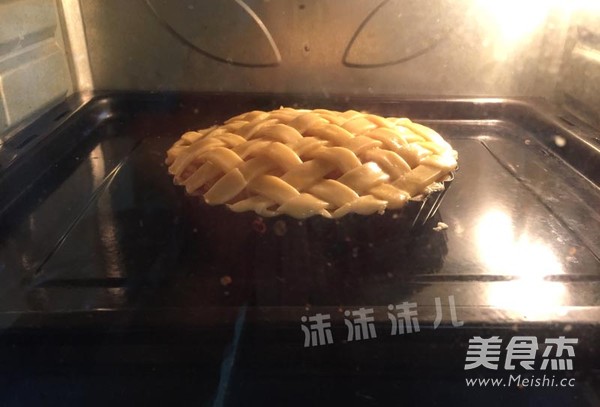
Put it in the oven, middle layer, and bake at 200°C for 15 minutes, and then at 175°C for 25 minutes. Bake until the surface is golden. If the color is too dark, please cover with tin foil.

Tips:
1. The relaxation time of the pie crust is about 1 to 4 hours, and the shortest time cannot be less than 1 hour.
2. The butter in the pie crust can only be softened, and cannot be turned into liquid, otherwise it will not be rubbed into coarse sand particles.
3. Don't knead the pie crust dough for too long, otherwise the dough will become gluten. All places where only low-gluten flour is used are for crispness and crispness, and gluten should be avoided.
4. When kneading any flour into a dough, the amount of water that needs to be added depends on the condition of the dough, and it is related to the region, humidity, and the amount of water absorbed by the flour. If there is less, you can make up water, if there is more, it is not suitable for making up noodles. So the amount of water is only a reference, not a fixed one.
5. Any baking temperature and time are closely related to the temperament of your own oven. The temperature and time are not fixed, please depend on the specific situation of your own oven.
6. The remaining pie crust can be used to make small biscuits with molds, which are also crispy and delicious.


![Seasonal Vegetable Patties [baby Food Supplement] recipe](https://img.simplechinesefood.com/02/024b910033009872aea33017c755a377.jpg)
