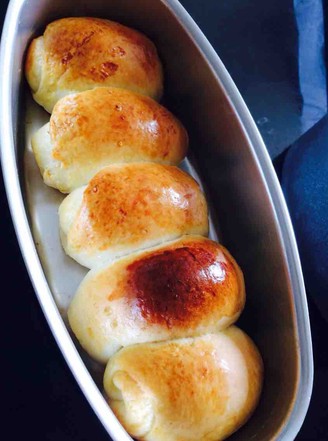
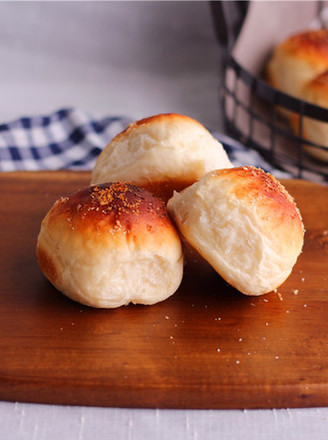
Bread Machine Version Chocolate Sauce Bread
by Looking for Peach Blossom Island
Favorite
1
Difficulty
Easy
Time
2h
Serving
4
There are many novices around who want to learn baking, and they often ask me, what should I start with to learn baking? What is the best kitchen appliance to buy? My answer is this: I think it’s best to learn from bread, a bread machine is very necessary.
One is that everyone loves to eat bread, which is very convenient and labor-saving for breakfast. And the bread you make by yourself has no additives, and you can choose the sweetness and fillings, which is more in line with your personal taste.
Second, there are many changes in bread, adding different fillings, using different methods, such as coconut bread, bean paste bread, hot dog bread, spring onion rolls, pineapple buns, milk toast, squeeze buns, and so on.
Third, the ingredients used in making bread are very common, high-gluten flour (wheat core flour or dumpling flour can be), yeast powder, sugar, salt and eggs, no special preparation is required.
Fourth, less molds and tools are needed. If no special shape is required, an inner bucket of the bread maker is enough.
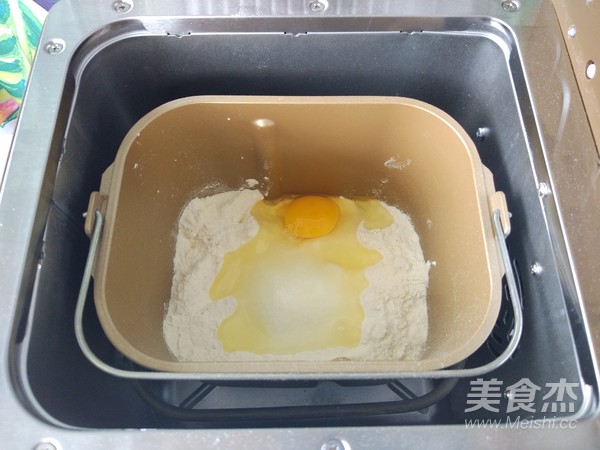
Fifth, the bread machine is easy to use, versatile, and inexpensive: one-button operation, as long as you put all the materials in the bread bucket, select the program, kneading, fermentation, noodles, baking, etc. are all machine operations, baking Just take it out when you are done. The bread machine can also fry pork floss, ferment dough, stir kneading, make jam, make yogurt and so on.
This time using chocolate sauce bread, let’s talk about the successful tips for making bread with a bread machine.
Ingredients: 110 grams of milk, 5 grams of yeast powder, 300 grams of high-gluten flour, 30 grams of caster sugar, 2 grams of salt, 1 egg, 20 grams of butter
Accessories: 65 grams of unsalted butter (filling), 40 grams of powdered sugar (filling), 40 grams of almond powder (filling), 150 grams of chocolate beans (filling), 20 grams of unsalted butter (stuffing), fine 20 grams of granulated sugar (crispy), 35 grams of low-gluten flour (crispy), a little whole egg
One is that everyone loves to eat bread, which is very convenient and labor-saving for breakfast. And the bread you make by yourself has no additives, and you can choose the sweetness and fillings, which is more in line with your personal taste.
Second, there are many changes in bread, adding different fillings, using different methods, such as coconut bread, bean paste bread, hot dog bread, spring onion rolls, pineapple buns, milk toast, squeeze buns, and so on.
Third, the ingredients used in making bread are very common, high-gluten flour (wheat core flour or dumpling flour can be), yeast powder, sugar, salt and eggs, no special preparation is required.
Fourth, less molds and tools are needed. If no special shape is required, an inner bucket of the bread maker is enough.
Fifth, the bread machine is easy to use, versatile, and inexpensive: one-button operation, as long as you put all the materials in the bread bucket, select the program, kneading, fermentation, noodles, baking, etc. are all machine operations, baking Just take it out when you are done. The bread machine can also fry pork floss, ferment dough, stir kneading, make jam, make yogurt and so on.
This time using chocolate sauce bread, let’s talk about the successful tips for making bread with a bread machine.
Ingredients: 110 grams of milk, 5 grams of yeast powder, 300 grams of high-gluten flour, 30 grams of caster sugar, 2 grams of salt, 1 egg, 20 grams of butter
Accessories: 65 grams of unsalted butter (filling), 40 grams of powdered sugar (filling), 40 grams of almond powder (filling), 150 grams of chocolate beans (filling), 20 grams of unsalted butter (stuffing), fine 20 grams of granulated sugar (crispy), 35 grams of low-gluten flour (crispy), a little whole egg
 Buy on JD
 Buy on Amazon