Cantonese-style Moon Cake with Red Bean and Egg Yolk Filling
1.
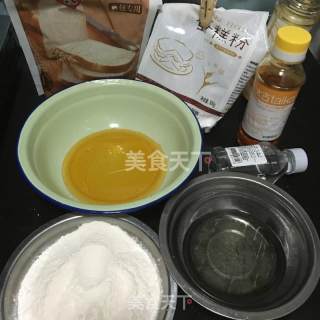
Weigh the mooncake skin materials: low-gluten flour/high-gluten flour/syrup/corn oil/liquid water.
2.
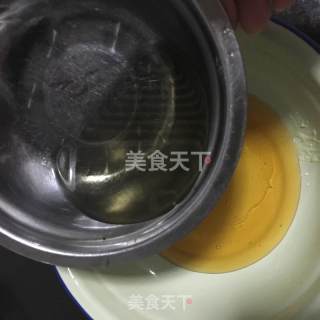
Add liquid soap and corn oil to the syrup.
3.
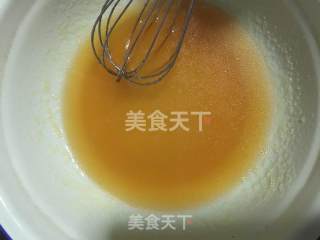
Stir evenly with a manual whisk.
4.
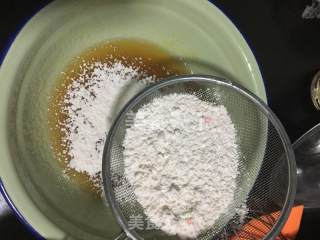
Sift in high and low gluten flour.
5.
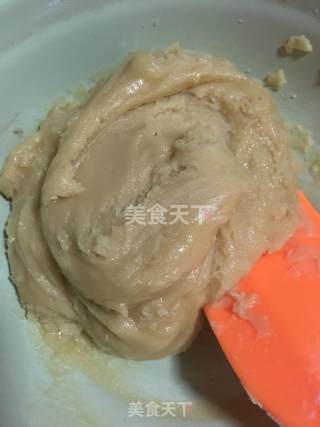
Stir and mix well with a silicone spatula.
6.
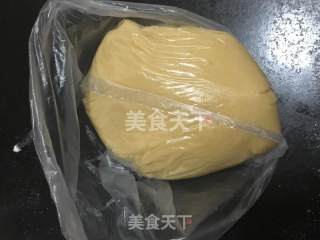
Put it in a fresh-keeping bag and put it in the refrigerator for more than one hour. I made the crust dough for several months at a time, each of which was made according to the above amount.
7.
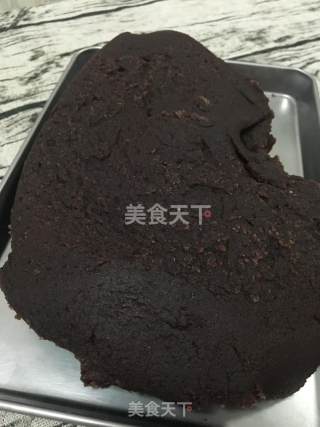
Homemade red bean paste.
8.
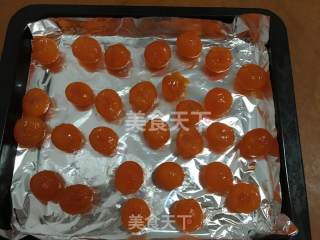
Soak the salted egg yolk overnight in peanut oil or brush with white wine to get rid of it. Put the salted egg yolk into the preheated 150°C middle layer and bake for 8 minutes. Remember not to overbake it out of oil!
9.
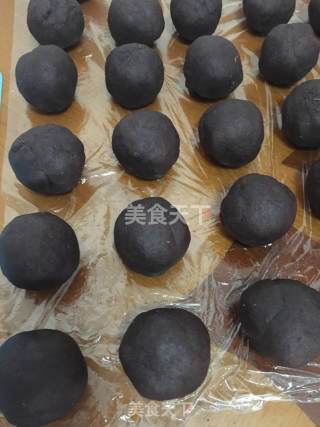
When the egg yolk cools, wrap the red bean filling with 42G salted egg yolk (I used a 63G mold this time: 21G for the skin and 42G for the filling), and cover it with plastic wrap for later use.
10.
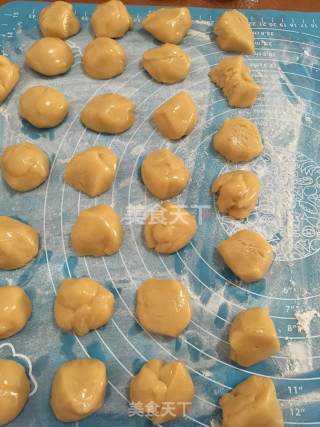
Take out the cake crust from the refrigerator and weigh it at 21G/piece.
11.
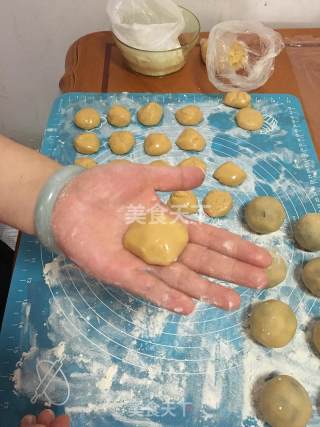
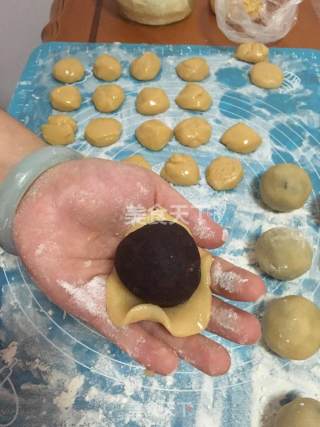
Take a crust. (You can dip some cooked flour on your hands, I fried glutinous rice flour myself)
12.
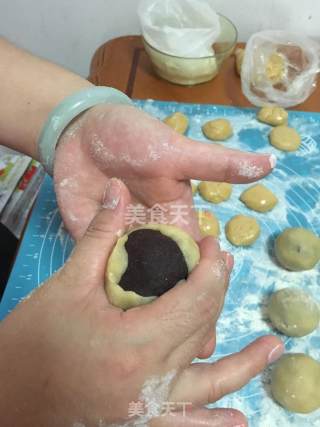
Squash, wrap in red bean and egg yolk filling.
13.
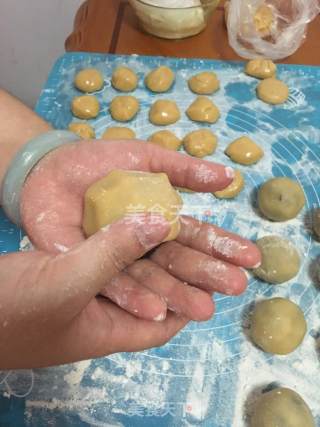
I am used to pushing with my hands the other way around.
14.
Turn and push up when closing the tiger's mouth.
15.
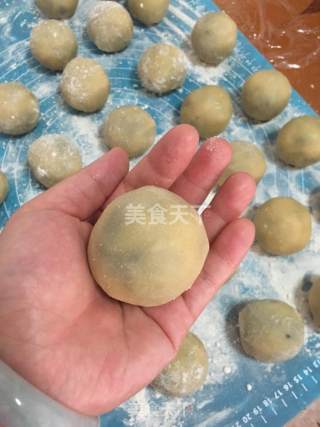
Pack them one by one.
16.
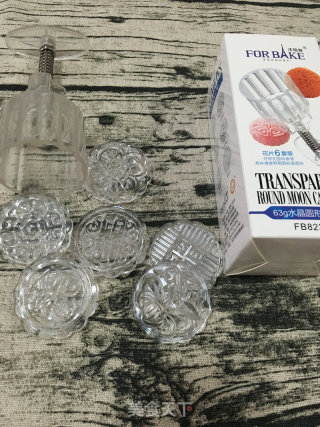
Fabake crystal molds can be beautiful.
17.
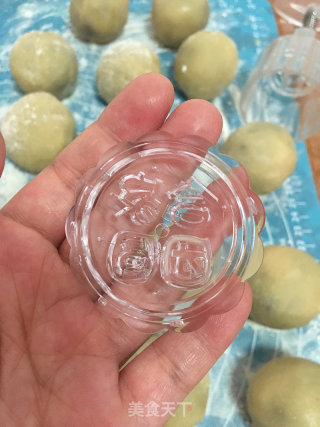
Take a mold
18.
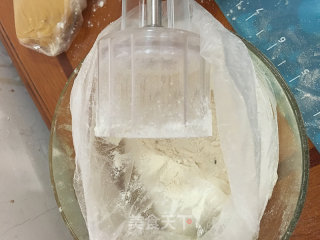
Dip inside the cooked powder
19.
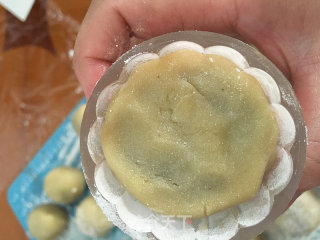
Put the wrapped moon cake ball into the mold.
20.
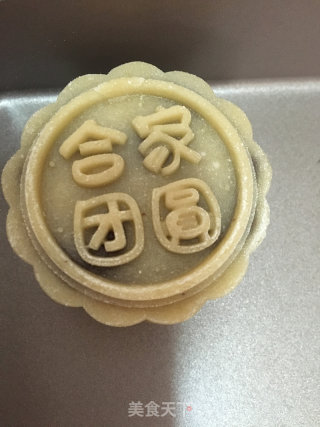
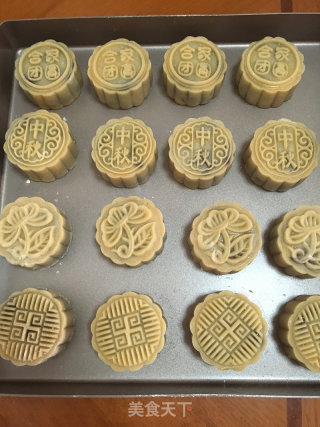
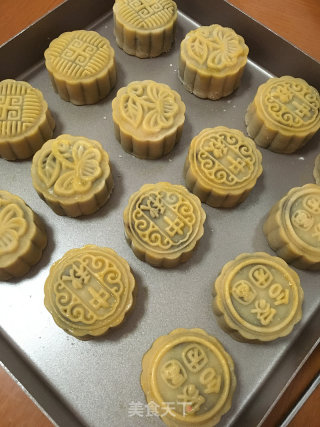
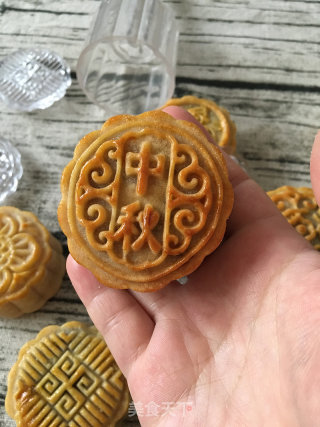
Press the dough with your left hand and put the moon cake mold into the baking tray and then press out the pattern. When pressing the pattern, the force should not be too heavy. After pressing the pattern, gently lift the mold to release the moon cake and the moon cake is ready.
21.
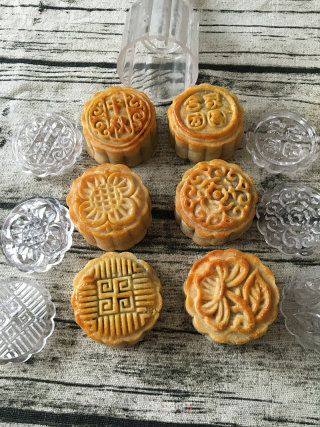
One plate is printed, and every one of the Fabak crystal mooncake molds obtained this time is printed and I like it very much.
22.
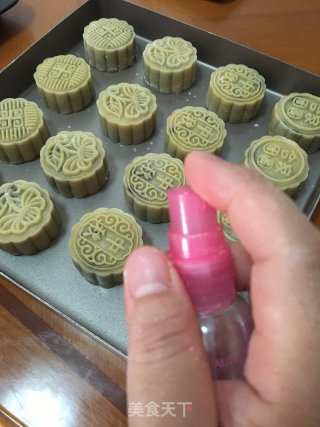
Preheat the oven at 200 degrees. After the oven is preheated, put it in the middle layer and bake for 7 minutes. Remember to spray water before putting it in the oven to prevent cracking.
23.
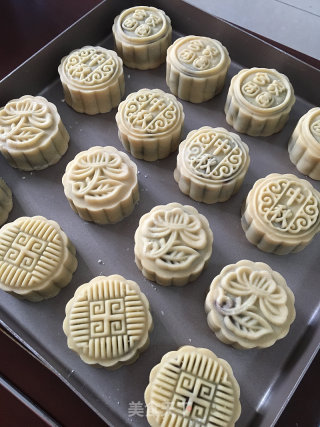
It is the first time to put the mooncakes into the oven to be shaped.
24.
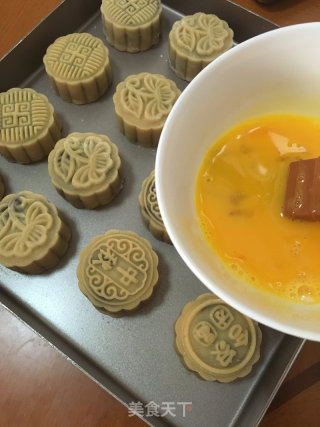
After the mooncakes have cooled down for a while, preheat the oven to 180 degrees, bake for 7 minutes and brush with egg wash, just brush the protruding patterns and sides. The brush used to brush the mooncakes should be a brush. After soaking in the egg liquid, scrape off the excess egg liquid on the side of the bowl before brushing it on the moon cake. If the brush is stained with too much egg liquid, the surface texture of the baked mooncake will be unclear.
25.
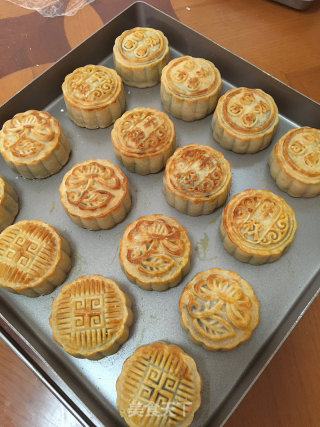
Bake at 180°C for 7 minutes, three times in total, each time you have to wait for the mooncakes to cool slightly, brush the egg mixture, and put them in the oven.
26.
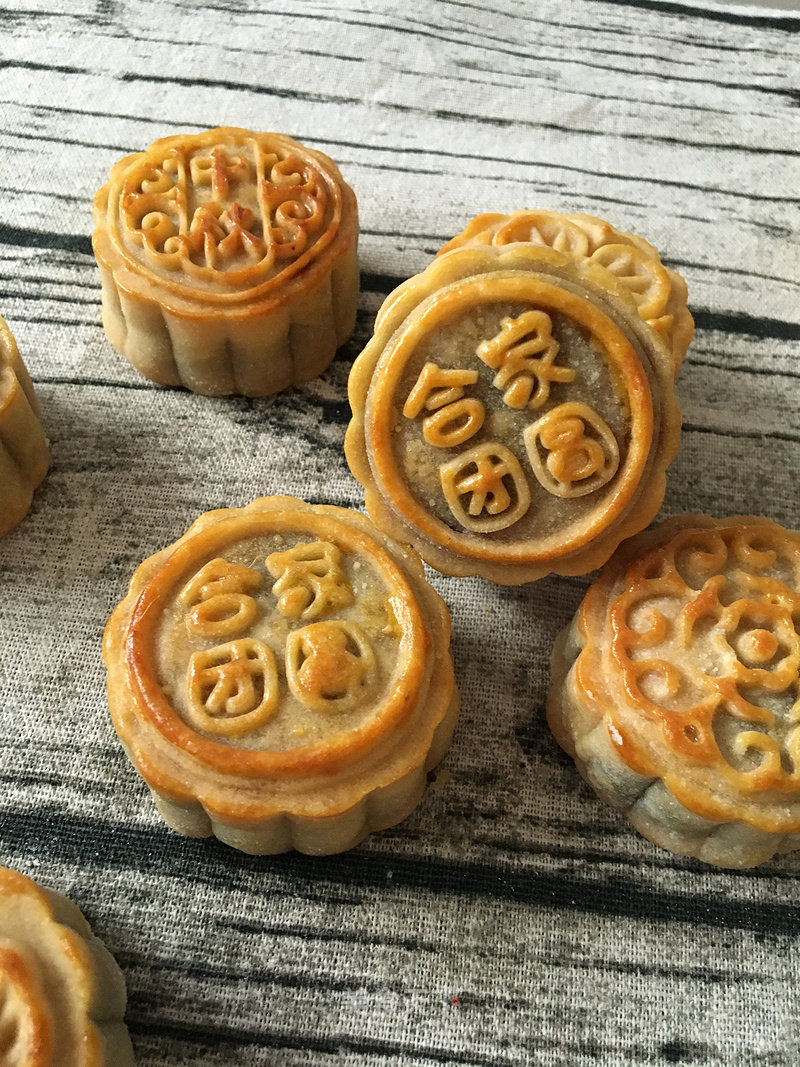
Baked moon cakes.
27.
The baked mooncakes are immediately out of the oven and wait for a little cooling before they are placed on the grill to wait for cooling. Then put the mooncakes in a crisper or packaging bag and put the mooncakes on the tray; put a deoxidizer at the bottom of the tray and seal the bag with a sealing machine. Wait two days for the oil to return and you can eat it. This recipe can be eaten almost a day.
28.
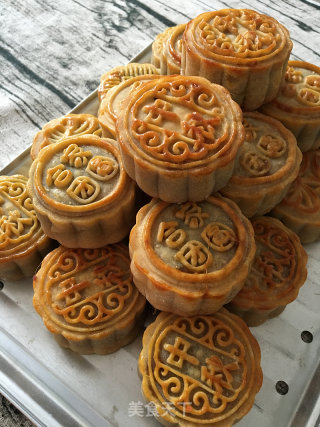
The mold is beautiful and the finished product is beautiful.
29.
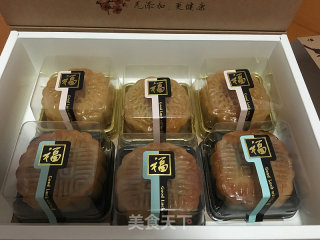
It can be packaged in this way and it is very suitable as a gift.
30.
Happy Mid-Autumn Festival.
31.
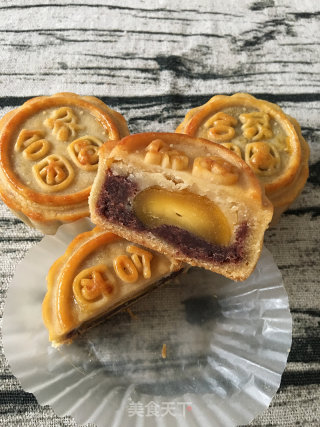
Take a look at the one made the day before. The oil return is not very good, but it is already delicious.
Tips:
1. This year, try to make the mooncake skins in the morning and put them in the refrigerator in the morning, and make them after get off work in the evening to reduce the waiting time. The mooncake skins can be used up within two days.
2. It is recommended to eat moon cakes within a week.
3. I like to use corn oil, but also grape seed oil/peanut oil, etc.
4. The egg liquid brushed on the surface of the moon cake is recommended to be an egg at room temperature.
5. Remember to soak in white wine or oil to remove the smell of egg yolk.


![Seasonal Vegetable Patties [baby Food Supplement] recipe](https://img.simplechinesefood.com/02/024b910033009872aea33017c755a377.jpg)
