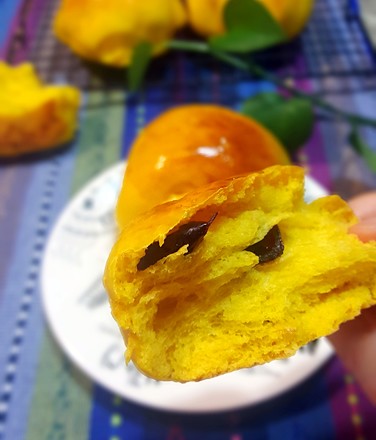
Casida Lightning Puffs
1.
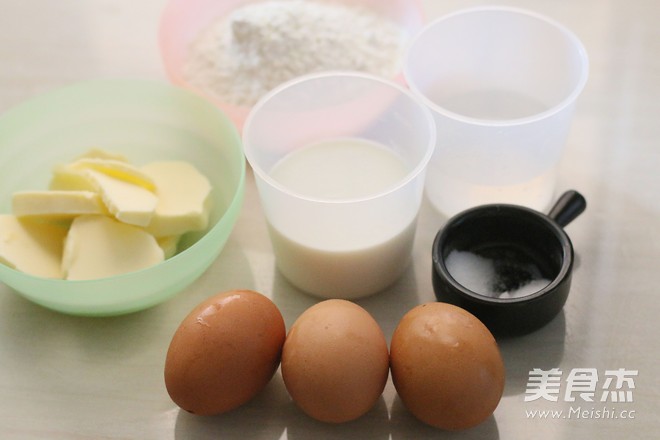
First make the puffs, weigh the ingredients for the puffs: 100g low-gluten flour, 100ml whole milk, 80ml water, 75g unsalted butter, about 3 eggs, 4g sugar and salt
2.
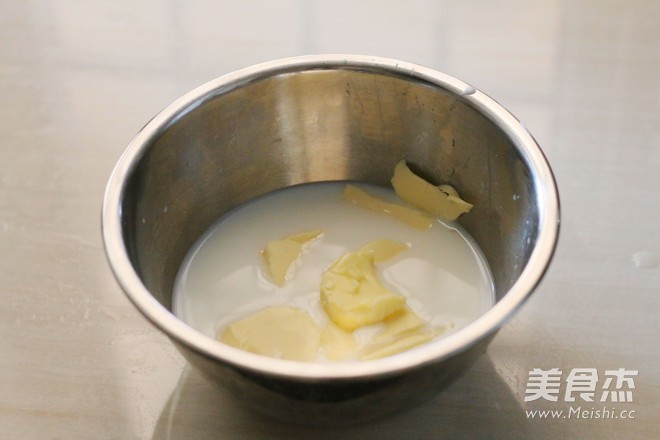
Add salt and sugar to milk, water, and unsalted butter, and bring to a boil
3.
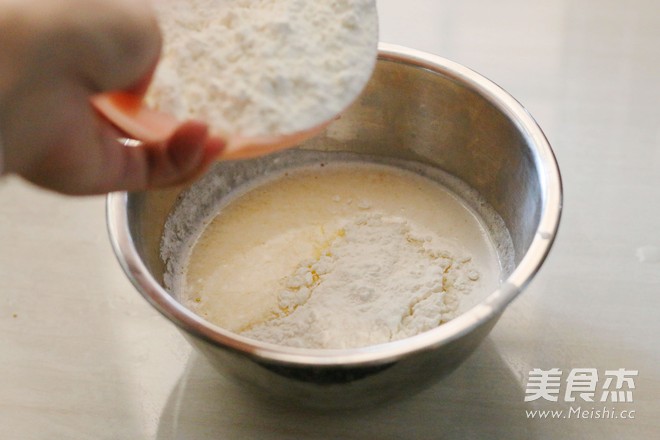
Immediately after boiling, pour in low-gluten flour and keep stirring
4.
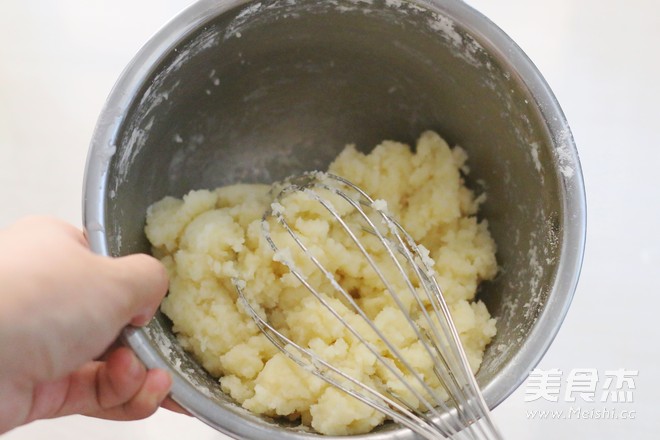
Continue to stir and heat on low heat, mix until there is a layer of film at the bottom of the pot, turn off the heat, continue to stir and cool to a temperature that is not too hot
5.
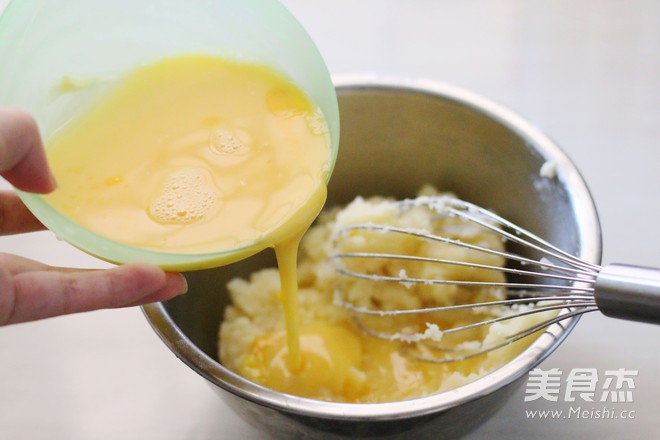
Break up the egg mixture and add it to the batter three or four times, each time you add the egg mixture, it must be completely mixed before adding the next egg mixture
6.
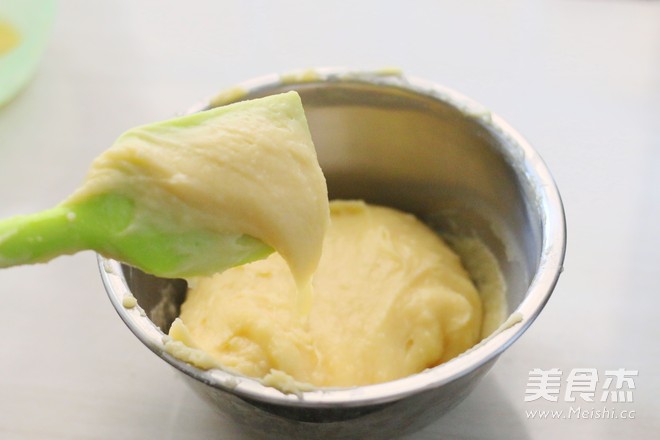
When mixing the egg liquid and the batter, you can lift it up and use a spatula to scrape the batter to see the dripping state. Mix until the batter is smooth and in an inverted triangle shape. Do not add any more egg liquid. This is the finished puff batter.
7.
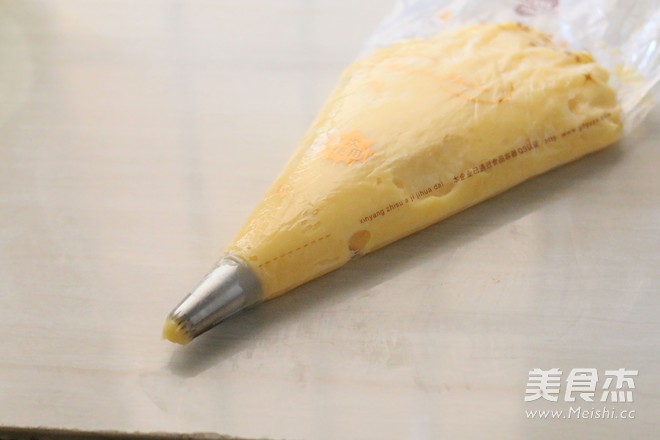
Decorating bag with large 18 teeth decorating mouth, put the puff batter into the decorating bag
8.
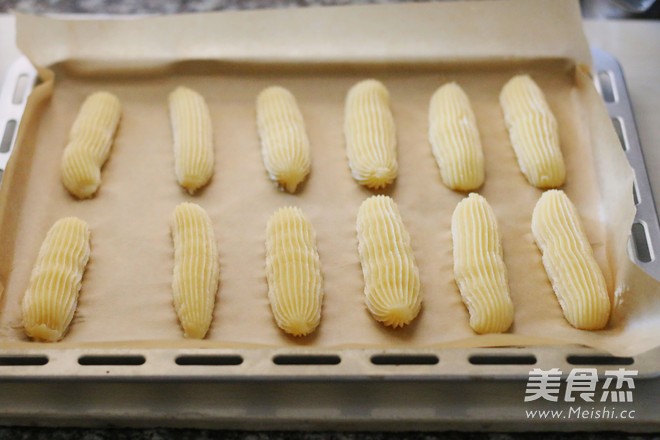
Line the baking pan with greased paper, and squeeze the batter into the baking pan at a constant speed. The length is about 8cm, and the interval between each batter is about 4-5cm.
9.
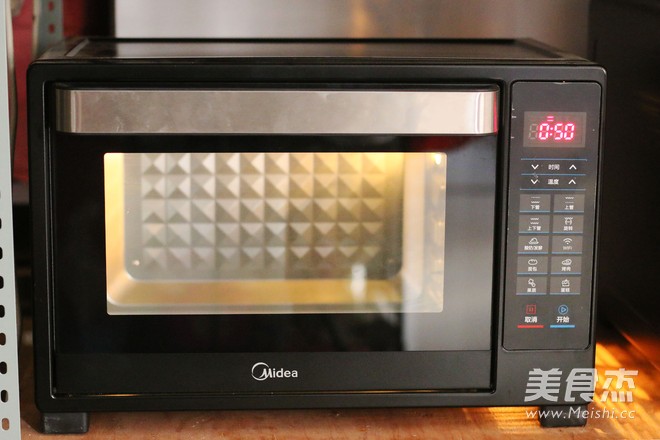
The oven is set up and down to 200 degrees, the time is set to 50 minutes, and the air roast is about 7 minutes to preheat
10.
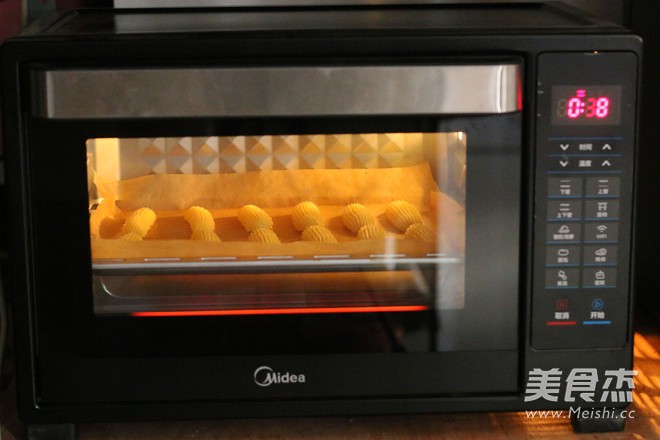
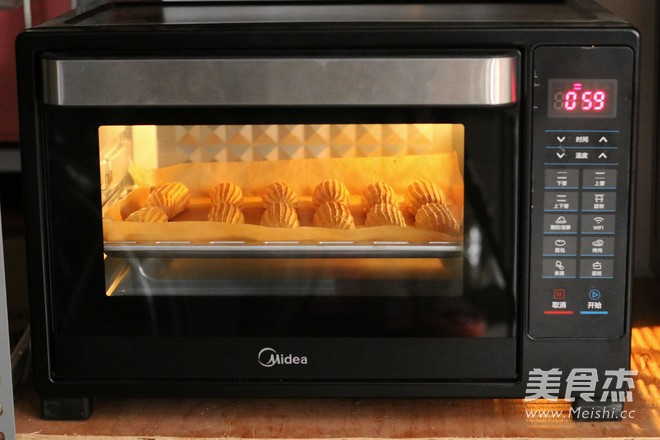
After the preheating is complete, put the puff batter into the oven, counting from the bottom to the third layer, and fire up and down at 200 degrees. The total baking time is about 40 minutes.
11.
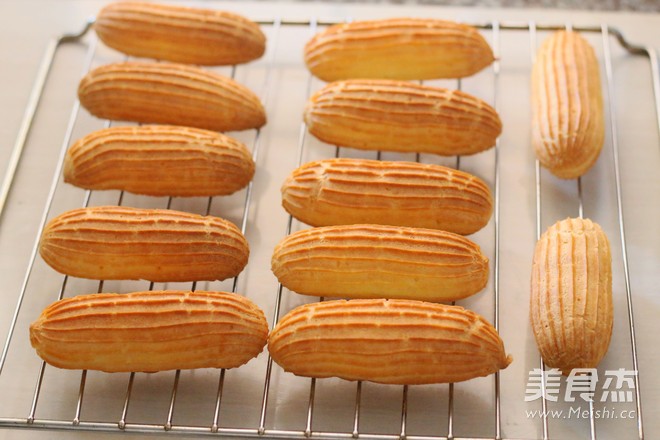
After baking for about 20 minutes, the puffs have been fully expanded, lower the temperature by 20 degrees or 180 degrees, and continue to bake until the surface of the puffs is golden
12.
Place the baked puffs on the drying rack to cool
13.
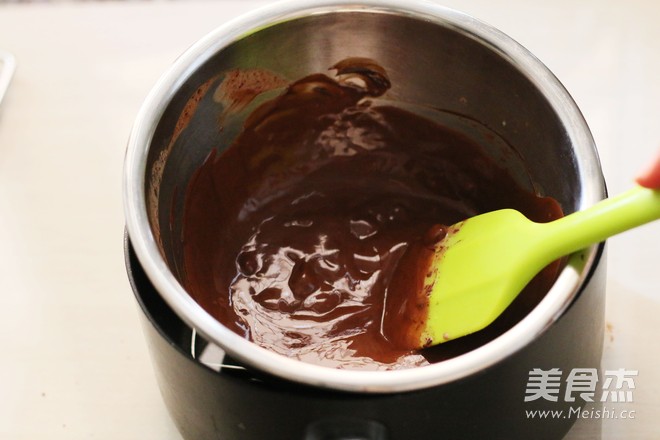
Decorate with 70 grams of whipped cream and 70 grams of bittersweet chocolate. I used chocolate with 66% cocoa butter. Melt the whipped cream and 2/3 of the chocolate in the heat insulation. Add the remaining chocolate and stir until the chocolate is melted and smooth. (There can be no water or oil in the container)
14.
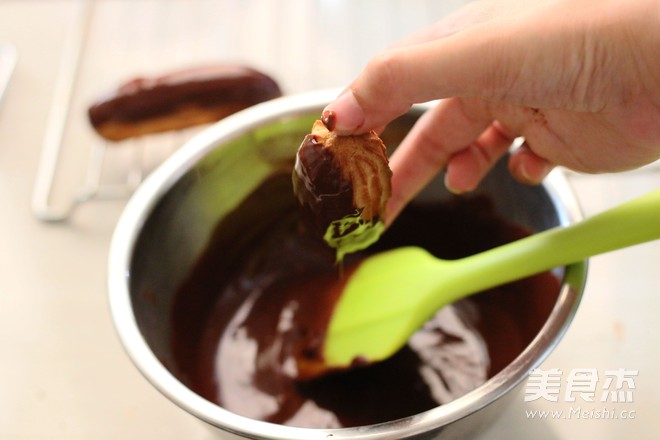
Dip 1/3 of the surface of the cooled puffs with chocolate liquid
15.
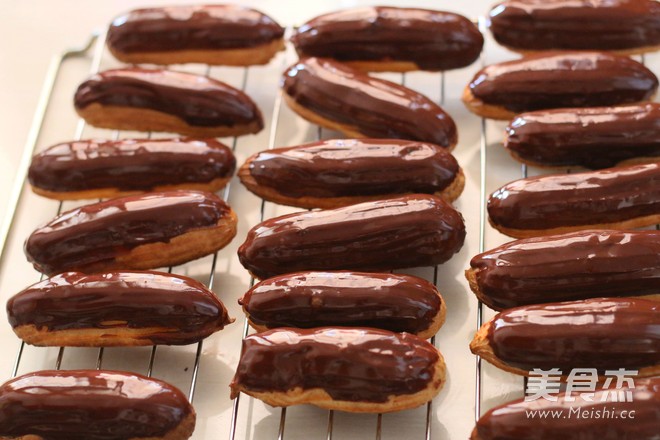
Chocolate dipped puffs at room temperature, wait for the chocolate to solidify
16.
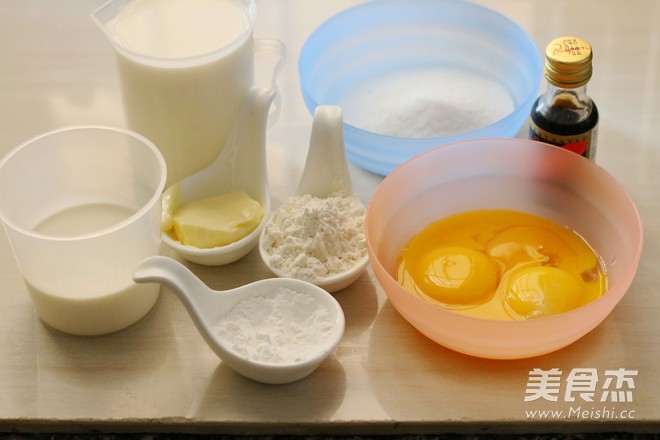
Finally, make the custard filling, except for the decoration materials in the auxiliary materials, the other materials are used for the custard filling
17.
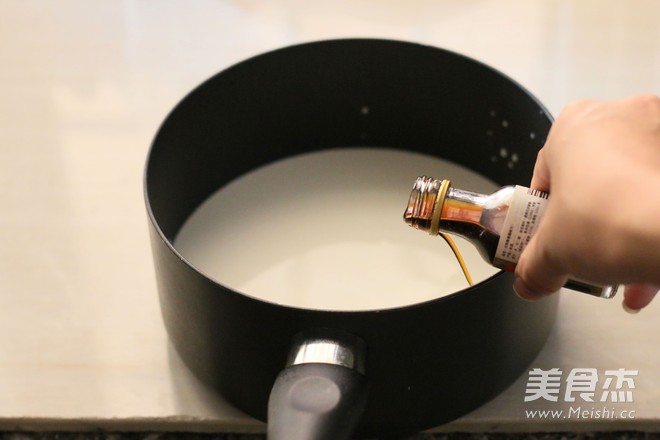
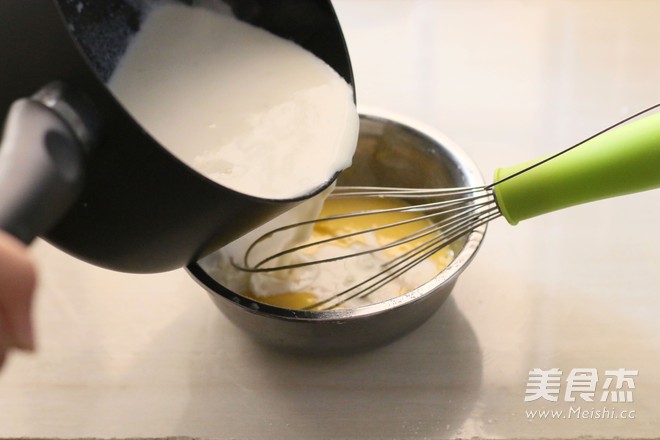
Mix whipped cream and milk, add 1/3 fine sand and vanilla extract or vanilla pod to scrape the seeds, heat up
18.
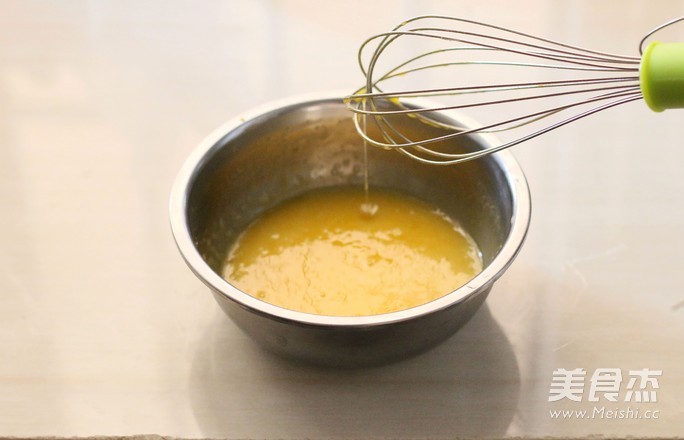
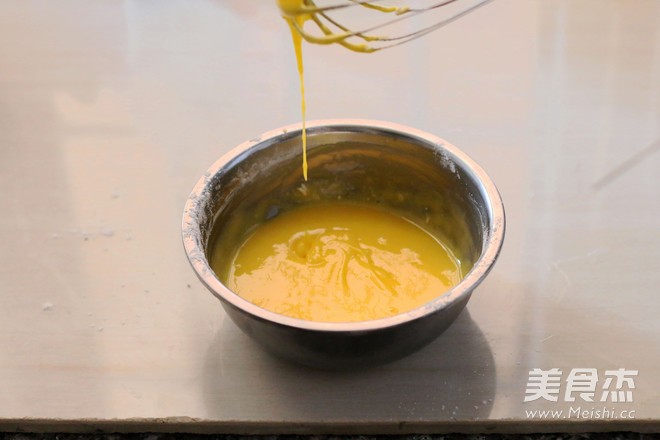
Add the egg yolks to the remaining fine sugar and stir until the sugar melts
19.
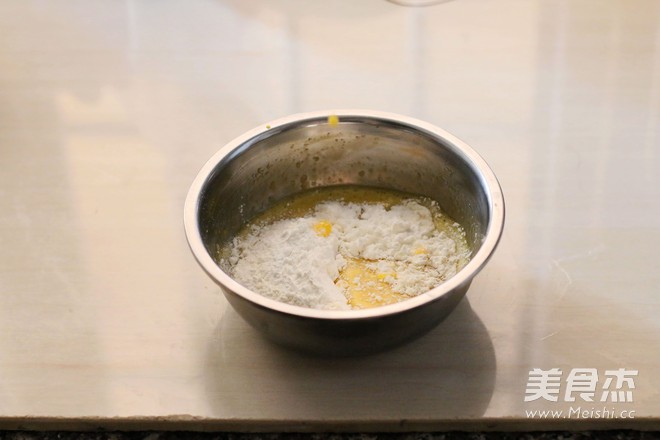
Sift low-gluten flour and cornstarch into the egg yolk
20.
Stir into a particle-free batter
21.
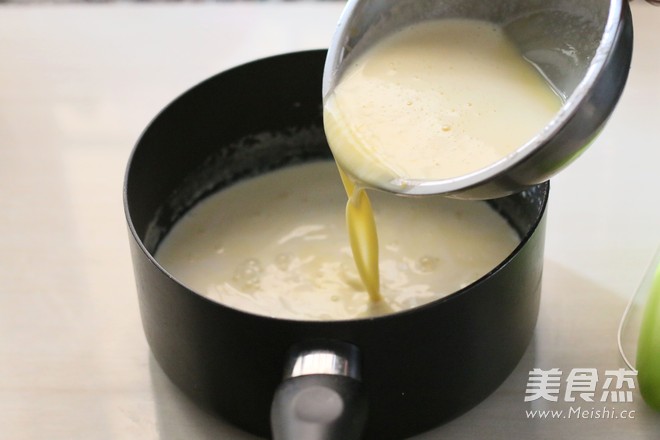
Step 17 After boiling, pour half of the amount into the egg yolk paste and keep stirring the egg yolk paste with a manual whisk
22.
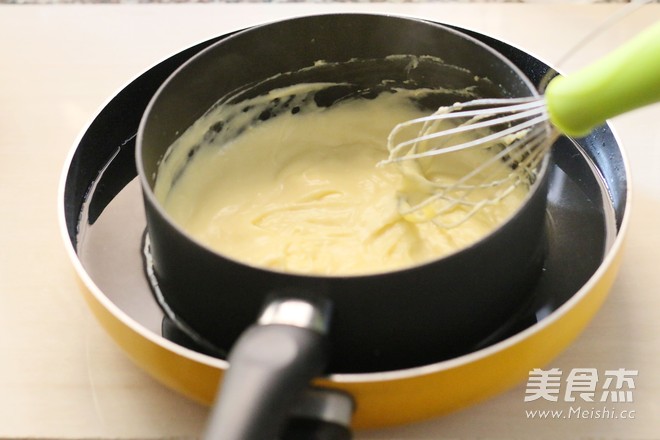
Then return the custard to the pot and heat it over medium-high heat, and keep stirring with a manual whisk
23.
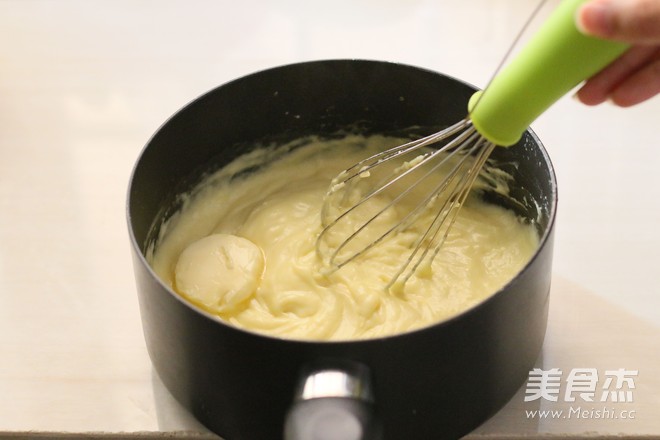
Heat until the custard becomes thick and smooth, then turn off the heat, add unsalted butter and stir well.
24.
Stir the prepared custard sauce over ice water to cool down
25.
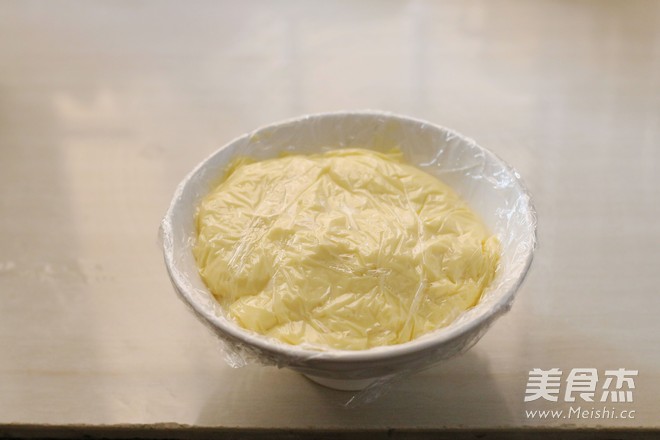
After cooling to hand temperature, cover tightly with plastic wrap and refrigerate for half an hour. Take out and stir until smooth before use.
26.
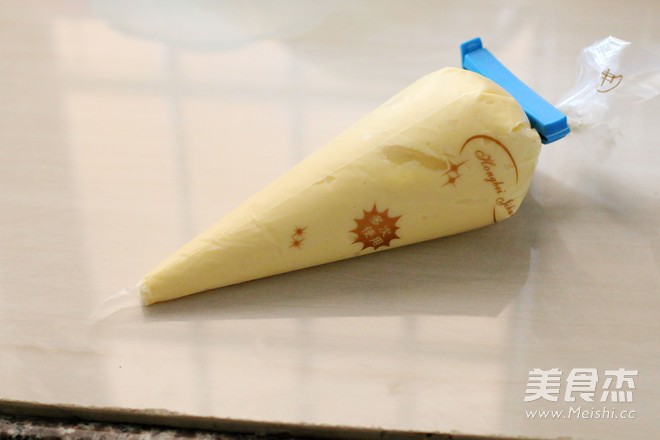
Pour the custard sauce into the piping bag
27.
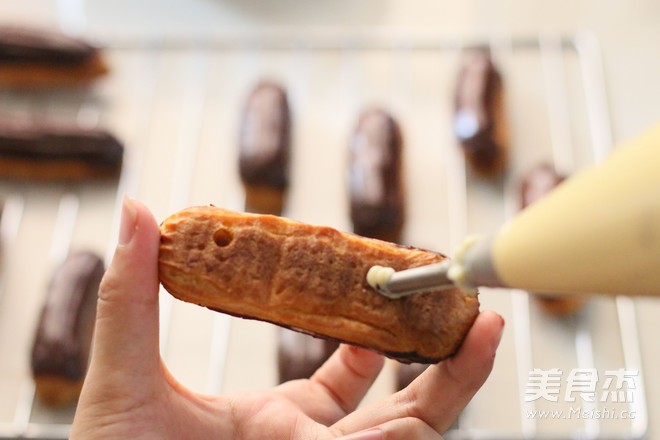
Poke 2-3 holes in the bottom of the puff and squeeze into the custard sauce. It is recommended to fill in the custard sauce before eating
Tips:
1: Do not add egg liquid when the puff batter is scraped up and is in an inverted triangle shape. Too thin and dry batter will affect the success rate;
2: Premature cooling of the puffs during baking and unbaked puffs will cause the puffs to collapse, and there will be no voids inside;
3: The puffs are crispy after being baked and cooled, and will become soft after being damp. You can return to the oven to bake for a few minutes before being dipped in chocolate and filling. Because they will get damp, fill in the custard before eating. The sauce tastes the best.
This recipe uses Midea's 32L oven. There are two models to choose from: T7-L325D and T7-L325E.
When making friends, please adjust the baking time appropriately according to the power and temperature difference of your own oven.



![Seasonal Vegetable Patties [baby Food Supplement] recipe](https://img.simplechinesefood.com/02/024b910033009872aea33017c755a377.jpg)
