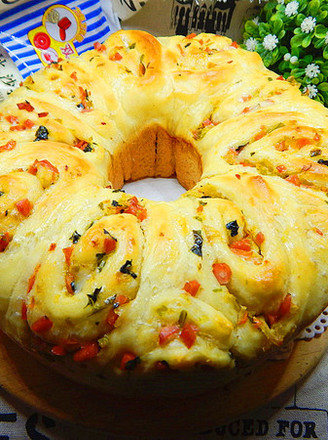
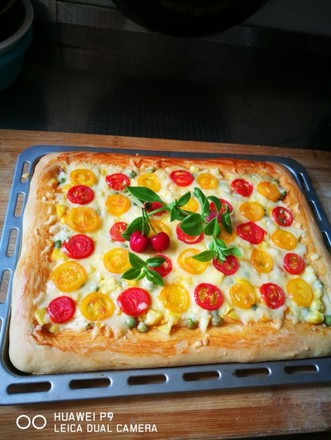
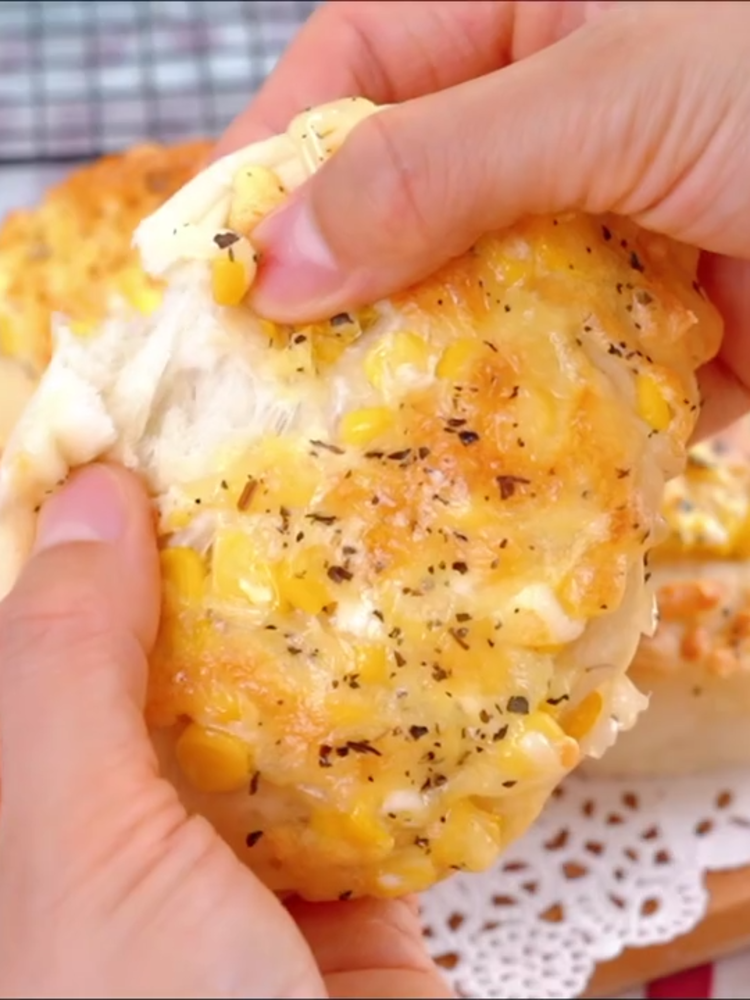
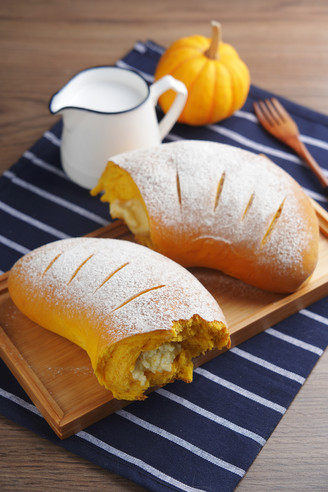
Chive Salad Bread
1. Weigh the ingredients in the main ingredients in a kitchen weighing the corresponding grams, and put them all in a basin (beaten the eggs into egg liquid, leave 15 grams for brushing the raw bread embryo), and stir with chopsticks until there is no dry powder and the shape is cotton wool. Cover with a lid or plastic wrap and let it rest for about 20 minutes. It is best to put it in the refrigerator in summer


2. Twenty minutes later, pour the dough on the operating table, use a scraper to gather the dough and knead it into a ball; then start kneading: just like washing clothes on a washboard, the dough that has been rubbed out is retracted and folded Once (it can be gathered with the help of a scraper), and then rub it out. Repeat this rubbing and gathering action. During the rubbing process, gluten is gradually formed, and it is easy to lose water, especially when the air is dry. Feel the dry humidity of the dough at any time (if you say that the amount of liquid you just added is not enough at the beginning, and the dough feels very dry, you must add moisture in time at this time. The method of supplementing water is described in the cooking tips below)
3. The dough that has been kneaded for fifteen minutes has become smooth. You can check the film output: take a small piece of dough. Slowly pull it around to form a thick film. Now add the softened butter
4. The dough after adding the butter will be very slippery when you start to knead it, and the dough will become wet and sticky again, just like a pile of torn cotton wool, and you can't bear to bet. Knead for about 5 minutes, the butter has been fully kneaded into the dough. It will become very smooth. Continue to knead the dough (start to rub it out again to take it back, then rub it out and take it back again). The kneaded dough will not easily stick to your hands or stick to the countertop. When the dough is lifted from the countertop, it will leave the countertop easily and completely. The palms and fingers are very clean. The whole process takes about half an hour.
5. Next, round the dough and rub it into a long strip. Use a scraper to cut a piece to check the film. The glove film can be easily pulled out, and it is not easy to break and is very tough. Round again and put it in the basin
6. Cover it with plastic wrap and leave it in a warm place to ferment to 2.5 times its original volume. It feels very light to hold (you can pat it with your hands, and you will hear a full sound of "bang, bang", and the feel is also very flexible. Stick a little flour with your fingers, and press the dough lightly, the fingerprints will not recover immediately, nor will it slowly collapse like a frustrated leather ball, which means that the fermentation is just right).
Take out the dough that has been successfully fermented, press the air, and divide it into 6 equal-sized doughs; each is about 73 grams
7. Round the small dough and put it in a pan with a lid for proofing for 15 minutes (you can also put a plastic wrap on the countertop for proofing) for 15 minutes; flatten and roll the dough after proofing, thin the long side, and roll it into a strip. Pinch the mouth tightly, knead the dough into a long dough, and place it in a baking tray lined with tin foil or greased paper
8. Put it in a warm place for the second fermentation, cover with plastic wrap and keep it moisturized (I use a silicone pad to cover the baking tray directly, and save a piece of plastic wrap), and then brush the surface of the fermented raw bread embryo with egg liquid
9. Sprinkle chopped green onion and white sesame seeds; then squeeze the salad dressing
10. Put it in a preheated 180 degree oven, middle level, up and down, 15 to 20 minutes, it will be out of the oven, take out the baking tray, let cool and ready to eat. I was too greedy and couldn't help taking two bites before the bread was cold, it was really delicious

Tips: 1. Do not add the entire amount of liquid to the flour, preferably leave 10-20ml. During the kneading process, you can observe the dryness and wetness of the dough and add it at any time.
2. After the flour is mixed into a dough shape, cover it with a plastic wrap and let it stand for about 20 minutes, so that the flour can fully absorb the water and become very moisturizing, which can greatly shorten the kneading time. In summer, the temperature is high, so put it in the refrigerator to prevent yeast from fermenting.
3. The main action of kneading is-rub, rub it out, take it back and fold it, rub it out again, repeat this action until the film comes out.
4. Step 2 If you find that the dough becomes dry during the kneading process and it is not easy to knead, take a bowl of water and pat it on the dough with your hands. Do not pour water directly on the dough. You can dip your hands in water several times to replenish it. Moisture. If the dough is too dry, it will not be easy to pull out the film.
5. When checking the condition of the film, pull it around slowly, that is, pull it in a circle, don't always pull it to both sides. You don't have to put it on your hands to make a glove film, just feel that the film is tough and the edges are smooth where it breaks.
6. To make ordinary sweet bread dough, only the dough is malleable and the film can be pulled out.
7. The time of the oven is set according to the temperament of your own oven


 Buy on JD
 Buy on Amazon