

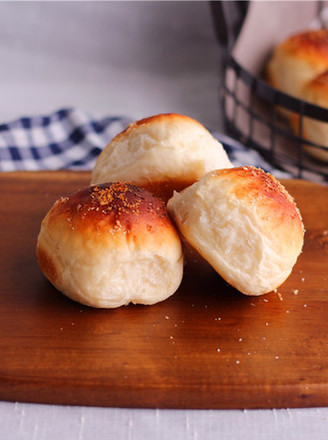
Coconut Butterfly Bread
by Happy eating for cats
Favorite
5
Difficulty
Easy
Time
15m
Serving
4
I like coconut paste, because she has an irreplaceable fragrance. . . . . .
1. Put the dough materials into the bread bucket in order.


2. Bread machine dough program.


3. After the procedure is over, the dough is taken out and shaped.


4. After fully exhausting the air, divide the dough into 2 equal parts, cover with plastic wrap and relax for 15-20 minutes.


5. Let's make coconut filling when we relax the dough.
For the practice of coconut filling, please see: http://www.meishij.net/zuofa/yerongxiandezhizuo.html


6. Take the loose dough.


7. Use a rolling pin to roll into a rectangular shape, as thick as possible.


8. Spread the coconut filling on the noodles, leave a 2cm position on the edge of the long side (tail part), and roll it into thin slices. Do not apply the coconut filling on the rolled part.


9. Roll up from the edge of one side (the side that is not rolled thin), with moderate tension, and stop at the last edge.
Save the part that was rolled into thin slices, and brush it with water.
Then roll over the whole, the tail is rolled firm, glued tightly, and closed down.


10. Cut into two pieces from the middle, each piece is divided into 6 equal parts, draw the mark. Cut according to the mark, a total of 12 copies.


11. Pick up 2 of them at will, with the incision facing upwards, and the closing part of the previous rolling is opposite, and the connecting part in the middle is brushed with a thin layer of water. Close the two parts tightly and firmly.


12. Make a mark on the lower third, and then both index fingers vertically downwards, press the dough tightly at the marked place, squeeze inward, pinch out a thin waist shape, as if to pinch the dough, but don't pinch it off Oh, just clip out the butterfly shape. (Pinch it hard, otherwise it will open up during fermentation, resulting in no butterfly shape in the end.)


13. Use a toothpick to insert it from the clamped position to avoid dispersing during fermentation.
After passing the toothpick through, squeeze the dough with your hands. Generally, the length of the toothpick is about 6 cm, and the exposed length of the toothpick cannot be shorter than 1.5 cm.


14. Put it in a baking tray and put it in a warm place for secondary fermentation.


15. Ferment to 2 times the size, take out and brush with egg liquid.


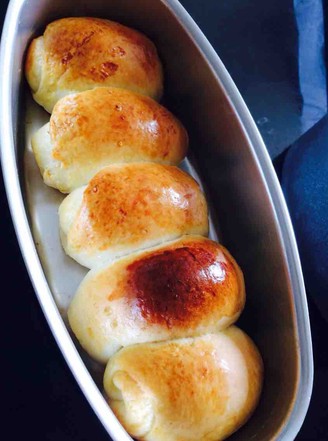
16. Put it in a preheated oven at 200°C and bake at 200°C for 15 minutes.


17. Take out the toothpicks after they are out of the oven and let cool.


18. Just install it.


Tips:1. It is best to leave two-thirds of the egg yolk to brush the noodles before baking. The color of the bread will be more beautiful.
2. Yeast should be increased or decreased appropriately according to the climate.
3. Dear friends, please adjust the temperature according to the actual situation of your own oven. Different ovens have different lengths of time. In addition, in some ovens, you may have to cover the bread with foil to prevent the surface from being burnt .
 Buy on JD
 Buy on Amazon