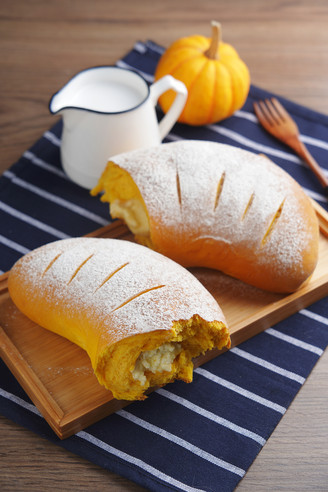
Coconut Rolls and Coconut Bread
1.
Put the high flour into the bread bucket, and then put the sugar and salt in the diagonal position. Dig a small hole in the middle of the flour, put dry yeast in it, and make sure that the yeast does not touch sugar or salt. Then add the egg and milk, start the noodle program to start kneading, and knead for about 15 minutes.
2.
After kneading for 15 minutes, add butter in small pieces to the dough, then start the kneading program, and knead to the expansion stage of the dough. That is to say, the dough can pull out a thicker film. This process takes about 10 minutes to knead. Then leave the dough in the bucket, cover it, and perform basic fermentation until it reaches 1.5-2 times the size of the dough. This process takes about 1 and a half to two hours. I used the fermentation function of the bread machine, so it was ready in an hour.
3.
Prepare the filling while the bread is fermenting. After the butter has softened at room temperature, beat it evenly with an electric whisk.
4.
Add granulated sugar and beat evenly with a whisk. Pour in the egg mixture and continue to stir.
5.
Pour in the minced coconut and stir evenly with a spatula.
6.
Pour the milk, stir, and then set aside to let the coconut milk fully absorb the milk's moisture.
7.
Take out the fermented dough from the barrel, press to exhaust, and let it stand for 10 minutes.
8.
Roll out the dough as shown in the picture. The bottom of the dough on the left is thinner because it will be sealed later. When rolling, the dough will stick to the rolling pin and panel, so you can sprinkle a little flour on it and roll it out.
9.
After rolling out, spread the coconut paste evenly on the dough, paying attention to leaving a gap of about 1cm on the edge.
10.
Roll up the dough from right to left, seal it with the side that was thinned down, and put the seal on the bottom.
11.
Cut the dough into sixes. I use a kitchen knife, which is easy to deform when cut. It is recommended to use dental floss or a thinner thread to cut the dough, which will not deform.
12.
Put the dough in a paper mold with the cut side up. I used a paper mold about 7 cm in diameter.
13.
Put the dough in the baking tray and put it in the oven for the second fermentation. This process takes about 1.5 hours. This is what it looks like after it's posted.
14.
Brush the egg liquid on the surface of the bread, put it in the preheated oven, 180 degrees, middle layer, about 12 minutes.
15.
Ding Dong, the chubby papers are out.


Tips:
1. Whether the bread is delicious or not, kneading is the key, so the dough of this bread must be kneaded to the expansion stage.
2. The method of fermentation. For the second fermentation, I use the oven to make the noodles. The method is to put a bowl of boiling water in and close the oven door. This method is very effective.
3. If you don't have this kind of bread paper mold I use, you can also use other molds to bake, or just put it directly on the baking tray, but the dough will twist and even stick together when it is fermented, which will affect the appearance.
If you use a 450-gram toast mold to bake the entire dough, the temperature must be lowered and the time will be longer. For example, change it to 170 degrees, about 45 minutes. In short, the mold is small, the temperature is high, and the time is short. If the mold is large, the temperature will be lower and the time will be longer. Beginners still try to follow the tutorial to avoid failure.
4. Coloring problem. The egg liquid was applied to make the color beautiful. Because my oven temperature is too high, the color will be very dark when I bake it for about 8 minutes, so I added another layer of tin foil.
More food tutorials are in Auntie’s public account xizhenyishen, come and subscribe~